![]()
CR-Laser Falcon User Manual
CR-Laser Falcon
V1.0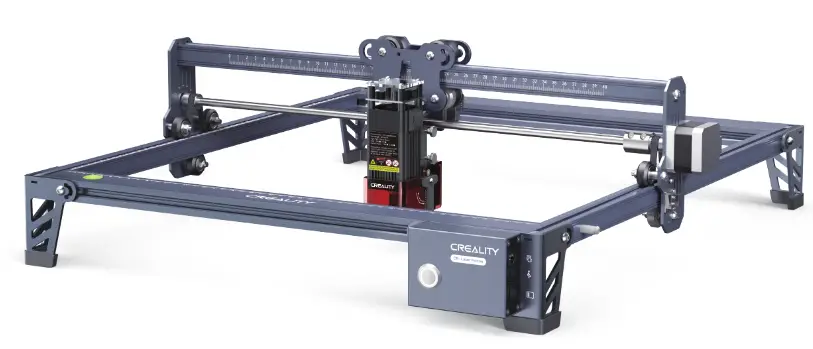
SHENZHEN CREALITY 3D TECHNOLOGY CO., LTD. 3D Printing Evangelists
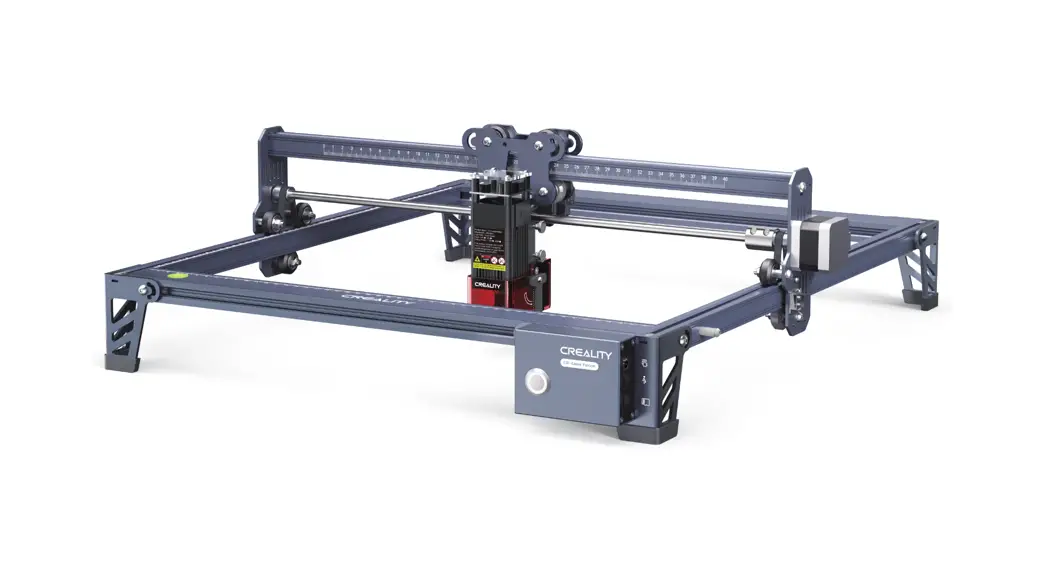
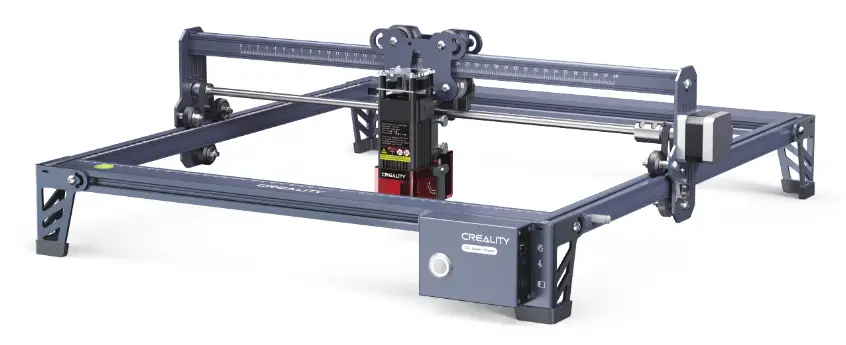
Rendering picture
Dear Consumers: Thank you for choosing our products. For the best experience, please read the instructions before operating the machine. Our teams always be ready to render you the best services. Please contact us via the phone number or e-mail address provided at the end when you encounter any problem. For a better experience in using our product, you can also learn how to use the engraving machine in the following ways:
View the accompanying instructions and videos in the TF card.
Visit our official website www.creality.com to find relevant software/hardware information, contact details, and operation and maintenance instructions.
Firmware Upgrade
Please login the official website https://www.creality.com/download, select the relevant engraving machine and model and download the latest firmware.Save it to TF card and it can be automatically updated when powered on.
For the purpose of engraving or cutting with a laser engraving machine, allow the workpiece to be exposed to the high-density laser beam emitted by the laser engraving machine. The workpiece may be subject to gasification without combustion as it is pretty hot on the surface. On the other hand, most workpieces are essentially combustible, which may be ignited, leading to open flames and consequently to machine breakdown and environmental contamination.
- It is prohibited to store the machine in areas close to combustible and explosive substances, volatile solvents or sources of heat. Instead, store it in a well-ventilated, cool, and dust-free place;
- Make sure that only the specific attached power cord rather than other similar power cords are used during installation;
- Clean the tripod and laser module with a dry cloth regularly when the power is off.
- Ensure to run the laser at 0°C-35°C. Operation at sub-zero temperature is prohibited; It is prohibited to run the machine in a wet environment or in thunderstorm weather;
- Switch off the machine if it is offline for an extended period of time, and unplug the power cord;
- It is prohibited to come in contact with electronic areas with hands or other tools when the machine is connected to a power supply;
- Touching any moving parts and laser module while the machine is running is prohibited;
- Before engraving, place a flat object that cannot be penetrated by the laser, such as an aluminum alloy or stainless steel plate on the workbench, and then place processing material.
- Wear goggles to prevent vision damage arising from exposure to the laser spot during laser engraving operation;
- It is advisable to run the machine under well-ventilated conditions as laser engraving may generate a small amount of fume or gas;
- Children under 10 years old are not allowed to run the machine without an adult presence, which otherwise may lead to personal injury;
- Put in place fire extinguishers in case of use, which shall be regularly checked. It is prohibited to keep the machine unattended while it is running;
- Users should comply with the laws and regulations of the corresponding countries and regions where the equipment is located (used), abide by professional ethics, pay attention to safety obligations, and strictly prohibit the use of our products or equipment for any illegal purposes. Creality will not be responsible for any violators’ legal liability under any circumstance.
Parameters
| Model | CR-Laser Falcon |
| Machine size | 568*632*198mm |
| Net weight | 3.3kg |
| Operation system | Windows /macOS |
| Input | 100~220V 47~63Hz |
| Output | DC 24.0V 3.0A |
| Range of operating temperature | 0℃-35℃ |
| Safety certification | IEC60825、FDA、CE、ROHS、FCC、UKCA、UL |
| Engraving size | 400mm*415mm |
| Laser source | Semiconductor laser unit |
| Laser wave length | 455±5nm |
| Laser power | 5W/10W |
| Safety class | Class I(FDAFDA classification standard) |
| Laser engraving software | LaserGRBL、LightBurn |
| Format files | jpeg、jpg、png、bmp、svg、dxf |
| Type of supporting materials | Cardboard, wood, bamboo, rubber, leather, fabric, acrylic, plastic, etc |
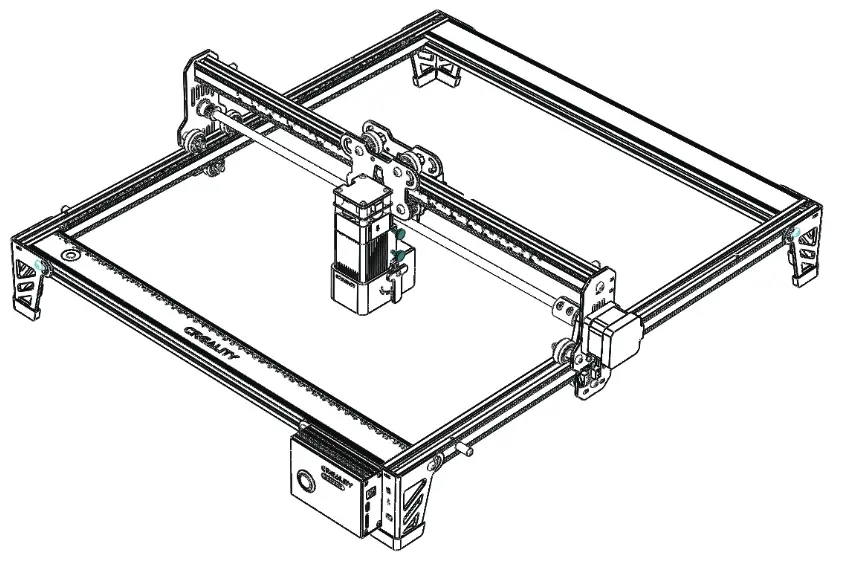
Equipment Intro
Parts List
| 1. X-axis assembly & Control box assembly | 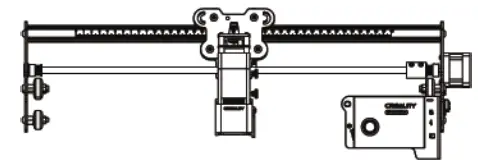 | 7.Laser module*1 | 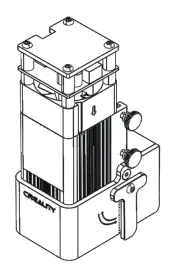 |
| 2.Front X-axis profile*1 | 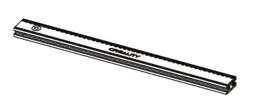 | 8. Power adaptor*1 |  |
| 3.Rear X-axis profile*1 | 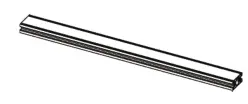 | 8. Power cord*1 | 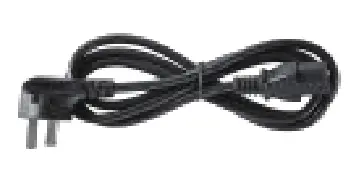 |
| 4.Left Y-axis assembly*1 | 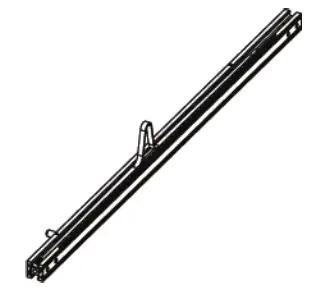 | 10. Linden plywood*2 |  |
| 5.Right Y-axis assembly*1 | 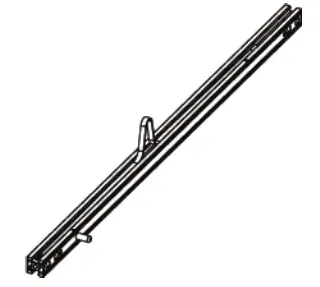 | 11.M5*20 screws*18 | 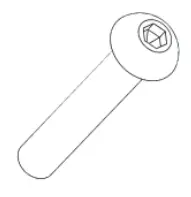 |
| 6.Tripod*3 | 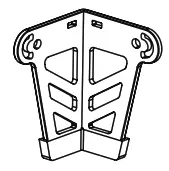 | 12. T-shaped nuts & hexagon screw | 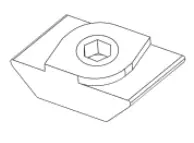 |
| 13.M1.5/M2/M2.5/M3 Allen key | 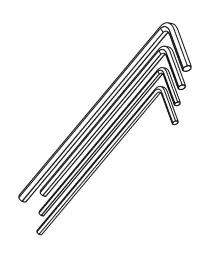 | 17. Activated carbon smoke absorption cotton*2 | 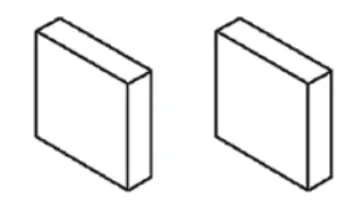 |
| 14.Open wrench*1 | 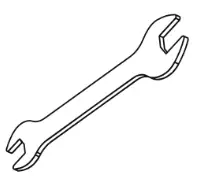 | 18. Black cable tie*3 | 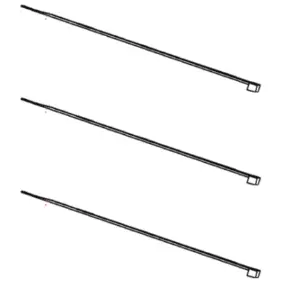 |
| 15.TF card & card reader *1 | 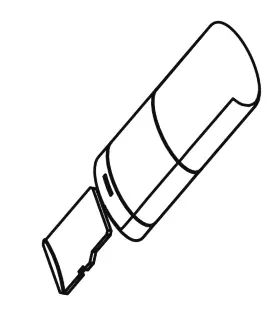 | 19. Dustless cloth*1 |  |
| 16.Goggles*1 | 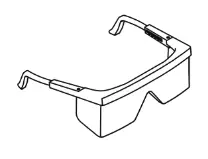 | 20.Instruction manual*1 |  |
Assemble directions
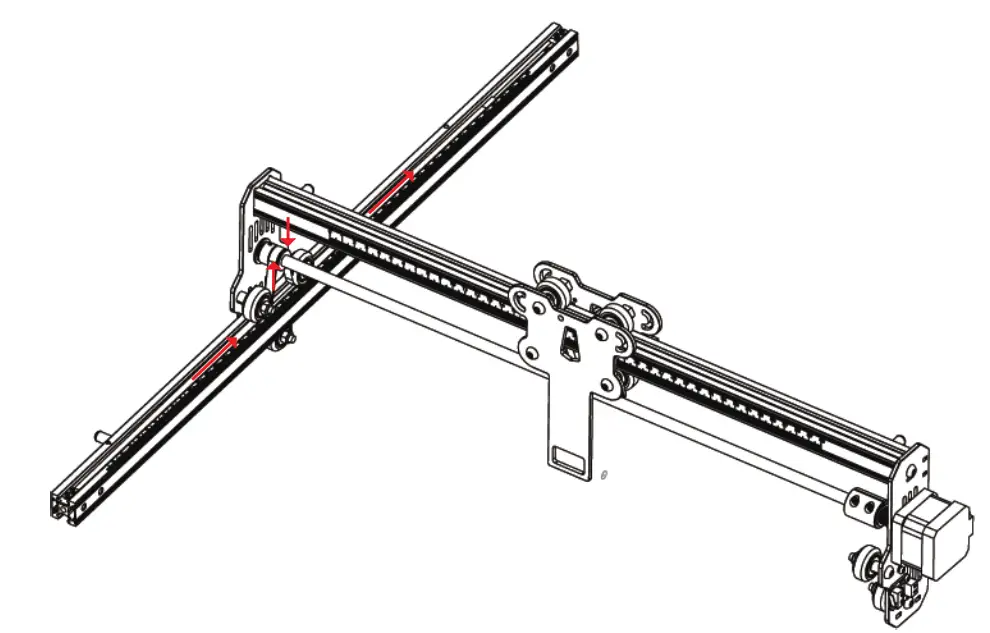
- Assemble the left Y-axis assembly:Pass the left Y-axis assembly (with the belt up) through the X-axis assembly and put on the belt in the direction shown in the figure:

- Assemble the right Y-axis assembly and it is the same as above.
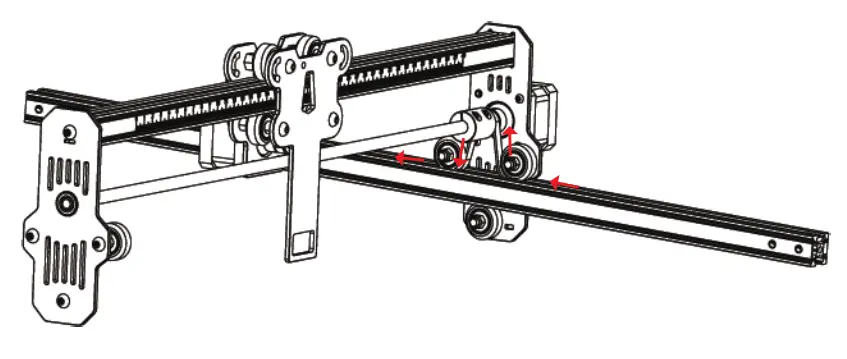
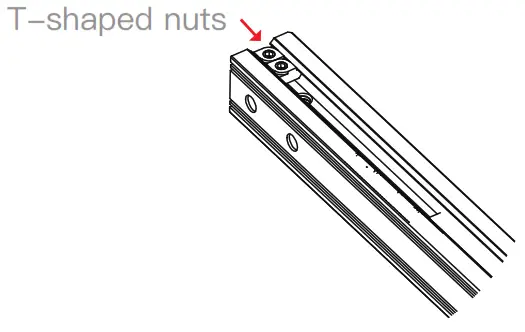
 Tighten the belt, and insert two T-shaped nuts into the left Y-axis assembly. Then lock the belt with a hexagon screw.

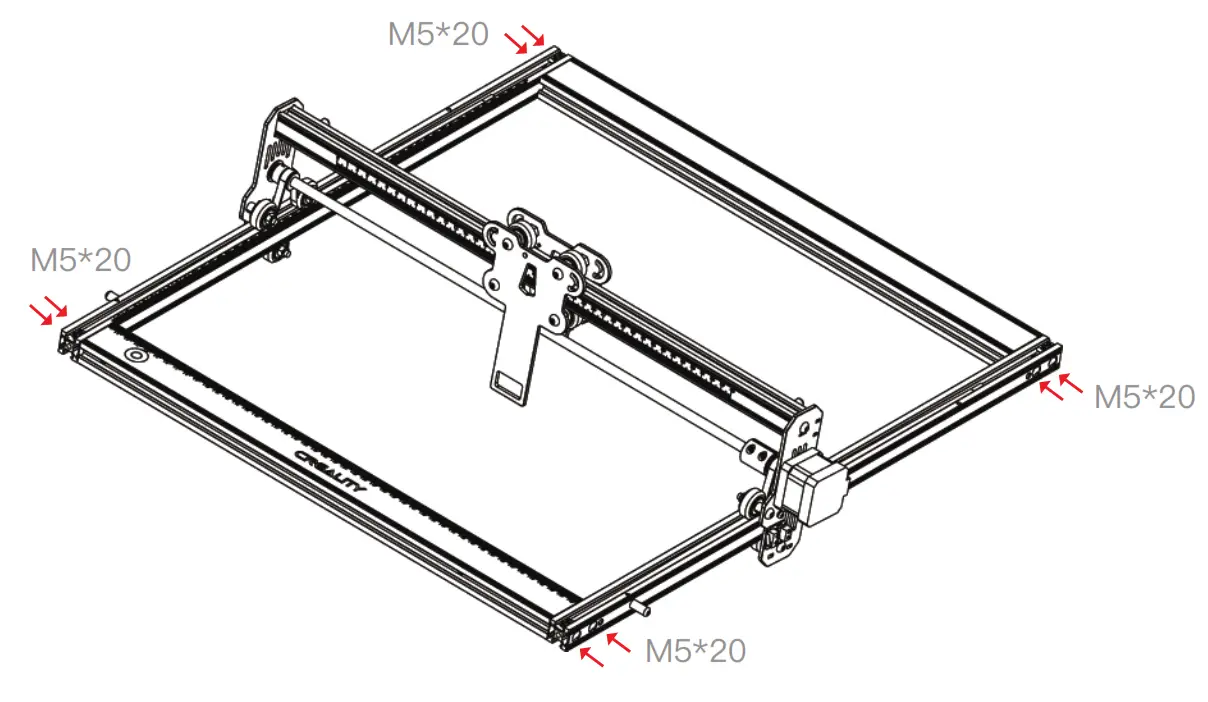
- Assemble rear X-axis profile and front X-axis profile :Lock with eight M5*20 screws.

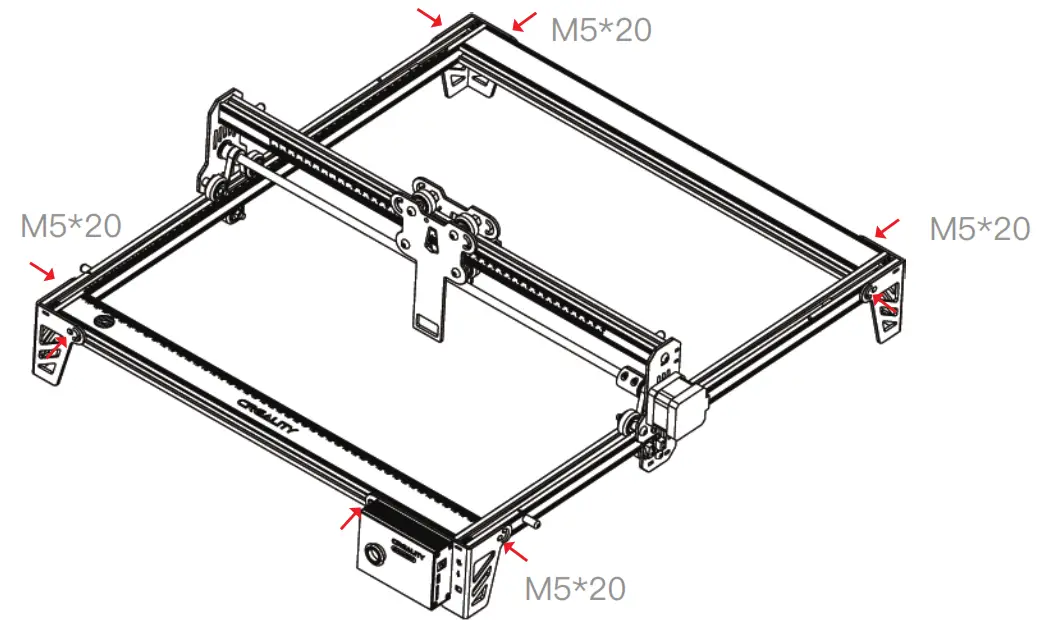
- Assemble three tripods and control box assembly:Lock with eight screws.

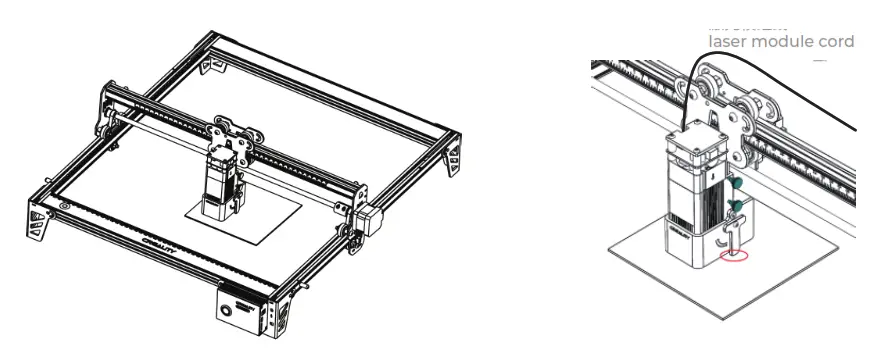
- Assemble the laser module: Assemble the laser module into the fixing plate and the fixed focus bar should contact with the surface of the processed material when it is naturally vertical downward. Finally, lock it with two hand screws on the right and turn the fixed focus bar clockwise until it is attracted by the magnet.Finally plug in the laser module cord.

 Tighten the belt, and insert two T-shaped nuts into the left Y-axis assembly. Then lock the belt with a hexagon screw.
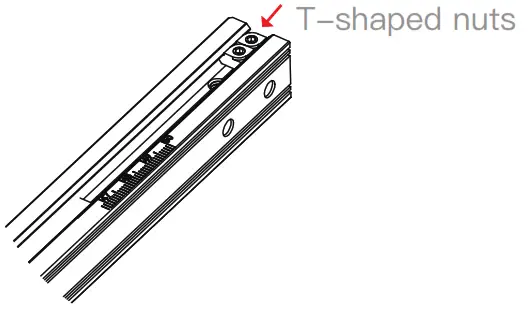
Software installation and usage guide
The TF card included with the package contains Lightburn software and a usage guide. Please insert the TF card into the card reader, and connect it to the computer to get the software.
Start Engraving
- Insert the TF card into the machine before powering on, insert one side of the power adapter into the power socket that can be remotely switched on, and the other side into the power connector on the left side of the control box . Lastly, turn on the red switch on the left side of the control box.
 After the power is turned on, the machine emits a “beep” with an indicator light always on, and the machine initializes; After the initialization is completed, it enters standby mode and emits “beep…”, and the indicator light turns into a breathing light.
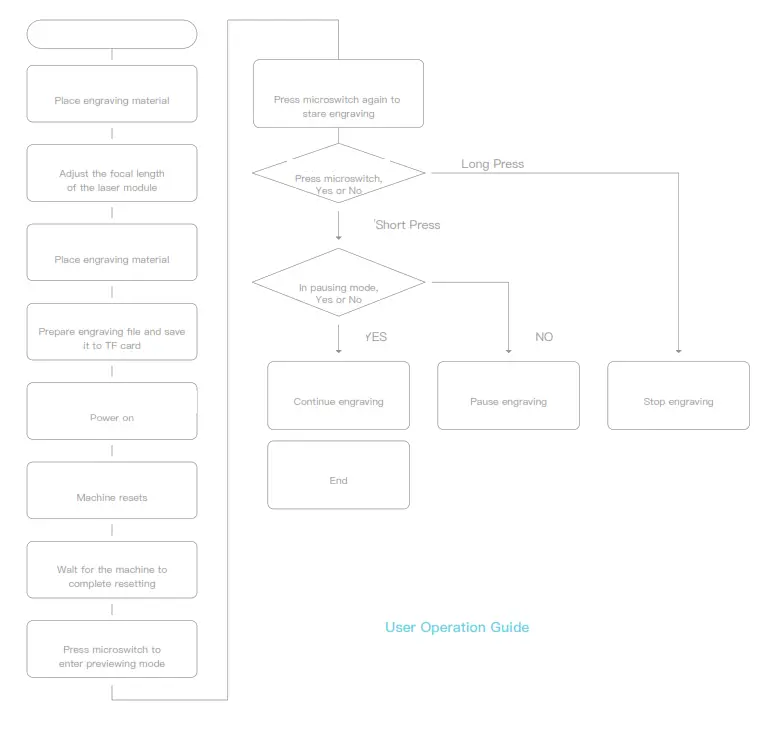
 - Press the microswitch, it enters preview mode from standby mode, the laser head will emit weak light, and repeat movement around the largest X, Y edge of the processed picture with an indicator light on. At this time, adjust the material to a suitable position.
 In preview mode, press microswitch again, it enters engraving mode. At this time, the laser head will emit strong light, the machine will start engraving with an indicator light on. Pause engraving: press the microswitch (or click the “Pause” button in the software). At this time, the indicator light turns into a breathing light. Press the microswitch again to continue engraving. Cancel engraving: Please press and hold the microswitch for 3 seconds (or click the “Cancel” button in the software), it will “beep” once, starts to reset, and “beep” twice after the reset is completed. Enter standby mode, the indicator light turns into a breathing light.
 - After the engraving is completed, it will “beep” three times and reset. After the reset is completed, it “beep” twice, enters standby mode, and the indicator light turns into a breathing light.
 After the power is turned on, the machine emits a “beep” with an indicator light always on, and the machine initializes; After the initialization is completed, it enters standby mode and emits “beep…”, and the indicator light turns into a breathing light.
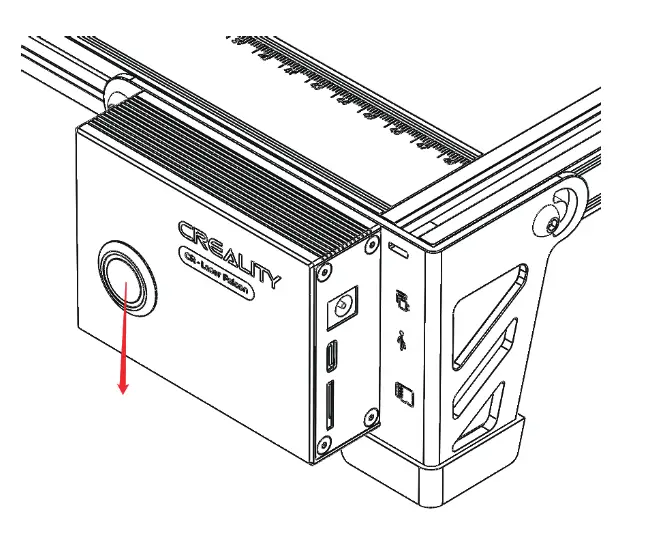 In preview mode, press microswitch again, it enters engraving mode. At this time, the laser head will emit strong light, the machine will start engraving with an indicator light on. Pause engraving: press the microswitch (or click the “Pause” button in the software). At this time, the indicator light turns into a breathing light. Press the microswitch again to continue engraving. Cancel engraving: Please press and hold the microswitch for 3 seconds (or click the “Cancel” button in the software), it will “beep” once, starts to reset, and “beep” twice after the reset is completed. Enter standby mode, the indicator light turns into a breathing light.
Indicator Status
- Light off: The machine is in a power-off state, or the power is abnormal.
- Breathing light: The machine is in standby mode, you can press the microswitch to enter preview mode or engraving mode.
- Light flashes: the machine is in upgrade mode or abnormal mode, and the buzzer beeps rapidly, and it will automatically enter standby mode after the upgrade is completed or the abnormality is cleared.
- Light always on: the machine is in preview mode or engraving mode. The laser head is working, please pay attention to safety
Exception Handling
- In preview mode and engraving mode, if the machine turns on it side or moves, it will turn off the laser. Motor stops moving, the indicator light flashing, and the buzzer emits an alarm. Solution: Please move the machine to its original position and press microswitch on the machine control box to continue previewing or engraving after clearing the abnormality.
WARRANTY
Repair ………. Change ……………………… Return ……………..
Name:……………………………… Telephone:………………………..
Address:…………………………………….
Serial Number:………………… Order Number:……………………………..
Channel:………………………….Platform Offline
Date of purchase Day ……………………………………..Mon…………………… Year……………………
Malfunction And Damage Depiction Or Return
And Change Reasons\Suggestions:………………………
Repair Records:…………………………………
Note: Client need filling in basic info. and return reasons. Repair records shall retain for technicians.
- Users should abide by the laws and regulations of the country and region where the equipment is located (place of use), abide by professional ethics, and pay attention to safety obligations. It is strictly forbidden to use our products or equipment for any illegal purpose.Our company is not responsible for the relevant legal responsibilities that the violator should bear.
- Since each model is different, the actual product may be different from the picture. Please refer to the actual product. The final interpretation right belongs to Shenzhen Chuangxiang 3D Technology Co., Ltd.
3D Printing Evangelists
With the spirit of evangelists, we want to share the convenience of technology with everyone.![]()
|  18F, JinXiuHongDu Building, Meilong Blvd., Longhua Dist., Shenzhen, |