
Handi Quilter Amara Long Arm Quilting Machine User Guide
NEEDLE AND THREAD INFORMATION
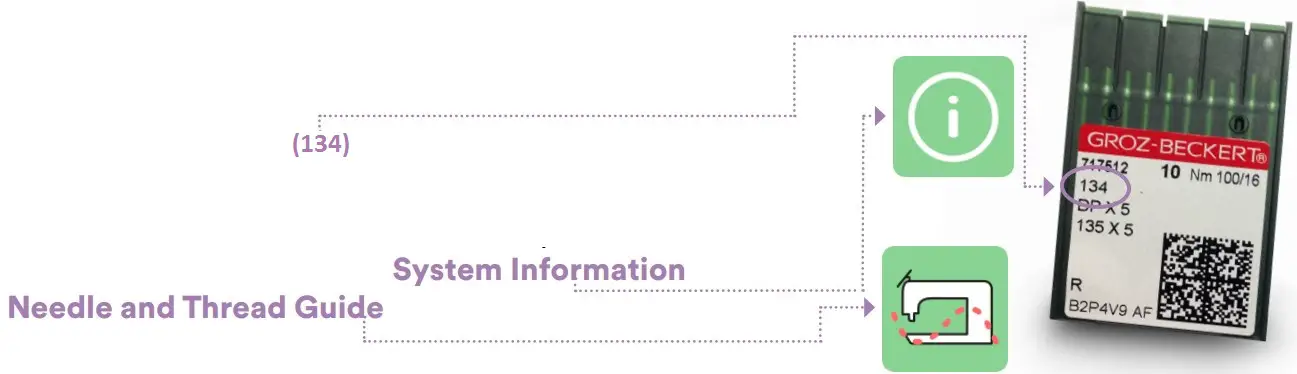
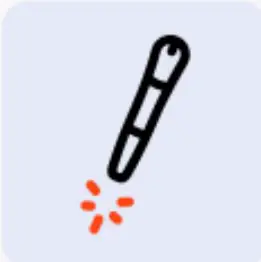
Use the correct needle system (134). Choose from sizes 12 through 21, according to the type of thread used. A guide to help you choose the correct combination of needle and threads is always available on the Amara. From the Home screen, tap the System Information button and choose the Needle and Thread Guide button.
TO THREAD THE AMARA

- Place thread cone onto spool post (1), thread through thread-mast eyelet (2) from back to front and pass through thread guide (3).
- Continue to three-hole thread guide (4). Wrap all three holes from back to front, being careful not to cross threads. If delicate threads are breaking, skip one or two holes to lessen tension.
- Pass through thread guide (5) and continue down to tension assembly (6). Ensure that the thread is flossed between the two tension discs.
- Catch the take-up spring (7) with thread and pull it down under the stirrup thread guide (8).
- Bring the thread up and through the hole of the take-up lever (9) from back to front, and then through the lower thread guide (10). Finally, thread through the needle bar thread guide hole (11).
- Follow the groove down the front of the needle and insert thread through the eye of the needle (12) from front to back. While pulling thread through the eye, be careful that the thread does not twist around the needle.
STITCHING MODES
Green = selected
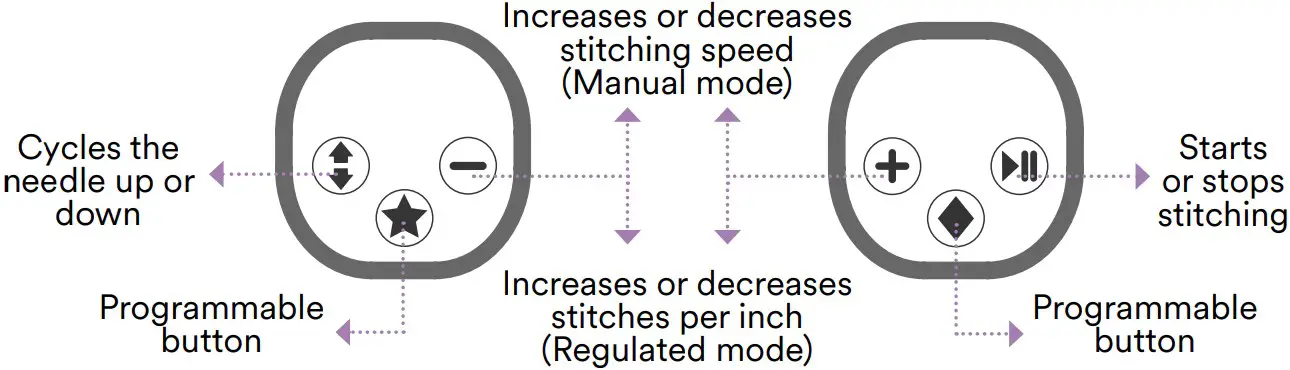
 Manual Stitching Mode: Touch the Manual button and then specify the stitches per minute (SPM) by pressing the (+) or (-) button or selecting one of the three SPM presets. The faster you move the machine, the longer the stitches become.
 Regulated Stitching Mode: Touch the Regulated button and then select either Cruise or Precision stitch regulation. A consistent stitch length (stitches per inch) will be maintained regardless of how fast the machine is moved, unless moved too fast for the machine to keep up.
 Cruise Stitch Regulation: Touch the Cruise button and specify the stitches per inch (SPI) and stitches per minute (SPM) cruise settings. Machine starts to stitch immediately, at the chosen SPM cruise speed, when the Start/Stop button on the handlebars is pressed. When you begin to move the machine, a consistent stitch length will be maintained (SPI). Press Start/Stop again to stop stitching.
 Precision Stitch Regulation: In this mode, the machine stitches only when the machine is moved. Touch the Precision button and specify the stitches per inch (SPI). Press the Start/Stop button on the handlebars and move the machine to start quilting. When you stop moving the machine, the needle will pause in mid-stroke. Move the machine to resume stitching.
![]() CAUTION: While in Precision mode, stitching can happen accidentally if the machine is bumped. To prevent inadvertent stitches, press the Start/ Stop button on the handlebars when not actively quilting. The needle will return to the currently selected Up/Down position.
CAUTION: While in Precision mode, stitching can happen accidentally if the machine is bumped. To prevent inadvertent stitches, press the Start/ Stop button on the handlebars when not actively quilting. The needle will return to the currently selected Up/Down position.
 Home
Home
Touch to return to home screen.
![]() Start/Stop Indicator
Start/Stop Indicator
Shows the current chosen setting of the handlebar Start/Stop button.
 Lights
 Machine Tool
 Machine Settings
 System Information
(includes threading guide and needle/thread guide)
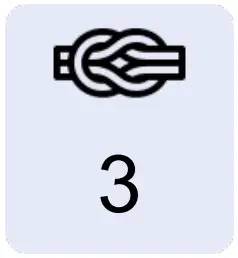 Tie-off: Perform a tie-off at the start or finish of a line of stitching by touching the button and gently moving the machine to perform the preset number of stitches. Number can be changed in the settings menu.
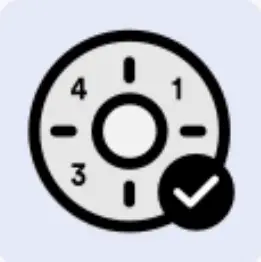
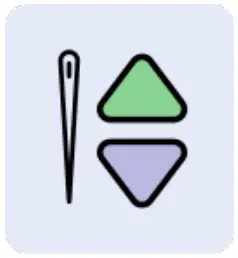 Needle-stop: Touch to toggle between having the needle stop in the up or down position when you stop stitching. It does not affect the needle at the time you touch the button. Your choice displays in green.
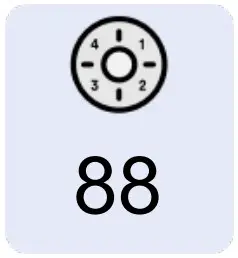 Easy-Set Tension®: The number on the button indicates the current tension, which is set by manually turning the tension knob.
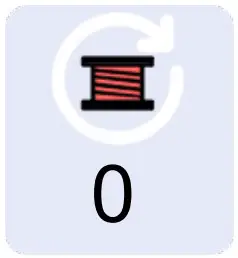 Reset-bobbin: If you are using the low-bobbin alarm, press this button after a bobbin change to reset the reading to indicate that you have inserted a full bobbin. The number that appears on the button shows an estimate of how much thread remains on the bobbin. The closer to zero, the less thread remains on the bobbin.
![]() NOTE: Number does not indicate yards. See To add new bobbin configuration and record bobbin capacity in the Toolbar Options section of the online user manual.
NOTE: Number does not indicate yards. See To add new bobbin configuration and record bobbin capacity in the Toolbar Options section of the online user manual.
 On-screen hand wheel: Rotate the back hand wheel and cycle the needle and hopping foot from the screen by dragging your finger down the icon in the direction of the arrows.
![]() CAUTION: Do not drag in the opposite direction.
CAUTION: Do not drag in the opposite direction.
MACHINE TOOLS
These buttons are available after selecting the Machine Tools button.
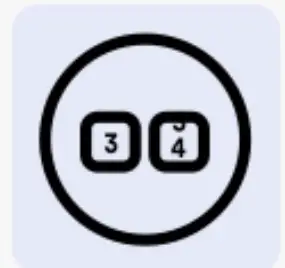 Timer, counter, and alarm
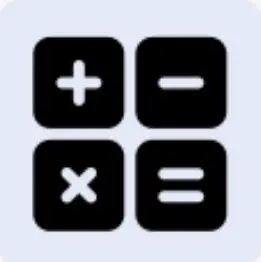 Calculator
 Software updater
 Tension assembly reset
 Diagnostics
MACHINE SETTINGS
These buttons are available after selecting the Machine Settings button.
 Low-bobbin alarms
 Customize handlebar buttons
 Pinpoint needle laser on/of
 Alarms on/of
 Tie-offs
 Languages
Part #QM30016
©2022 Handi Quilter, Inc. 1 • 877• 697• 8458
www.HandiQuilter.com


