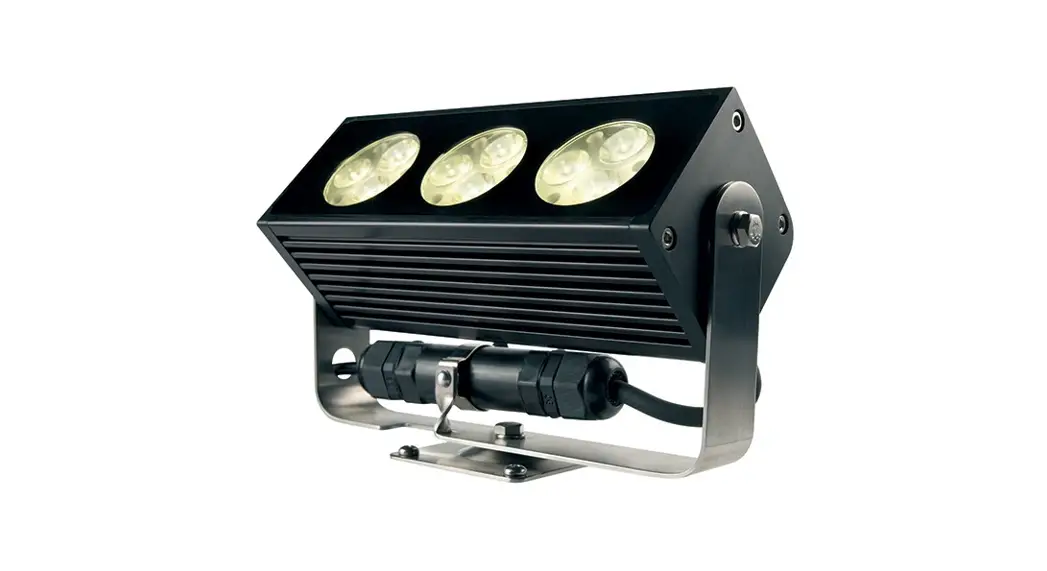
![]() FL200 RANGE/ GAMME FL200
FL200 RANGE/ GAMME FL200
Instructions
FITTING
220~240V AC | 50-60hZ
MIn CABLE Ø 4mm | MAx CABLE Ø 8mm
LIVE – L (F) BROWN
nEUTRAL – n (n) BLUE
Earth – ![]() YELLOW/GREEN
YELLOW/GREEN
THIS FITTING MUST BE EARTHED AND INSTALLED BY A QUALIFIED ELECTRICIAN OR A SUITABLY COMPETENT PERSON.
MAXIMUM AMBIENT TEMPERATURE 35° C
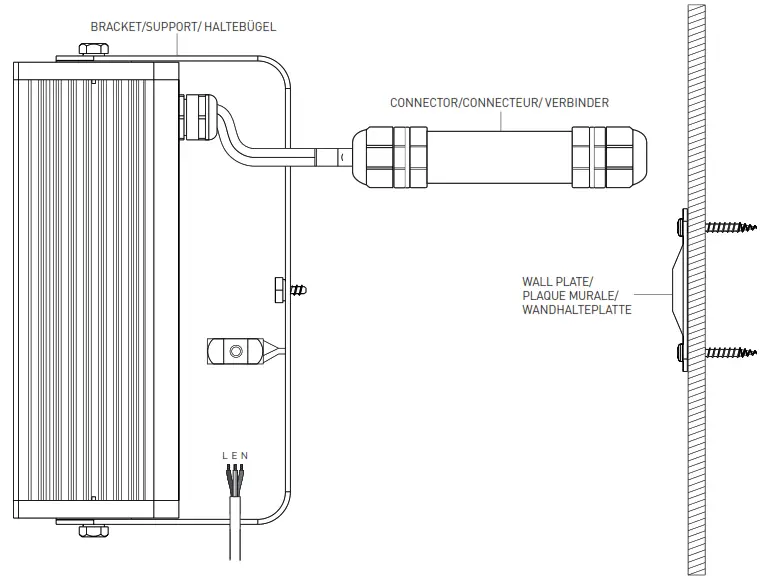
- Fix the wall plate to the wall. Screws and wall plugs are supplied.
- Remove the connector from the spring clip.
- Fit the FL200 bracket to the wall plate.
T +44 (0) 1604 495 151 F +44 (0) 1604 495 095
E [email protected] W collingwoodlighting.com
![]()
WIRING

220~240V AC
50-60hZ
MIn CABLE Ø 4mm
Max CABLE Ø 8mm
- Provide a mains supply via a suitable switch or dimmer.
- Loosen nut A.
- Remove nut B and cable gland C from the connector body.
- Push the cable through nut A to slide out connector d from the connector body.
- Feed nut B and gland C over the mains input cable.
- Connect mains input live, neutral, and earth to the matching terminals of connector d.
- Pull the cable back through nut A to draw the connector back into the connector body.
- Firmly tighten nut A.
- Refit gland C to the connector body and firmly tighten.
- Refit nut B to gland C and firmly tighten.
- Refit the connector into the spring clip.
DIMMING
- A dimmer or dimming system suitable for electronic LEd drivers must be used.
- Collingwood Lighting advises the following maximum loads to assist the functionality of the dimming driver when used with standard main wall dimmers.
– 1 x units on a 250W dimmer
– 3 x units on a 500W dimmer
– 5 x units on a 1000W dimmer - For the purpose of determining circuit breakers, 1 x FL200 unit is approx equivalent to 3 x 50W halogen lamps.
- The information given is for guidance only. All installations must comply with appropriate standards.
CWI 8070 V1


