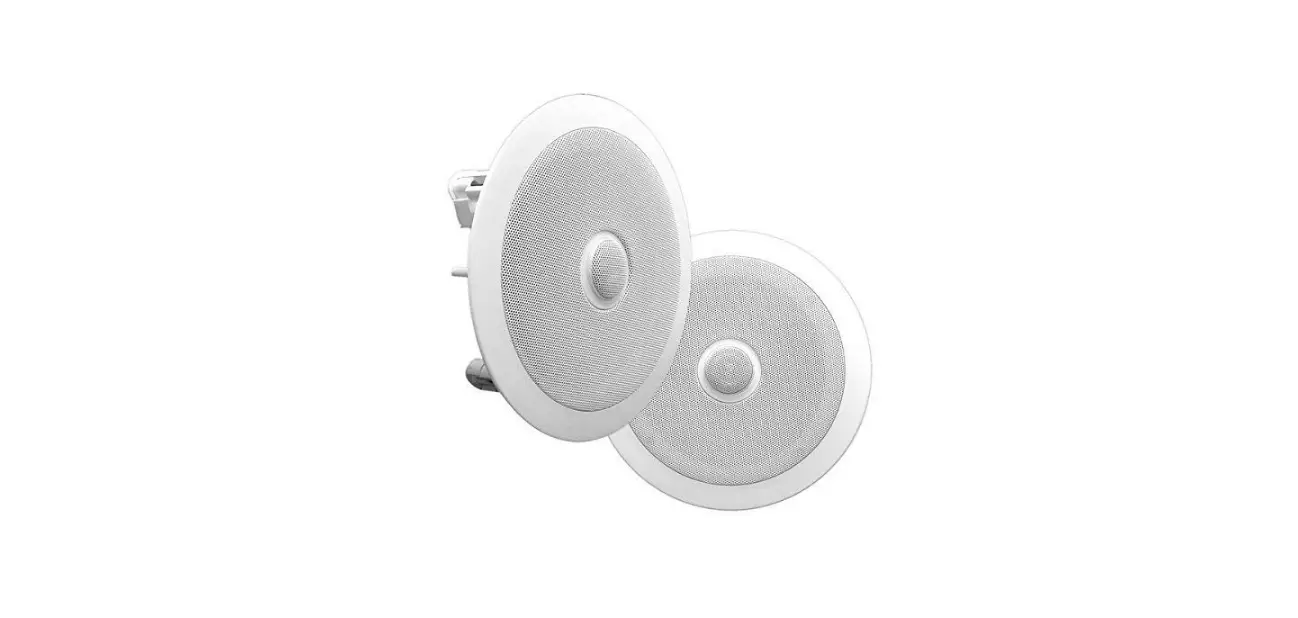
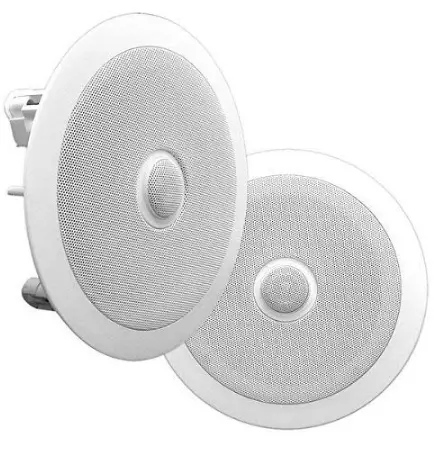
Pyle PDIC80 8” Ceiling Wall Mount Speakers
Introduction
Thank you for purchasing this PYLE in-wall/in-ceiling speaker system. It is a state-of-the-art product carefully designed and manufactured for your installation needs, and has been thoroughly tested to ensure consistent and reliable performance.
If you have any questions about the installation or operation of your PYLE in-wall/in-ceiling speaker system which are not answered by this manual, contact your dealer immediately.
INCLUDED
IN-WALL SPEAKERS
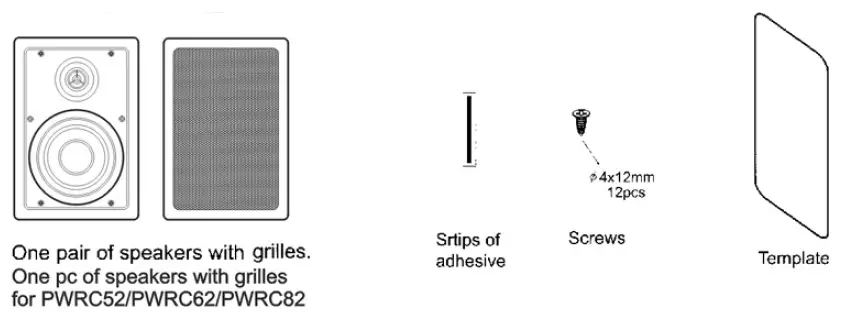
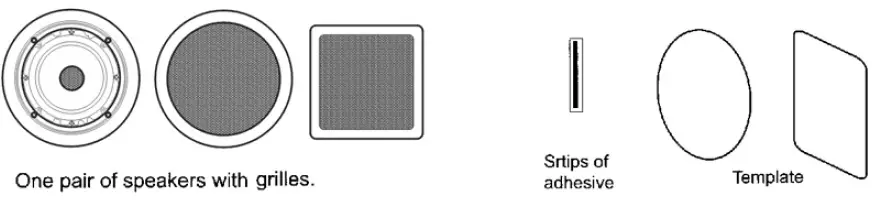
- One pair of speakers with grilles.
- One pc of speakers with grilles for PWRC52/PWRC62/PWRC82
IN-CEILING SPEAKERS
SPEAKER PLACEMENT
FRONT SPEAKERS
REAR SPEAKERS
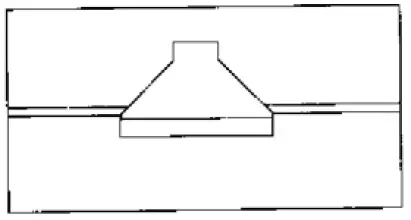
IN-CEILING
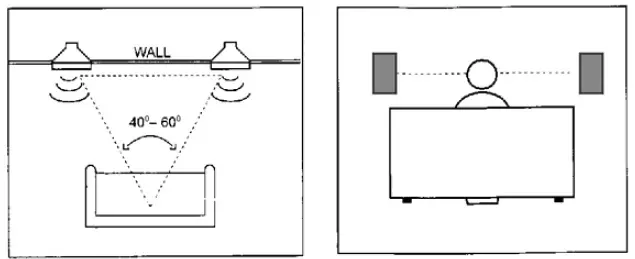
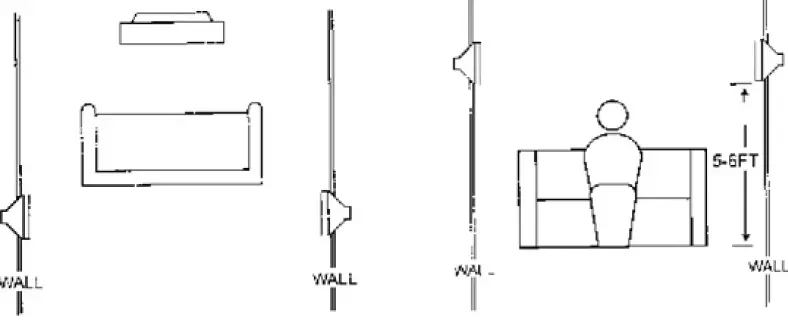
Proper placement of the speaker is an important step in obtaining the most realistic soundstage possible. These recommendations are for the optimum placement of the loudspeaker. Use these placement recommendations as a guide. Slight variations will not diminish your listening pleasure. The front speakers should be placed at the same distance pleasure. They should be placed at about the same height from the floor as the listening ears will be, with the tweeters aimed toward the listener at ear-level height. In-home theater configurations, the two surround speakers should be placed slightly behind the listening positions and ideally should face each other and be at a level higher than the listening ears. If that is not possible, they may be placed in a wall behind the listening positions, facing forward. The surrounding speaker should not call attention to themselves. They should provide a diffuse, ambient sound accompanying the main program material heard in the front speakers. In Dolby and DTS systems, aim the tweeters toward the listening position at ear-level height.
SPEAKER CONNECTIONS
CONNECTION TIPS
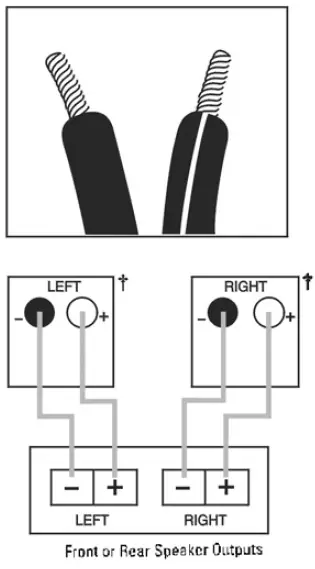
The wires of, both speakers should be \ the same length. II one speaker is placed closer to 1he amplifier than the other, hiding the excess wire behind the wall. Speakers and electronics tennina\s have corresponding (+) and H terminals. We use red to denote the (-+) terminal. It is important to connect both speakers identically: (+) on the amplifier and (-) on the speaker to (-) on the amplifier. Wiring out of phase results in thin sound, weak bass, and a poor stereo image. With the advent of multi-channels surround sound systems, connecting all of the speakers in your system with the correct polarity remains equally important in order to preserve the proper ambiance and direction of the program material.
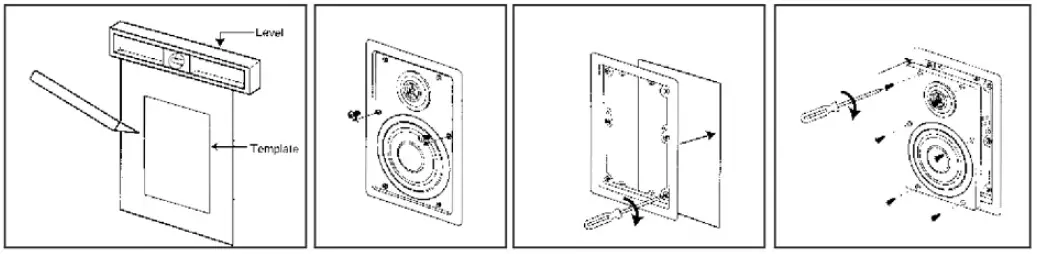
Note: Always allow at least one-half inch between a wall stud and the speaker cutout or the locking tabs will not be able to swivel into place
Screw out the two screws to separate the frame first
Place the frame assembly Connects the speaker wires in the wall to the speaker Screw down each of six Screw down each of the six Phillips head screws. The Phillips head screws locking tabs will swivel into Place and secure the unit to the rear surface of the dry
The in-wall speakers feature unique swivel mounts for the tweeters that enable you to aim the very directional high frequencies toward the listening position, at ear-level height.
PDIW55/PDIW65/PDIW57/PDIW67/PDIW87 PDIWS28/PDIWS8/PDIWS10/PDIWS12 PDIWCS56/PDIWCS62
Tweeter adjustment
Before installing the speaker grille, the tweeter mounts to adjust the position of the tweeter. The tweeter will not swivel more than 15 degrees in any direction; do not a1tempt 10 force it to move further After installing the speaker grille, gently press on the mesh of the tweeter to adjust the position of the tweeter
IN-CEILING SPEAKERS
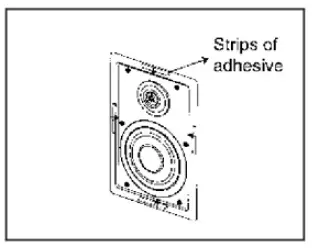
Screw down each of the four Phillips head screws. The locking tabs will swivel into place and secure the unit to the rear surface of the drywall. Put in the s1rips of adhesive to secure the grille.
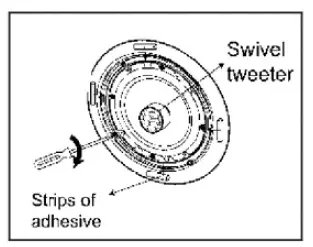
The in-celling speakers feature unique swivel mounts for the tweeters that enable you to aim the very directional high frequencies toward the listening position at ear level height. Before installing the speaker grille.
Gently press on the outer edge of the tweeter mount to adjust the position of the tweeter will not s Navel more than 15 degrees in any direction; do no1 attempt to force it to move further
Just for PDIC60/PDIC80
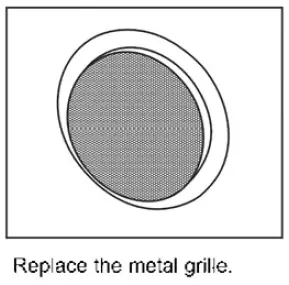
After installing the speaker grille, gently press on the mesh of the tweeter lo adjust the position of the tweeter.
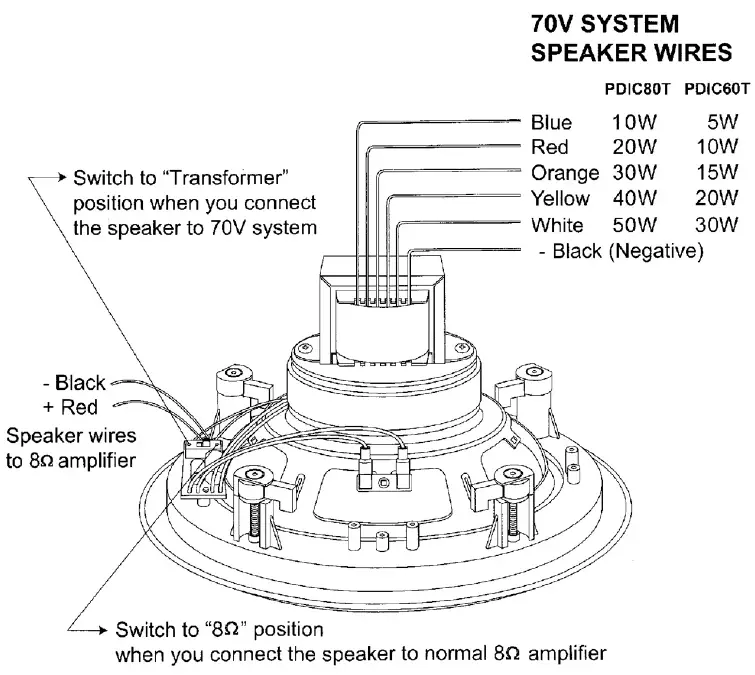
WIRING DIAGRAM
INSTALLATION
The in-wall/in-ceiling speakers were designed to be easily installed. However, if you are unsure of your ability to properly install these loudspeakers please contact your dealer or a qualified installer
TROUBLESHOOTING
IF THERE IS NO SOUND FROM ANY OF THE SPEAKERS:
- Check that the receiver/amplifier is on and a source is playing.
- Check all wires and connections between the receiver amplifier and speakers. Make sure all wires are connected. Make sure none of the speaker wires are frayed, cut, punctured or touching each other
- Review the proper operation of your receiver/amplifier
IF THERE IS NO SOUND COMING FROM ONE SPEAKER:
- Check the “Balance” control on your receiver/amplifier
- Check all wires and connections between the receiver/amplifier and speakers. Make sure all wires are connected. Make sure none of the speaker wires are frayed, cut, punctured or touching each other
IF THERE IS LOW (OR NO) BASS OUTPUT:
- Make sure the connections to the left and right “Speaker Inputs have the correct polarity{+ and-).
- Consider adding a powered subwoofer to your system.
- In Dolby Digital Of DTS modes. make sure your receiver/processor is correctly configured. When using a subwoofer make sure the subwoofer output of the receiver/ processor has been enabled. If no subwoofer is being used, make sure the left and right front and rear speakers have been configured as “LARGE.” See your receiver/processor owner’s manual for further information on the correct speaker configuration in Dolby Digital, DTS, and other surround sound modes.
IF THE SYSTEM PLAYS AT LOW VOLUMES BUT SHUTS OFF AS VOLUME IS INCREASED:
- Check all wires and connections between the receiver/amplifier and speakers. Make sure all wires are connected. Make sure none of the speaker wires are frayed. cut, punctured or touching each other
- If more than one pair of main speakers is being used, check the minimum impedance requirements of your receiver/amplifier
FAQ’s
The audio from TVs can be played on ceiling speakers, but they cannot be connected to one another because TVs lack separate speaker outputs.
In-wall and ceiling speakers need to be separated by at least 18 to 24 inches.
Due to their identical audio output, in-ceiling speakers can be utilized in place of in-wall speakers. The size difference will be the most noticeable. Typically, in-wall speakers are bigger than in-ceiling speakers.
Yes. The sound quality of your in-ceiling speakers may deteriorate if a back box is not installed, which could result in noise pollution in other areas.
Connect speaker wires to each amp-powered speaker after purchasing a multi-zone AV receiver. Selecting an AV receiver with Bluetooth and WiFi integrated in may make setting up your home music system easier.
Ceiling speakers can be placed in a single or multiple locations. The background music at a big gathering is one instance of how they can be used to create sound that is easily transported over numerous rooms.
By connecting an analogue wire from your TV to the amplifier and turning on line output on your TV, you may listen to TV sound through your ceiling speaker system. 1) The 3.5 mm headphone jack is no longer found on the majority of modern TVs.
Actually, it’s a wonderful idea to play music over ceiling speakers. They might use surround sound to give you the impression that you are at a concert or live event.
A subwoofer will be useful in handling the bass and low-end frequencies even if ceiling speakers are capable of handling all frequencies. Additionally, it vastly enhances your sound system’s overall sound quality.
You don’t need an amplifier. You don’t need to be concerned about running out of power if your music player can handle it on its own.
Create a path for the wires to pass through. Shut off the breaker after making sure the amplifier is unplugged.
Connect the wiring. Start attaching the wires to the speaker terminals in the ceiling. The other end of the cables should be linked to the amplifier’s terminals. You can try it by turning on your circuit breaker.
For a better balanced sound, rooms larger than 3 x 3 metres and 5 x 5 metres should use one pair of ceiling speakers and two pairs, respectively.
The audio source, the wiring, or the speakers themselves could all be at fault. You could change the connections there to see if the source is the problem. As an illustration, use a connection from a speaker that is functioning to the problematic speaker.
Using a flat-head screwdriver, remove any retention clips holding the speaker assembly to the ceiling mounting system. Take your time carefully taking the speaker from the ceiling. Before completely removing the speaker from the ceiling, unplug its audio connections from the back.
Speakers should be set back from the wall by at least 18 inches, or the space between speakers on a standard sound system.


