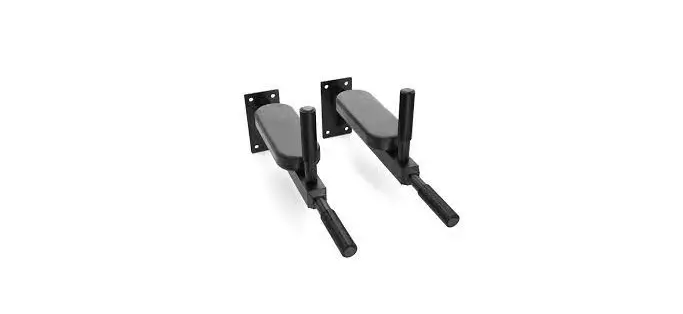
Synergee 810032234089 Wall Mounted Dip Station Installation Guide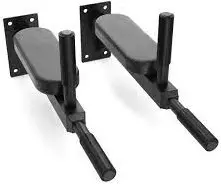
Wood Stud Installation
When installing the Synergee Wall Mounted Dip Station it is recomended to use our guide when mounting to drywall with studs spaced 16″ apart.
Tools and materials required
- 11/16″ (17mm) SOCKET NOT INCLUDED!

- 8′ 2×8″ Board NOT INCLUDED!

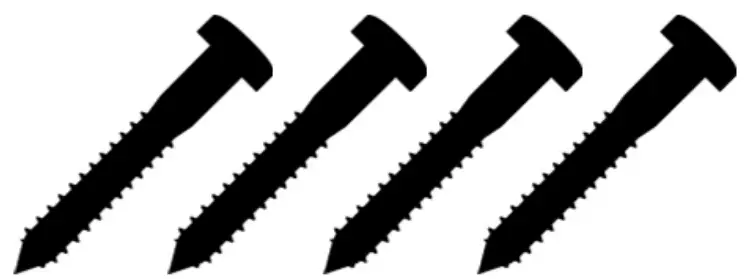
- 10 lag bolts NOT INCLUDED!

- POWER DRILL NOT INCLUDED!


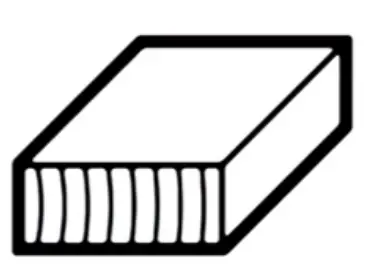
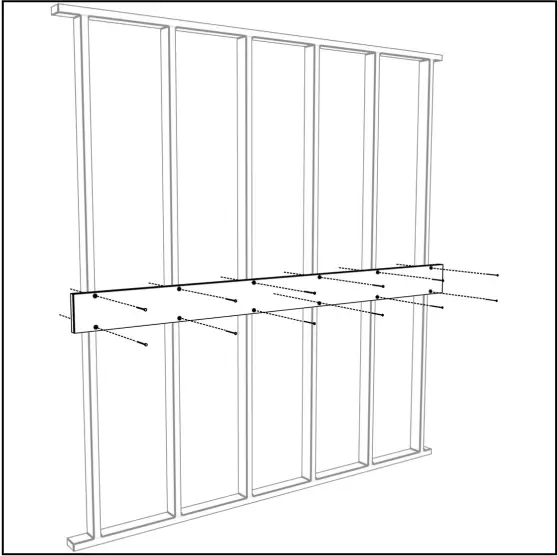
STEP 1: Purchase a standard 8′ 2×8″ board from your local hardware store. Mount the board to your wall using lag bolts (Not Included). Ensure the bolts make contact with a minimum of 6 studs. We reccomend pre-drilling the holes to prevent cracking. It is also reccomended to mount the board at shoulder height to ensure your legs have enough clearance when doing leg raises.
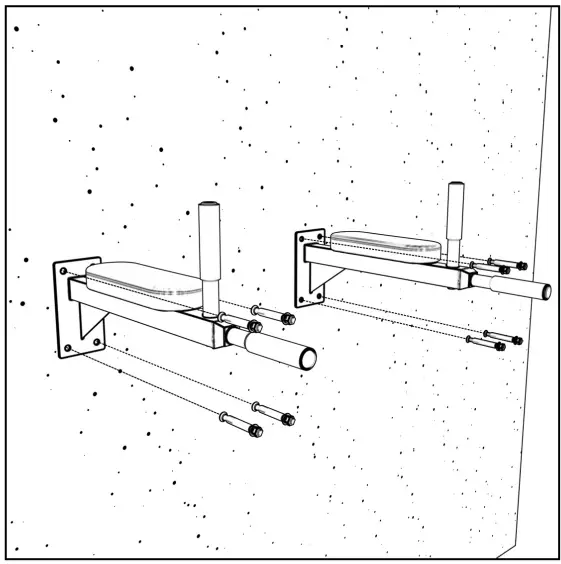
STEP 2: Measure the desired distance in which you would like your dip bars spaced. We recommend mounting on the outside of two studs, but feel free to use whatever works best for your needs. Use the included wood screws to mount the dip station. Ensure all screws are tight.

CONCERT INSTALLATION
Tools and materials required
- 9/16″(14mm) socket NOT INCLUDED
- 1 /2″ DRILL BIT NOT INCLUDED!

- POWER DRILL NOT INCLUDED!
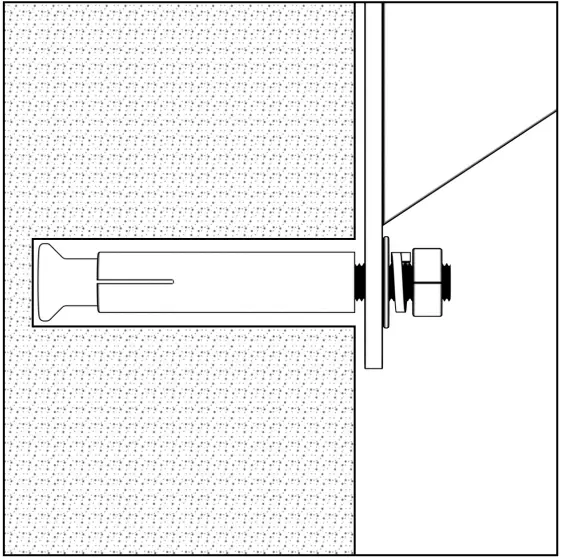
STEP 1: Using a 1/2″ drill bit (Not Included) pre-drill holes for concrete mounting screws.
STEP 2: Using a 9/16″ socket, screw in the provided concrete bolts and tighten until the rack is secured.