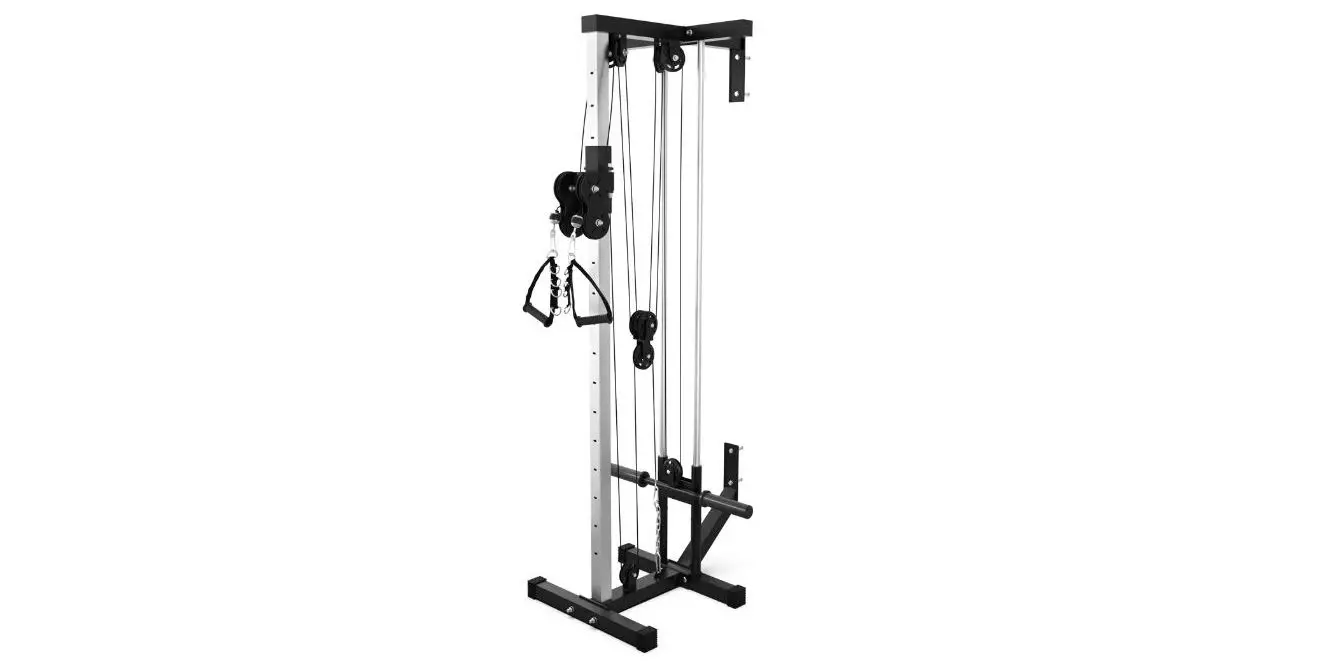
SYNERGEE 810032235116 Wall Mounted Pulley Machine
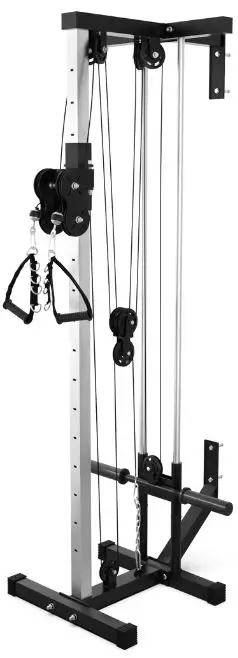
Wall Mounted Pulley Machine Parts List
| Rear stabilizer
| Main stabilizer
| Wall stabilizer | Front Stabilizer | Main frame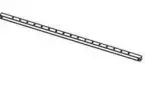 |
Frame Cover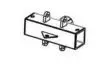
| Rubber Stopper
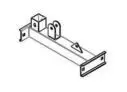
| Weight Stack Support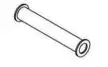
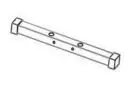
| Weight Stack Bar
| Slider Bar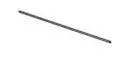 |
| Upper Frame
. | Upper Frame Connector
| Pulley Container | Pulley Bracket | Pulley |
Cable A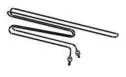 | Cable B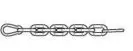 | Chain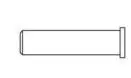
| Sleeve
| Spring Collar
|
| l Spring Collar
| Handle
| Carabiner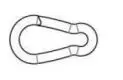 | ||

| M1Ox65 – | M1Ox9O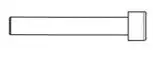 | M1Ox8O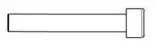 | M1Ox6O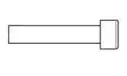
| M1Ox45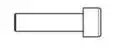 |
M1Ox2O | M8x9O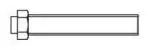 | Ml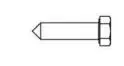 | Washers
| Ml ONuts 
|
Allen Key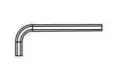
| Allen Key 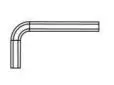
| 14mm 17mm Wrench
| ||
Installation
STEP 1
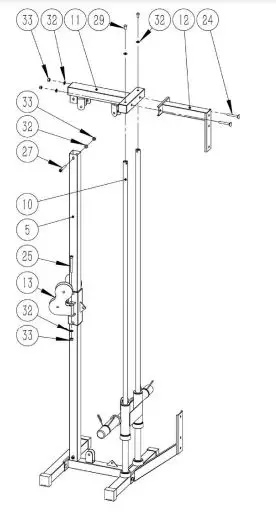
Connect the rear stabilizer(#1 ), main stabilizer(#2), wall stabilizer(#3) using 2 x m1 Ox65(#24), 2 x washers 011 (#32), 2 x M1 O Nuts(#33). Lightly tighten temporarily.
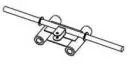
Connect the front stabilizer(#4) using 2 x m 1 Ox65(#24), 2 x washers 011 (#32), 2 x M1 O Nuts(#33). Insert the main frame(#S) into the main stabilizer(#2) using 1 x m1 Ox60(#27), 1 x washer 011 (#32) and 1 x M10 Nut(#33). Si Ide the frame cover(#6) over top of the main frame(#S). Slide the 2 slide bars(#1 O) through the main frame#S . Insert through slide bars 4 x rubber stoppers(#?) 2 x weight stack supports(#8) and 1 x weight stack bar(#9) as shown in picture. Secure with 2 x m1 Ox20(#29) and 2 x washers 011 (#32). Optionally you can install the 2 sleeves(#19) and use the 2 spring collars(#20).
STEP 2
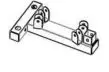
 Connect the 2 pulley containers(#13) to the frame cover(#6) using 2 x m 1 Ox9O(#25), 2 x washers 011 (#32) and 2 x M1 O Nuts(#33) as shown. Insert the upper frame(#11) and attach using 1 x m 1 Ox6O(#27), 1 x washer 011 (#32) and 1 x M1 O Nut(#33) as shown. Lightly tighten temporarily. Attach the upper frame(#11) to the slide bars(#1 O) using 2 x m1 Ox2O(#29) and 2 x washers 011 (#32). Lightly tighten temporarily. Attach the upper frame connector(#12) using 2 x m 1 Ox65(#24), 2 x washers 011 (#32) and 2 x M1 O Nuts(#33). Tighten all nuts from step 2.
STEP 3
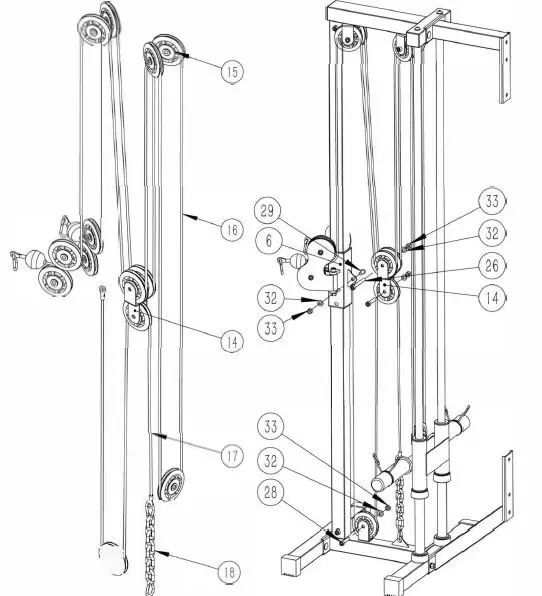
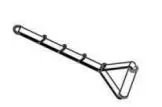
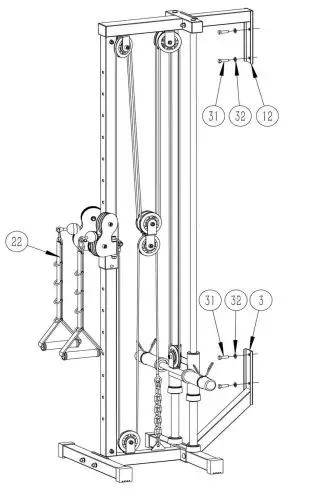
Set up the pulleys(#15) with cable A(#16) and cable 8(#17) as shown in the image on the left. Use image for reference: Feed cable A(#16) through pulley(#15), attach pulley to the pulley container(#13) with 1 x m1 Ox45(#28), 1 x washer 011 (#32), 1 x M1 O Nut(#33) per side. Attach 2 pulleys(#15) to the top of the pulley bracket(#14) with 1 x m 1 Ox8O(#26), 1 x washer 011 (#32) and 1 x M1 O Nut(#33). Attach 4 x pulleys(#15) to the upper frame(#11) with 4 x m 1 Ox45(#28), 4 x washer 011 (#32) 4 x M1 O Nut(#33). Feed cable 8(#17) as shown. For each pulley(#15) attach using 1 x m 1 Ox45(#28), 1 x washer 011 (#32) and 1 x M1 O Nut(#33). Attach cable 8(#17) to the frame cover(#6) using 1 x m1 Ox2O(#29), 1 x washer 011 (#32) and 1 x M1 O Nut(#33). Use the chain(#18) to attach cable 8(#17) to the main stabilizer(#2).
STEP 4
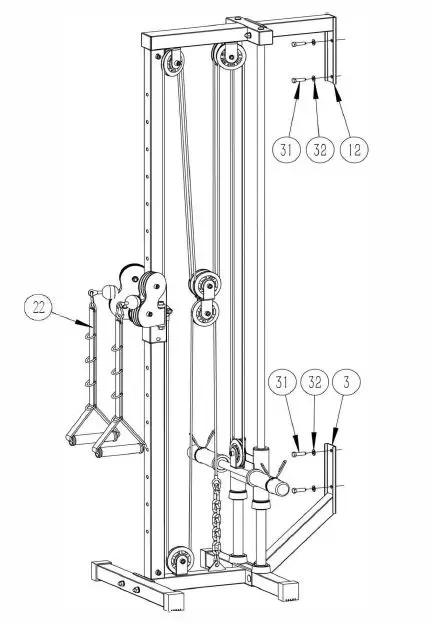
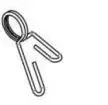
Attach the 2 handles(#22) to the cable with a crabiner(#23). Attach the entire rack to the wall using either 4 x m1 Ox6O(#31) or 4 x m8x9O(#3O), 2 x washer 011 (#32).
WARNING
SERIOUS INJURY OR DEATH CAN OCCUR IF CAUTION IS NOT USED
As with any workout equipment that involves heavy weights, there is a risk of injury when using the Synergee Wall mounted Pulley Machine. The best way to reduce the risk of serious injury is to exercise caution. Follow the instructions in this manual and familiarize yourself with all warnings on your product before using it. Before beginning any exercise program, consult your physician. This is especially important for persons over age 35 or persons with pre-existing health issues. Follow these precautions to ensure you use your Synergee Pulley Machine safely
- It is the responsibility of the owner to ensure that all users of this product are adequately informed of all the safety precautions.
- Use this product only as described in this manual and keep this manual handy for future reference.
- Always keep children and pets away from this product. Keep hands and feet away from moving parts.
- This product is intended for consumer use only in an indoor environment. Do not use it in a commercial, rental, or institutional setting. Keep this product indoors, away from moisture and dust.
- Place the product on a level surface, with at least 3 feet of clearance around it. To protect the floor or carpet from damage, place a mat under it.
- Install the Pulley System properly and according to instructions. Properly tighten all parts and check their tightness regularly. If any worn or damaged parts are found, stop usage immediately.
- Refrain from use until the machine has been repaired.
- Make sure all locking mechanisms are properly secured before using the unit.
- Ensure adjustment pins function properly and they are fully engaged before placing any weight.
- Wear appropriate clothes while exercising. Do not wear lose clothes that can get caught and always wear athletic shoes while exercising.
- Do not install any fitness product near a pool, hot tub or other damp locations. Corrosion caused by installation in these locations can lead to premature failure of components, which is not covered under any warranty.
- Do not use this rack to exhaustion: stop exercising and step away from the rack if you feel faint, dizzy, or in pain.
- To avoid damaging parts, do not use power tools for assembly. Use hand tools and the hardware provided.
IF ANY PIECES ARE MISSING, PLEASE CONTACT US IMMEDIATELY [email protected] OR 1.855.217.7136


