![]()
Saddle Creek Three Light Linear Chandelier
Instruction Manual

For Models: 19048/19049
19113/19114
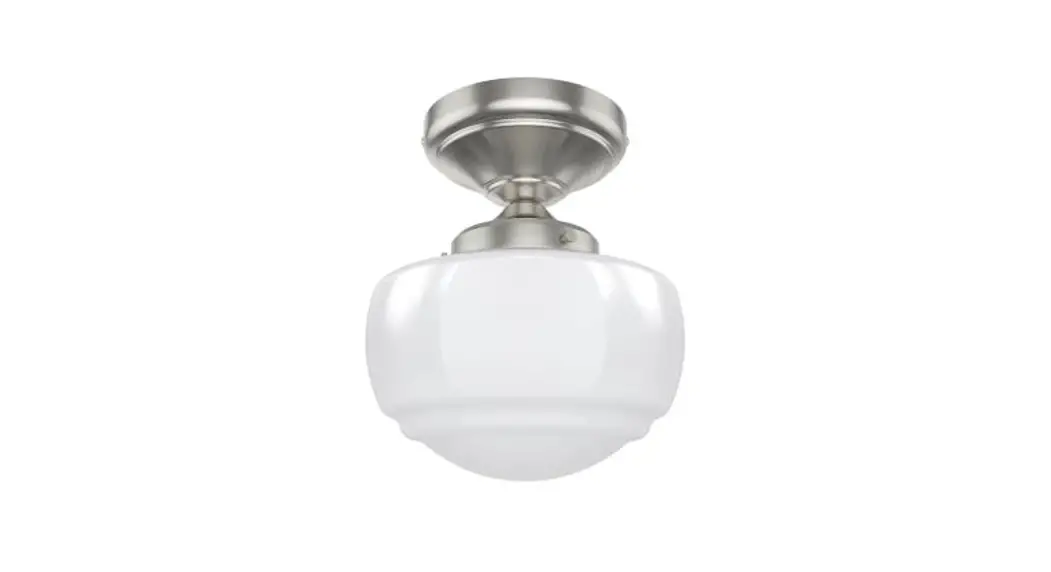
19048 Saddle Creek Three Light Linear Chandelier

1 Light Flush Mount
Fixture weight ±2 lbs: 1.9 lbs (0.86 kg)
Here are the tools you’ll need to complete your installation:
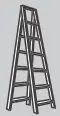 | 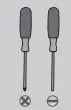 | 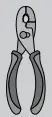 | |
| Ladder | Screwdriver | Pliers | Wire Strippers |
Hardware Service Kit
| Part | Model | Finish |
| KG20602214 | 19048 19049 | Brushed Nickel |
| KG20601834 | 19113 19114 | Noble Bronze |
Glass
| Part | Model | Type |
| KG21000136 | 19048 19113 | Cased White Glass |
| KG21000046 | 19049 19114 | Clear Seeded Glass |
INSTALLATION INSTRUCTIONS
![]() WARNING
WARNING![]()
- To avoid possible electrical shock, before installing your light fixture, disconnect the power by turning off the circuit breakers to the outlet box associated with the wall switch location.
- The lighting fixture must be grounded. If the ground wire for the installation site is not present, immediately STOP installation and consult a qualified electrician.
- All wiring must be in accordance with national and local electrical codes ANSI/NFPA 70. If you are unfamiliar with wiring or in doubt, consult a qualified electrician.
READ AND SAVE THESE INSTRUCTIONS
These instructions are provided for your safety. It is very important that they are read carefully and completely before beginning installation of the lighting fixture.
PREPARING FOR INSTALLATION
Carefully remove all contents from the carton. Shut off the power at the circuit breaker and completely remove the old fixture from the ceiling, including the old mounting bracket. Remove the new mounting bracket assembly from the bag. Then remove mounting screws (B) from mounting plate (A). Place the mounting plate (A) over the junction box. Pull the house wires through the center of the mounting plate (A). Secure mounting plate (A) to the junction box by tightening the screws (D).
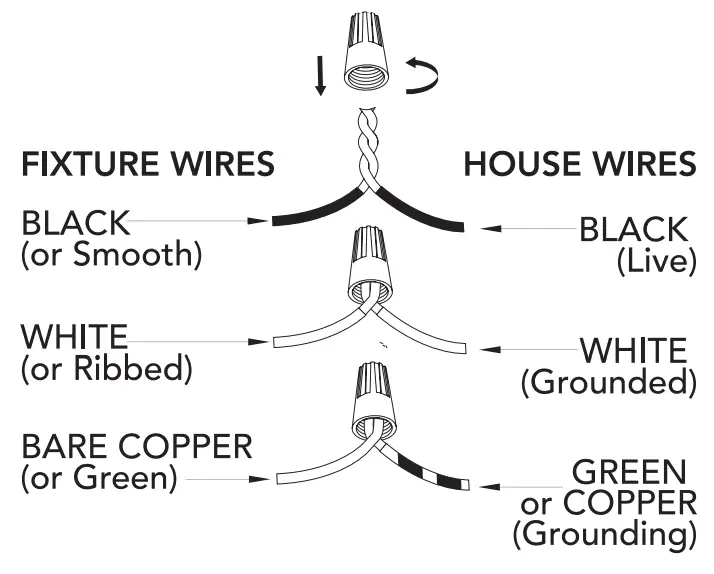
CONNECTING THE WIRES
Have a helper support the fixture’s weight while completing the wiring. Attach the fixture’s wires to the power supply wires from the junction box. Connect black to black (Live); white to white (grounded); grounding to grounding (green or copper). Twist the ends of the wire pairs together. Then, twist on a wire connector. Make sure all twists are in the same direction. Loop fixture’s ground wire around grounding screw (C) and tighten. If there is no ground wire (green or copper) from the junction box, contact a qualified electrician.
FINISHING THE INSTALLATION
Align the holes on the sides of the canopy (E) with the holes in the tabs (I) of the mounting plate (A) and secure it with the supplied mounting screws (B). Install light bulb (not included) in accordance with the fixture’s specifications. Do not exceed the recommended wattage. Secure glass (H) onto the socket (F) with screws (G). Your installation is now complete. Turn on the power and test the fixture.
CLEANING TIPS
Treat the fixture gently! Regular cleaning will reduce the need for deep cleaning. For regular cleaning, turn off the light and wipe down the fixture with a clean lint-free cotton or microfiber cloth. Never spray the cleaner directly onto the fixture.
©2022 Hunter Fan Co.
ML282 r_031422


