HOMLUX 692D004793 LED Wall Mounted Mirror
Instructions & Installation
Statement
Please read this instruction carefully before installation, and refer to it again during the installation to ensure a safe and correct installation of the mirror.
Compliance
All the electrical components used in this product are ETL LISTED. This product passed ETL certification.
Electrical Safety Instructions
![]() INSTALLATION should be made by a qualified / registered electrician. DO NOT attempt to install it by yourself, as
INSTALLATION should be made by a qualified / registered electrician. DO NOT attempt to install it by yourself, as
HOMLUX will not be responsible for any damage caused during installation.
![]() According to IEEE regulations, this product is suitable for zone 2 and external zone, not zone 0 or zone 1. It is also not suitable for installation in saunas, steam rooms or shower cubicles.
According to IEEE regulations, this product is suitable for zone 2 and external zone, not zone 0 or zone 1. It is also not suitable for installation in saunas, steam rooms or shower cubicles.
![]() This product is only suitable for permanent installation, please do not plug in the power strip.
This product is only suitable for permanent installation, please do not plug in the power strip.
![]() Please make sure to keep the electrical supply off during installation and maintenance. It is recommended to pull out the fuse or switch off the circuit breaker before installation to disconnect the necessary circuits.
Please make sure to keep the electrical supply off during installation and maintenance. It is recommended to pull out the fuse or switch off the circuit breaker before installation to disconnect the necessary circuits.
![]() HOMLUX LED mirror adopts three-pin plug, power leads must be connected to ground wire.
HOMLUX LED mirror adopts three-pin plug, power leads must be connected to ground wire.
![]() DO NOT put hard and sharp materials directly against the mirror surface during operation, otherwise it may result in
DO NOT put hard and sharp materials directly against the mirror surface during operation, otherwise it may result in
current leakage and even personal injury accident.
![]() Never forget to turn off the power supply in storm days, otherwise electric components of the product could be
Never forget to turn off the power supply in storm days, otherwise electric components of the product could be
damaged.
![]() DO NOT switch off the power supply directly during normal operation, otherwise electric elements of the product may be easily damaged.
DO NOT switch off the power supply directly during normal operation, otherwise electric elements of the product may be easily damaged.
![]() Please turn off the power supply if the product is not used for a long time.
Please turn off the power supply if the product is not used for a long time.
![]() DO NOT remove protective film or corner protectors until the mirror is completely installed.
DO NOT remove protective film or corner protectors until the mirror is completely installed.
![]() PLEASE KEEP THIS MANUAL BOOK FOR FUTURE REFERENCE.
PLEASE KEEP THIS MANUAL BOOK FOR FUTURE REFERENCE.
Wiring
HOMLUX supplies an about 3.6-4.3ft long power cable and U.S 3-pin plug for easy connection with a wall socket. This product can connect the cord to the wall and be controlled by a wall switch.
Cleaning
When the mirror has to be cleaned, please switch off the power first.
DO NOT use abrasives or solvents when cleaning.
DO NOT let water get in the mirror and submerge mirror in water.
Wipe off all water spillages as soon as possible via a soft, damp cloth.
Specification
| Product Name: | LED LIGHTED MIRROR | Certificates: | ETL, CE, ROHS |
| Brand: | HOMLUX | Input Voltage: | 110v |
| Design Style: | Modern | Power: | As specified on product label |
| Feature: | Illuminated | Lumen: | 2500-3000lm |
| Mirror Shape: | Round | Input Frequency: | 60Hz |
| Function: | Anti-fog, memory function | Color Temperature: | 3000k-6000k optional |
| Installation: | Wall mounted | IP Rating: | IP44 |
| Glass Thickness: | 5mm | Dimming Function: | Yes |
| Light Color | Warm/White/Warm white changeable | Hanging Way: | Horizontal |
| Touch Sensor | Yes | Warranty: | 1year |
| Material: | Copper-free silvered glass + Aluminum frame | Application: | Bathroom, makeup room |
Operation Instructions
Light on/off
Power on, then press ![]() to turn on, that light will be warm light.
to turn on, that light will be warm light.
Second time you press ![]() the light will change to white light.
the light will change to white light.
Third time you press ![]() the light will change to warm white light.
the light will change to warm white light.
Press ![]() a fourth time to turn light off.
a fourth time to turn light off.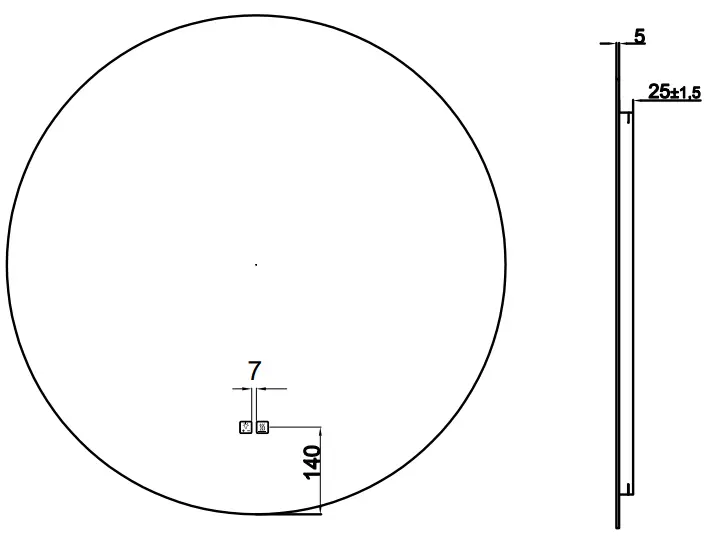
Dimming instruction
Power on, then press ![]() to turn on. Hold
to turn on. Hold ![]() down and the brightness will change accordingly.
down and the brightness will change accordingly.
Fog-free instruction
( For the led mirror with anti-fog function)
Power on, press ![]() , the mirror can be defogging.
, the mirror can be defogging.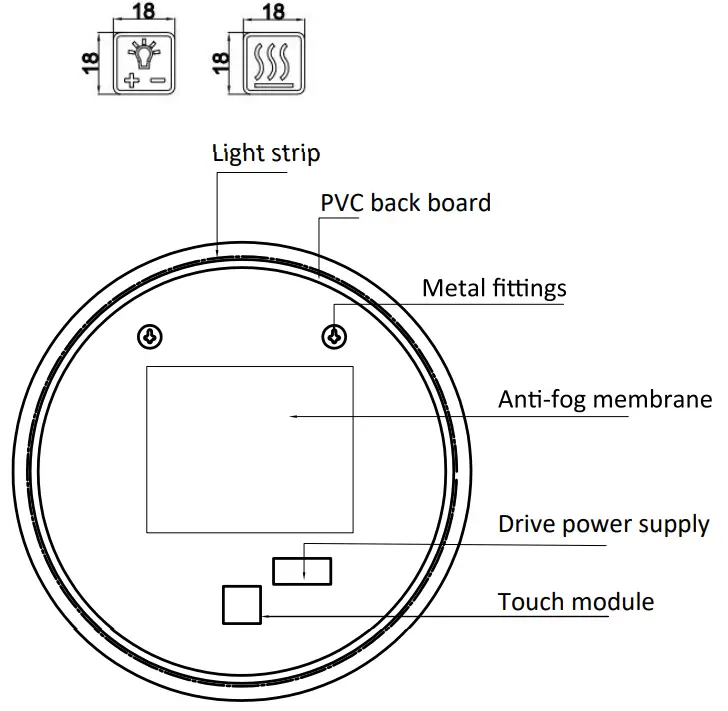
Installation
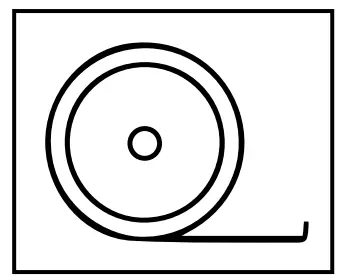
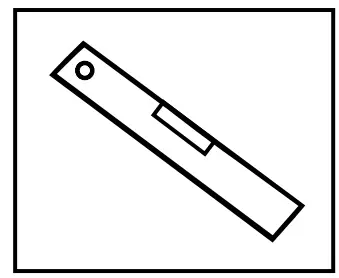
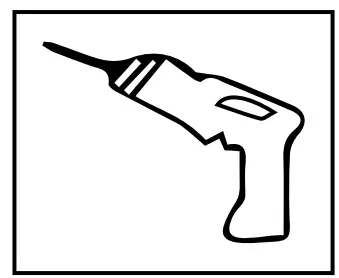
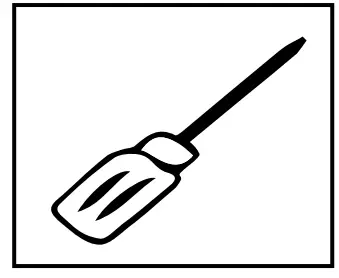
- Ruler

- Spirit Level
- Electrical Drill
- Screwdriver
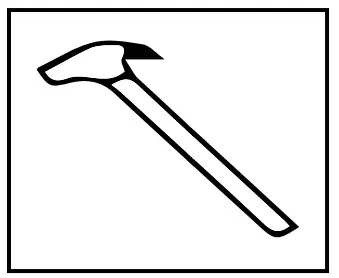
- Hammer
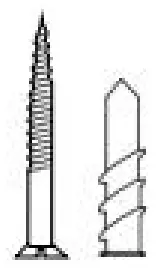
- 3 x screws and white nylon screw type plug

- 4 x spacer


Step 1
Stick spacers on mirror backside to keep the mirror flat, and measure the distance of A(two hooks center distance).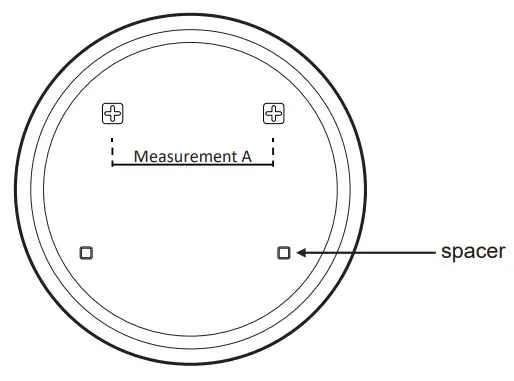
| SKU | Model | Size | Measurement A(mm) |
| F1A300494E | MA04R24TD-OL | 82±5mm | |
| 96FB004795 | MA04R32TD-OL | 388±5mm | |
| 621A004796 | MA04R36TD-OL | 388±5mm | |
| A50E004797 | MA05R24TD-OL | 82±5mm | |
| 692D004793 | MA05R32TD-OL | 388±5mm | |
| 27D7004792 | MA05R36TD-OL | 388±5mm | |
Step 2
Mark two dots on the wall with the length of A/B then drill holes into those marks.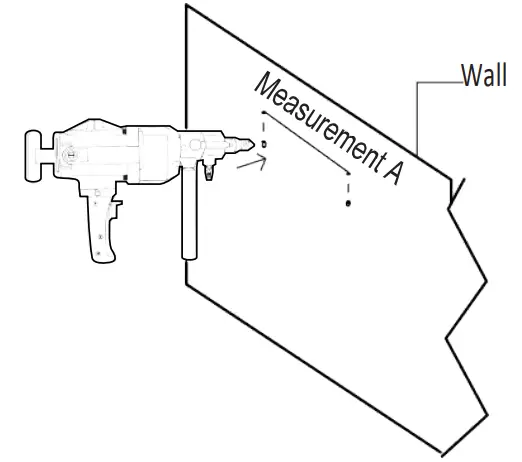
Step 3
Place the white nylon plugs into the holes in the wall then screw the screws into the plug.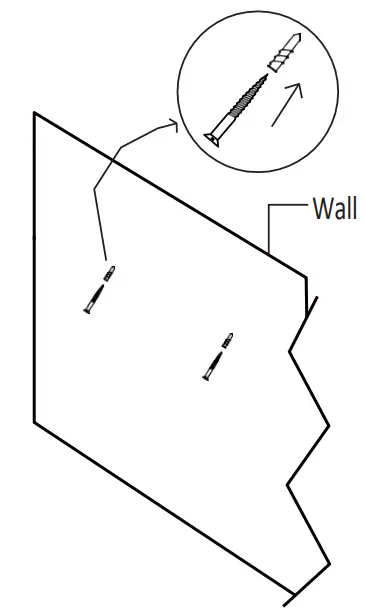
Step 4
Hang the mirror to wall.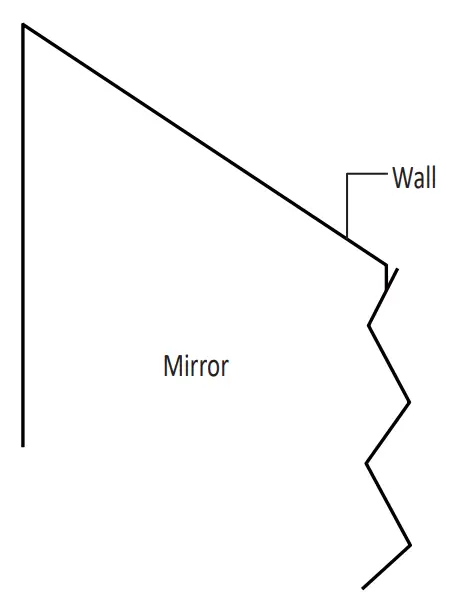
★★★ About the wire connection ★★★
There are two ways to connect the circuit for the mirror.
Connection way ➀ : Plug the 3-pin plug in the socket on the wall.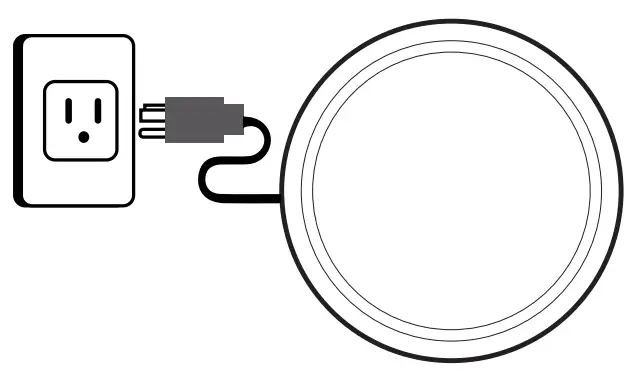
Connection way ②: Connect the mirror wire with wall switch wire via connector.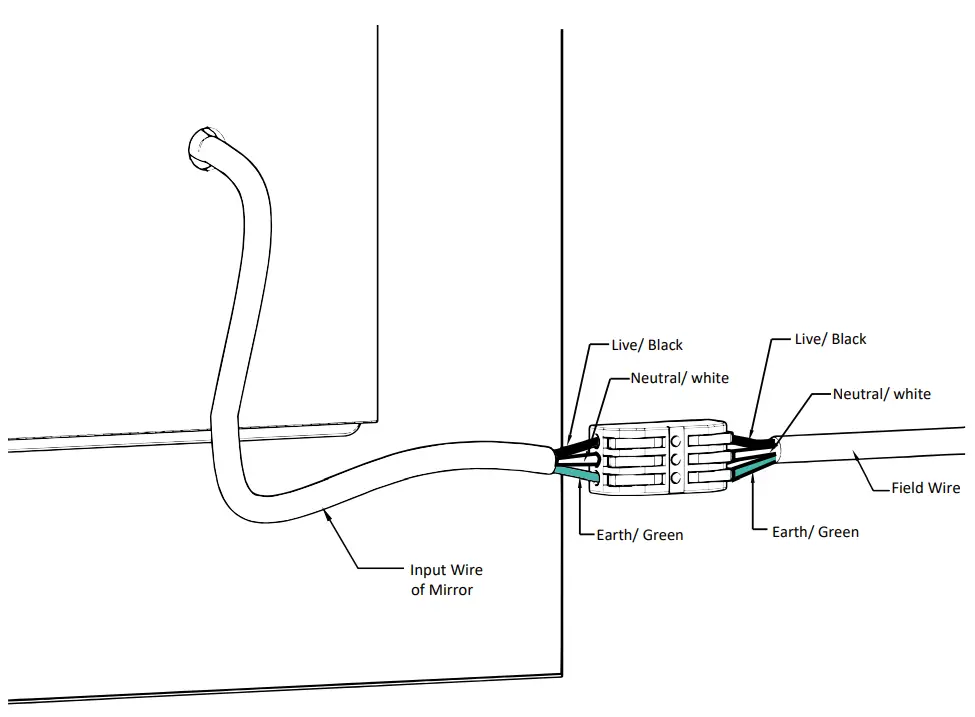
Thanks for choosing HOMLUX.
Web: www.homluxproducts.com
Tel: (800) 209-3199
Any query please feel free to email service team : [email protected]
Scan the QR code to watch the video of installation.
CARE AND MAINTENANCE
- Please wipe the mirror with a soft dry cloth or cotton to avoid scratching the mirror.
- Please avoid harsh, corrosive, and abrasive cleaners.
- Keep dry and avoid damp environments.
- We provide a 1-year warranty (Excludes artificial damage and normal wear and tear). 1 year warranty period shall not be extended or renewed by the repair or replacement of the product/parts.
If you have any problems, please feel free to contact us.
We enjoy hearing from our customers!


