FLYINGVOICE FWR7302E2 Dual-Band Router

For the first installation, please read this guide in advance, and configure it step by step as requests. You need to reboot the device once you finish the configuration including changing the network environments, account number, etc. If you need more information, please check our website: www.flyingvoice.com and download the user guide.
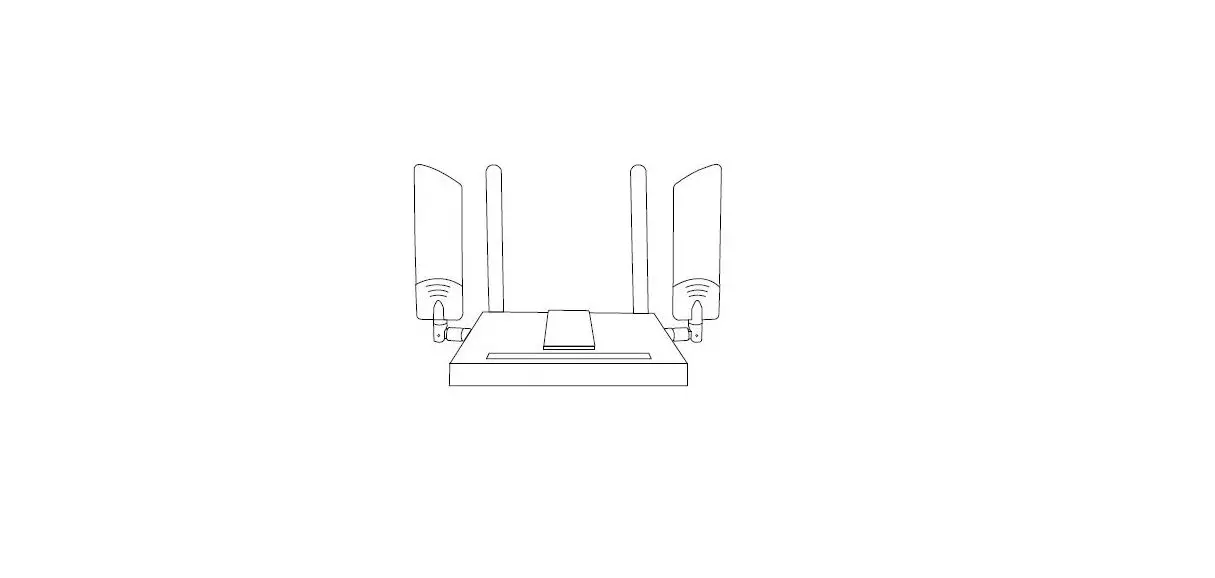
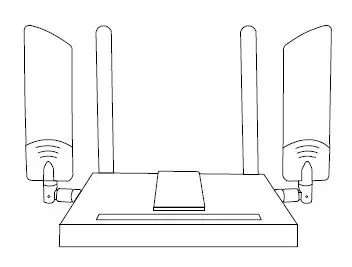
Packaging List
The following items are included in your package. If you find anything missing, please contact your service provider.
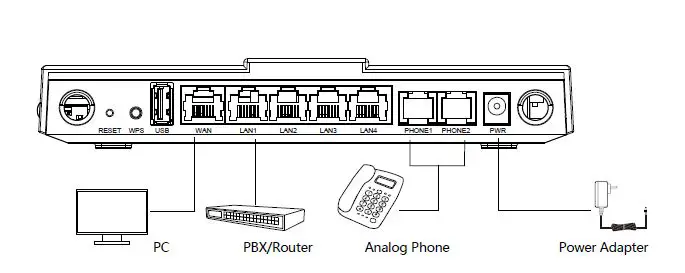
Connect the Hardware
- Insert the power adapter into the DC power jack of the router, make sure it is normally powered on and start the adapter.
- Connect the Ethernet cable to the WAN interface on the back of the router, and connect the other end of the Ethernet cable to an available network adapter.
- Insert the SIM card into the card slot on the side of the device.
- Log in to the router through the LAN port to configure the wireless name and password.

After turning on the router, you can check the following LEDs to confirm the hardware connection.
| LED | LED Status | Description | LED | LED Status | Description |
| Power | ON(GREEN) | Powered on | LAN | ON(GREEN) | Connected (Data) |
| OFF | Powered off | On Blinking (GREEN) | Connected (Registered) | ||
| SIM | ON(GREEN) | SIM accepted | OFF | Disconnected | |
| OFF | No Service/No SIM card | 2.4G | ON(GREEN) | 2.4G ready, no connection | |
|
LTE | On Blinking (GREEN) | Connected (Data), running as active WAN | ON(GREEN) | 2.4G traffic (Data), has connection | |
| ON(GREEN) | Connected (Registered) | OFF | 2.4G disable | ||
| ON(RED) | Has SIM card but connect fail | 5G | ON(GREEN) | 5G ready, no connection | |
| OFF | Disconnected/Power off | On Blinking (GREEN) | 5G traffic (Data), has connection | ||
| WAN | ON(GREEN) | Connected (Data), running as active WAN | OFF | 5G disable | |
| On Blinking (GREEN) | Connected (Registered) | P(1H-2O)NE | ON(GREEN) | Connected (Registered) | |
| OFF | Disconnected/Power off | On Blinking (GREEN) | Connected (Data) | ||
| OFF | Disconnected/Register fail | ||||
Please Note If all the LEDs are off, please try to unplug the power adapter and plug it in again. If it’s still not working, please contact your service provider.
Network Configuration
LTE network
The LTE connection is in DHCP mode by default, and the IP can be automatically obtained by plugging in the SIM card. LTE is the second priority network connection, if WAN is not available, router will connect to LTE network.
WAN configuration
DHCP Device gets network configuration through DHCP by default, such as: IP address, subnet mask, gateway and DNS server.
Static IP If the device cannot get the network configuration through DHCP, you need to manually configure the IP address, subnet mask, gateway and DNS server.
PPPoE If the device uses an ADSL modem, it will connect to the network through PPPoE. For information about the user name and password, please contact the network operator.
Login configuration page
Connect your PC to the LAN port of the router, the computer is set to “obtain the IP address automatically”. Open web browser on your computer, enter “http://192.168.1.1” in the address field. Then you can login FWR7302E2 configuration page. administrator/password: admin/admin normal user/password: user/user
Wireless Configuration
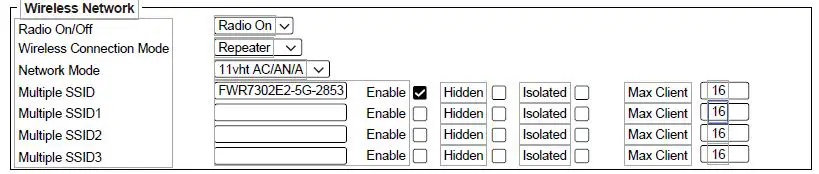
Please refer to the sticker on the bottom of the device for the default wireless name and password. Use a browser to access http://192.168.1.1 through the LAN interface, navigate to the wireless 5GHz page to configure wireless name, password and other information. Basic Wireless Settings
Wireless Network
Registration
Use a browser to access http://192.168.1.1 through the LAN interface, navigate to the FXS1 > SIP Account page to configure SIP information, such as proxy server, proxy port and account.
Basic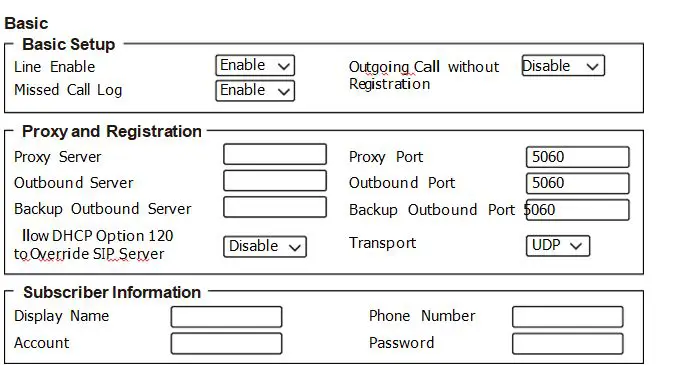
| Field Name | Description | Field Name | Description |
| Line Enable | Enable/Disable the line | Outbound Port | Outbound Proxy’s Service port, default is 5060 |
| Peer To Peer | Enable/Disable Peer to Peer, disabled by default | Display Name | The number will be displayed on LCD of phone |
| Proxy Server | Enable/Disable Peer to Peer, disabled by default | Phone Number | Telephone number provided by SIP Proxy |
| Outbound Server | IP address or the domain of Outbound Server | Account | SIP account provided by SIP Proxy |
| Proxy Port | SIP Service port, default is 5060 | Password | SIP password provided by SIP Proxy |


