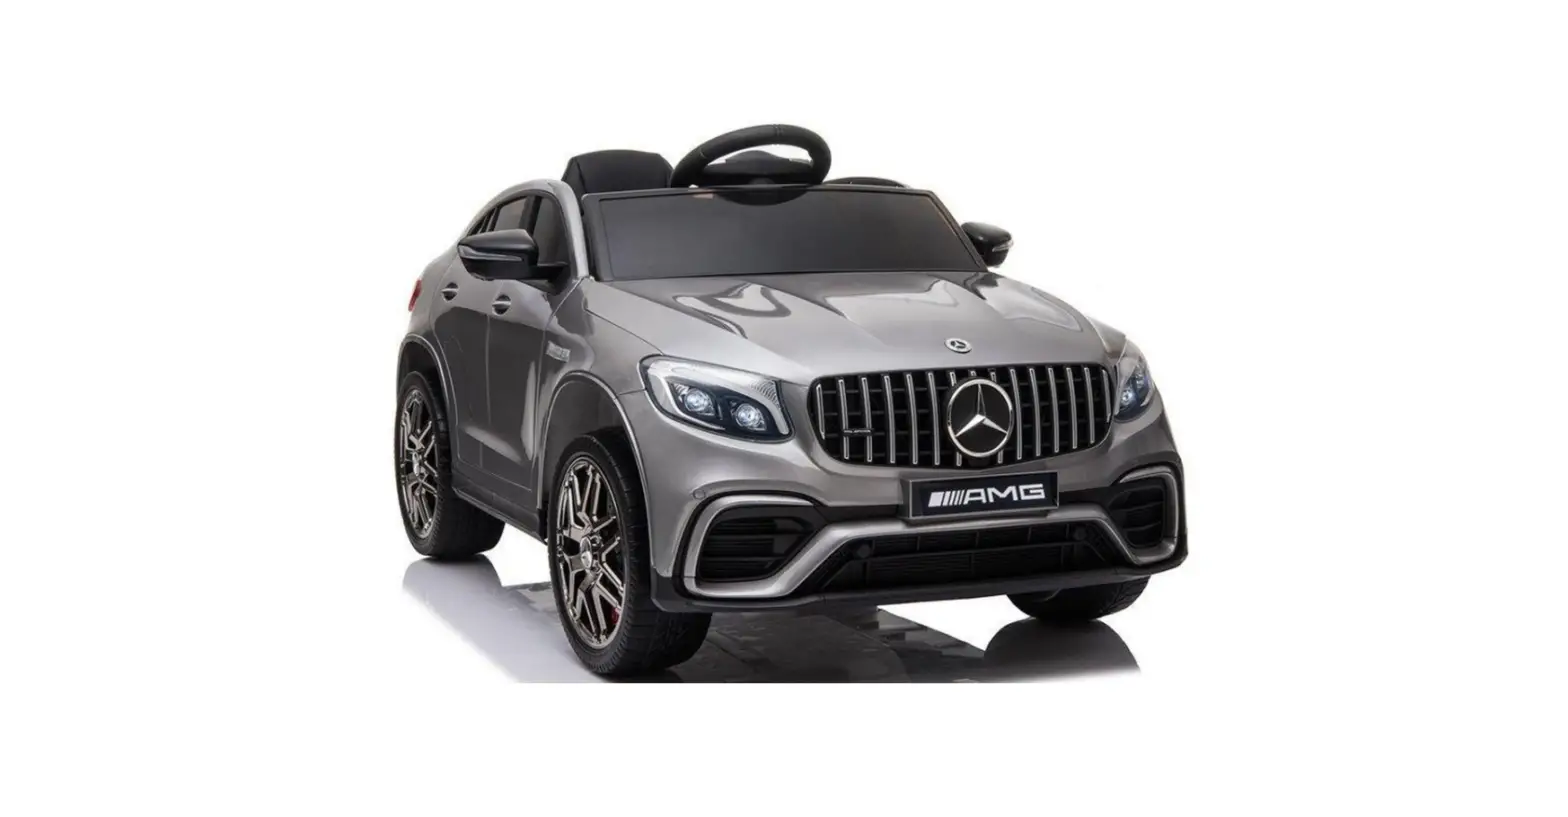
TOYZ Mercedes AMG GLC 63S Battery Operated Ride On Car User Manual
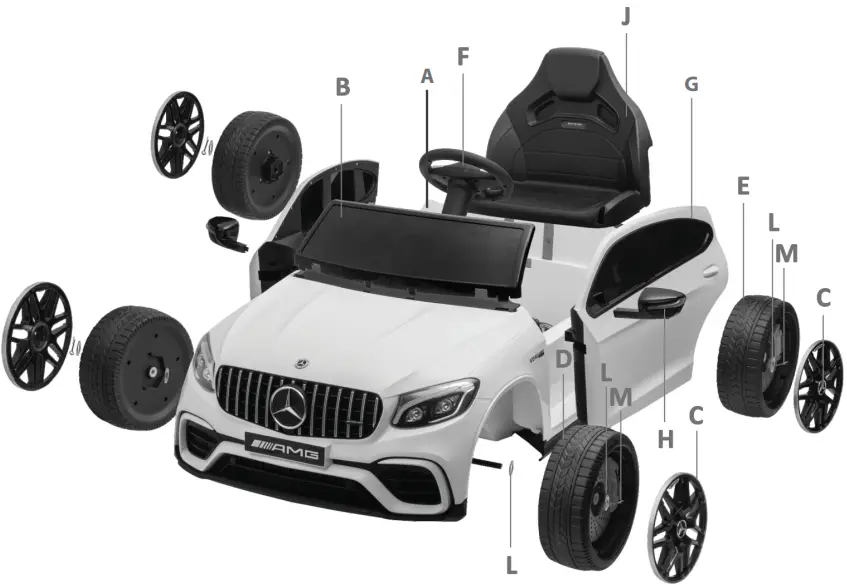
LIST OF PARTS IN THE BOX
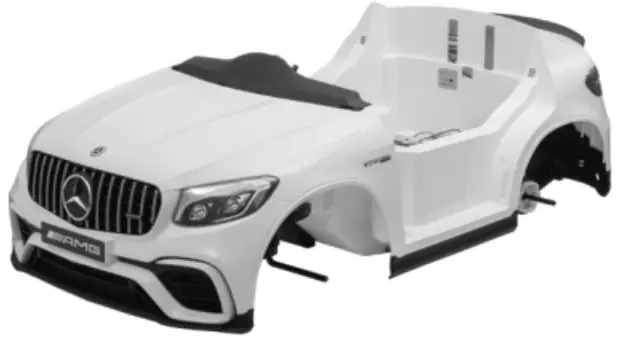
| car body (A) | 1 pc |
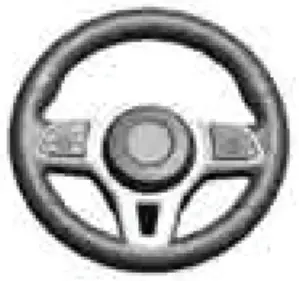
| steering wheel (F) | 1 pc |
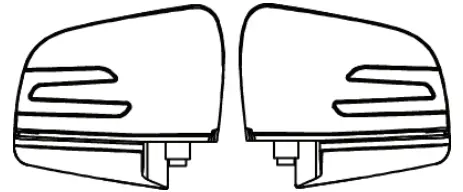
| side mirrors (H | 2 pcs |
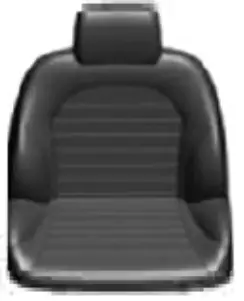
| seat (I) | 1 pc |
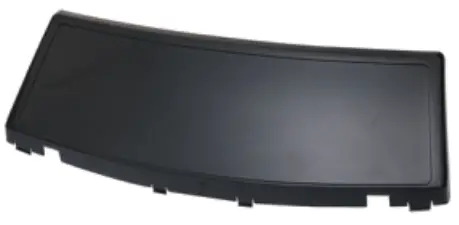
| windshield (B) | 1 pc |
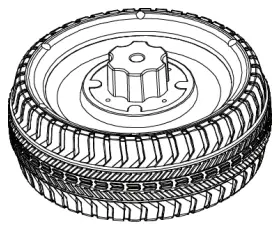
| rear wheel (E) | 2 pcs |
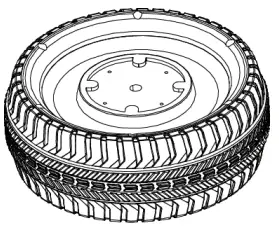
| front wheel (D) | 2 pcs |
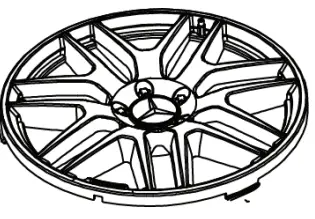
| hubcap (C) | 2 pcs |
| remote control | 1 pc |
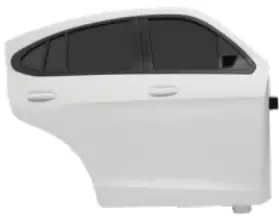
| door (G) | 2 pcs |
| washer (L) | 8 pcs |
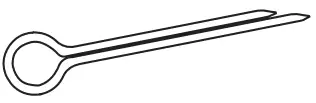
| pin (M) | 4 pcs |
| screw | 4 pc |
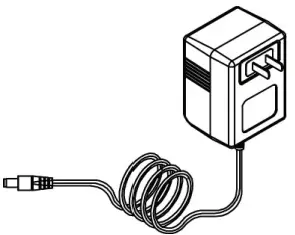
| charger | 1 pc |
| instruction | 1 pc |
WARNING: Before assembling the car, please check if all listed parts are present in the box.
- car body x1

- steering wheel x1

- side mirrors x2

- seat x1

- windshield x1

- rear wheels x2

- front wheels x2
- wheel cover x4

- doors x2

- remote controller x1

- washer x8

- pin x4

- screw x4

- charger x1

- manual x1


TECHNICAL DATA
| battery | 12V 9Ah (1 pc) |
| motor | 12V 20W (4 pcs) |
| AC charger input | input: AC220-240V, 50-60Hz, output: DC12V 1A |
| load limit | 25 kgs |
| usage time | up to 1 hour after full charging |
| max speed | 3-5 km/h |
| user age | 3-8 years |
| RC batteries AA | AAA 1,5V (2 pcs) |
| RC range | 20 ± 5 m |
ASSEMBLY INSTRUCTIONS
WARNINGS: This product must be assembled by an adult. This product is not suitable for children under 3 years of age. Befoe the first use, make sure to charge the batteries fully (about 8-10 hours of charging), otherwise the batteries may become damaged beyond repair. This car must be used under adult supervision at all times. Do not use the car in the vicinity of stairs/public roads/cars and other dangerous areas. This car may only be used by one child at a time. The maximum weight of the user is 25 kg. During the usage of the car, the child must sit on the seat at all times. Never allow the child to stand up while the car is moving. While riding the car, never use the front/rear direction movement lever suddenly. Use it only, when the car is halted. Regularly check all the cable connections. Check whether any parts of the care became damaged. If any part of the car becomes damaged, stop using the car immediately and contact the distributor. If the car is not being used over a longer period of time, please disconnect all the cables from the batteries. The safe product usage period is 3 years.
REAR WHEEL ASSEMBLY
Assemble all parts in order as shown in the picture. Put the washer on the axle, then put the wheel on the axle, put the metal washer on and insert the metal clip into the hole at the end of the axle. Use the pliers to tilt the clip arms to secure the wheel. Put the hubcap on the wheel Repeat for the other side.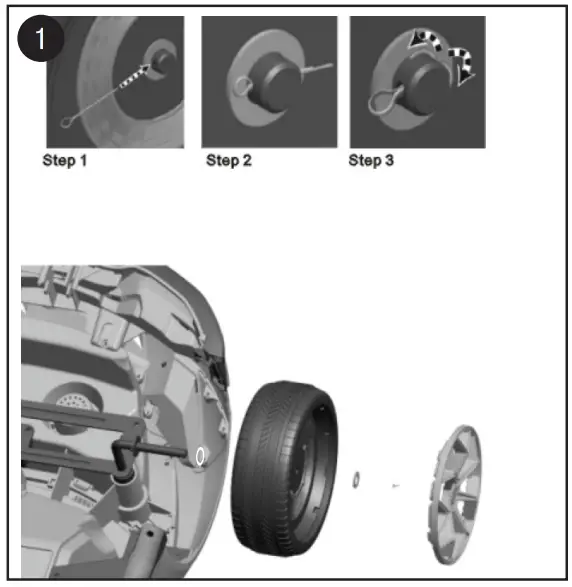
FRONT WHEEL INTALLATION
Assemble all parts in order as shown in the picture. Put the washer on the axle, then put the wheel on the axle, put the metal washer on and insert the metal clip into the hole at the end of the axle. Use the pliers to tilt the clip arms to secure the wheel. Put the hubcap on the wheel Repeat for the other side.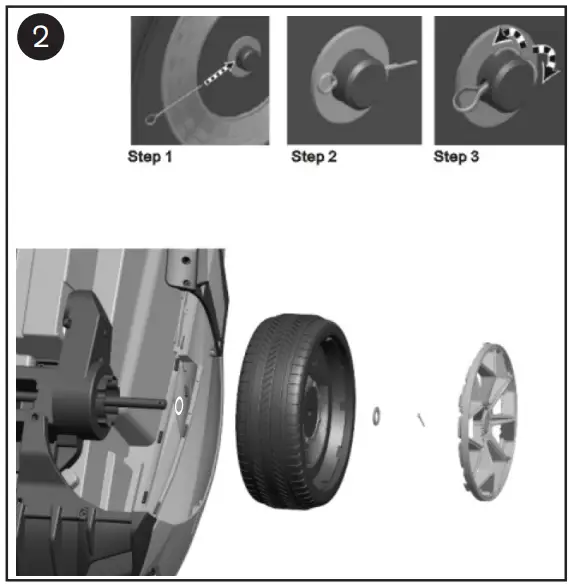
STEERING WHEEL ASSEMBLY
Connect the wiring harness from the handlebar to the wiring harness from the handlebar hole. Place the handlebar on the steering rod and press down. Then tighten with the screw.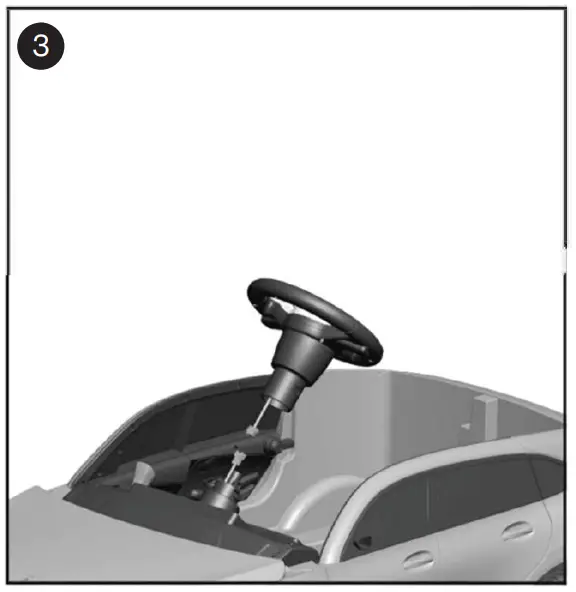
DOOR INSTALLATION
Place the left door on the left side of the vehicle and the right door on the right side of the vehicle. Secure the door with the screws. Check if they are installed correctly.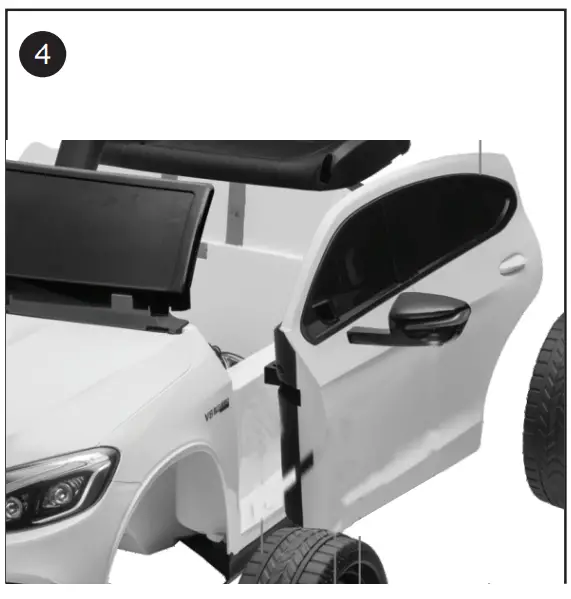
MOUNTING THE WINDSCREEN
Align the tabs on the windshield with the holes on the front of the vehicle chassis. Press down on the glass until you hear a click.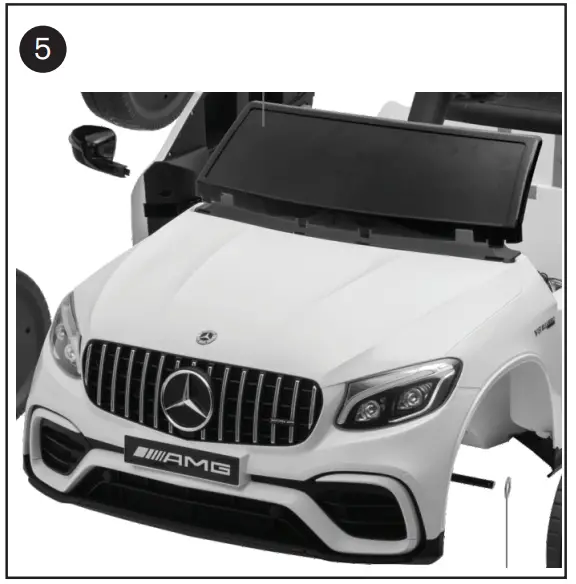
INSTALL THE SIDE MIRRORS
As showed in the picture, press the rear view mirror downward to fasten.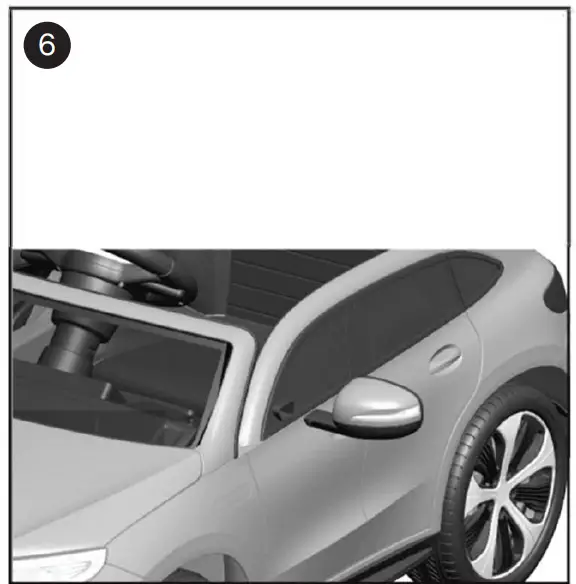
CONNECT THE POWER SUPPLY
Plug the wire connector into the motor connector. Plug the power connector into the terminal on battery as shown. Pay attention to the colors of wires.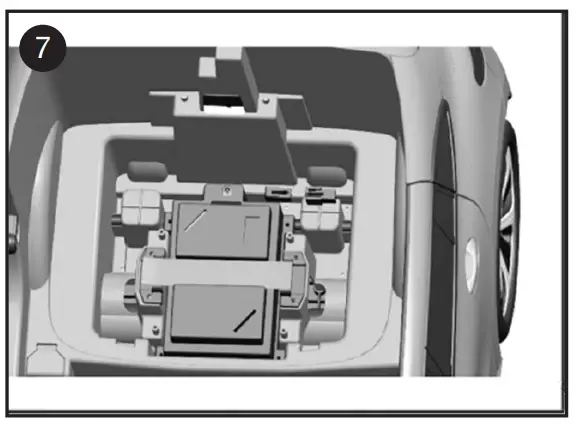
SEAT ASSEMBLY
Slide the seat into the catches in the body and press down.
Fasten the seat with screws.
CAR FUNCTIONS
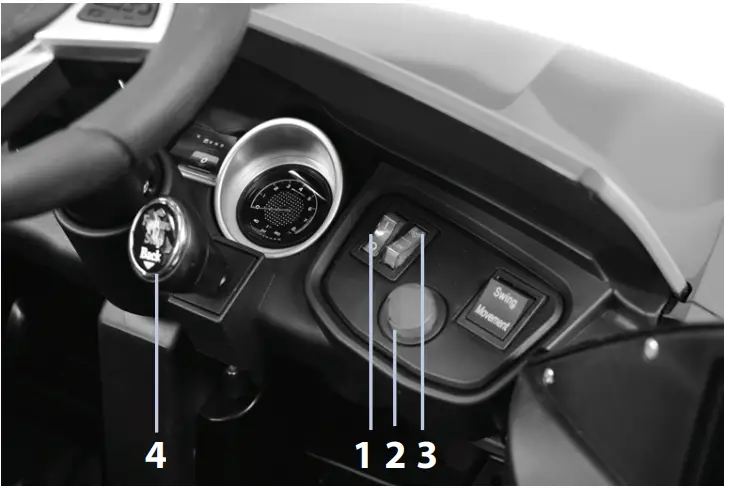
- Power switch.
- Light switch.
- Speed switch – fast / slow
- Changing the direction of travel (forward / backward).
Press the power switch to start the vehicle.TOYZ Mercedes AMG GLC 63S Battery Operated Ride On Car User Manual
The indicator light will come on. Forward travel is done by setting the forward direction lever and pressing gas pedal. The vehicle has the so-called slow start – it accelerates gradually, so wait a few seconds for it to pick up speed. To reverse, set the forward / reverse lever to the forward position. The car will stop automatically when you release the accelerator.The drive speed switch has two settings: slow / fast. Do not allow a child under the age of 5 to use Fast Driving.
PLAYER FUNCTIONS
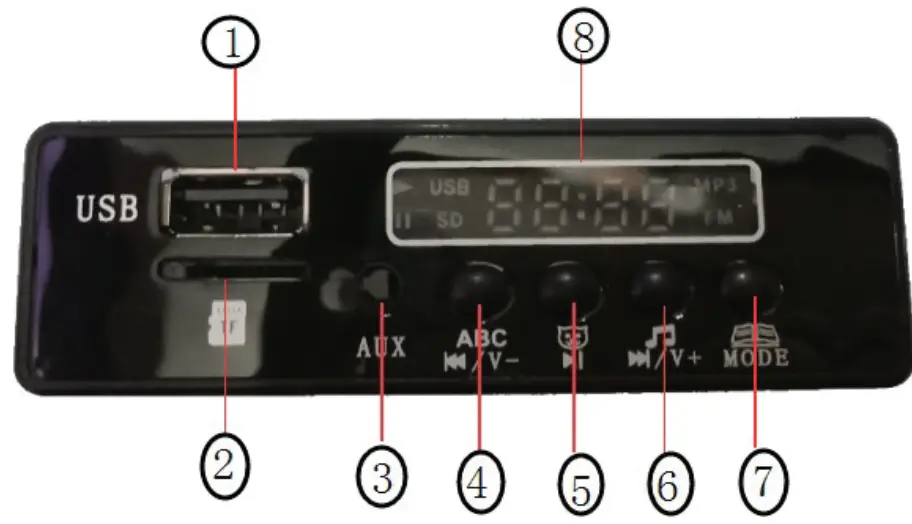
- USB input
- TF card slot
- MP3 socket
- Volume control “VOL-” / Previous track
- Playing music “PLAY” / Stop music
- Volume control “VOL +” / Next track
- Mode selection: Press the “MODE” button
- Display
REMOTE CONTROL FUNCTIONS
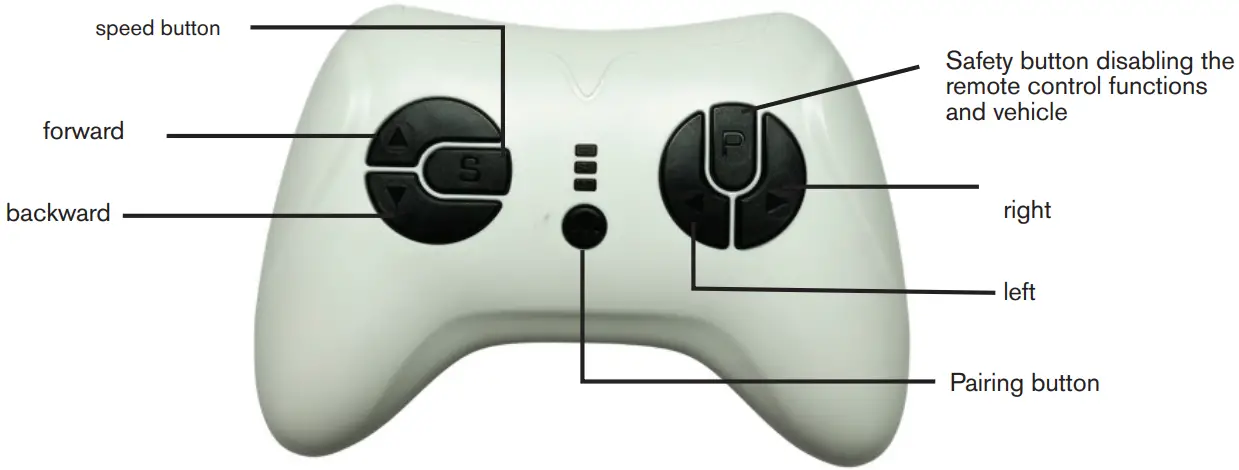
- To pair the remote control with the vehicle, turn on the vehicle, then press the pairing button for 2-4 seconds. When the LED changes from flashing to long bright light, the connection is successful. If the LED is blinking only, it means connection has failed. Replace the batteries and repeat the above steps. There is no need to pair the vehicle again after turning off the power.
- The buttons on the left side of the remote control are used to control the car’s forward / reverse travel.
- Buttons on the right side of the remote control for turning left / right.
The vehicle will stop when there is no communication with the pilot.
NOTE: Normal batteries cannot be recharged.
Remove exhausted batteries from the remote control.
Rechargeable batteries (rechargeable batteries) are only charged under adult supervision.
Batteries (rechargeable batteries) must be removed from the remote control before charging.
INSERTING BATTERIES INTO THE RC
To power the RC, two AAA 1,5V batteries are needed. Remove the battery lid by unscrewing the screw on top of it. Remove the lid. Insert the batteries as shown on the diagram inside the battery container. Place the lid back on and lock it by tightening the screw.
BATTERY CHARGING
![]() WARNING!
WARNING!
This product with CHARGING PROTECTION: When charging, all the functions will be cut off
CONNECTING THE CHARGER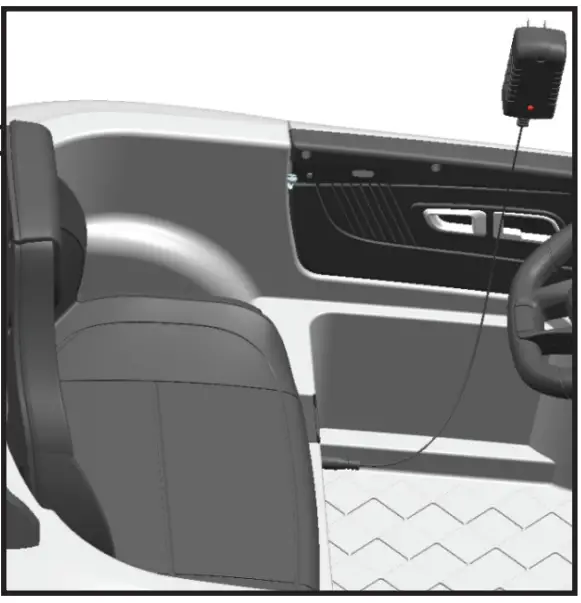
- Find The charging input socket below the seat;
- Plug the charger port into the input socket;
- Plug the charger plug into a wall outlet. The battery will begin charging
BATTERY CHARGING NOTES
- Before first use of the car, charge the batteries up fully. Always insert the adapter’s tip into the socket in the car first and then put the plug into the socket (the charging process should be always carried out by an adult, never allow your child to use the AC adapter).
- When the car begins to lose power (moves much slower than usual), charge the batteries before they become completely depleted.
Battery charging should last about 10-12 hours. Do not charge the batteries for a period longer than 20 hour. - It is typical, that the adapter and the batteries become hot during the charging process (max 60°C).
- Never turn the car ON while charging the batteries. The POWER SWITCH must be turned in OFF position when charging.
- Always use the AC adapter included with the car. Never use other batteries than those supplied with the car.
- The batteries need to be charged at least once a month, even when the car is not being used. This is to prevent from fully discharging and potential damaging the batteries.
- Never short-circuit the power layout.
- PREVENT FIRE AND ELECTRIC SHOCK:
- Use the only rechargeable battery and charger supplied with your vehicle. NEVER substitute the battery or the charger with another brand. Using another battery or charger my cause a fire or explosion.
- Do not use the battery or charger for any other product. Overheating, fire or explosion could occur.
- NEVER modify the electric circuit system. Tampering with the electric system may cause a shock, fire or explosion or my permanently damage the system.
- Do not allow direct contact between battery terminals. Fire or explosion can occur.
- Do not allow any type of liquid on the battery or its components.
- Do not open the battery. Battery contains lead acid and other materials that are toxic and corrosive.
DISPOSAL OF BATTERY
- Your sealed lead-acid battery must be recycled or disposed of in an environmentally sound manner.
- Do not dispose of your lead-acid battery in a fire. The battery may explode or leak.
- Do not dispose of a lead-acid battery in your regular, household trash. The incineration, land filling or mixing of sealed lead-acid batteries with household trash is prohibited by law.
- Return an exhausted battery to your local approved lead-acid battery recycle, such as a local seller of automotive batteries.
- Contact your local waste management officials for other information regarding the environmentally sound recycling and disposal of lead-acid batteries.
- The battery must be charged only by adult. Please charge the product before using!Costumer
TROUBLESHOOTING
| problem description | probable cause | solution |
| the car is not moving | low battery voltage | charge the batteries fully up |
| damaged battery cables disconnected damaged motor | replace the battery with a new one connect the cables back up repair or replace the motor | |
| rear wheel loose | adjust the rear wheel | |
| blown fuse | replace the fuse with a new one | |
| power is off | turn the car on with the power switch | |
| the car is moving slowly | low battery voltage damaged motor | charge the batteries fully up repair or replace the motor |
| uneven terrain | use the car on flat surfaces | |
| overloading | max. user weight is 25 kg | |
| batteries worn out | replace the battery with a new one | |
| batteries do not charge up | AC adapter or battery damaged charging socket damaged | replace with new one replace the socket with new one |
| AC adapter not connected | connect the plug into a socket | |
| short range | batteries not fully charged worn out | charge the batteries fully up replace the battery with a new one |
| jamming during driving | loose cables | connect the cables back together |
| damaged motor | repair or replace the motor | |
| loud noises | damaged motor | repair or replace the motor |
| RC not working | RC batteries depleted car out of range electromagnetic interference | replace batteries with new stand closer to the car move away from the EMI source |
| transmitter damaged | replace the RC | |
| receiver damaged | replace the receiver unit |
Costumer Support
Dowiedz się więcej o tym produkcie i marce Toyz by Caretero
DYSTRYBUTOR:
IKS 2 – Centrum Dystrybucji Artykułów Dziecięcych
ul. Rybnicka 9, 43-190 Mikołów, Polska
+48 32 226 06 06
e-mail: [email protected]
www.toyz.pl
Learn more about brand Toyz by Caretero.
DISTRIBUTOR:
IKS 2 – Children’s Goods Distribution Centre
9 Rybnicka Street, 43-190 Mikolow, Poland
+48 32 226 06 06
e-mail: [email protected]
www.toyz.pl
Erfahren Sie mehr über das Produkt und die Marke!
VERTREIBER:
IKS 2 – Children’s Goods Distribution Centre
9 Rybnicka Str., 43-190 Mikolow, Polen
+48 32 226 06 06
e-mail: [email protected],
www.toyz.pl