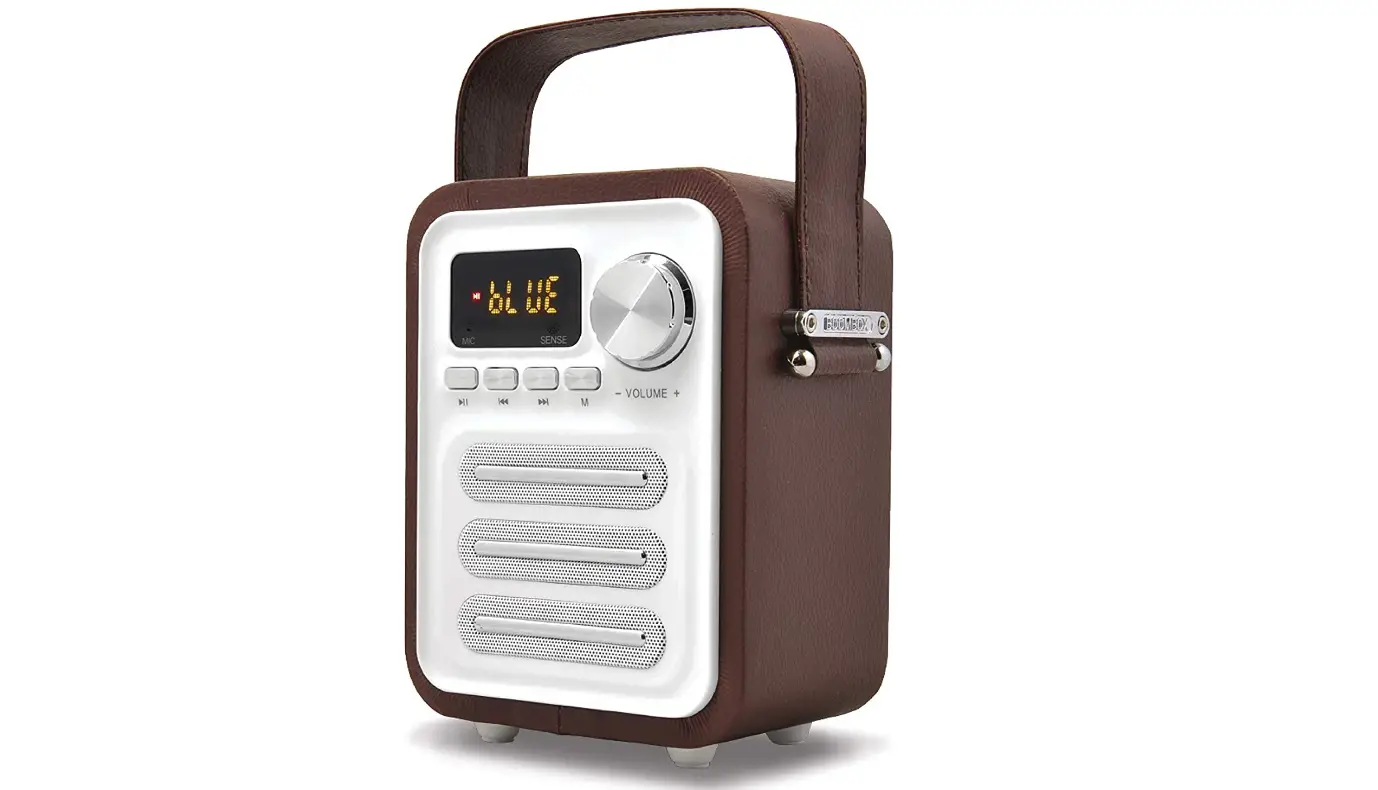

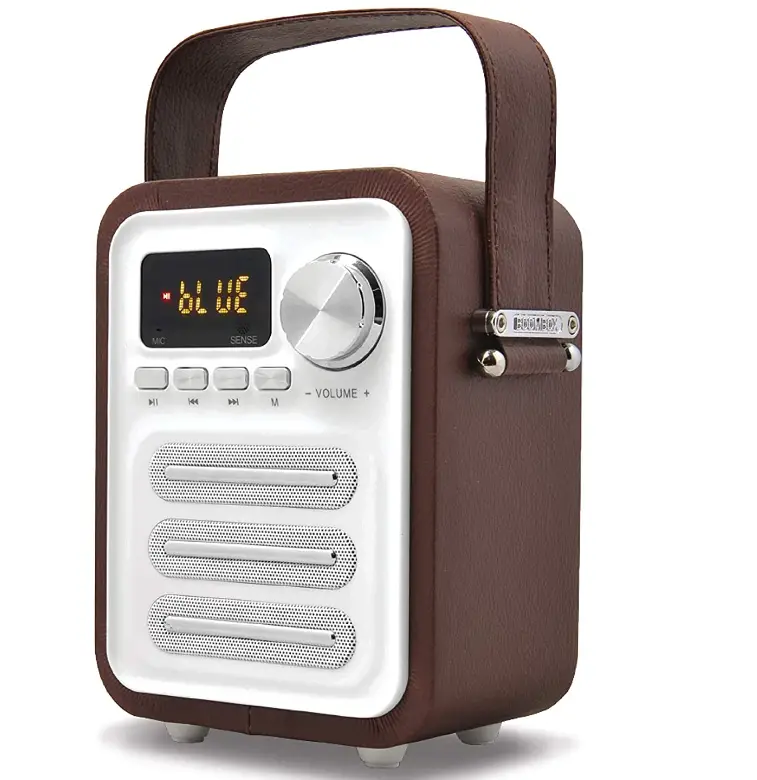
KNZ Retro2 Vintage Style Speaker
 Specifications
 Specifications
- Speaker Type
Subwoofer - Connectivity Technology
Bluetooth, Auxiliary, USB - Subwoofer Diameter
1.75 Inches - Brand
KNZ
Introduction
With a contemporary listening experience, Retro2 Speakers can bring back fond memories. The built-in subwoofer’s deep, rich bass adds an extra boost and deep vibration.
Along with the control buttons, the front of the speaker has an LED screen. There is a strap handle that is useful wherever you carry them.
If you connect two Retro2 speakers together, the sound is even more incredible. Your listening experience will be greatly improved as a result.
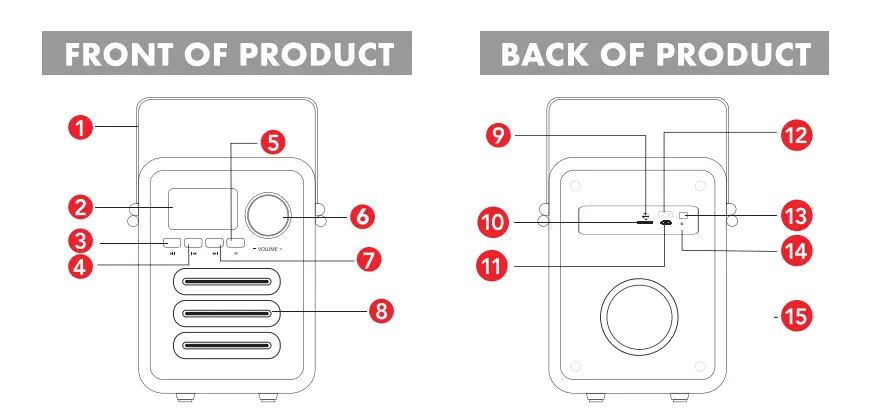
6. Volume Control
7. Next Song/Next Channel
8. Speaker
10. Micro SD Slot
11. Micro USB Charging Port
12. USB Port
13. Power On/Off
14. LED Indicator Light
15. Subwoofer
CHARGING
- Use the charging cable included in a package, connect the micro-USB end to the RETR02 speaker, and connect the USB end to a USB power source (wall charger, computer, portable battery, etc.) to charge the speaker, Before using, make sure the RETR02 speaker is fully charged. A solid red LED light indicates that the speaker is being charged, and it will turn off when the speaker is fully charged.
POWER ON/OFF - Switch the power button on the back of the RETRO speaker to turn the power ON and OFF. To maximize battery life, switch power off when you are not using the RETRO speaker.
BLUETOOTH MODE
- After power is on, RETR02 goes directly to Bluetooth mode if there is no external device connected to it, such as a micro-SD card, AUX cable, or USB driver. lf there are external devices connected to RETRO’, you will need to press the “M” button to switch to Bluetooth mode
PAIRING
- When RETR02 is in Bluetooth mode, turn on the Bluetooth settings of your phone, tablet, or another Bluetooth-enabled device,
and search for Bluetooth devices. - Locate “RETR02” and connect to it. Once successfully paired, there will be a voice prompt indicating the Bluetooth connection is set up and ready to use.
PAIRING TWO RETR02 SPEAKERS
- The true wireless capability of the RETR02 speaker supports two suds, and speakers to be connected as a stereo pair. To pair two RETR02 speakers, follow the below instructions. connect to it.
- To disconnect the two paired speakers, double press the Play/Pause button (HI) on RETRO’ and it disconnects the two linked speakers.
HANDS-FREE PHONE CALL
- Press the Play/Pause
 button to answer an incoming phone call. Press and hold the Play/Pause button to reject an incoming phone call.
When the speaker is in Standby mode, press and holds the Play/Pause button to redial the last number.
MUSIC PLAY
- Select a song or playlist on your Bluetooth-enabled device, and Press the Play/Pause button to listen. Press the Play/Pause button again to PAUSE listening.
Press the Fast Forward button and Rewind
  button to switch the song or playlist.]
VOLUME CONTROL
- Turn the Knob Clockwise for more volume and turn the other way to decrease the volume
MICRO-SD/USB/AUX MODES
- Insert a Micro-SD card into the card slot on the back of the speaker. Press the “M” button to switch to micro-SD mode to play.
- Plug the USB drive into the USB port on the back of the speaker, and press the “M” button to switch to USB mode to play. Use the included AUX cable, connect one end to the AUX port on the back of the speaker, and connect the other end to AUX supported phone, tablet or computer, then press the “M” button to switch to AUX mode to play.
FM RADIO
- Press the “M” button to switch to FM mode. Use a USB cable or AUX cable to increase reception. The cable acts as an antenna. Press the Play/Pause button to cycle through the entire FM band. The Radio will automatically preset all available stations. Then use the Fast Forward button and Rewindbutton to tune to those stations. The Radio has 20+ presets available depending on reception and area. Press the M button to start or pause.
EQ PRESETS
EQ (Equalizer) is adjusted using the Remote Control. Choose the type of music to maximize listening pleasure. The 6 EQ presets are:
• Normal (LED shows NOR)
• Classic (LED shows CLA)
• Country (LED shows CUT)
• Pop (LED shows POP)
• Jazz (LED shows JAZ)
• Rock (LED shows ROC)
REMOTE CONTROL
- Before using, pull out the plastic tab (which is inserted in the battery slot) to activate the remote control.
- The remote control uses CR2025 battery.
FCC STATEMENT
This equipment has been tested and found to comply with the limits for a Class B digital device, pursuant to part 15 of the FCC Rules. These limits are designed to provide reasonable protection against harmful interference in a residential installation. This equipment generates uses and can radiate radio frequency energy and, if not installed and used in accordance with the instructions, may cause harmful interference to radio communications. However, there is no guarantee that interference will not occur in a particular installation. If this equipment does cause harmful interference to radio or television reception, which can be determined by turning the equipment off and on, the user is encouraged to try to correct the interference by one or more of the following measures:
(1) Reorient or relocate the receiving antenna.
(2) Increase the separation between the equipment and receiver.
(3) Connect the equipment into an outlet on a circuit different from that to which the receiver is connected.
(4)Consult the dealer or an experienced radio/TV technician for help.
This device complies with part 15 of the FCC Rules. Operation is subject to the following two conditions: (1) This device may not cause harmful interference, and (2) this device must accept any interference received, including interference that may cause undesired operation. Changes or modifications not expressly approved by the party responsible for compliance could void the user’s authority to operate the equipment.
For further inquiries please visit www. knztec:h.c:om/supr:,ort
WARRANTY
KNZ Technology LLC. warrants this product as free of defects in material, design, and workmanship for the period of one year from the original date of purchase. The warranty is limited to the original purchaser. If during the period of warranty this product proves defective under normal use and service, you should return the product to the retailer from whom it was purchased or to an authorized warranty center. The liability of KNZ Technology LLC and its appointed repair company is limited to the cost of repair and/or replacement of the product under warranty. Products sent for warranty service must be accompanied by a copy of the original purchase receipt, the original box, materials, and accessories. All costs associated with the return of the product under warranty are the responsibility of the original purchaser. Shipping and Handing Fee will apply in order for KNZ Technology LLC. to ship out
a new/refurbished product to a customer. KNZ Technology LLC. will not assume any responsibility for any loss or damage that occurred in shipping.
KNZ is a registered trademark of KNZ Technology LLC. All other trademarks are the property of their respective owners. Copyright 2021. All rights reserved. This product is not a toy. Contains small parts, not for children under 3 years.
FAQs
Older speakers also had more bass responses than today’s models because the recording industry at the time used less bass-boosting technology. As a result, vintage speakers typically produce more powerful lows and allow listeners to hear the difference between upright bass and double bass
Depending on the materials they’re made of and the environmental conditions of where the equipment is used, high-quality speakers typically last up to 40-50 years before showing any signs of damage.
What is a vintage speaker? Vintage speakers debuted in earlier decades, such as the 60s, 70s, and 80s. There are original vintage loudspeakers from the 40s and 50s as well. One example of a vintage speaker is a large box-like cabinet that was manufactured in the 1970s.
It was made up of a flexible diaphragm (cone) that was fastened to an acoustical horn’s throat. Early loudspeaker cones were made of a variety of materials, including paper, thin metal sheets, and leather. Because it is inexpensive and widely available, the paper has been utilized in the manufacturing of speaker cones and still is.
Vintage audio equipment is expensive partly because of its rarity (a lot of vintage gear has been discontinued) and partly due to the inherent quality and design required for its longevity. A vintage piece of gear must be of the highest quality to perform at the highest level decades after manufacture
Like antique muscle cars, vintage audio equipment is incredibly lovely, magical, and beloved, but the performance is typically far lower than what you can get brand-new today.
Too loud music or audio playback can harm speakers by overheating the drivers or perhaps causing a mechanical failure of the driver suspension. A speaker’s driver coil will burn or melt if its maximum power rating is exceeded (by turning up the amplifier or volume control).
Horn loudspeakers
Your old speakers might be valuable, particularly if they are unusual vintage goods. Some difficult-to-find brands of vintage speakers can fetch hundreds or even thousands of dollars. Some money is better than nothing, even though there is no assurance that they will sell for the amount you have in mind.
The majority of malfunctions are electrical faults brought on by overpowering the voice coil of the speaker. Burned voice coils are the result of constant overpowering. The only solution for this is to turn down the treble/bass boost settings, treble/gain controls, or amplifier gain controls, or to stop pushing your audio system so hard.


