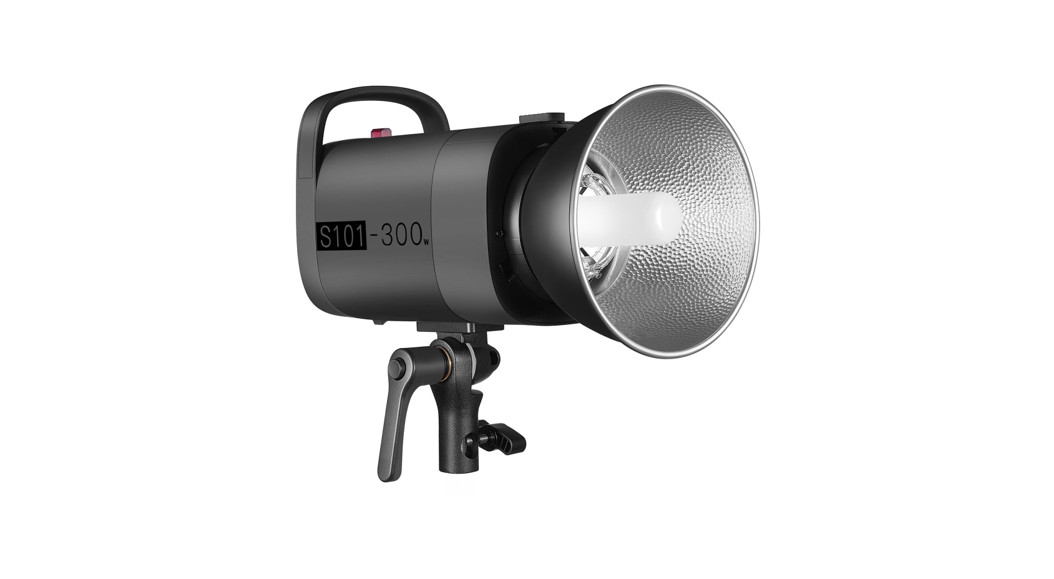
![]() S101 Studio Strobe Light
S101 Studio Strobe Light
Instruction Manual
© 2021 Shenzhen Neewer Technology Co., Ltd. All Rights Reserved.
This document is the sole property of Shenzhen Neewer Technology Co., Ltd and shall not be, reproduced, transmitted, transcribed, stored in a retrieval system or translated in any form, by any means, without prior written permission from Shenzhen Neewer Technology Co., Ltd. Shenzhen Neewer Technology Co., Ltd reserves the right to change the content in this instruction manual at any time and without prior notice.
Version Control
Date | Version number | Description | Issued by |
21/05/2021 | 1.0 | S101 Studio Strobe Light Manual |
|
Safety notes
To ensure the safety of you and others, please ensure you read the following safety advice before using this product. Please pay attention to the precautions highlighted in the manual. Please check the product before use and do not use damaged parts. 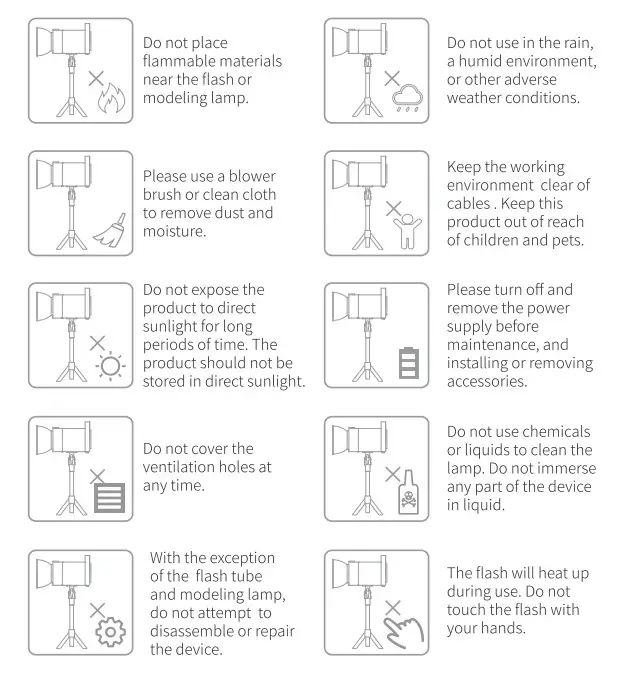
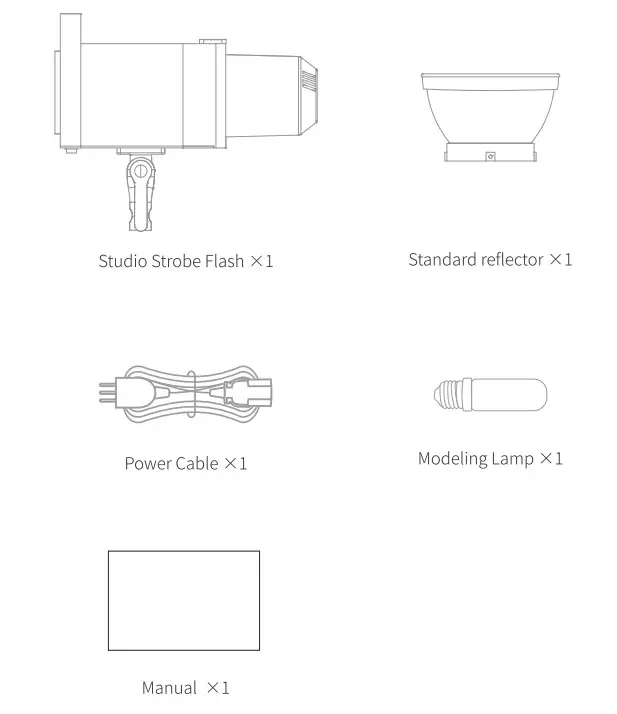
Package Contents
Product installation
 |  |
* The sync cable port needs to be connected to a trigger such as RT-16. The trigger is not included in the accessories, please purchase it separately.
Set-Up instruction
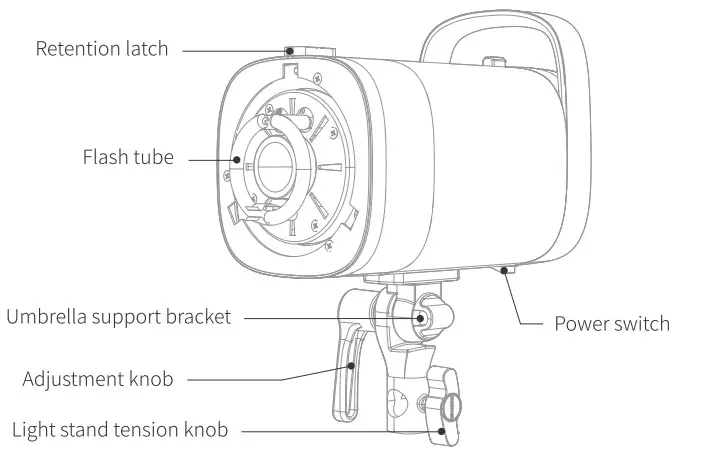
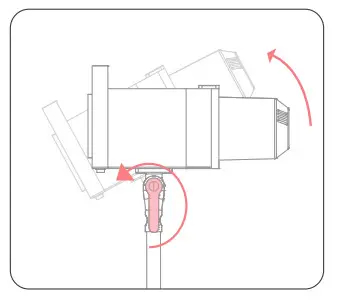
Install the Studio
- Mount the adapter on to the light stand and tighten the retention knob to secure .

- Rotate the adjustment knob to adjust the direction of the studio flash.

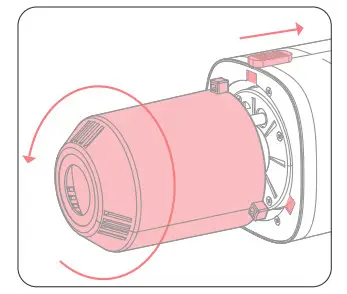
 Install the Modeling lamp
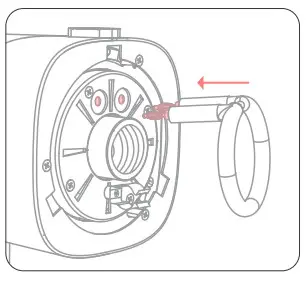
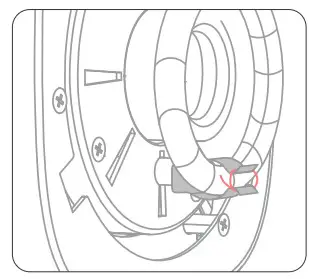
- Pull back the retention latch on the top. Turn the protective cover counterclockwise to align the latch with the hole. Remove the protective cover.

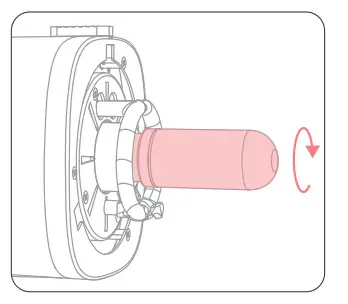
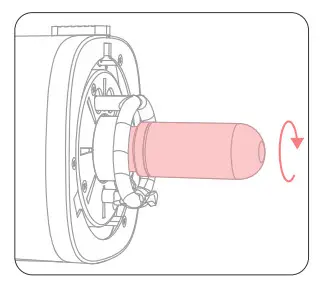
- Insert the modeling lamp by screwing it clockwise.

Replace the flash tube![]() * The sync cable port needs to be connected to a trigger such as RT-16. The trigger is not included in the accessories, please purchase it separately.
* The sync cable port needs to be connected to a trigger such as RT-16. The trigger is not included in the accessories, please purchase it separately.
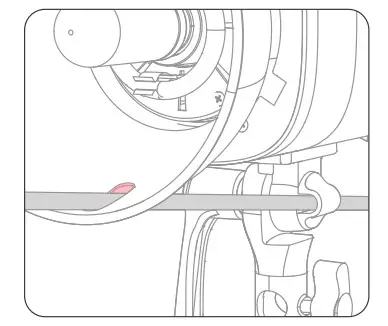
- Remove the modeling lamp counterclockwise.

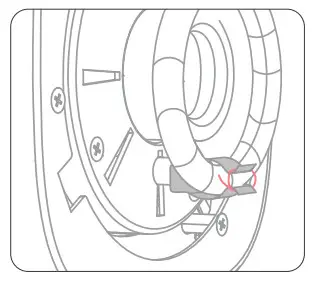
- Unhook the steel wire on the bulb by rotating it tube.

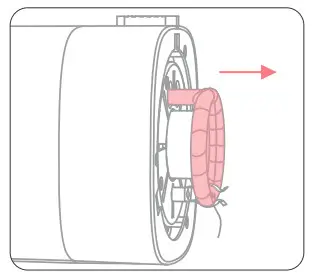
- Hold the 2 prongs of the flash tube evenly and pull out the tube gently.

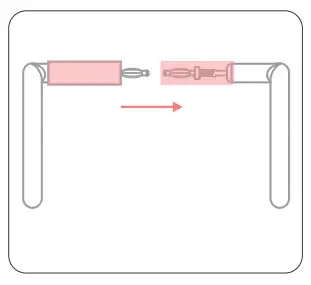
- Remove the prongs cover from the old tube and reuse it for the new one.

- Align and push the 2 prongs of the flash tube into the 2 connector holes.

- Wrap the steel wire around the stainless steel piece until the flash tube is secure.

- Screw the modeling lamp bulb clockwise until it is secure.


* The lamp tube is fragile, please handle it gently during operation to avoid damage.
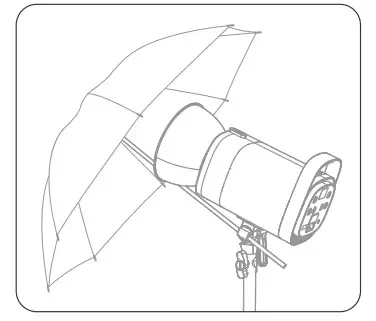
Install the soft light umbrella
- Align the standard reflector clasp position with the hole, push the standard reflector in and turn clockwise until it locks into place.

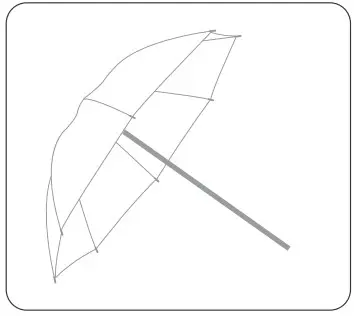
- Open the soft light umbrella.
* The soft light umbrella is not included in the accessories, it needs to be purchased separately.
- Pass the soft light umbrella handle through the standard reflector and the umbrella support.

- The soft light umbrella is now ready to use.


Power output
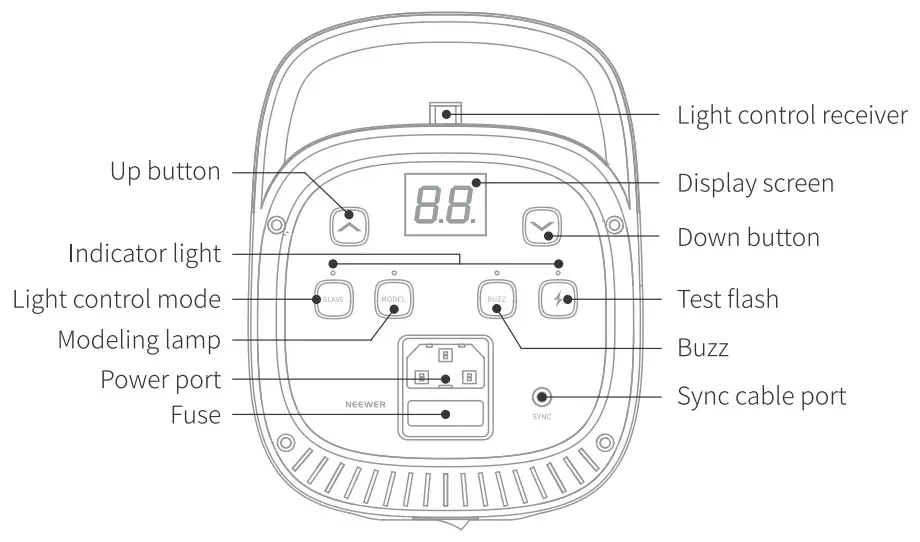
Turn on the light, short press “▲”(UP Button) or” ▼”(DOWN Button) to adjust the flash output power from 7.0 to 10 (If “OF” shows on the display screen, the flash triggering function is turned off).
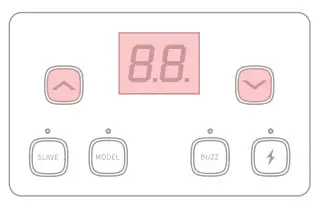
Alarm Codes: EO Poor internal components connection. El capacitor was undercharged. E2 high capacitor temperature. (E3 alert code is usually the result of the light being used for long periods. Please switch of the unit and resume operation after a 5-minute period.)
Test button
Short press![]() to fire a test flash (without taking a picture). The flash brightness can be adjusted using the
to fire a test flash (without taking a picture). The flash brightness can be adjusted using the![]() (UP Button) or
(UP Button) or![]() DOWN Button).
DOWN Button). 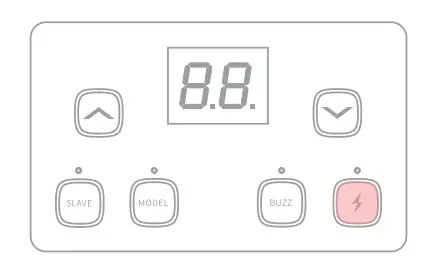
Optical Control Mode
- Non-light control mode Short press “SLAVE” until the indicator light is turned off.

Si Flash Mode
Short press the ‘SLAVE’ button until the indicator turns red. The flash will now fire synchronously when it detects an external flash. This model can function as a secondary flash which helps create multiple lighting effects.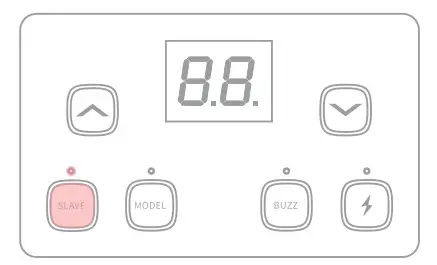
S2 Flash(Pre-flash canceling) Mode
Short press “SLAVE” until the indicator turns blue. The device is now operating in S2 Mode. The flash can work in TTL mode and act as the main flash(mounted on the camera) to achieve synchronous photography.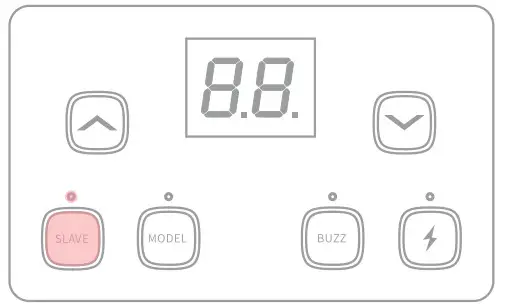
Two Optical Modes are available and can be set by short pressing “SLAVE’.
Modeling Lamp
Long press ‘MODEL” for three seconds until “L number flashes on the display. The brightness can be adjusted from L1 to L9 by short pressing the (UP Button) or “‘”” (DOWN Button)(Short press ‘MODEL” to turn off the modeling lamp if necessary).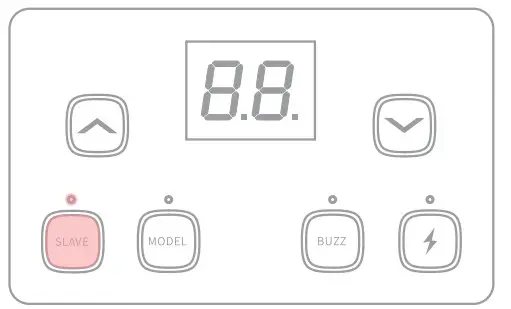
![]() The modeling lamp should not be used for more than 10 minutes at a time if flammable accessories are present. Please allow the unit to cool down for at least 10 minutes before continued use.
The modeling lamp should not be used for more than 10 minutes at a time if flammable accessories are present. Please allow the unit to cool down for at least 10 minutes before continued use.
Buzz Alarm
Short press “BUZZ” (Buzz Button) until the buzz indicator lights up to activate. (A “Bi-” sound will be heard to indicate that the flash is ready to fire)![]() After thirty successive flashes at full power, the flash should be allowed to cool down for about three minutes. Failure to adhere to this advice will cause damage to the strobe.
After thirty successive flashes at full power, the flash should be allowed to cool down for about three minutes. Failure to adhere to this advice will cause damage to the strobe.
Safety Notes
- Please avoid aiming the flash directly at moving vehicles.
- Do not disassemble or modify the product.
- Do not handle the product with wet hands.
- The modeling lamp should not be used for more than 10 minutes at a time if flammable accessories are present. Please allow the unit to cool down for at least 10 minutes before continued use
- Please do not subject the flash or modeling lamp to physical shock to avoid damage
- Please turn off the power when installing a protective cover
- Please turn off the power when the product is not in use or is being relocated
- Shut down the device immediately if it appears to be operating abnormally and try to troubleshoot the likely cause.
- It’s normal for the lamp to get warm when in use. Avoid continuous flashes if unnecessary.
- The flash tube and modeling lamp are consumables. These are not covered by the warranty.
Product Specifications
| Model | 5101-300W | 5101-400W |
| Flash power | 300Ws | 400Ws |
| Flash index | 58m ISO 100 | 65m ISO 100 |
| Recycle Time | 0.4-2.5s | 0.4-2.8s |
| Fuse | AC250V 5A | AC250V 8A |
| Color Temperature | 5600±200K | |
| Power input | US, JP: AC100-120V, 50Hz/60Hz EU, AU, UK: AC220-240V, 50Hz/60Hz | |
| Flash power control | OF,7.0-10 (1/8-1/1) | |
| Modeling lamp power | 150W | |
| Modeling lamp levels | Level 9 (L1-L9) | |
| Flash trigger control mode | Manual, Optical(S1/52), Sync cable | |
| Flash Duration | 1/2000-1/800s | |
| Product Dimensions | 158 x 269 X 295mm | |


