BEDUCATION TL9 Rize Adjustable Height Legs Instruction Manual
![]()
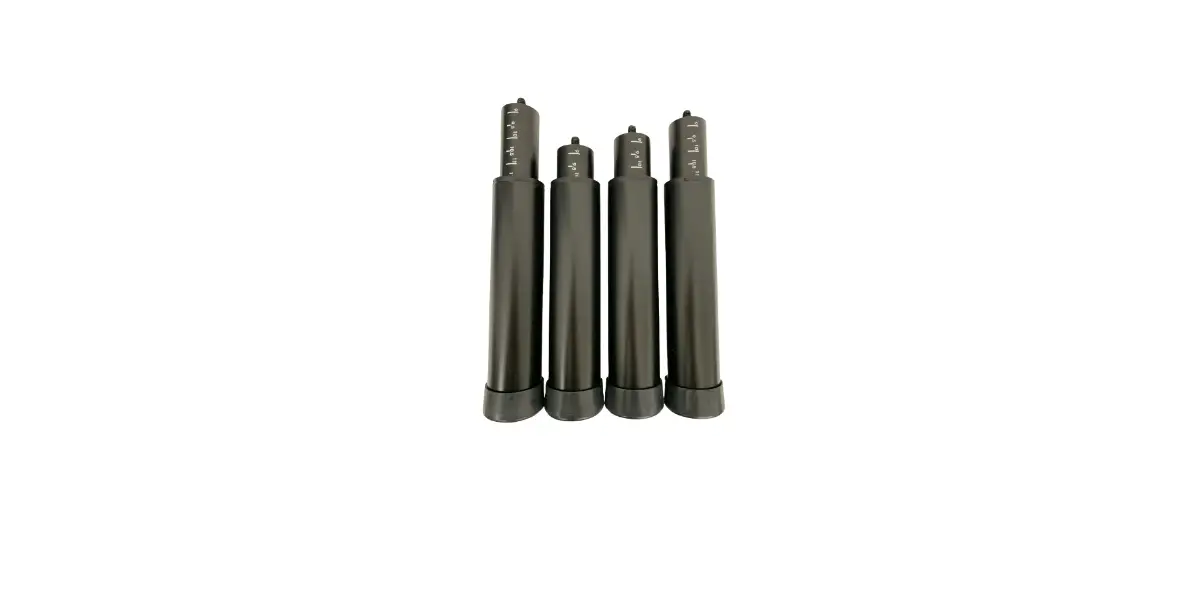
- Remove the legs from their packaging and unscrew the lower end of each leg, increasing the length of the leg to the 13” setting. Extending the leg to this setting exposes a larger area on the upper part of the leg, making it easier to grasp this part of the leg when securing the leg to the adjustable bed base frame in the next step.

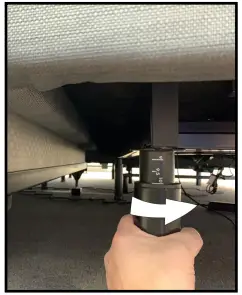
- Insert the threaded rod at the top end of each leg into one of the appropriate threaded holes on the bottom of the adjustable bed base frame (this is done when the adjustable bed base is upside down). Grasp the leg by the upper section only (the part with the inch incremental markings) and gently tighten it into a threaded hole. Hand tighten firmly once the top of the leg becomes flush and makes contact with the bottom of the adjustable bed base, confirming that the leg is now securely affixed to the adjustable bed base frame.

- Once the legs are firmly secured to the adjustable bed base frame, spin the lower part of each leg to set the desired overall height of the adjustable bed base (this is usually done when the adjustable bed base is still upside down). A setting of 10” is a common height and a good place to start. Make sure all the legs are adjusted to the same setting before flipping the adjustable bed base over to its upright position. Fine tuning the height of each leg may be done while the base is in its upright position and the legs are in contact with the floor.