![]()
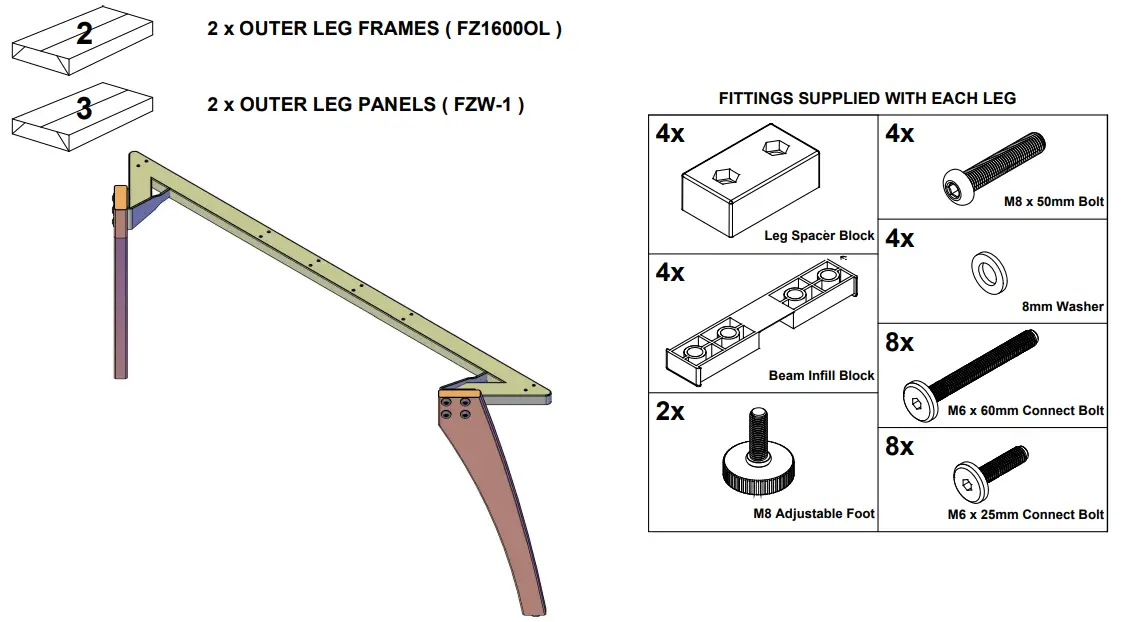
FZ1600OL
Fuze Outer Leg
Used to build
Fuze Back to Back Desk Fuze Boardroom Table
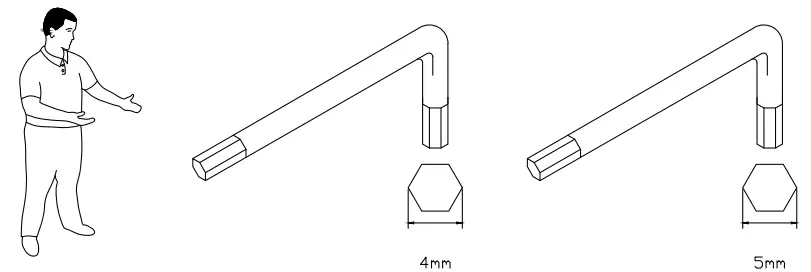
TOOLS REQUIRED FOR ASSEMBLY
DONT STRUGGLE 2 MAN LIFT

ALWAYS HANDLE ITEMS WITH CARE
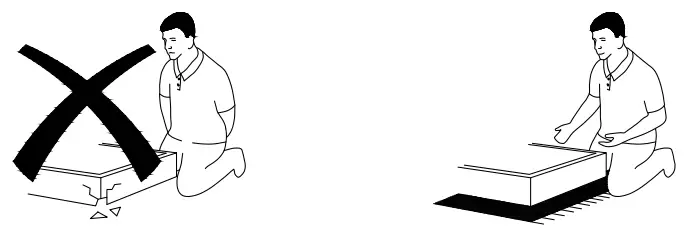
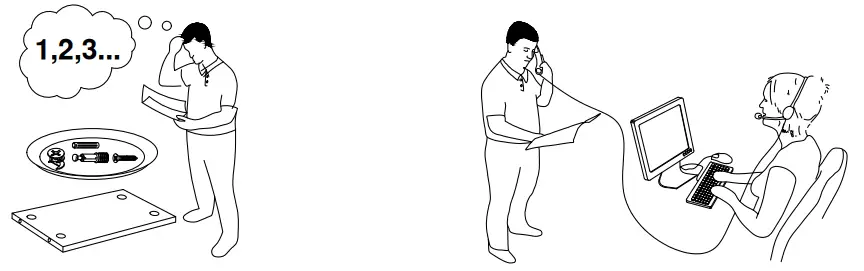
IF UNSURE CALL FOR ASSISTANCE
KEEP FITTINGS AWAY FROM CHILDREN

 Please check that you have all the components

Back to Back Desk Assembly
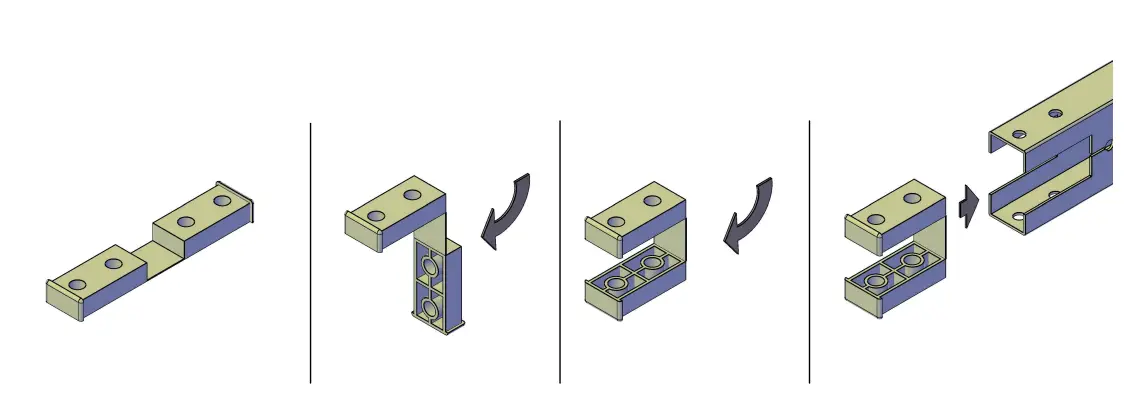
Step 1
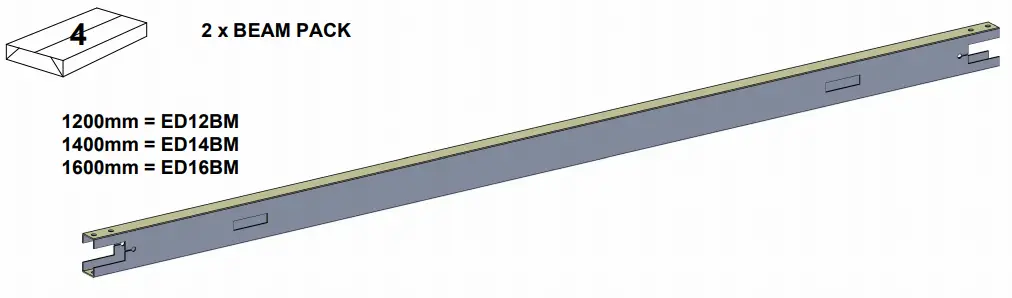
Insert the beam infill blocks into both ends of the beam.
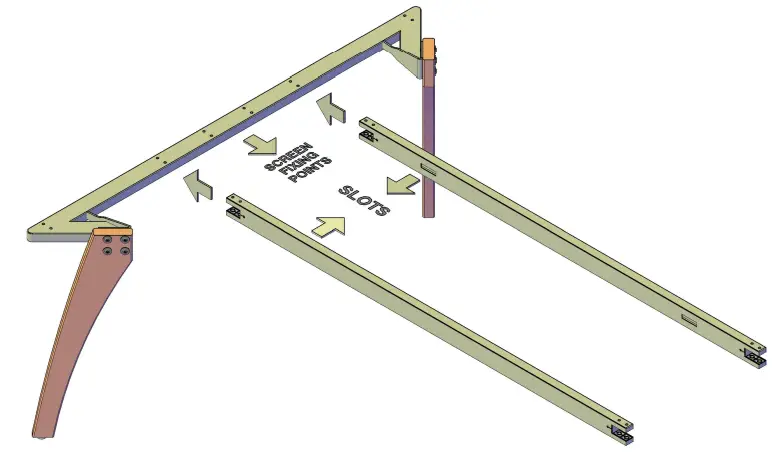
Step 2
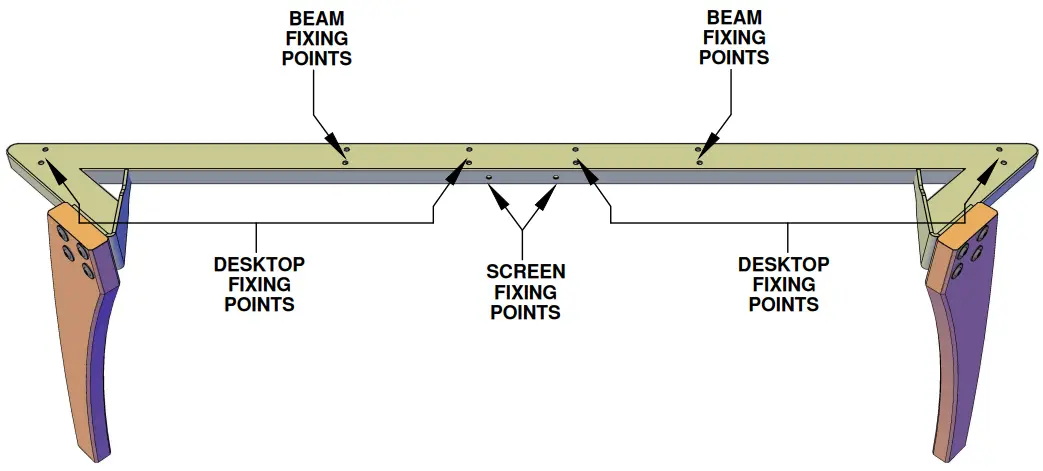
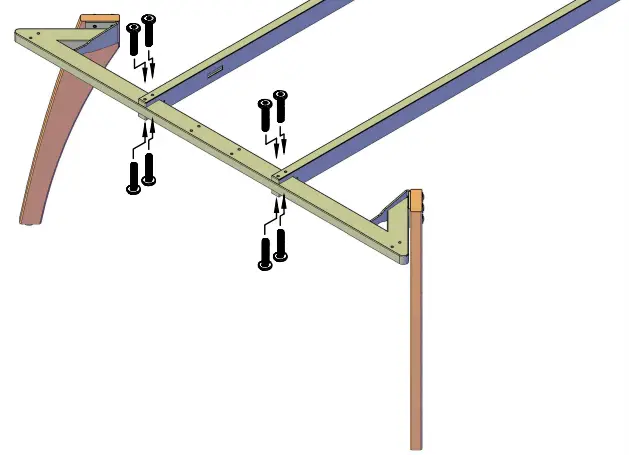
Push the beams onto the 1st leg frame lining up the beam holes with the M6 threaded holes on the leg.
Ensure the screen fixing points on the outer leg and cut-out slots on the beams are facing inwards.
Step 3
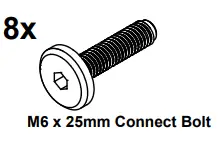
Once the holes are aligned fix the beam in place using the M6 x 25mm Connect Bolts.
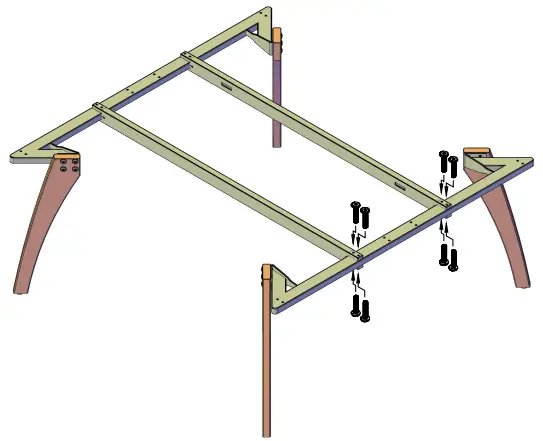
Step 4
Push the beams onto the remaining leg frame lining up the beam holes with the M6 threaded holes on the leg.
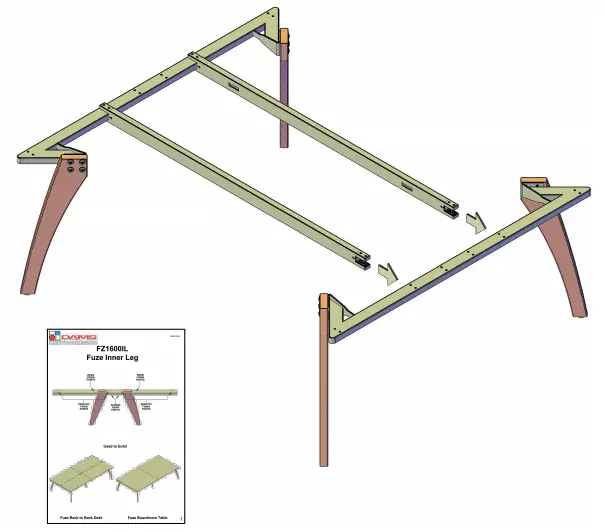
Please Note
If you have purchased a larger configuration of the desk than the one shown please refer to the FZ1600IL instruction before proceeding with step 4
Step 5
Once the holes are aligned fix the beam in place using the M6 x 25mm Connect Bolts.
Please Note
If you have purchased a sliding top system please refer to the sliding top bracket assembly instruction from this point onwards.
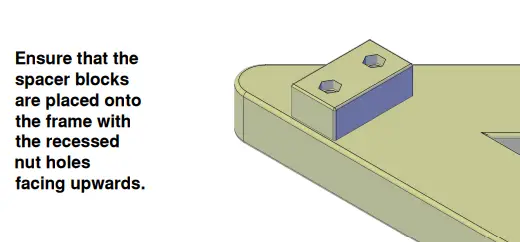
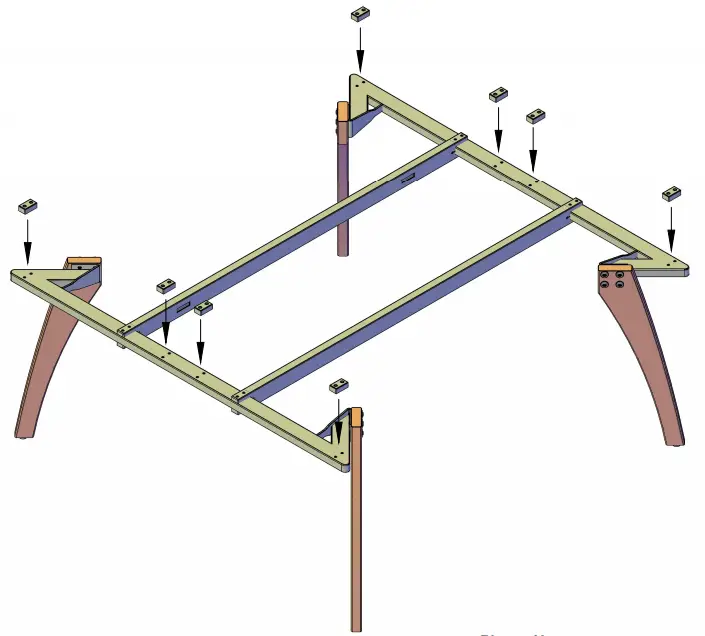
Step 6
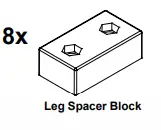
Position the Spacer Blocks over the holes in the leg frames.
Please Note
For ease of assembly Screen Brackets and Horizontal Cable Trays should be fitted before you proceed to Step 7.
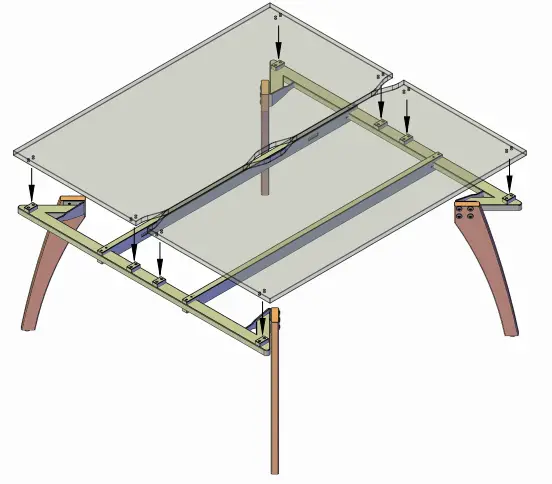
Step 7
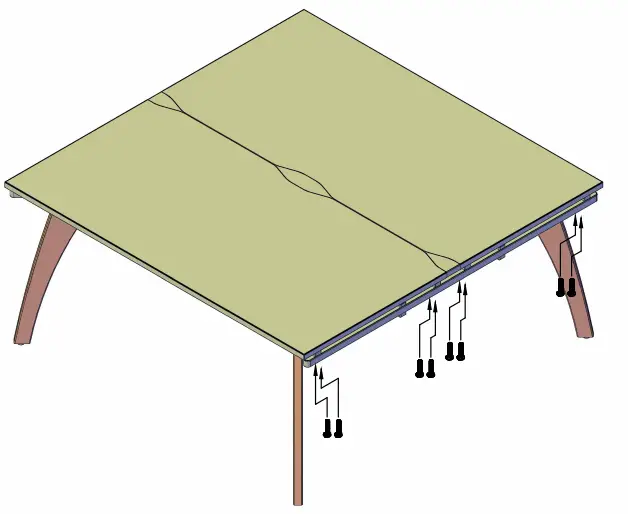
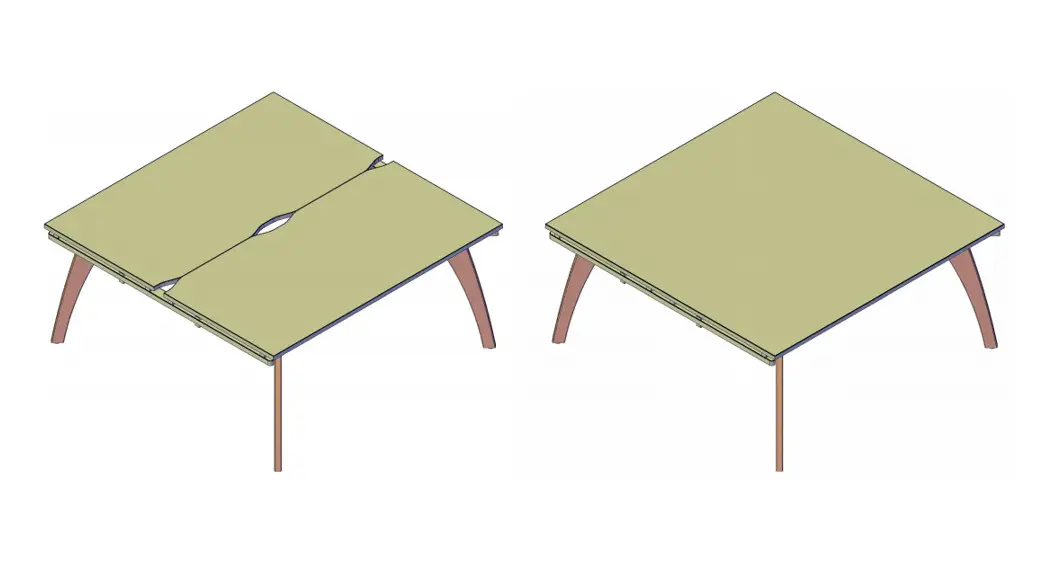
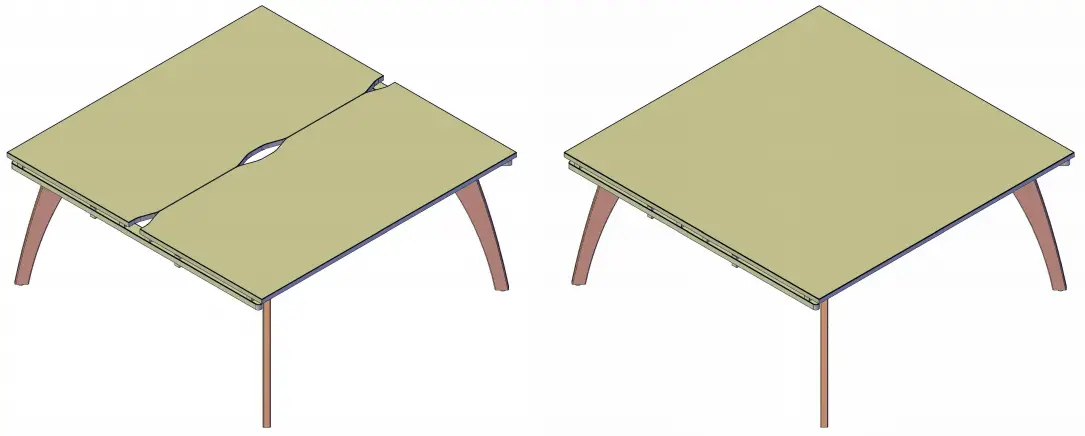
Place the desktop onto the assembled framework ensuring that the edges of the desktop finish parallel with the end of the leg frames.
The framework may be slightly out of square, if this happens loosen the fixing bolts in the beams and align correctly before re tightening the bolts.
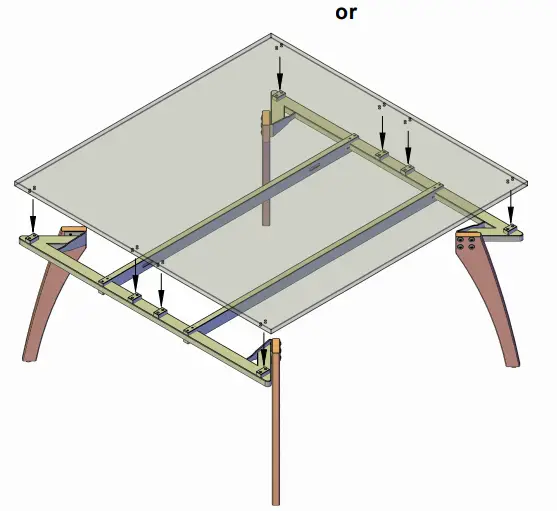
Step 8
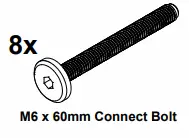
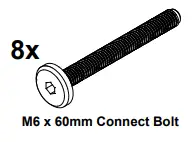
Attach one side of the desktops to the frame using the M6 x 60mm Connect Bolts.
Ensure that the bolt passes through both the leg frame and spacer Block.
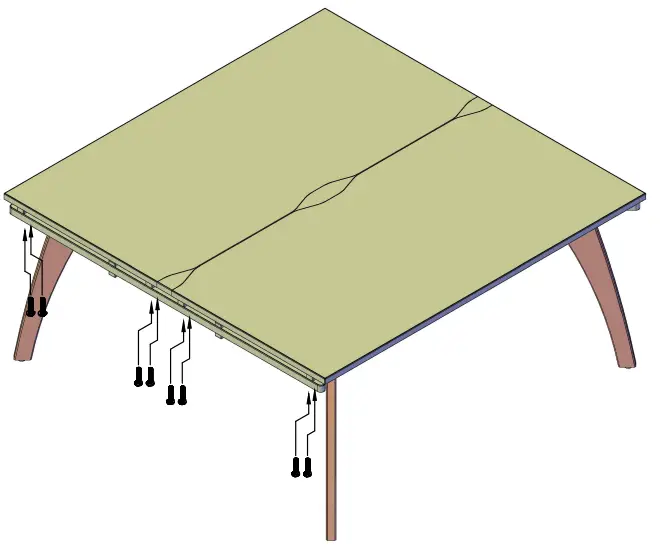
Step 9
Attach the remaining side of the desktops to the frame using the M6 x 60mm Connect Bolts.
Ensure that the bolt passes through both the leg frame and Spacer Block.