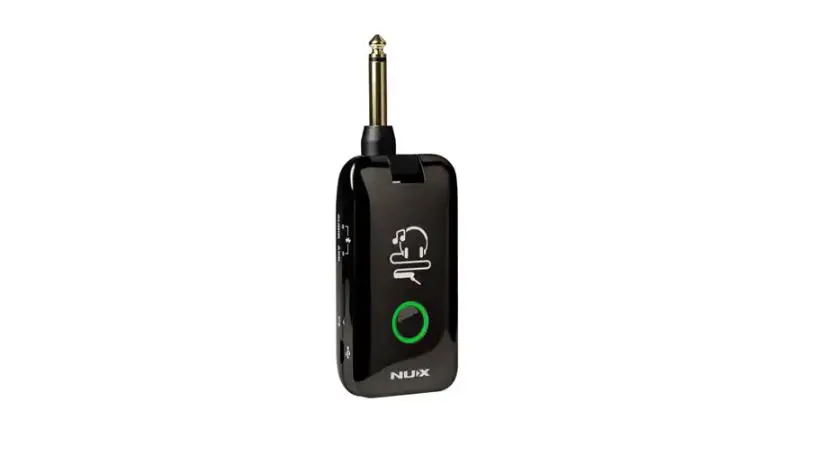
NUX MP-3 Mighty Plug Pro Firmware Headphone Amplifier
Receipe
- Computer running Windows 10 or later or macOS 10.10 or later.
- the NUX Mighty Plug Pro
- USB-C data/sync cable(Included)
- Quality USB-C to USB Adapter(If your computer only comes with USB-C ports) A little patience
Step by Step Guide
- Download the firmware update kit & Install the NUX Device Updater
- Download the firmware update kit from the Mighty Plug Pro product webpage. 1.2 Unzip the downloaded file to a directory of your choice.
- Install the NUX Device Updater. 2
- Put the Mighty Plug Pro into DFU mode and connect it to your computer.
- Connect your Mighty Plug Pro to your Mac or PC using the incuded USB-C cable.
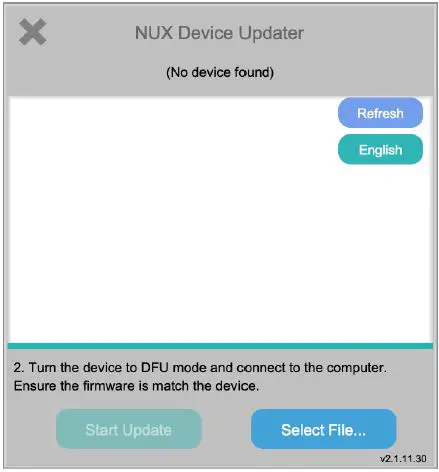
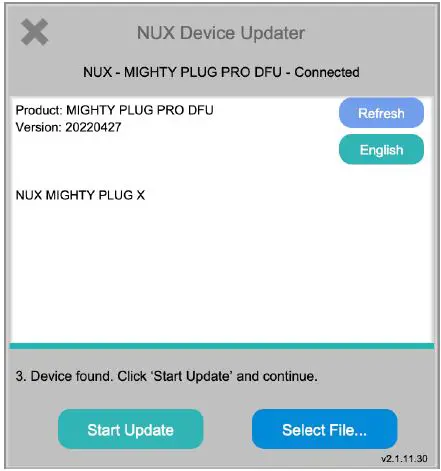
- Run the in NUX Device Updater from the applications folder(Mac user) or the start menu(Windows), you’ll see the following interface:

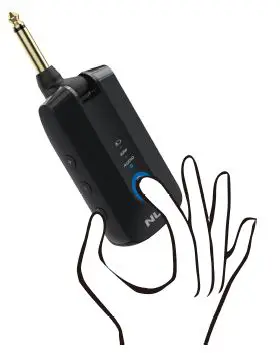
- Enter DFU mode:
- Press and hold the [PRESET SWITCH] button.
- Power on the Mighty Plug Pro by pressing the [POWER/MUTE] Button on the side of the unit.

- Release both buttons until you see the prompt message “(No device found)” turned into “Device
Connected”, at this point the [PRESET SWITCH] indicator should blink in BLUE (This should only
take 3-5 seconds.):
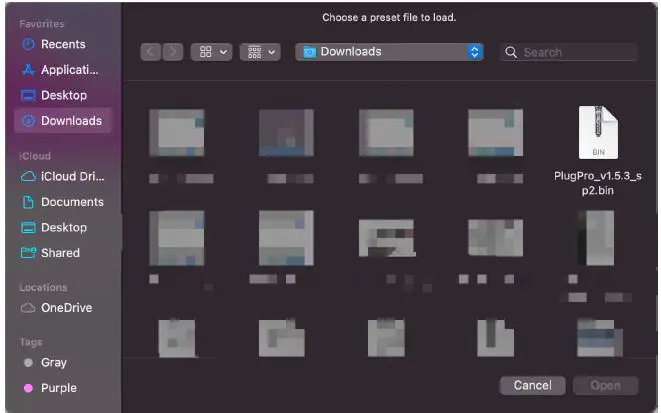
- Select the new firmware file & start upgrading the firmware.
- Select the new firmware file (the binary file with ‘.bin’ extension).
WARNING:
- Please make sure that the selected firmware is actual for the NUX Mighty Plug Pro. Otherwise, you may brick your Mighty Plug Pro or cause it to malfunction.
- Do NOT unplug anything during the upgrading process.

- Click “Start Update” to start upgrading the firmware. It takes roughly 3-5 minutes to finish, during this process, the [PRESET] switch blinks in ORANGE.
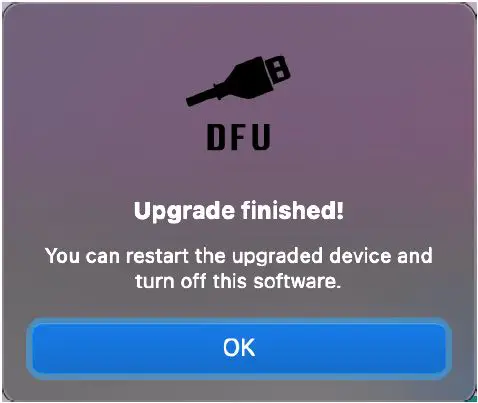
- Once the firmware is successfully upgraded, the following alert window should pop out notifying you that the upgrade is completed, and the [PRESET SWITCH] indicator start to blink in GREEN.
 4. Finish Updating
 - Close the “NUX Device Updater”
- Disconnect the USB-C cable from the Mighty Plug Pro.
- Grab your guitar/bass and try out the new features and tones.

 4. Finish Updating
If you have any further problems, please email us @ [email protected] or [email protected] ↩ The latest version of NUX Device Updater (V2.1.12.10) by far requires installation.


