![]()
USER GUIDE

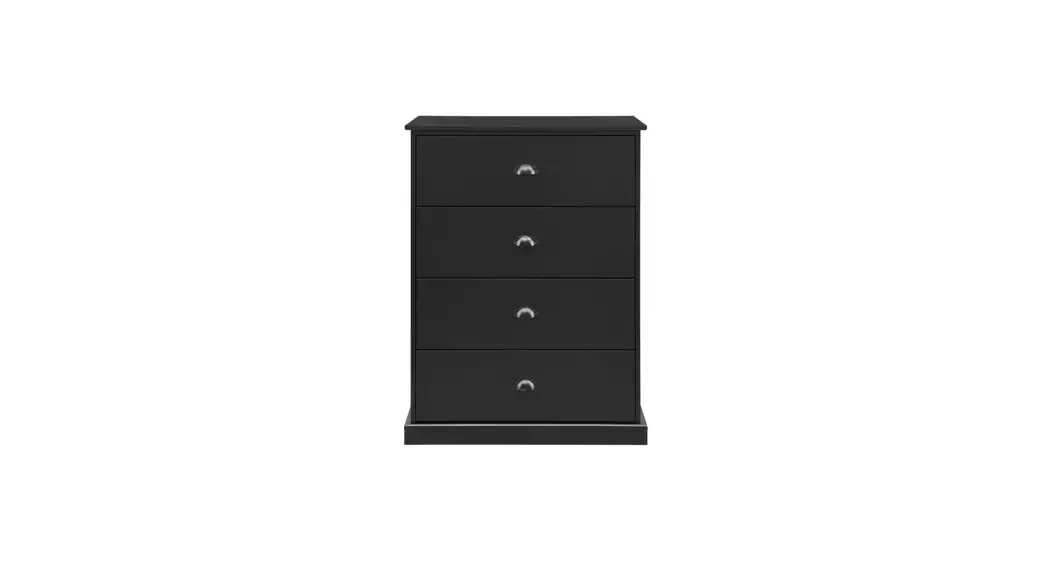
HAMPTON CHEST OF DRAWERS
SLHAMPTCDWA, SLHAMPTCDBA
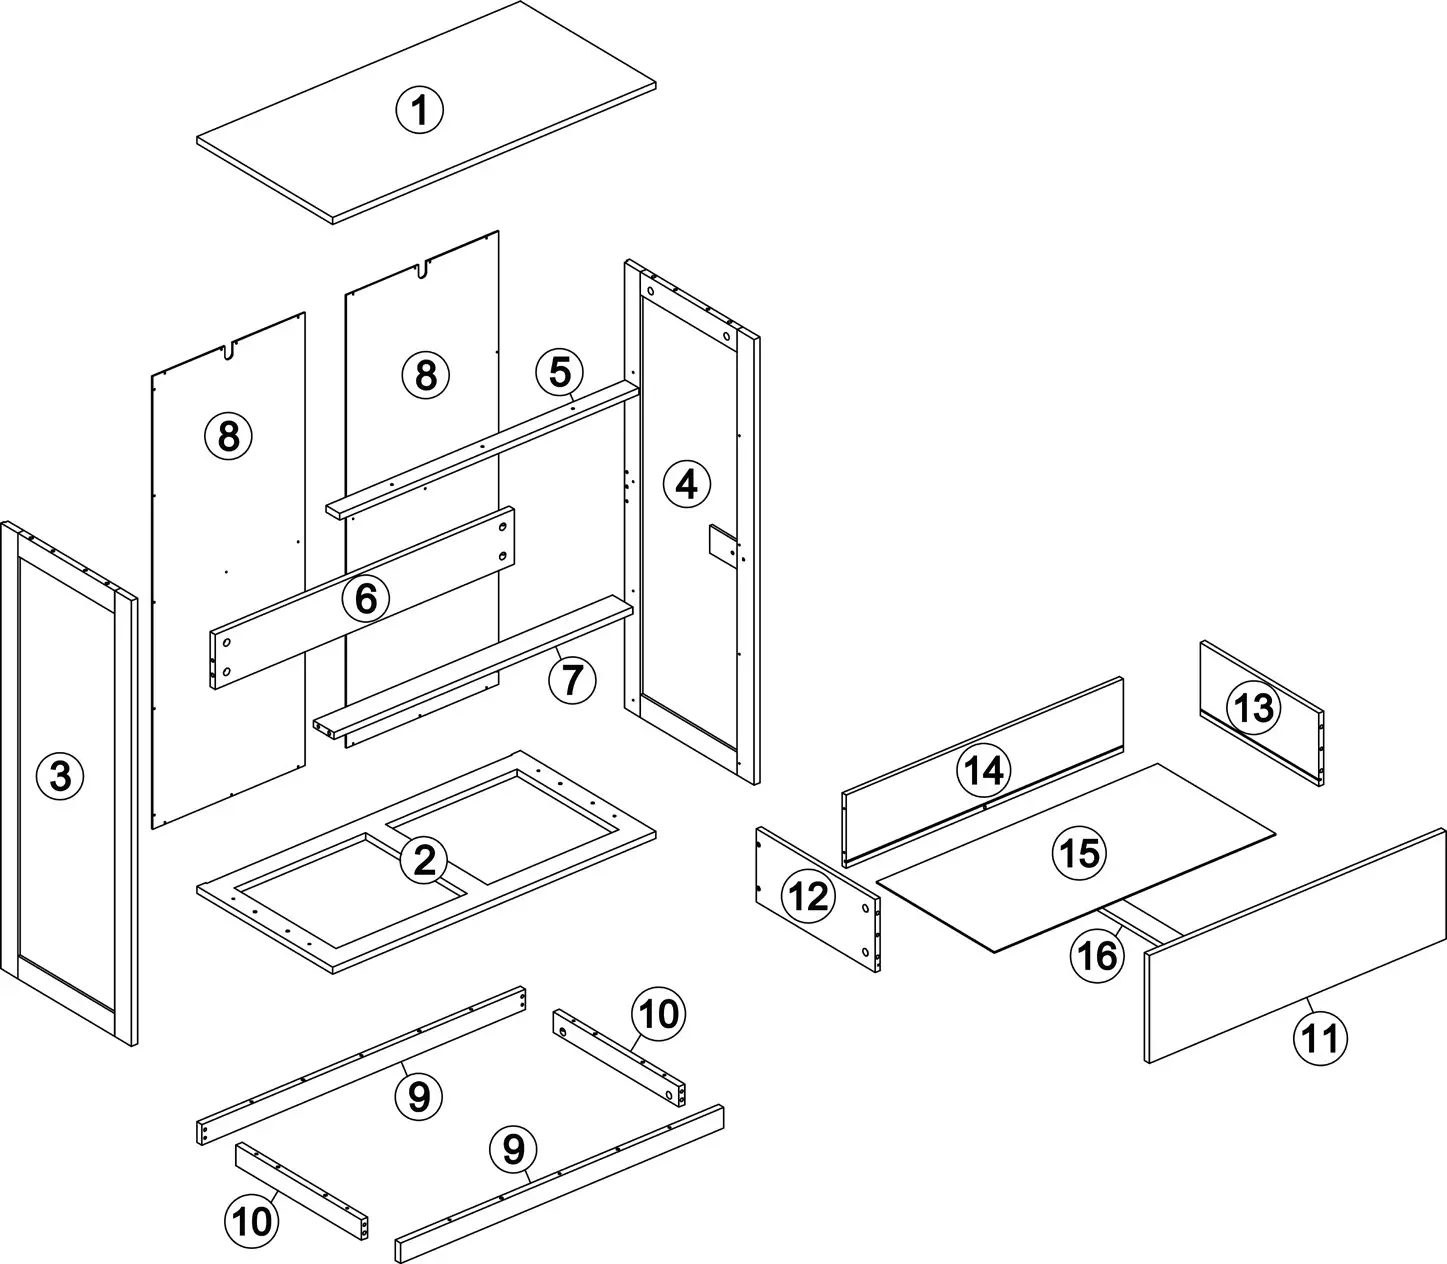
COMPONENTS
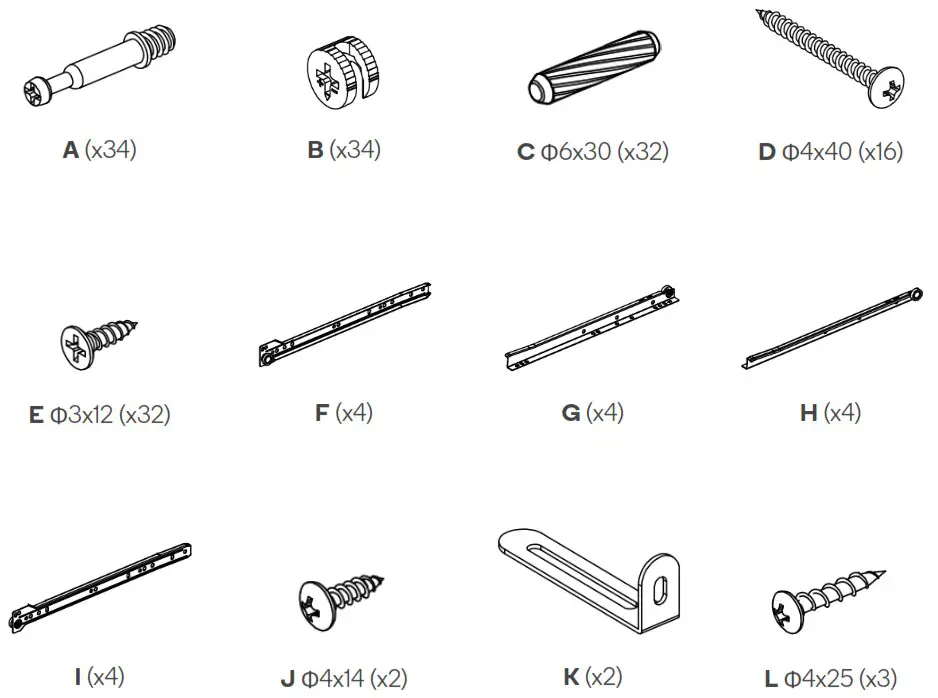
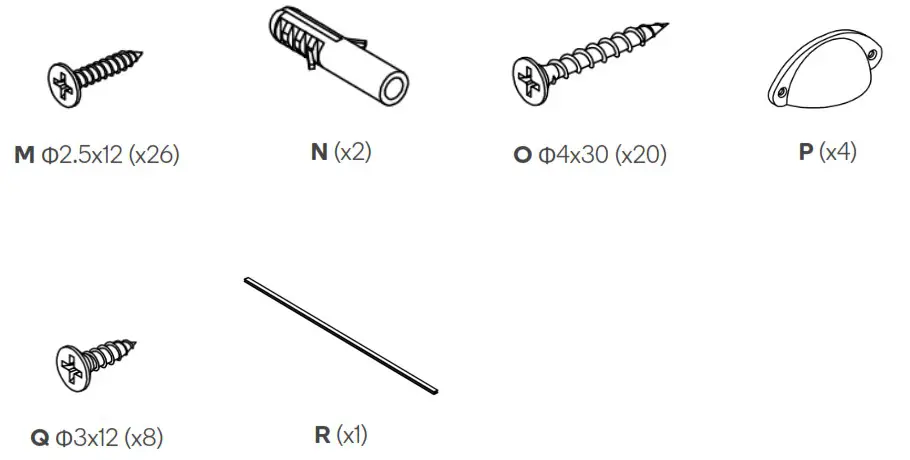
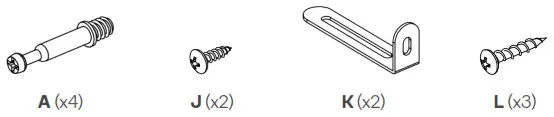
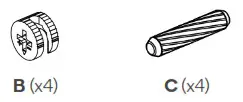
Hardware
ASSEMBLY
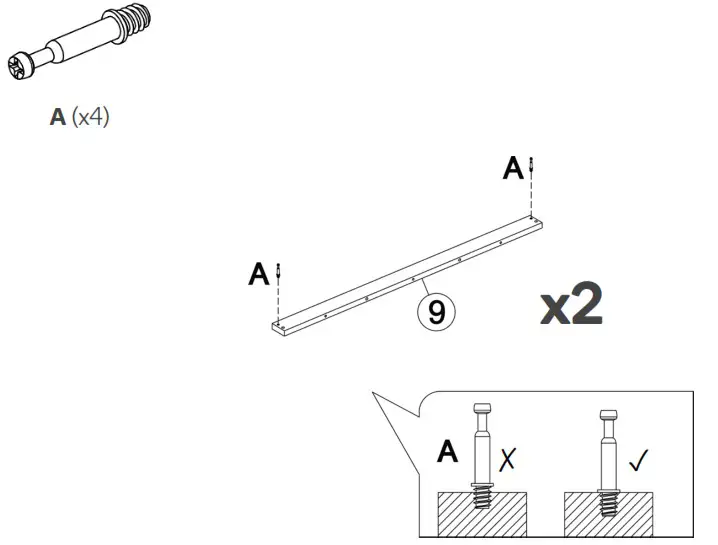
Step 1: Insert A into both ends of part 9. Repeat this step with the other part labelled 9.
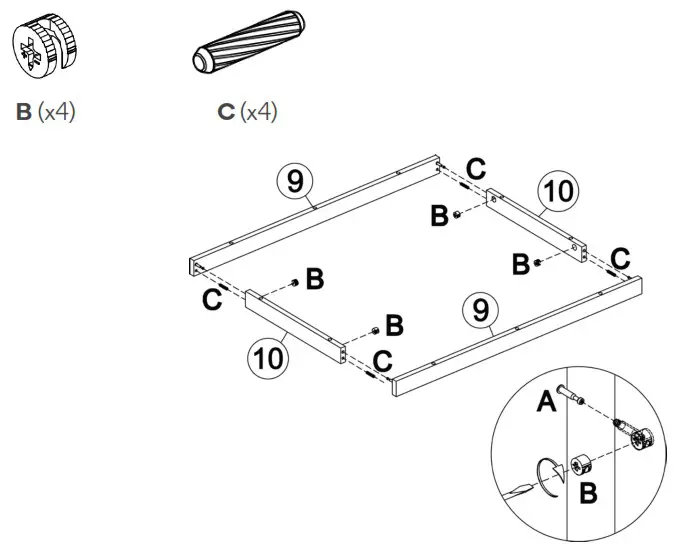
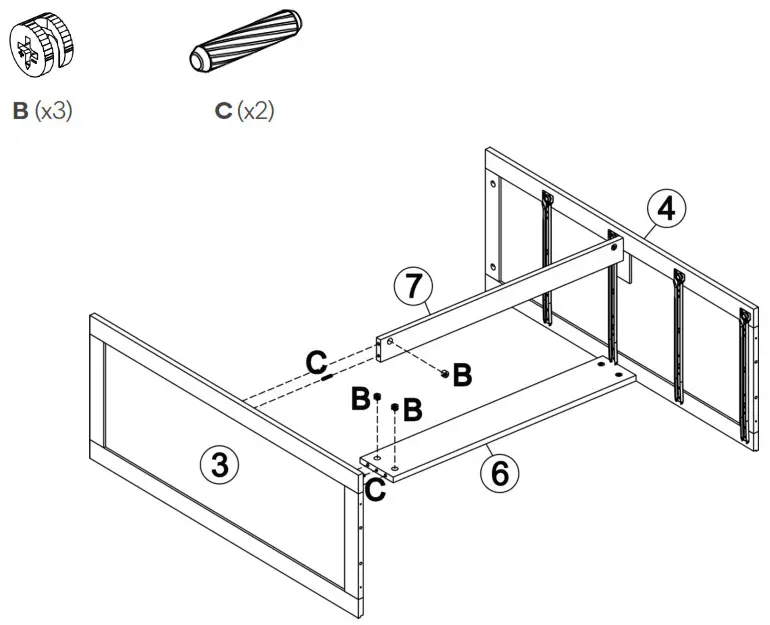
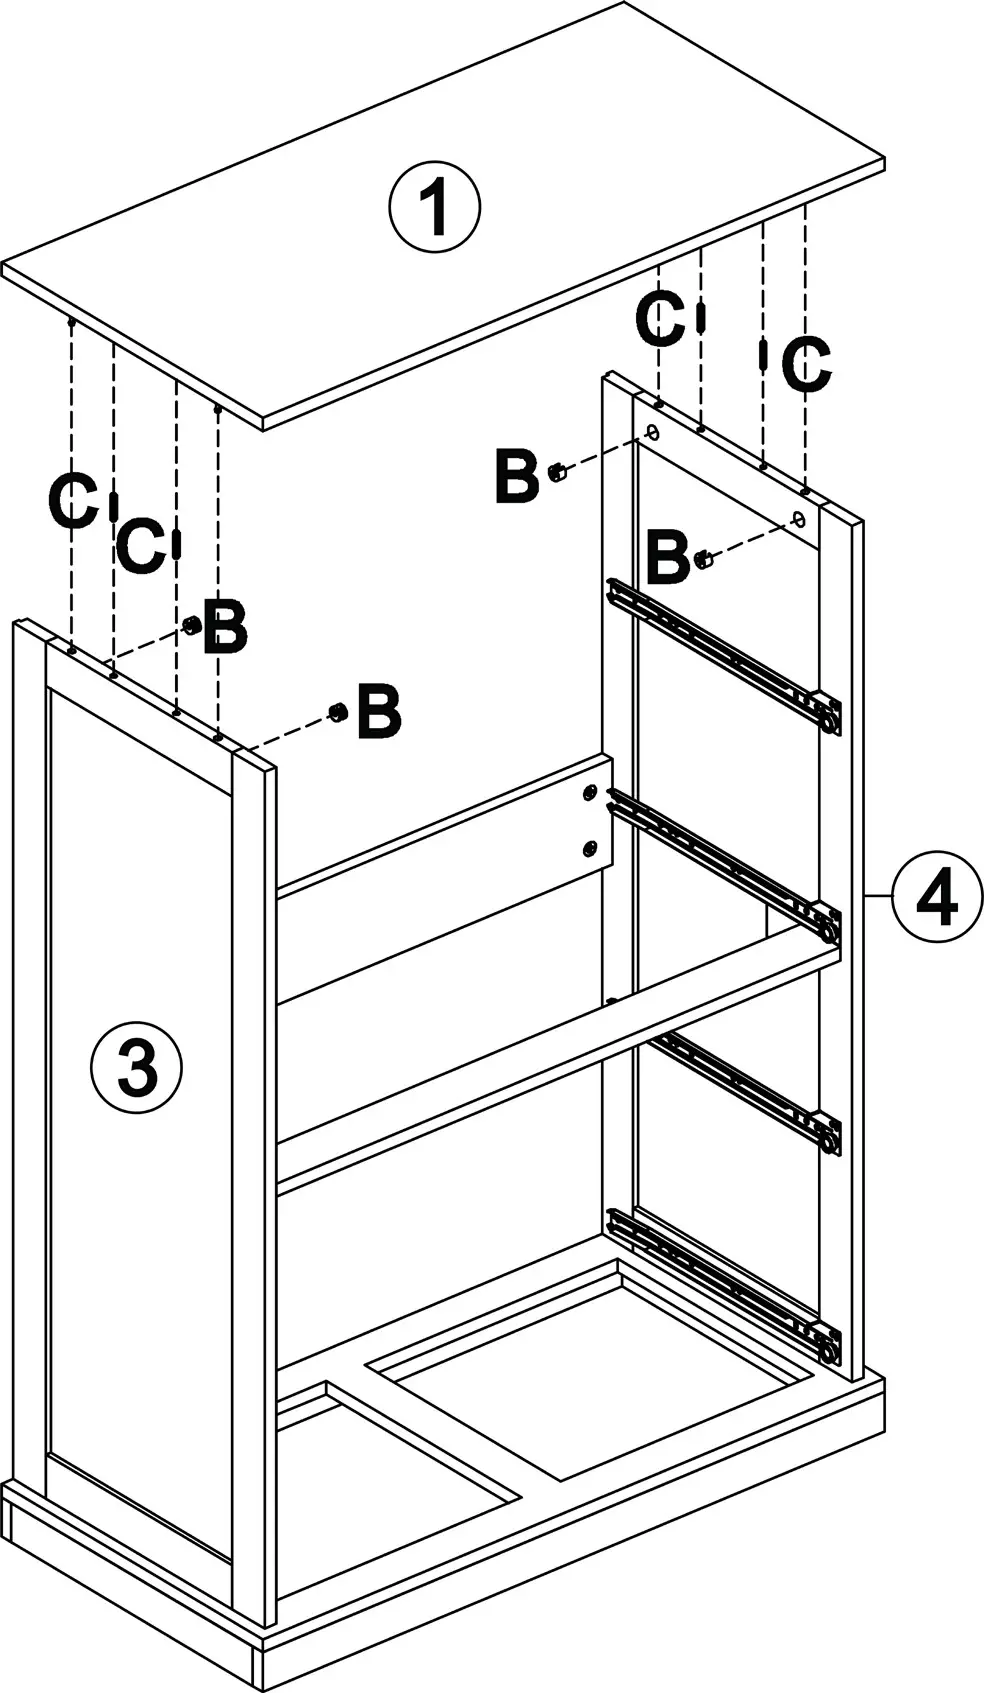
Step 2: Insert C into parts labelled 9 then secure 9 with parts labelled 10. Ensuring the arrows on each B piece are pointing to the corresponding A piece, insert B pieces into parts labelled 10 and secure B to A with a Phillip head screwdriver (not supplied).
Step 3:
Step 4:

Step 5:
Step 6:
Step 7:
Step 8:
Step 9:
Step 10:
Step 11:

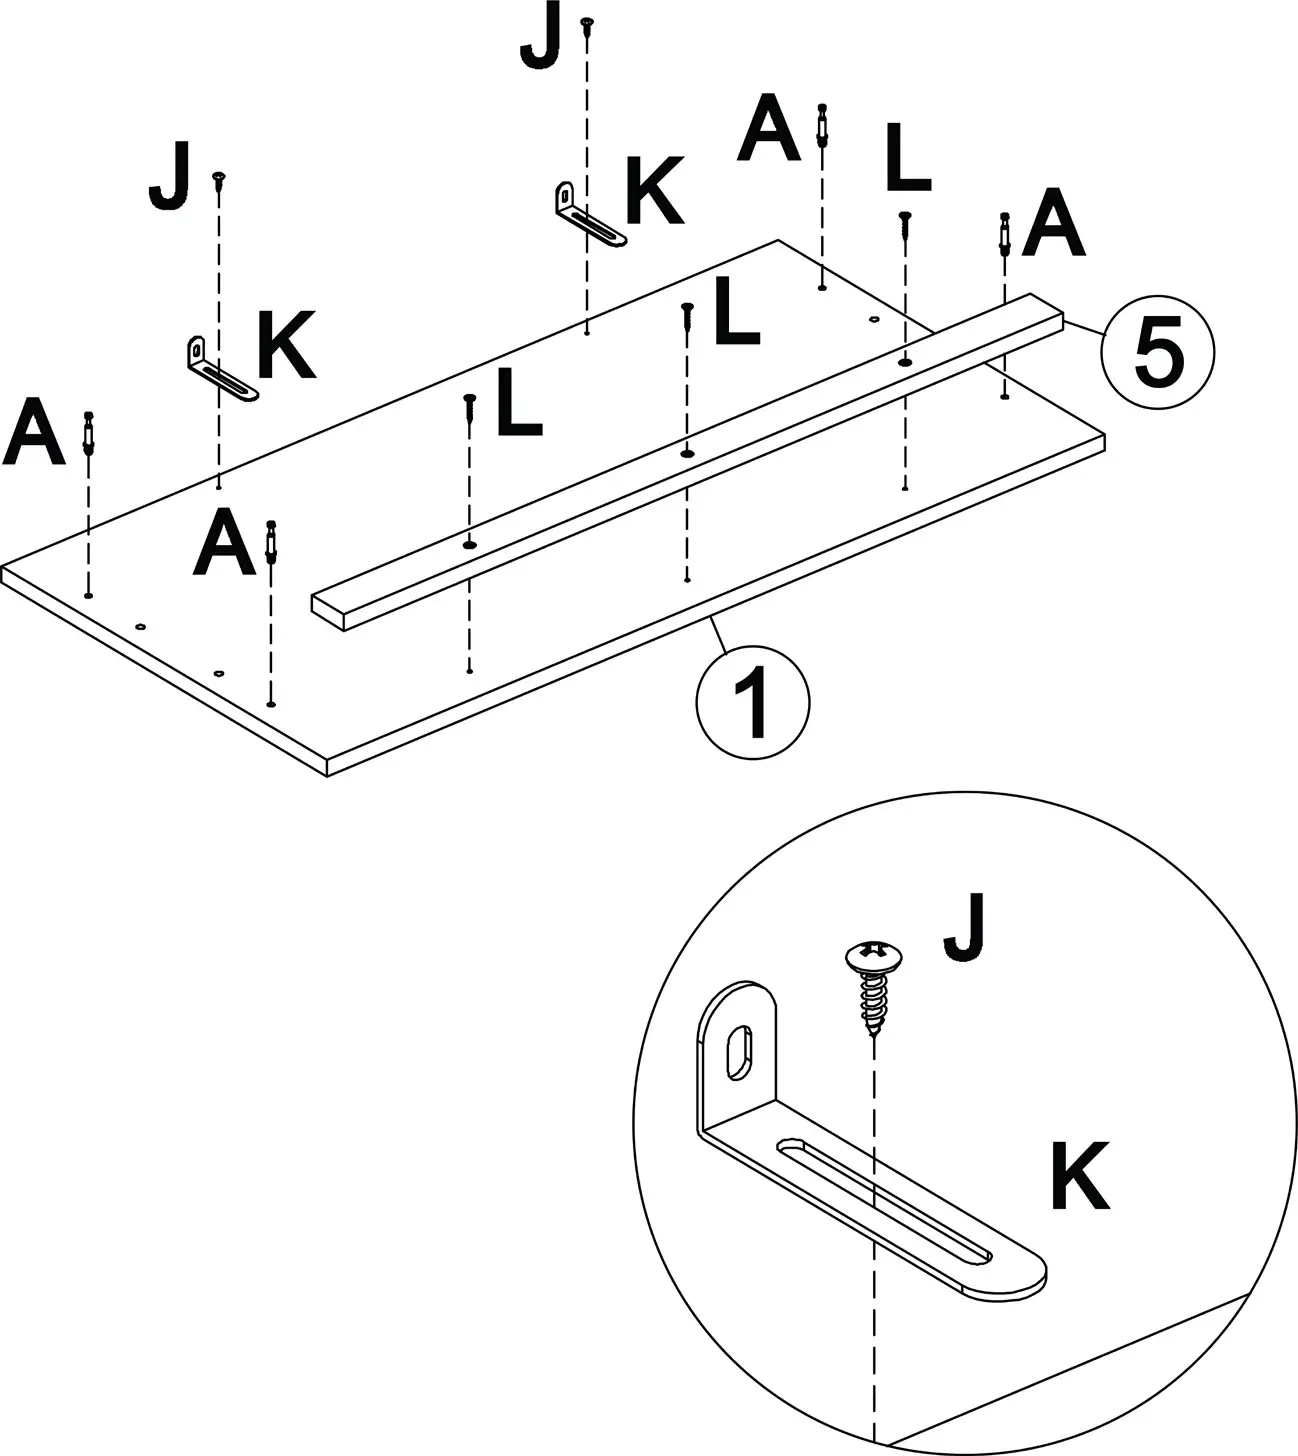
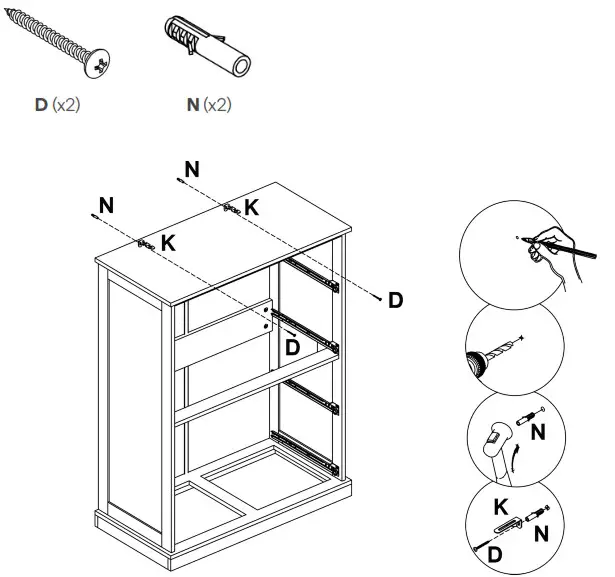
 Step 12: Align the chest of drawers assembly with where you would like to place it. Mark two spots on the wall according to the K brackets. Using a drill (not supplied), make holes on the marked spots. With a hammer (not supplied), secure N through the holes.
Align K on the chest of drawers assembly over N and using a Phillips screwdriver, secure the D screws through both components (K, N).
TOPPLING FURNITURE WARNING:
- It is strongly recommended that this product is permanently fixed to the wall.
- Please seek professional advice if you are in doubt of what fixing device to use.
- Regularly check that anchors are securely maintained.
- Stability of tall items may be affected by thick carpets or uneven floors.
- Do not place unanchored televisions on furniture.
Caution! For your safety when attaching the anchor fixings, please note the following: Check any electrical wires or plumbing inside the wall before drilling any holes (if you are unsure, please seek professional advice from a qualified tradesperson).
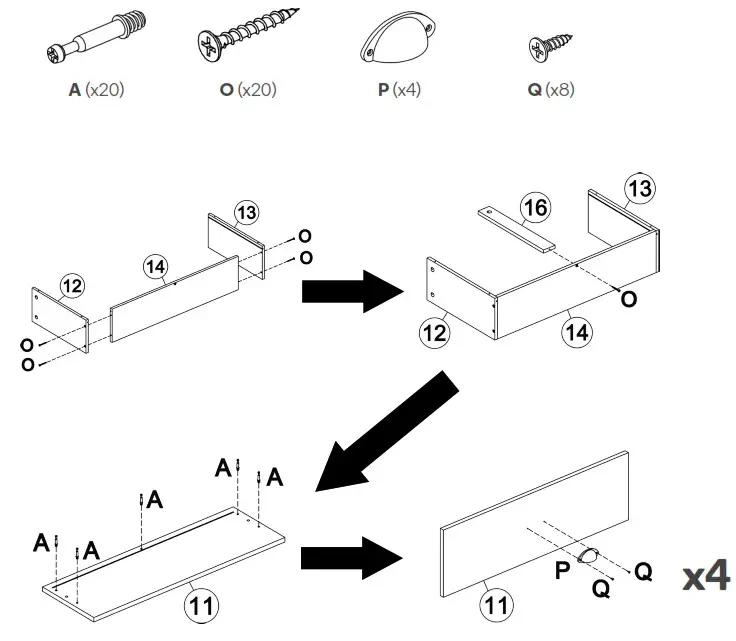
Step 13: Using a Phillips screwdriver, secure parts 12, 13 and 14 with O screws. Connect part 16 to part 14 with one O screw.
Insert A onto part 11. Secure P onto part 11 with Q screws. Repeat the whole process three more times to create four drawer assemblies.
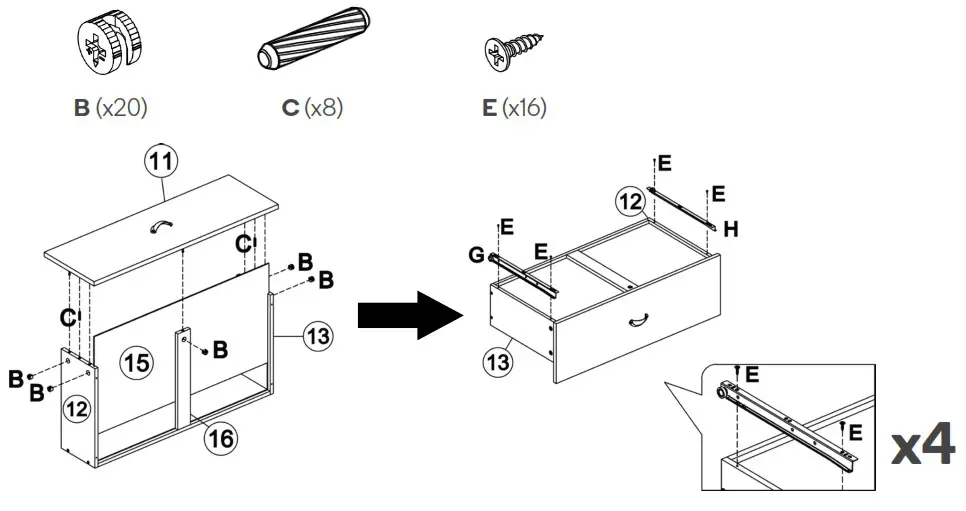
Step 14: Slide part 15 onto one drawer assembly. Insert part 11 over parts 12, 13 and 16. Ensuring the arrows on each B piece are pointing to the corresponding A piece, insert B pieces into parts labelled 12, 13 and 16 and secure B to A with a Phillips head screwdriver.
Repeat this process three more times with the remaining drawer assemblies.
Step 15:

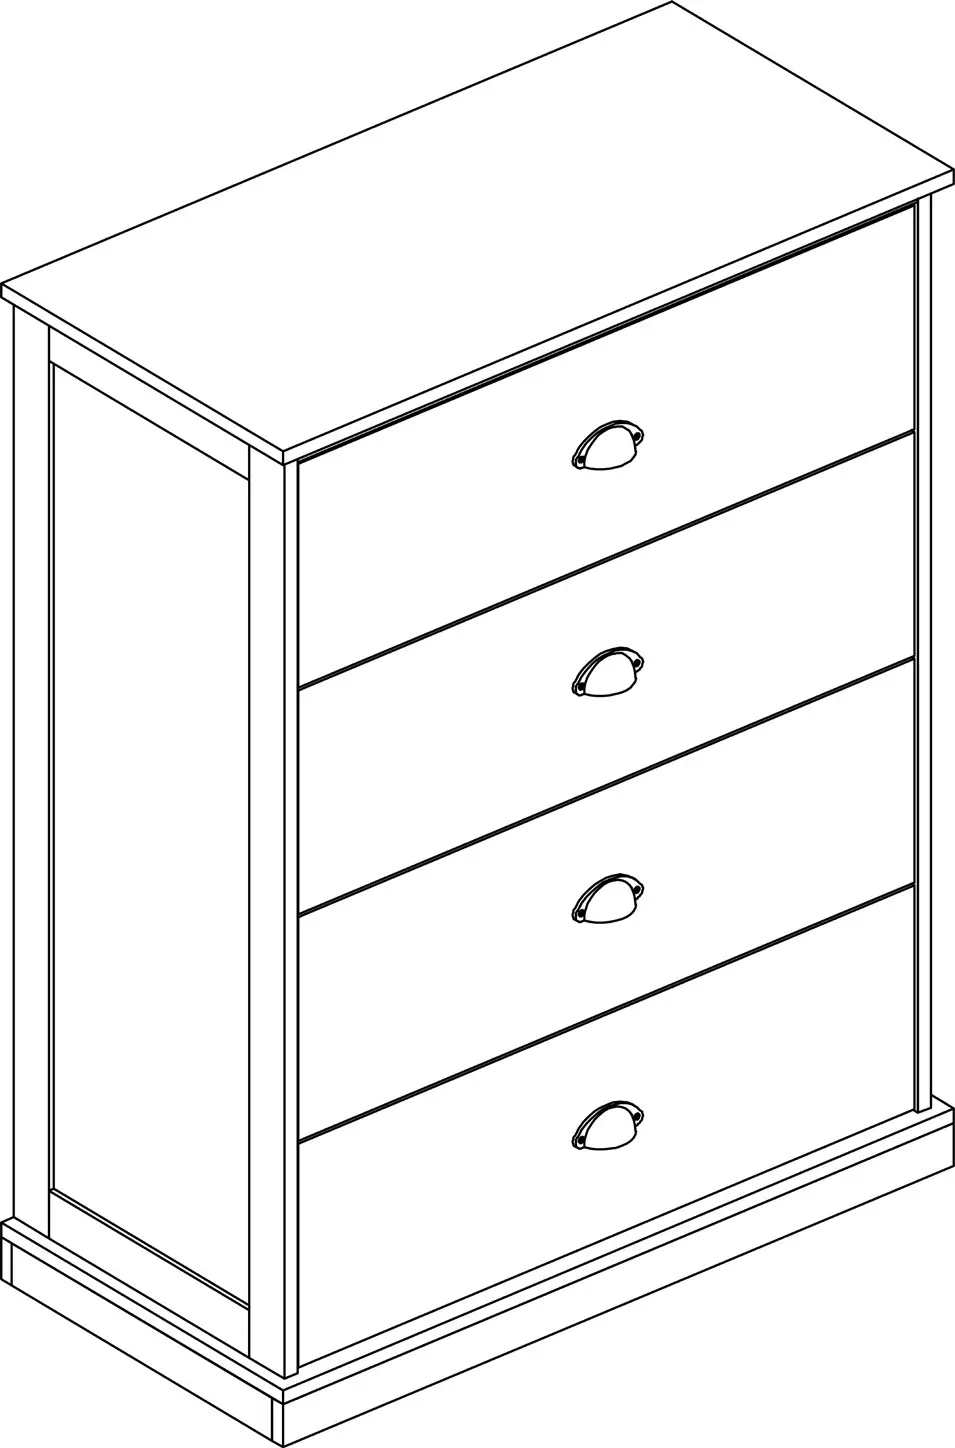
Assembly complete.
Need more information?
We hope that this user guide has given you the assistance needed for a simple set-up.
For the most up-to-date guide for your product, as well as any additional assistance you may require, head online to help.kogan.com
![]()


