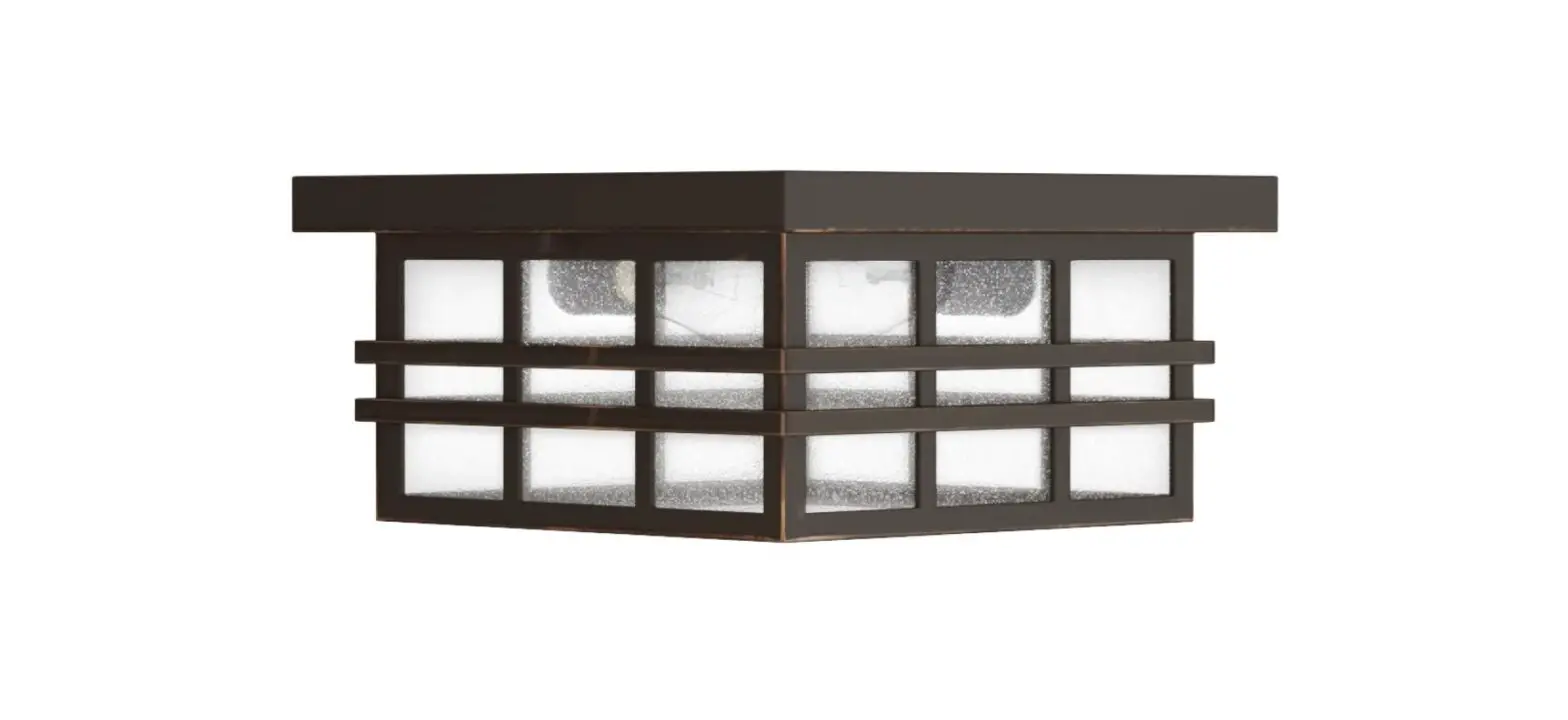
Signature Hardware 434153 Ambler 1-Light Oil Rubbed Bronze Incandescent Flush Mount Light Instruction Manual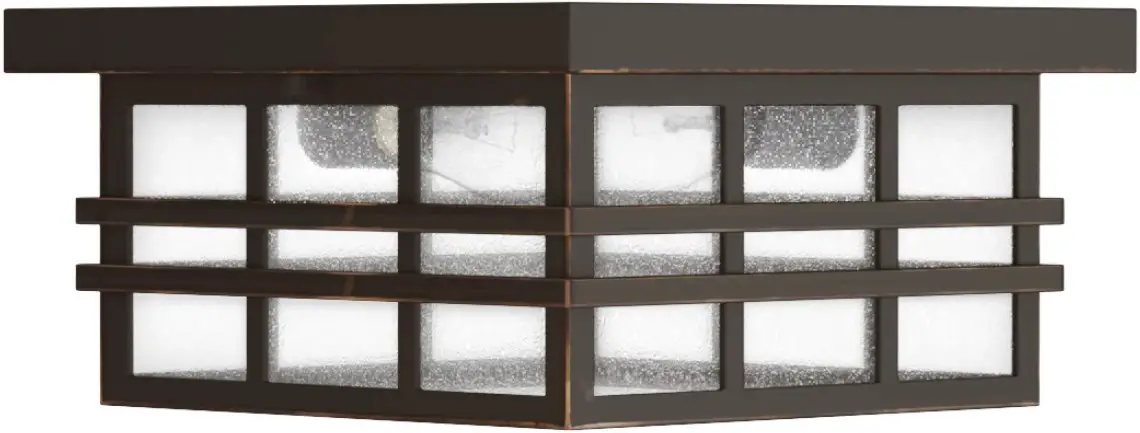
BEFORE YOU BEGIN
We recommend consulting a professional if you areunfamiliar with installing electric fixtures. Signature Hardware accepts no liability for any damage to the faucet, plumbing, sink, counter top, or for personal injury during installation.
Observe all local plumbing and building codes. Unpack and inspect the product for shipping damage. If any damage is found, contact our Customer Relations team via live chat at www.signaturehardware.com or by emailing [email protected].
GETTING STARTED
Ensure that you have gathered all the required materials that are needed for the installation.
ADDITIONAL QUESTIONS?
Still need help? Check out our Help Center at www.signaturehardware.com for product and warranty information, or contact us through live chat or by emailing [email protected]
FOR YOUR SAFETY
WARNING: Be sure the electricity to the wires you are working on is shut off, either the fuse is removed or thecircuit breaker is shut of. You don’t need special tools to install this fixture. Be sure to follow the steps in the order given. Under no circumstances should a fixture be hung on house electrical wires, nor should a swag type fixture be installed on a ceiling which contains a radiant type heating system. Read instructions carefully, if you are unclear as to how to proceed, consult a qualified electrician.
TOOLS AND MATERIALS
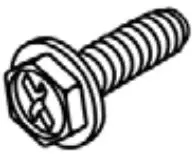
- Mounting Hardware
- Wire Connector
- Outlet Box Screws (2pcs)
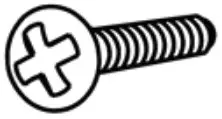
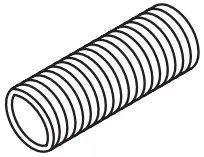
- Nipple (1pc)
- Ground Screw (1pc)
- Ball Nuts (1pc)
- Cap Nuts (1pc)
INSTALLATION
- Shut off power at the circuit breaker and remove old fixture, including the crossbar
- Carefully unpack your new fixture and lay out all the parts on a clear area. Take care not to lose any small parts necessary for installation.
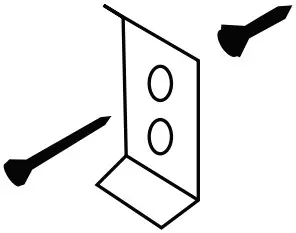
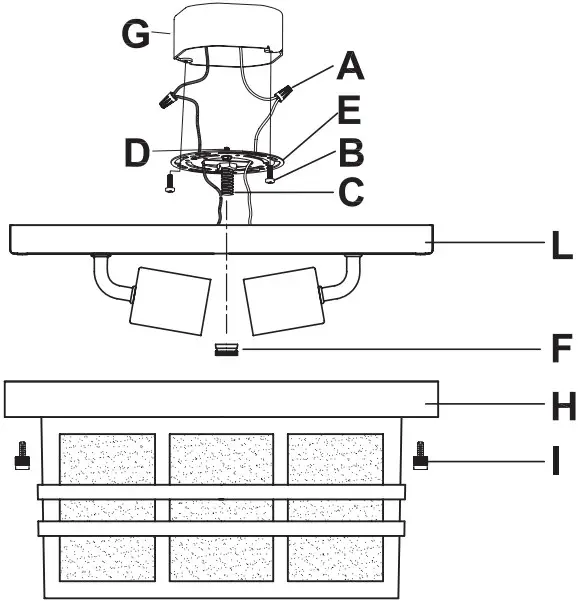
- Attach the mounting plate (E) to the outlet box (G) (not supplied) using the 2 screws (B) provided with the outlet box (G).
- CONNECTING THE WIRES
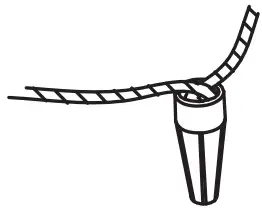
Now connect the electrical wires as follows: Connect the black wire from the fixture to the black (hot) wire. Connect the white wire from the fixture to the white (neutral) house wire. Make sure all the wire nuts are secured. You may wrap the connections with electrical tape. If your outlet has a ground wire (green or bare copper), connect fixture’s ground wire to it. Otherwise, connect fixture’s ground wire directly to the mounting plate by using the green screw provided. Tuck wire connections neatly into the junction box - Attach the canopy (L) to the mounting plate (E) and then secured by the ball nut (F).
- Attach the canopy (H) to canopy (L) and then secured by the 2 cap nuts (I).
![]()


