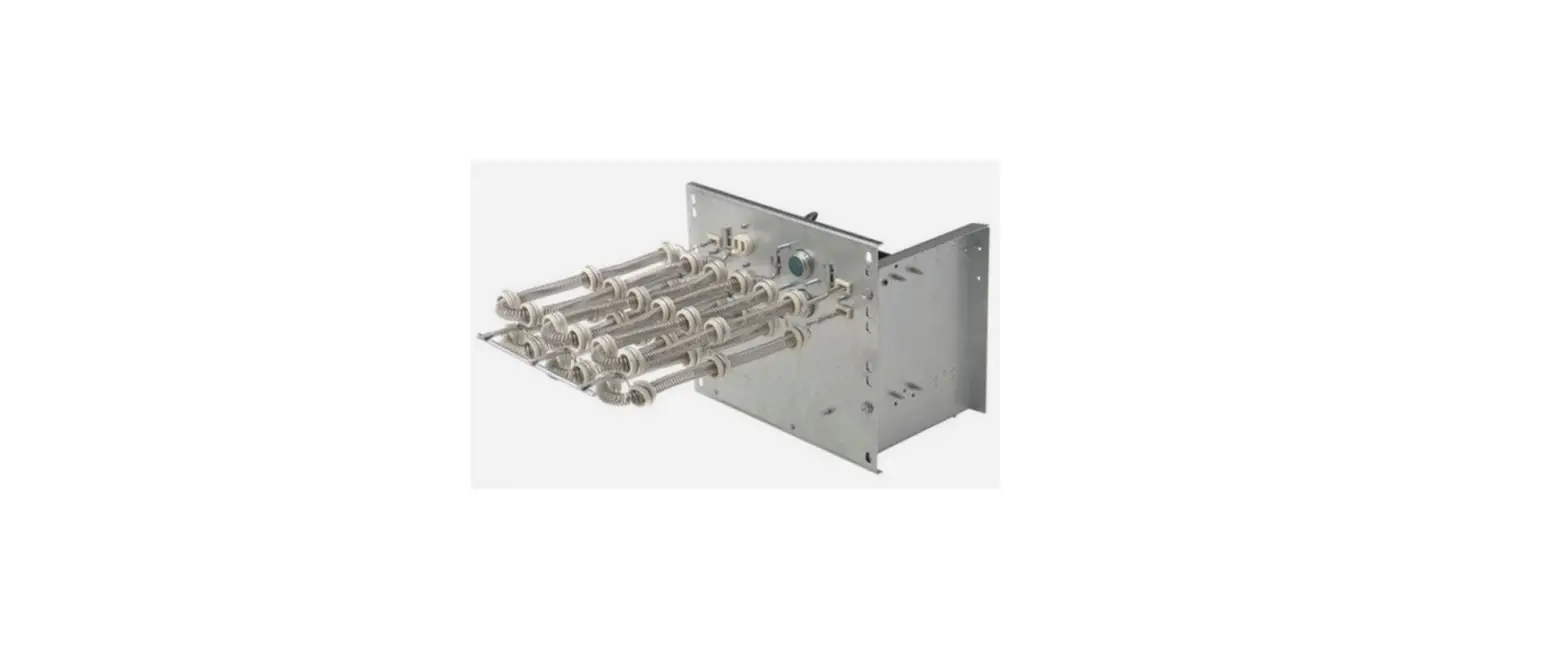
GREE FLEXX24HP240V1AH Electric Heater Kit
Electric Heater Kit
MODELS
- FLEXX24HP240V1AH
- FLEXX36HP240V1AH
- FLEXX48HP240V1AH
- FLEXX60HP240V1AH
Thank you for choosing our product. Please read this Installation & Owner’s Manual carefully before operation and retain it for future reference. If you lose this Manual, please contact your local distributor visit www.greecomcomfort.com/resources now to download and file the electronic version.
ATTENTION INSTALLING PERSONNEL
Prior to installation, thoroughly familiarize yourself with this Installation Manual. Observe all safety warnings. During installation or repair, caution is to be observed It is your responsibility to install the product safely and to educate the customer on its safe use.
CAUTIONS
- ENSURE THAT ALL POWER IS DISCONNECTED PRIOR TO ATTEMPTING INSTALLATION OF THIS HEATER KIT. THERE MAY BE MORE THAN ONE DISCONNECT SERVICING THE UNIT.
- A MEANS OF STRAIN RELIEF AND CONDUCTOR PROTECTION MUST BE PROVIDED AT THE SUPPLY WIRE ENTRANCE INTO THE CABINET.
- USE COPPER CONDUCTORS ONLY
- INSTALLATION MUST FOLLOW NATIONAL ELECTRIC CODE AND OTHER APPLICABLE CODES
- IF THIS APPLIANCE IS INSTALLED IN AN ENCLOSED AREA SUCH AS A GARAGE OR UTILITY ROOM WITH ANY CARBON MONOXIDE-PRODUCING APPLIANCE, ENSURE THE AREA IS PROPERLY VENTILATED.
INSTALLATION
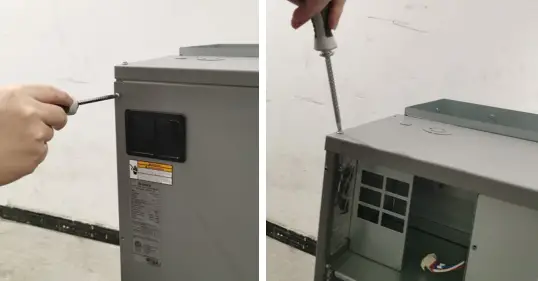
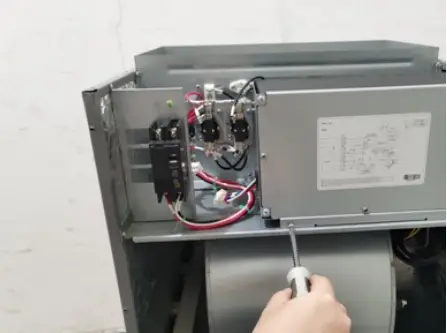
- Remove the front panel and upper access panel from the air handler

- Disassemble the electrical box

- Remove the electrical box

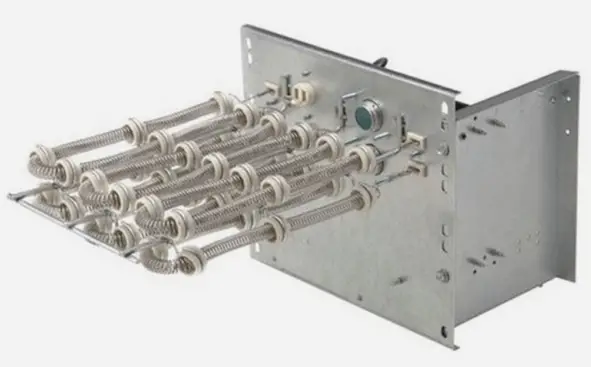
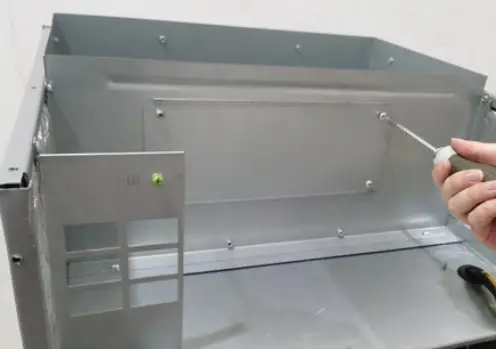
- Disassemble the metal plate at the mounting hole of the electric heater

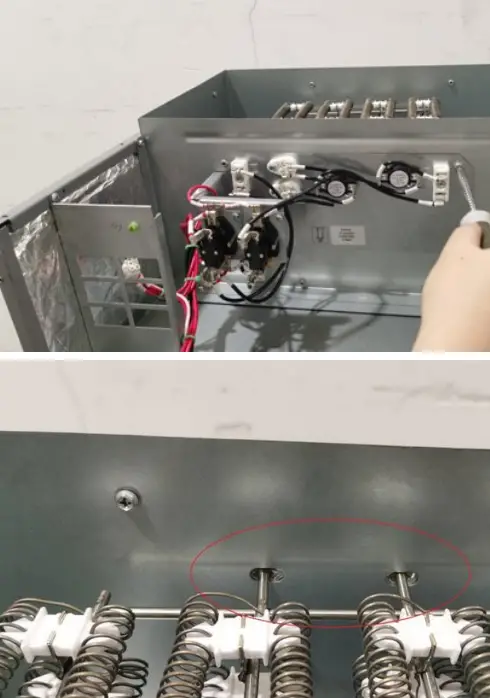
- Install the electric heater to the metal plate position which disassembles in step 4.
(Notes: There are two holes circled below which are used to fasten the electric heater bracket during installation)
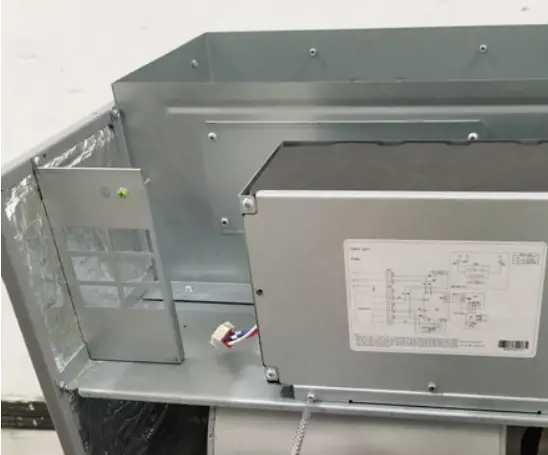
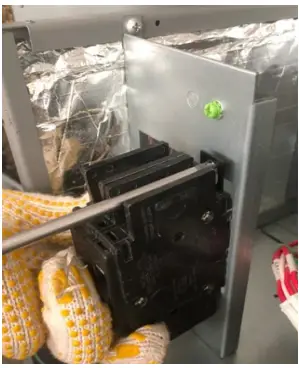
- Install breaker (Notes: When installation, you need to lift up the buckle first, hold the breaker bracket and then put down the buckle to fix the breaker)

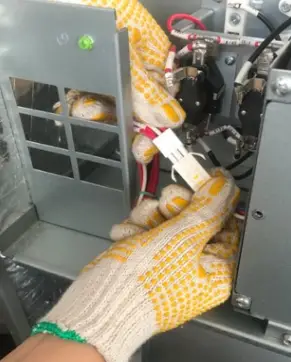
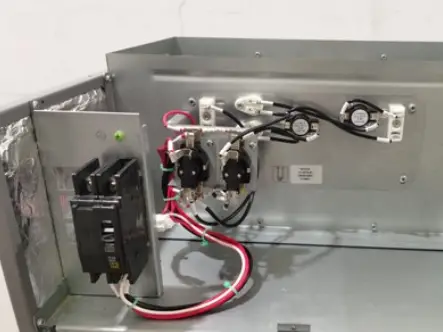
- Connect the electric heater terminal

- After installation, the schematic diagram is as follows:

- Install the electrical box back to the original position
- Install the front panel and upper panel back to the air handler. Electric heater installation is completed.

Electric Heater Kits
| Model | Cooling capacity(ton) | Optional electric heater | |
| FLEXX24,36HP230V1AH | 2.0 / 3.0 | FLEXXHTR5KW | 5 |
| FLEXX24,36HP230V1AH | 2.0 / 3.0 | FLEXXHTR8KW | 8 |
| FLEXX36,48,60HP230V1AH | 3.0 / 4.0 / 5.0 | FLEXXHTR10KW | 10 |
| FLEXX48,60HP230V1AH | 4.0 / 5.0 | FLEXXHTR15KW | 15 |
| FLEXX48,60HP230V1AH | 4.0 / 5.0 | FLEXXHTR20KW | 20 |
CONTACTS
- U.S. CONTACT INFORMATION TRADEWINDS, LLC
- E-mail: [email protected]
- Contractor Support: 888-850-7928
- Mon-Fri 8 AM – 5 PM EDT


