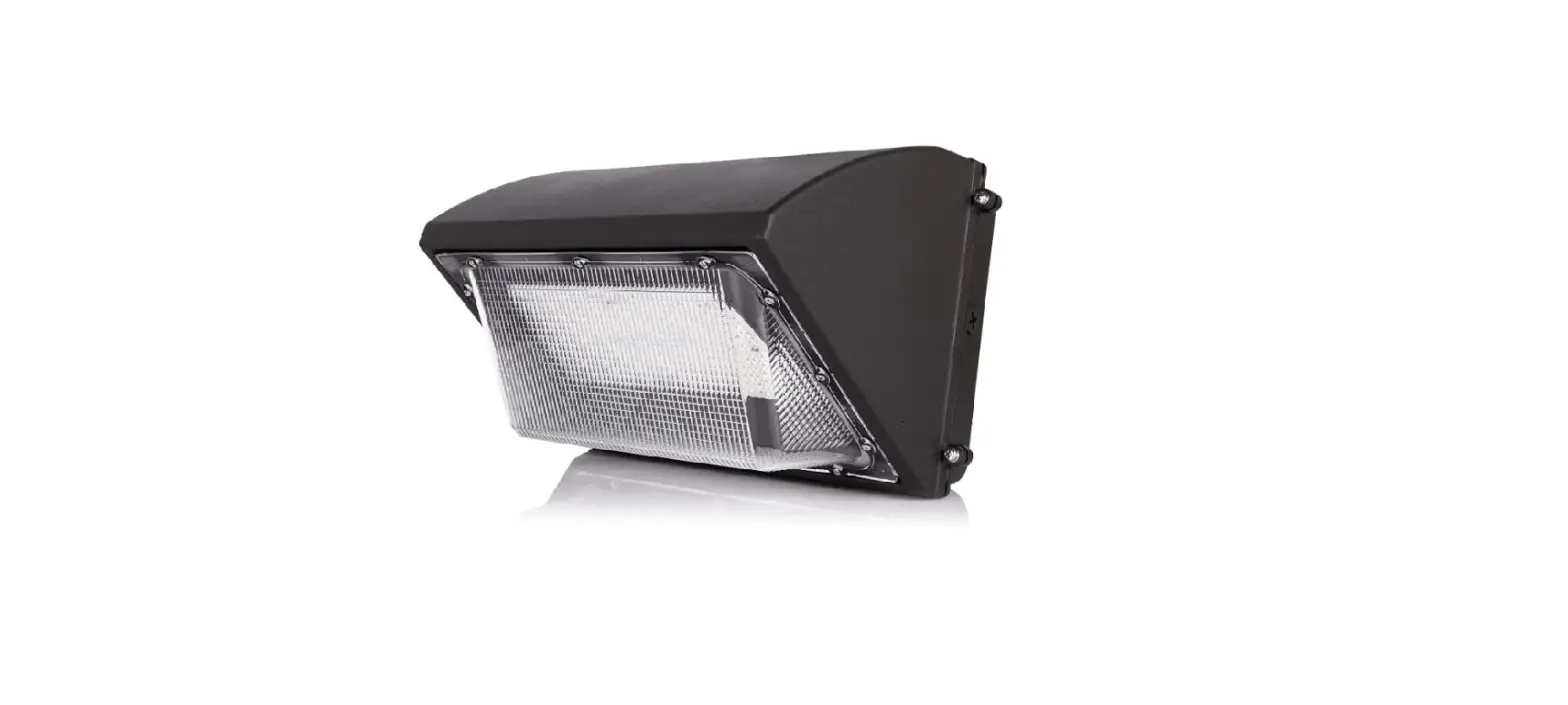

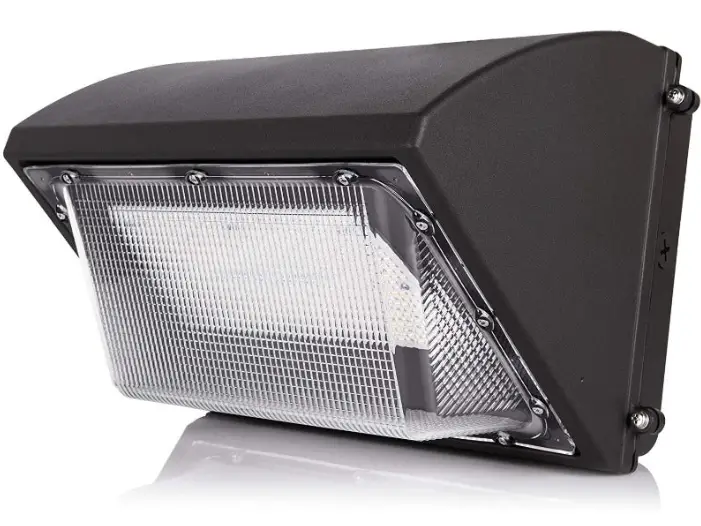
VENTURE LIGHTING AK0017 LED Wall Pack Fixture
 Before You Begin
READ THESE INSTRUCTIONS COMPLETELY AND CAREFULLY
UNPACKING
- Unpack and carefully examine the product.
- Report any damage and save all packing materials if any part(s) were damaged during shipping.
- Do not attempt to install or use this equipment if it is damaged.
INCLUDED IN THIS BOX
- LED Wallpack Fixture
- Gasket
- Installation instructions.
WARNING
RISK OF FIRE, ELECTRIC SHOCK, INJURY, OR PROPERTY DAMAGE
- Failure to follow these instructions or altering equipment could result in injury or damage and void warranty.
- Venture assumes no liability for injury, damages or losses of any kind that may arise from the improper, careless, or negligent installation, handling or use of this product.
- This equipment must be installed and serviced per applicable codes and ordinances by qualified personnel (ex. licensed electrician) familiar with the operation of the product and any hazards involved.
- Disconnect power to the equipment and allow to cool before installing or servicing.
- Handle sharp edges with care. To prevent wiring damage, do not expose wiring to sharp edges.
- Verify that all electrical connections have been properly made and the fixture is grounded to avoid potential electrical shocks.
- It is the installers responsibility to confirm the proper input voltage is used with this equipment.
- Do not handle energized equipment when hands are wet, when standing on wet surfaces, or in water.
- This fixture must be mounted securely to a ceiling or structure to support the weight.
SUPPLIER’S DECLARATION OF CONFORMITY (SDoC)
- This equipment complies with the limits for a Class A digital device, pursuant to Part 15 Subpart B of the FCC Rules.
These limits are designed to provide reasonable protection against harmful interference when the equipment is operated in a commercial, industrial or business - environment.
- This equipment complies with the limits for a Class A lighting equipment, pursuant to Innovation, Science and
- Economic Development Canada’s CAN ICES-005 (A) / NMB-005 (A).
- For warranty information refer to https://www.venturelighting.com/resources/warranties
IMPORTANT SAFETY INFORMATION
- Operating temperature: -40°C to +40°C (-40°F to +104°F).
- Suitable for use in wet locations.
- All wiring and connectors used with this equipment shall be rated a minimum of 90°C (194°F).
Installation Instructions
- Disconnect power from the luminaire and follow proper lockout/tagout procedures before beginning installation or maintenance.
- Remove the existing luminaire (if present) and dispose of per local requirements.
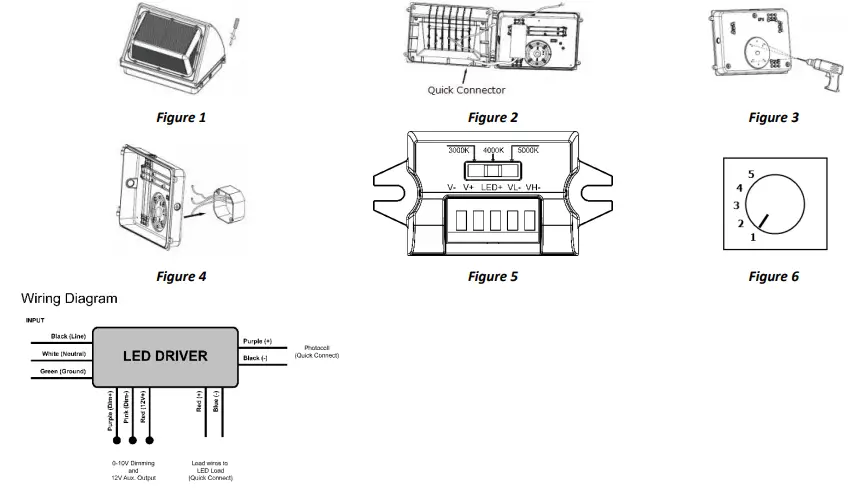
- Loosen the screws on the side of the fixture to gain access to driver compartment. (Figure 1)
- Open the fixture and disconnect the quick disconnect which connects the LED driver to LED module. (Figure 2)
- Drill mounting installation holes needed for the installation into the back of the fixture. (Figure 3)
- Attach supplied gasket to back of fixture.
- Loosen the plug on the back of the fixture, route the wiring through the hole and mount the back of the fixture to the junction box. (Figure 4)
- Connect the supply wires to the fixture input wiring as shown in wiring diagram below.
NOTE: The correct polarity of the dimming connections is essential to proper operation.
NOTE: If dimming is required, remove pink and purple wires from wattage selector Switch by loosening the screws and wire to external dimming leads. DO NOT connect the Driver Dim(+) (purple) to the Driver Dim(-) (pink) wire as the fixture will not operate correctly. Insulate 12V+ (Red) wire if not used. Use selector switch to choose CCT setting (3000K/4000K/5000K). (Figure 5) - Use rotary switch to choose wattage setting. (Figure 6)
- Photocell is enabled standard on this fixture. If the photocell is not needed, disconnect the connector from the photocell on right side knockout. (Pink and Black wires)
- Connect the quick connect terminals which were removed in Step 4.
- Close fixture and secure by tightening the screws on the side of the fixture. (Figure 1)
NOTE: Ensure rubber gasket is properly placed to prevent water from entering fixture. - Power can now be restored to the system.
Contact Us
- (800) 451-2606
- 7905 Cochran Road, Suite 300
- Glenwillow, Ohio 44139 USA
- E-mail: [email protected]
- Venturelighting.com