![]()
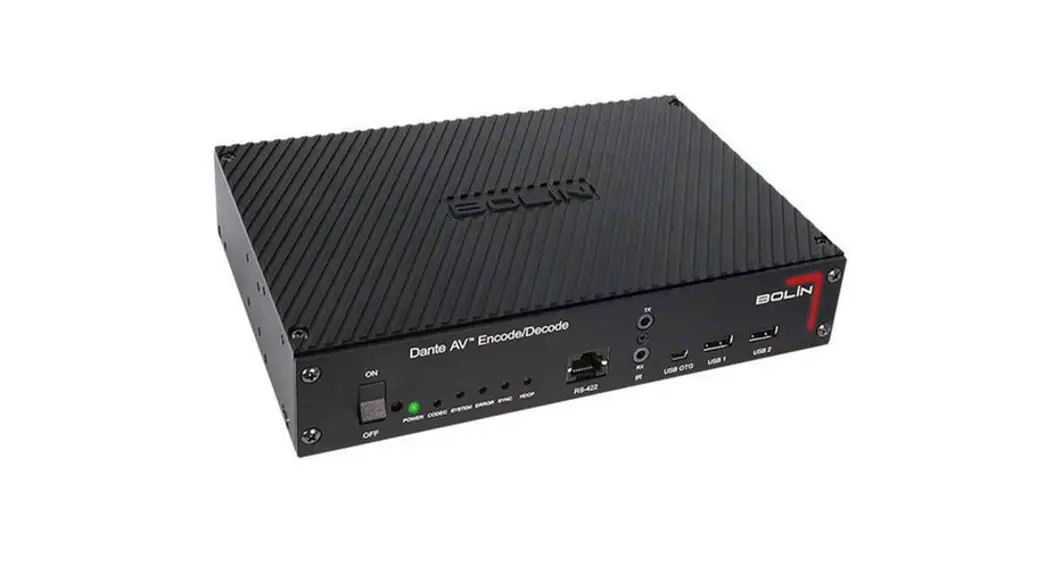
Dante AV™ Encoder / Decoder
Quick Start Guide
Version 2.0
This quick start guide applies to D20H, D20S
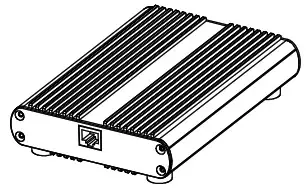
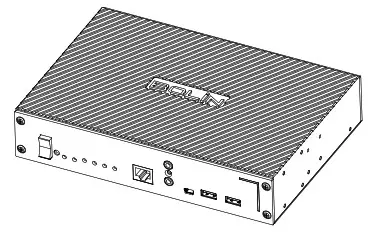
Items included in the encoder / decoder box
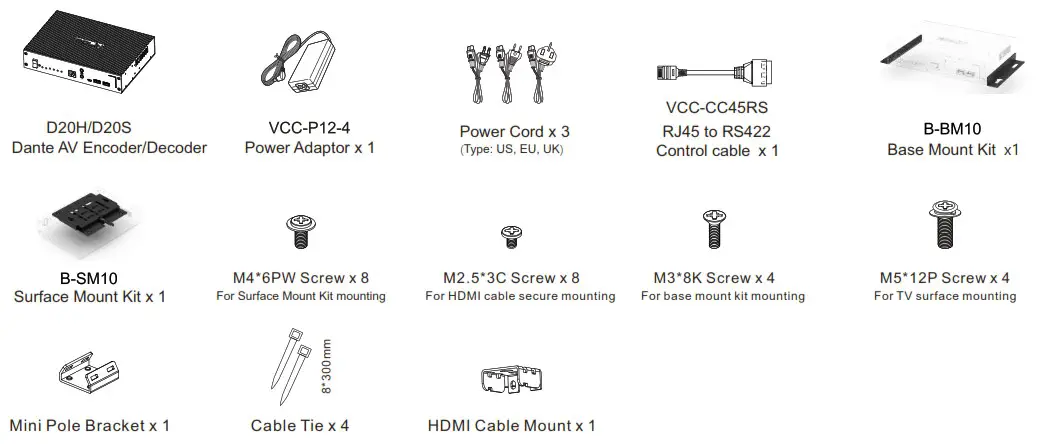
Note: The Dante AV Decoder is mandatory for Dante AV video output.
Optional Accessories
 | 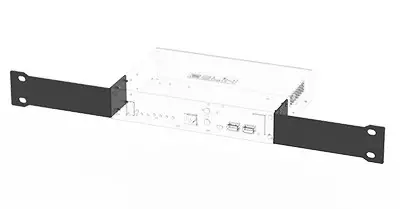 | 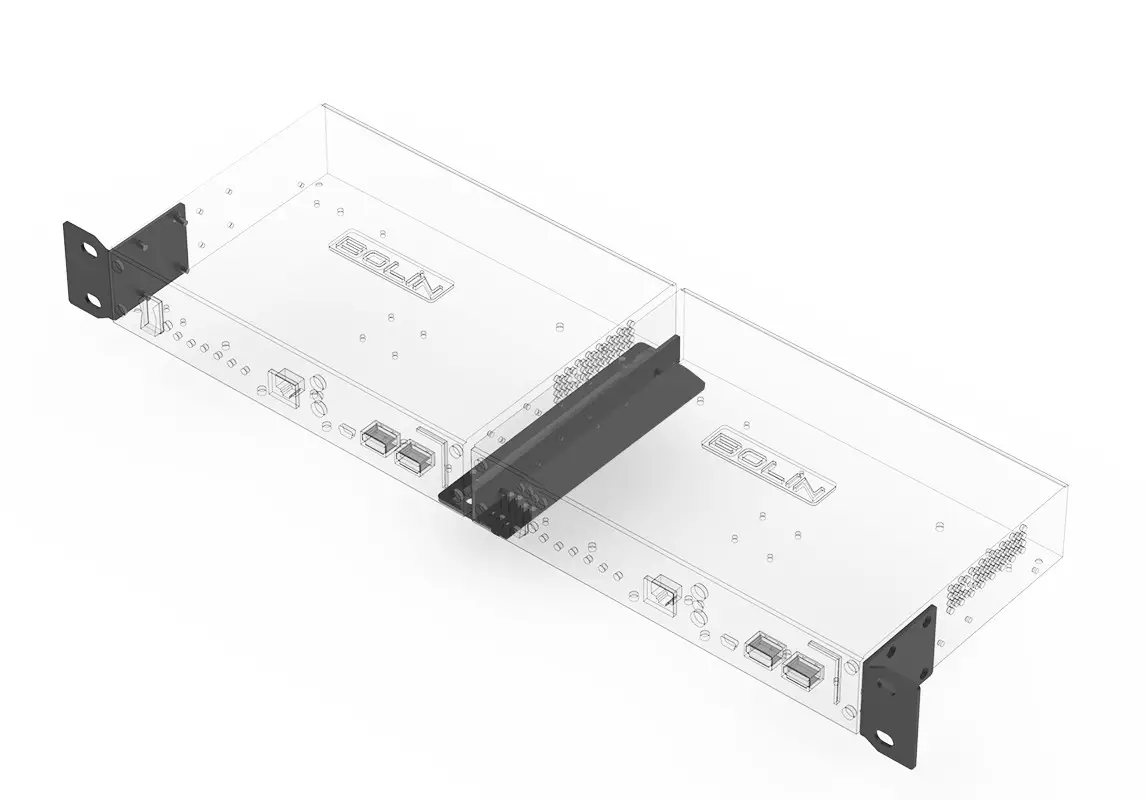 |  |
| B-DR10 DIN Rail Mounting KitFor Encoder/Decoder | B-RM10 Single Rack Mounting Kit ForEncoder/Decoder | B-RM11 Dual Rack Mounting Kit- For Encoder / Decoder | BL-PP97 Bolin 97W POE power supplyFor Camera and Encoder / Decoder |
Dante AV Video Output Setup
1. Item List
 | 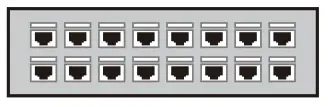 | 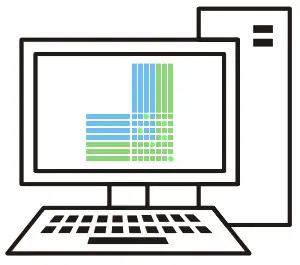 |
| Dante AV Encoder x1 Dante AV Decoder x1 | POE++ 1Gbps Network Switch (Not included) | Computer Dante Controller x 1 (Not included) |
 | 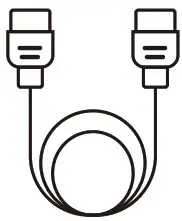 | 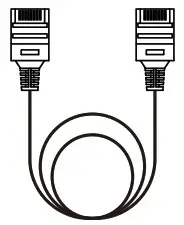 |
| Display Output Device x 1 (Supports 4K60 ) (Not included) | HDMI 2.0 Cable x1 (Not Included) | Cat6 Network Cable x3 (Not Included) |
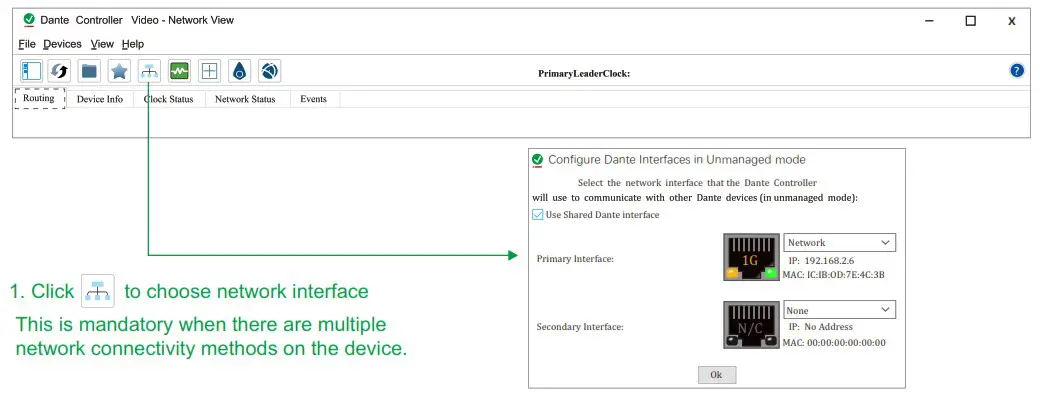
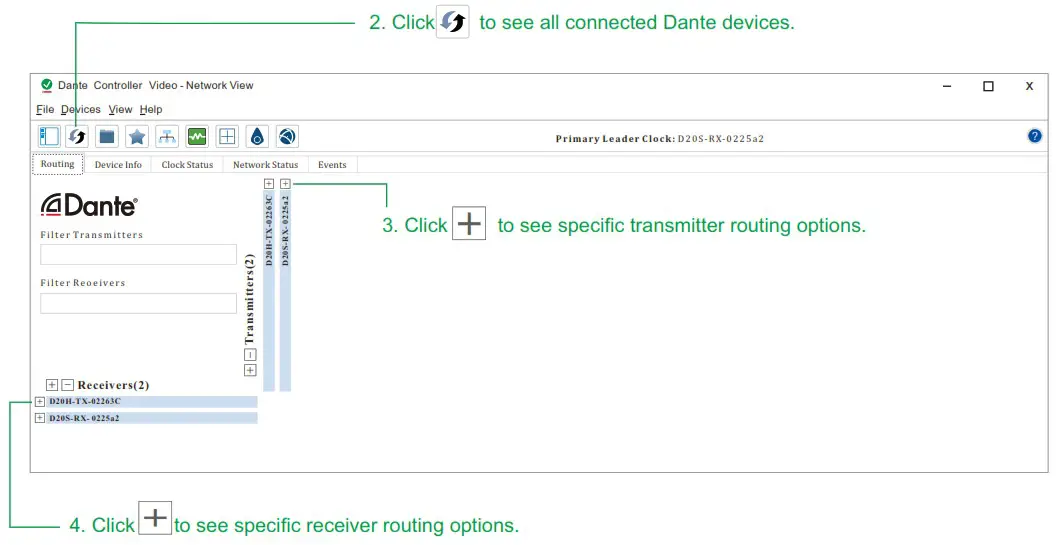
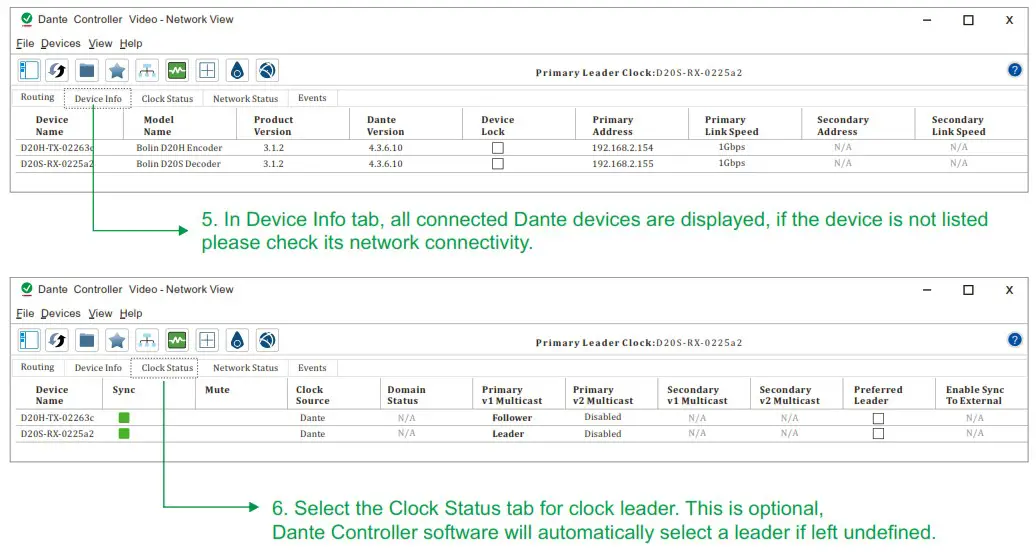
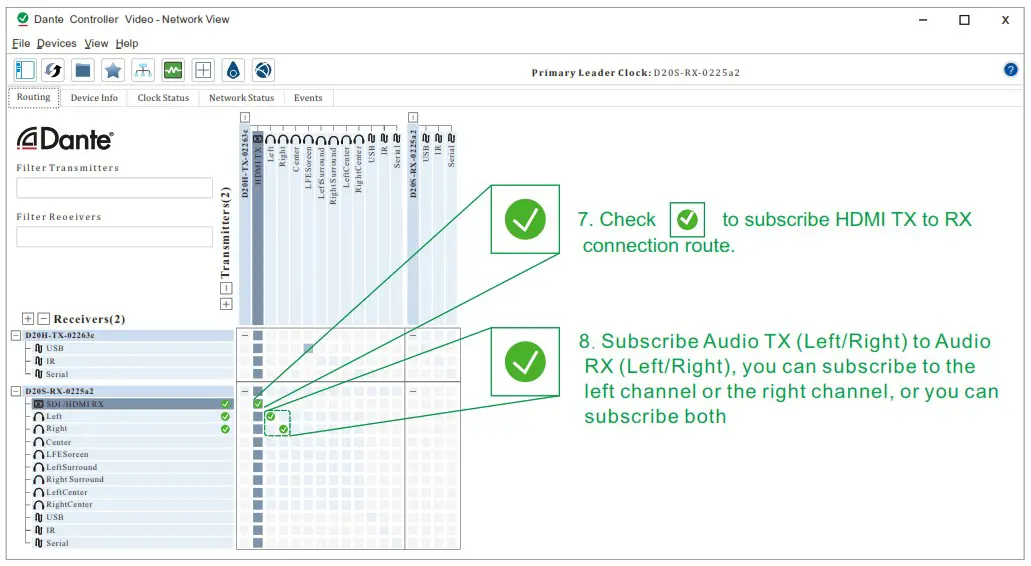
2. Install Dante Controller Software
Dante Controller Download URL:https://my.audinate.com/support/downloads/download-latest-dante-software?lang=zh-hans
Dante Controller Hardware Requirements:
- CPU: Minimum of 1GHz processor
- Storage: At least 512MB
- Network Card: Ethernet connectivity port (1000 Mbps)
Dante Controller OS Requirements:
- Windows: Windows 7/8/10
- Mac OSX: 10.13.6 / 10.14.6/ 10.15 Note: Does not support PPC.
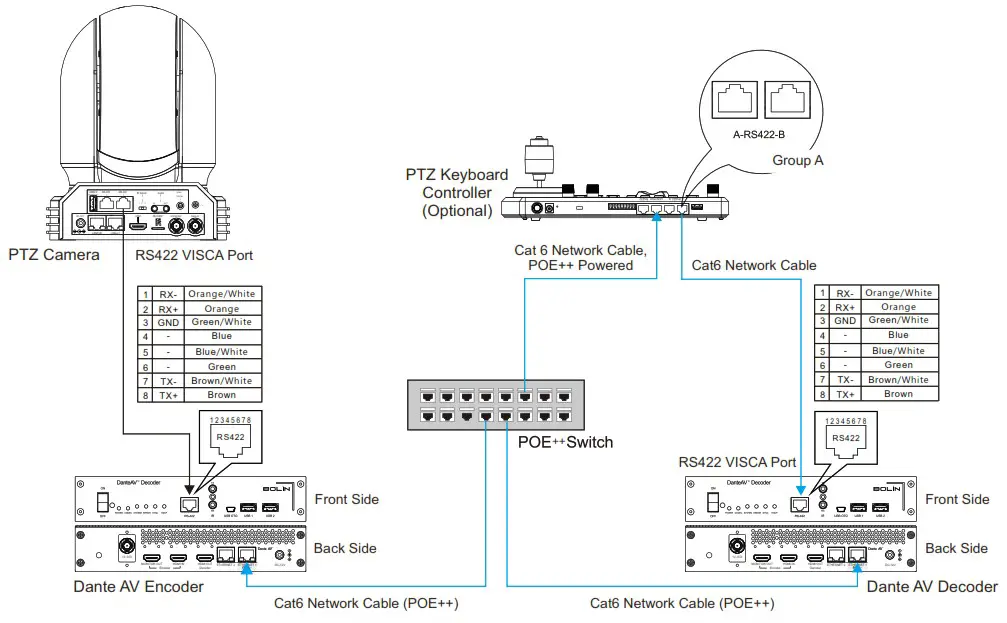
3. Connection Diagram
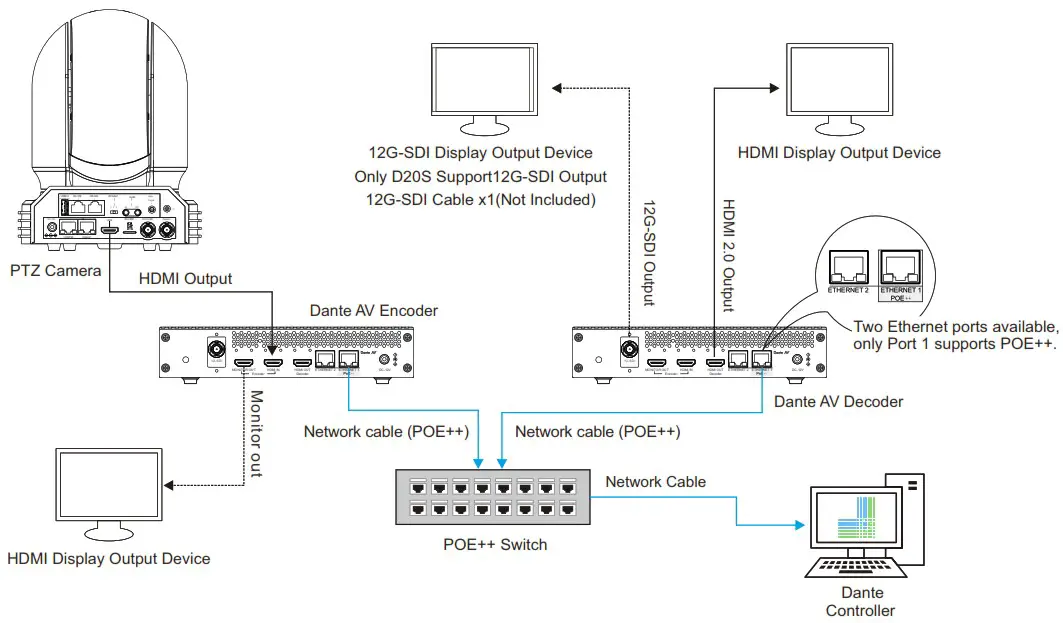
Note:
①. DHCP network configuration is recommended.
② If network does not support DHCP, please manually configure IP details on the camera and decoder to match the same gateway.
③ Switch Requirement:
- Nonblocking Layer 2
- Green Ethernet must be OFF (Recommend not using Green Ethernet capable switches)
- Use reputable “Managed” switches
- Support QoS with strict priority and 4 queues
- IGMP Snooping ON
- Please refer to product manual at www.bolintechnology.com for IP configuration instructions
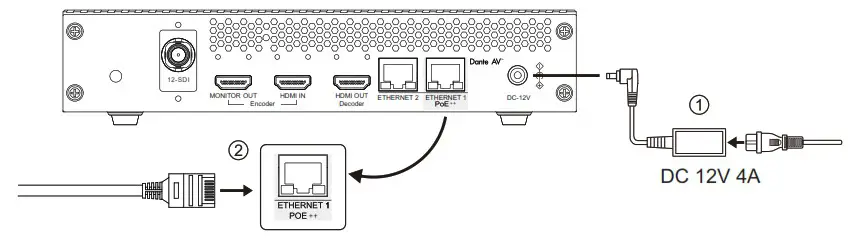
4. Power on the Decoder
Both DC12V and POE are workable, when powering the camera, DC 12V preferably.
①. Power Adaptor (DC 12V 4A) to power the decoder.
②.When using POE ++ , use IEEE802.3bt certified switch to power this decoder
Note: For Dante AV camera startup tips, please refer to its respective diagram.
5. Dante AV Decoder Startup
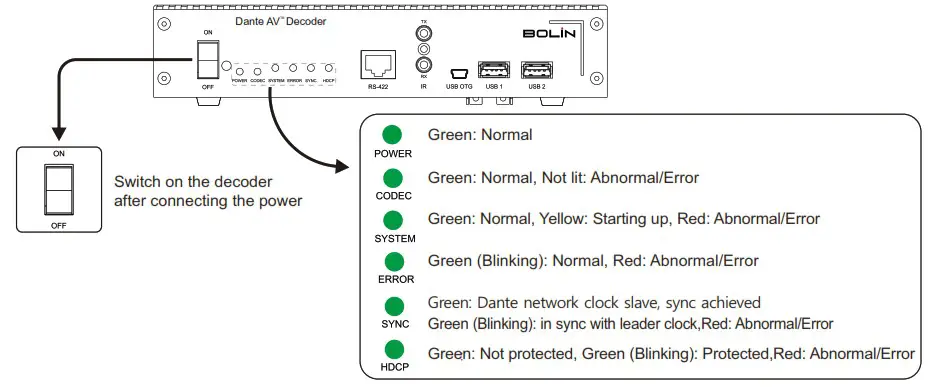
Note: For Dante AV camera startup tips, please refer to its respective diagram.
6. Display Camera Video via Decoder
7. Camera Remote Control Setup
① Connection Diagram
② Camera VISCA Address, Communication Protocol, and Baud Rate Settings(Take BC-7 as an example)

Note: The camera should be powered off prior to changing the DIP switch setting. When there are multiple PTZ cameras involved, refer to the table above for unique VISCA address to each camera. Up to seven unique address can be assigned to cameras at any given time.
③ Subscribe RS-422 Channel on Dante Controller
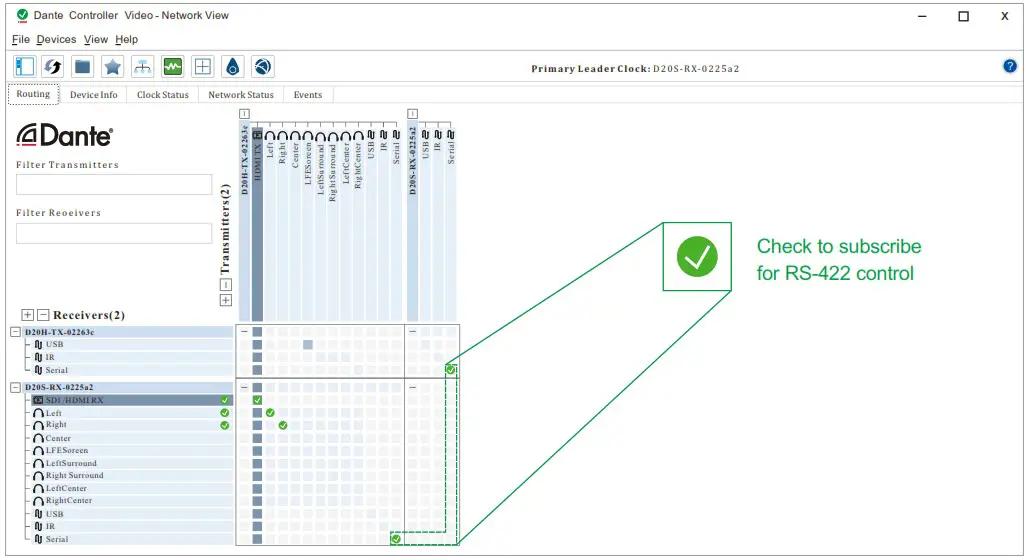
Note: Rs422 channel needs to be subscribed in the Dante controller for remote control. Please refer to the keyboard controller’s product manual for detail.
You can also use the infrared remote control to remotely control the camera through the DanteAV decoder.For detailed IR remote operation instruction, please refer to camera product manual.
![]()
MOVE « WITH YOU
2082 TECHNOLOGY LLC dba
BOLIN TECHNOLOGY


