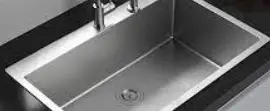
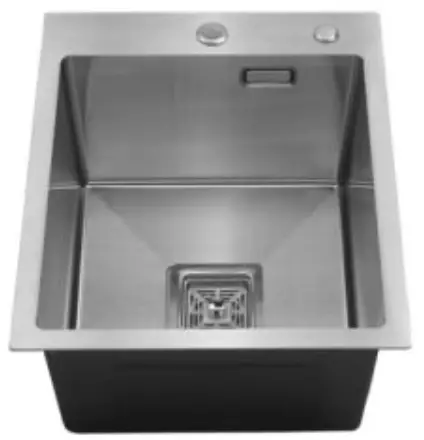
Adexa R10 Handmade Sink Topmount
 Measure the product size and calculate the hole size.
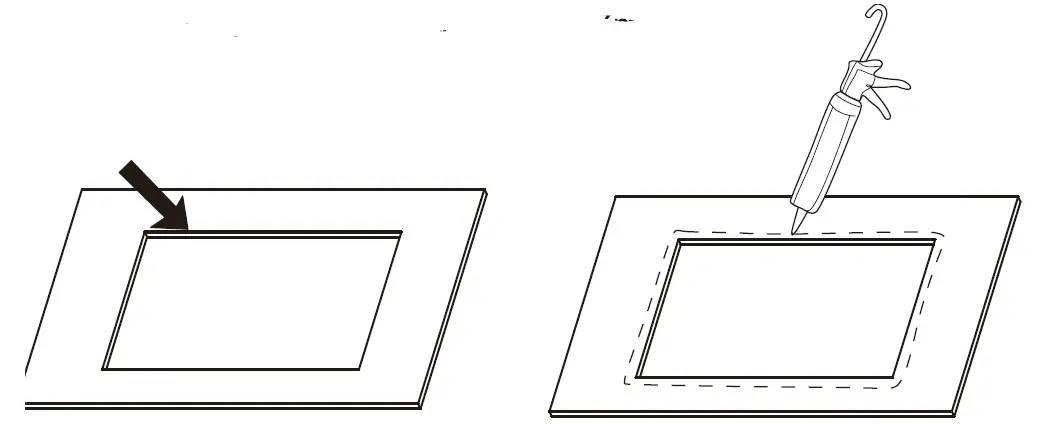
- Draw the cutting line and cut the install hole;
- Fill in adhesive(glass cement)5-7mm outside the incision with a width of 3-7mm.

- Fill in adhesive(glass cement)5-7mm outside the incision with a width of 3-7mm.
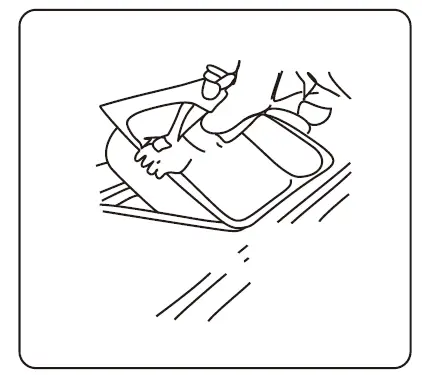
- Put the stainless steel sink in slowly.

- Check again the position of the sink on the counter and glue appropriate glass cement at the edge of the sink.
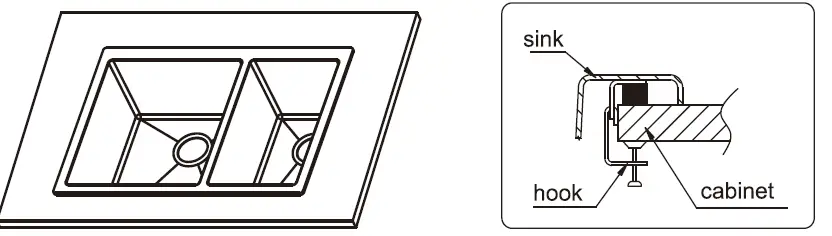
- Fasten the clips to fix the sink. (Note: Clips are not necessity for thick-panel sink)

- Fasten the clips to fix the sink. (Note: Clips are not necessity for thick-panel sink)
 Measure the product size and calculate the hole size.
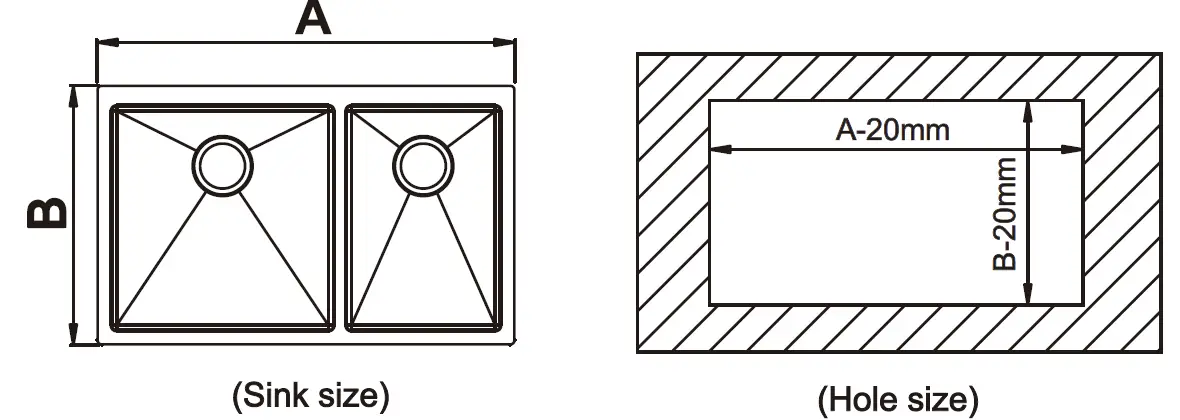
Adexa Nordic AB
Website: adexanordic.se
Email: [email protected]


