PIXIE STP54BTAS Ambience Touch Panel
Devices must be installed by a qualified electrician in accordance with all national and local electrical and construction codes and regulations.
Do not connect inputs to mains.
The PIXIE Ambience Touch Panel is compatible with the PIXIE Plus App only and requires a PIXIE Gateway to operate.
Product Introduction
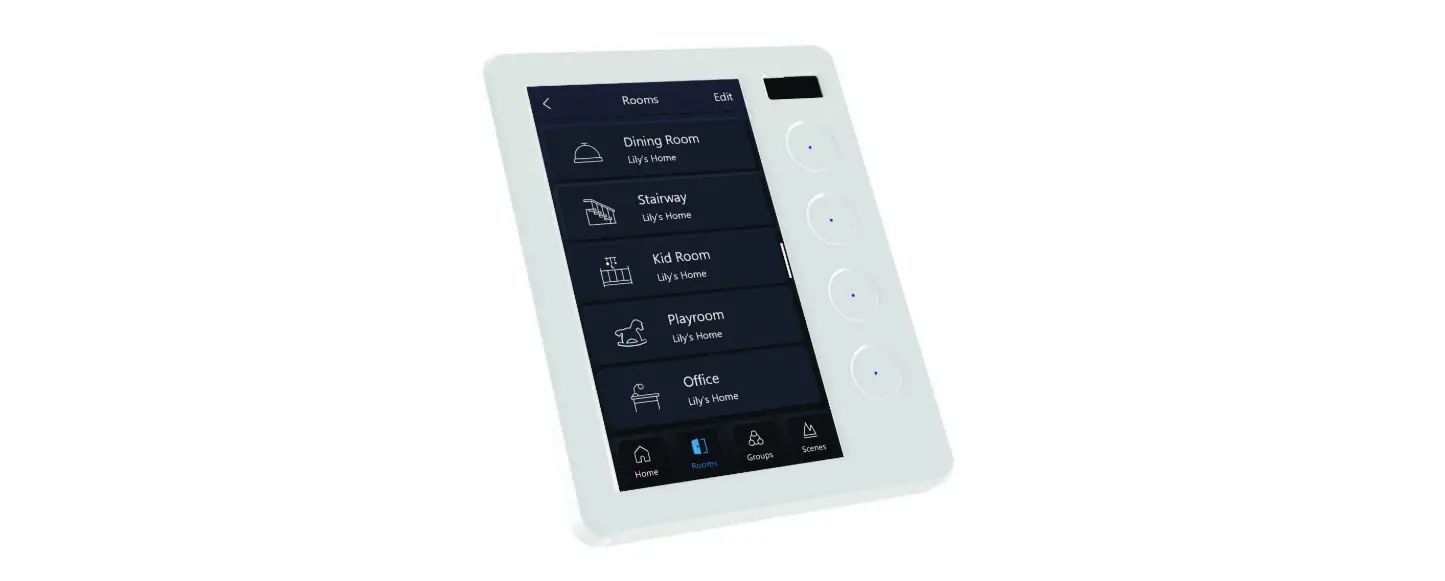
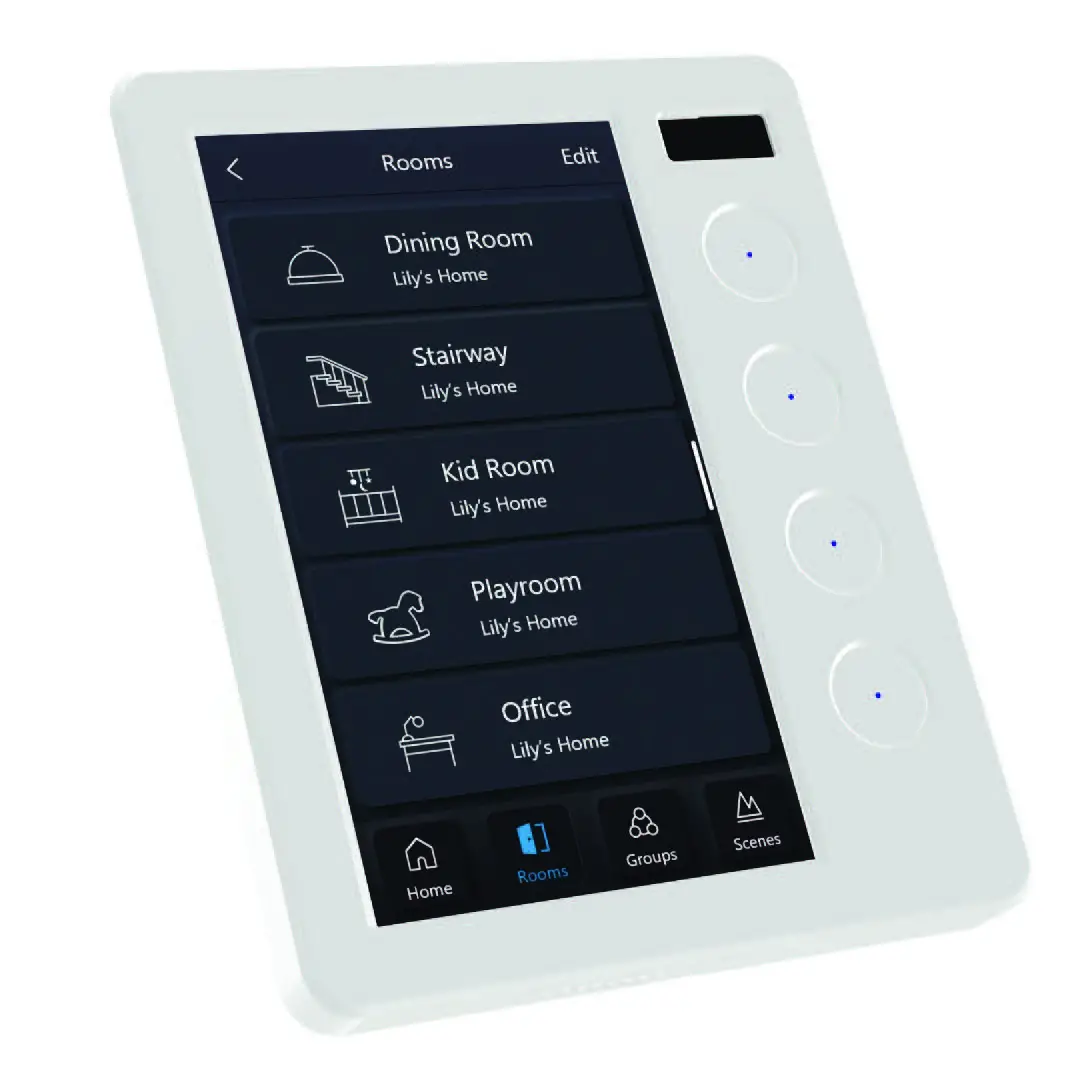
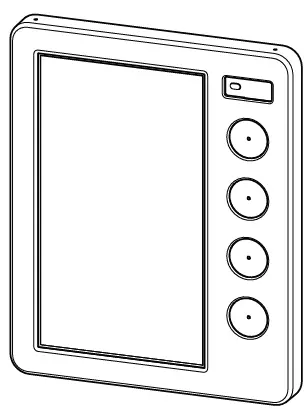
The PIXIE Ambience Touch Panel is a premium addition to the PIXIE solution that elevates the smart home experience.
The PIXIE Touch Panel is configured after the PIXIE smart home has been configured using the PIXIE App and is ideally used as a central control hub for the home.
Product Features
- Control PIXIE devices installed throughout the home in a centralised location.
- Matches the PIXIE Ambience faceplate range aesthetic
- 5.5 inch high-resolution wide-angle colour touch screen
- Four multifunction buttons for rapid access to commonly used devices, groups and scenes
- RJ45 port for stable LAN connection and optimal operation
- Wi-Fi connection supported for situations where LAN cabling is infeasible
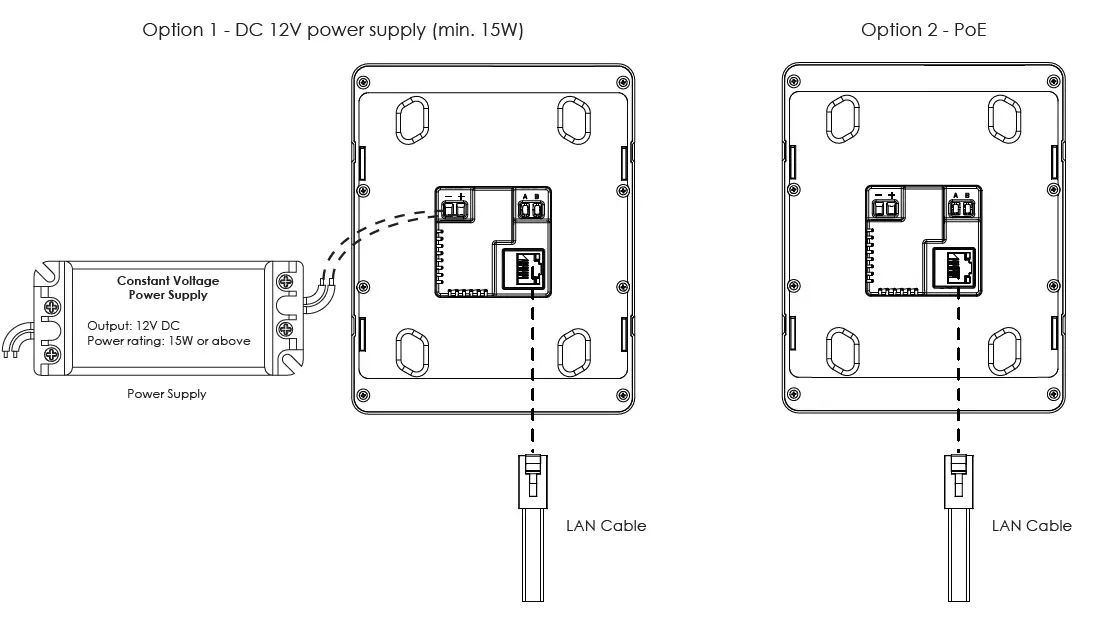
- Supports Power over Ethernet (PoE), or 12V DC power input if POE is not available. (Power supply purchased separately)
- Auto-adjustable display brightnes
Pre-requisitions before setup
- Power: 12 V DC or PoE
- Network: LAN cable (recommended) or Wi-Fi
- PIXIE PLUS App:
- Ensure the PIXIE Plus App is up-to-date before installing the PIXIE Ambience Touch panel.
- The mobile phone operating the PIXIE Plus App is on the same network as the PIXIE Ambience Touch Panel.
- PIXIE Gateway:
- At least one PIXIE gateway is deployed, PIXIE Gateway G3 (model NO. SGW3/BTAM) is highly recommended for optimal performance.
- The PIXIE Gateway is on the same network as the PIXIE Ambience Touch Panel.
Note
Though being compatible with PIXIE Gateway G1 (model NO. SGW/BT) and PIXIE Gateway G3 (model NO. SGW3/BTAM), it’s highly recommended to use the Touch Panel with PIXIE Gateway G3 (model NO. SGW3/BTAM) for optimal performance.
Please refer to the feature matrix below comparing the performance of the PIXIE Ambience Touch Panel with PIXIE Gateway G1 and PIXIE Gateway G3.
| Network formed with PIXIE Gateway G1 | Network formed with PIXIE Gateway G3 | |
| How many PIXIE Ambience Touch Panels can work properly under the PIXIE PLUS account? | 1 | 8 |
| Updating of control data after changes made in PIXIE Plus App and network | Requires manual operation to re-sync the data | Automatically re-syncs the data |
| Connection stability | Fair, subject to Wi-Fi coverage and router status | Ideal, due to LAN cable connection |
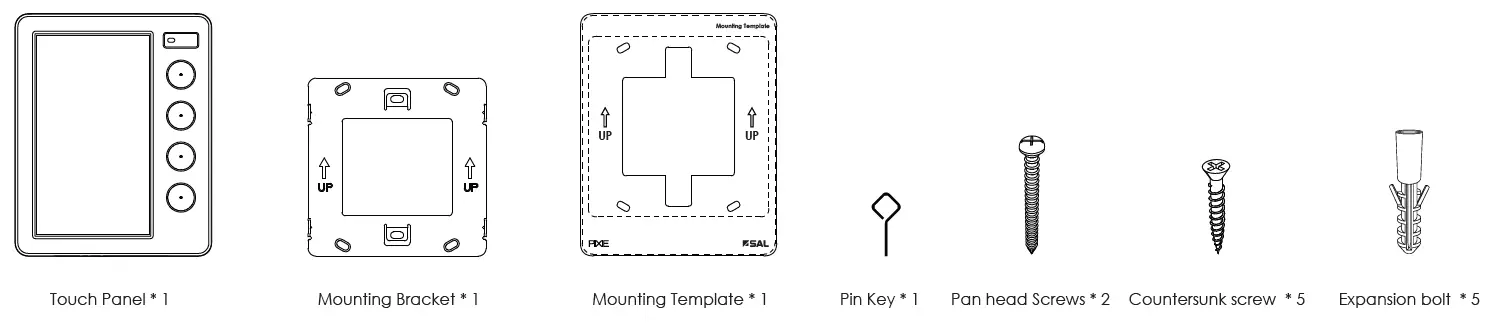
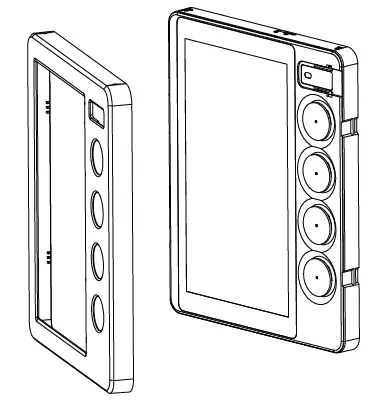
What’s included in the package
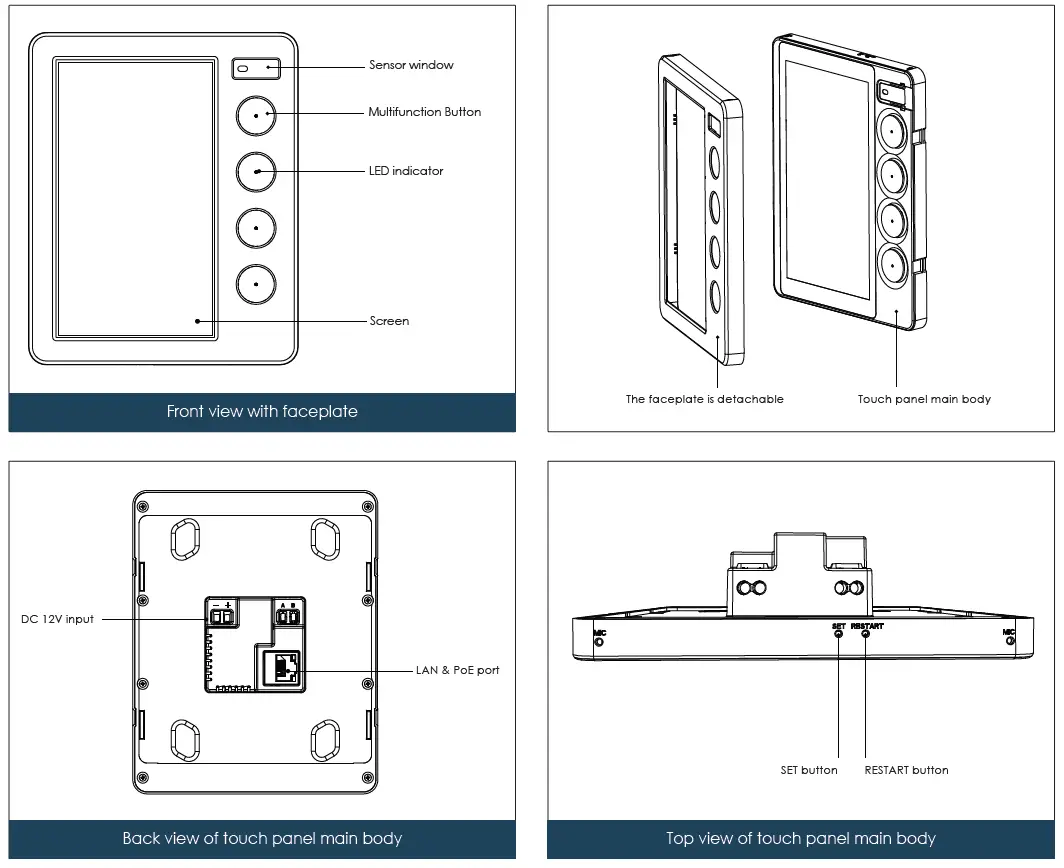
Product features
Specifications and Capabilities
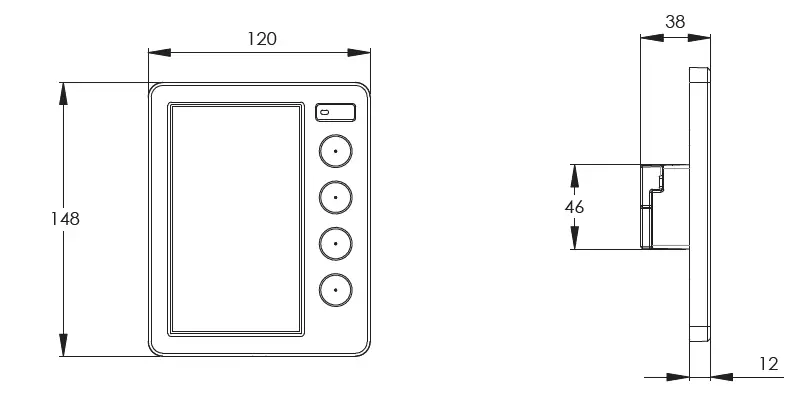
| Product Description | Model NO. | Power Input | Colour | Dimensions L x W x H (mm) | Weight (g) |
| PIXIE Ambience Touch Panel | STP54BTAS | 12V DC (Min. 15W) / PoE | White | 120 x 148 x 38 | 212 |
| Display Size | 5.5 inch (68 x 121 mm) | Screen Resolution | 720 x 1280 |
| Ethernet | RJ45 port (10M/100M) | Wi-Fi | 2.4 GHz |
| Product Installation Orientation | Horizontal wall mount | Product Application | Interior residential or commercial |
| Operating Ambient Temperature | 0℃- 40℃ | Storage Ambient Temperature | 0℃- 60℃ |
| Operating Humidity | 0-85% RH, NC | Storage Humidity | 0-85% RH, NC |
| IP Rating | IP20 | ||
Installation process
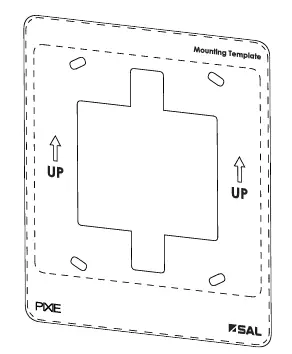
- First, use the provided mounting template to determine the position for installation on the wall.
Make a cut-out on the wall according to the mounting template.
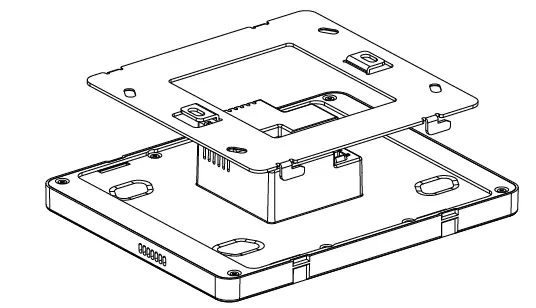
- Remove the metal mounting bracket from the rear of the Touch Panel.

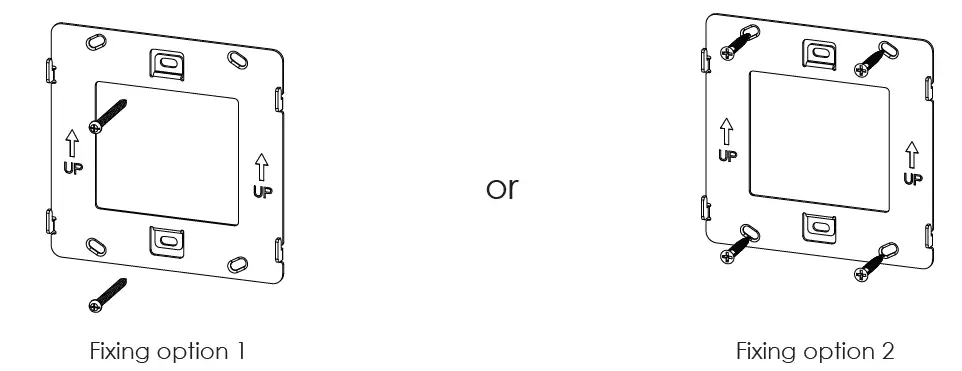
- Fix the mounting bracket onto the wall, with the appropriate screws and tools.

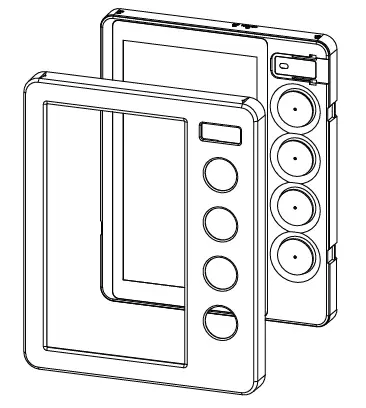
- Remove the faceplate from PIXIE Touch Panel.

- Connect power and network (LAN cable* recommended) to the touch panel main body.
 * If the connection of a LAN cable is not feasible for the installation environment, the PIXIE Ambience Touch Panel supports 2.4GHz Wi-Fi for wireless network connection. In this scenario, please ensure the Wi-Fi signal coverage, and set up the network connection for the touch panel on the screen interface after installation.
 - Attach the Touch Panel main body onto the mounting bracket, use the hook on the mounting bracket to fix it securely in place.

- Mount the faceplate onto the touch panel main body.

- The installation is completed. Please follow the on-screen step-by-step guide to complete the setup once powered. The Touch Panel may take up to 60 seconds to be ready for configuration after being powered.

 * If the connection of a LAN cable is not feasible for the installation environment, the PIXIE Ambience Touch Panel supports 2.4GHz Wi-Fi for wireless network connection. In this scenario, please ensure the Wi-Fi signal coverage, and set up the network connection for the touch panel on the screen interface after installation.
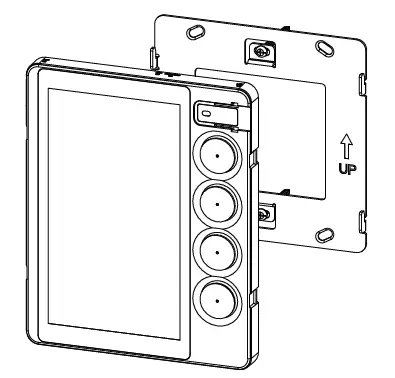
Operations
The four multifunction buttons
There are four physical buttons accessible from the front of the touch panel. They are for rapid access to commonly used devices, groups and scenes throughout the PIXIE smart home. The configuration can be finalised on the touch panel interface via Settings->Multifunction buttons. See below tables for operations of these buttons when configured for different functions.
Operations when configured to control scenes
| Operation | Result |
| 1 Click | Activate scene 1 |
| 2 Clicks | Activate scene 2 |
Operations when configured to control a device
| Paired device
Operation | PIXIE Smart Dimmer | PIXIE Smart RGB Strip, RGB Strip Controller | PIXIE Smart Single Color Strip, Single Color Strip Controller |
| 1 Click | Turn ON/OFF. When turning the light on, it will work on the last used brightness setting | Turn ON/OFF. When turning the light on, it will work on the last used brightness setting | Turn ON/OFF. When turning the light on, it will work on the last used brightness setting |
| 2 Clicks | Shortcut to the maximum brightness | Shortcut to the maximum brightness | Shortcut to the maximum brightness |
| 3 Clicks | Switch to the next color temperature, which circulates in Warm White->Cool White-> Daylight. For S9842 downlight | Switch to the next color. Color circulates in White->Red->Green->Blue. |
NA |
|
Long Press | When the light is on, long press the button to dim up or down, release the button to stop. When the light is off, long press the button to turn on the light at minimum brightness and increase brightness, release the button to stop. | When the light is on, long press the button to dim up or down, release the button to stop. When the light is off, long press the button to turn on the light at minimum brightness and increase brightness, release the button to stop. | When the light is on, long press the button to dim up or down, release the button to stop. When the light is off, long press the button to turn on the light at minimum brightness and increase brightness, release the button to stop. |
Operations when configured to control a group
| Operation | Result | Remark |
| 1 Click | Turn ON/OFF the Group | NA |
| 2 Clicks | Shortcut to the maximum brightness | Dimmable product group only |
| 3 Clicks | Switch colour/colour temperature | Subject to the product group functionality |
| Long Press | Switch colour/colour temperature | Dimmable product group only |
Restart
Make sure the Touch Panel is powered. Remove the faceplate, using the pin key provided in the pack, insert it gently into the hole indicated as RESTART on the top of the touch panel main body, and click the button once. The touch panel will restart.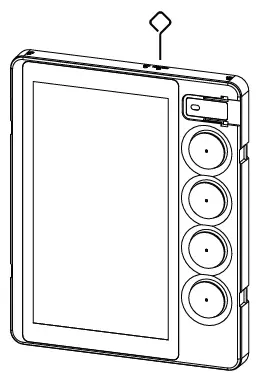
Reset
Resetting the device will return it to its default settings/factory settings and users will need to follow the Touch Panel setup procedure again.
Make sure the touch panel is powered. Remove the faceplate, using
the pin key provided in the pack, insert it gently into the hole indicated as SET on the top of the touch panel main body, press and hold the button for 15 seconds until the screen turns off, then release. This is a factory reset, all the data will be cleared and the Touch Panel can be reconfigured again.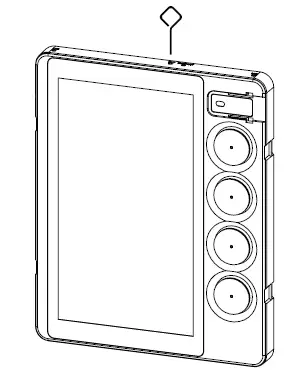
- The product wireframe drawings in this document are intended for illustration purposes only and may differ from the final physical product.
- The installation instruction is subject to change without prior notice.
- NO DIY, installed by a licensed electrician only.
Due to continued product and information updates, product data included herein shall not form part of any contract and or technical performance guarantee unless expressly confirmed in writing by SAL at the time of order.
SAL National Pty Ltd. 40 Biloela Street Villawood NSW 2163
ABN 21 633 189 474


