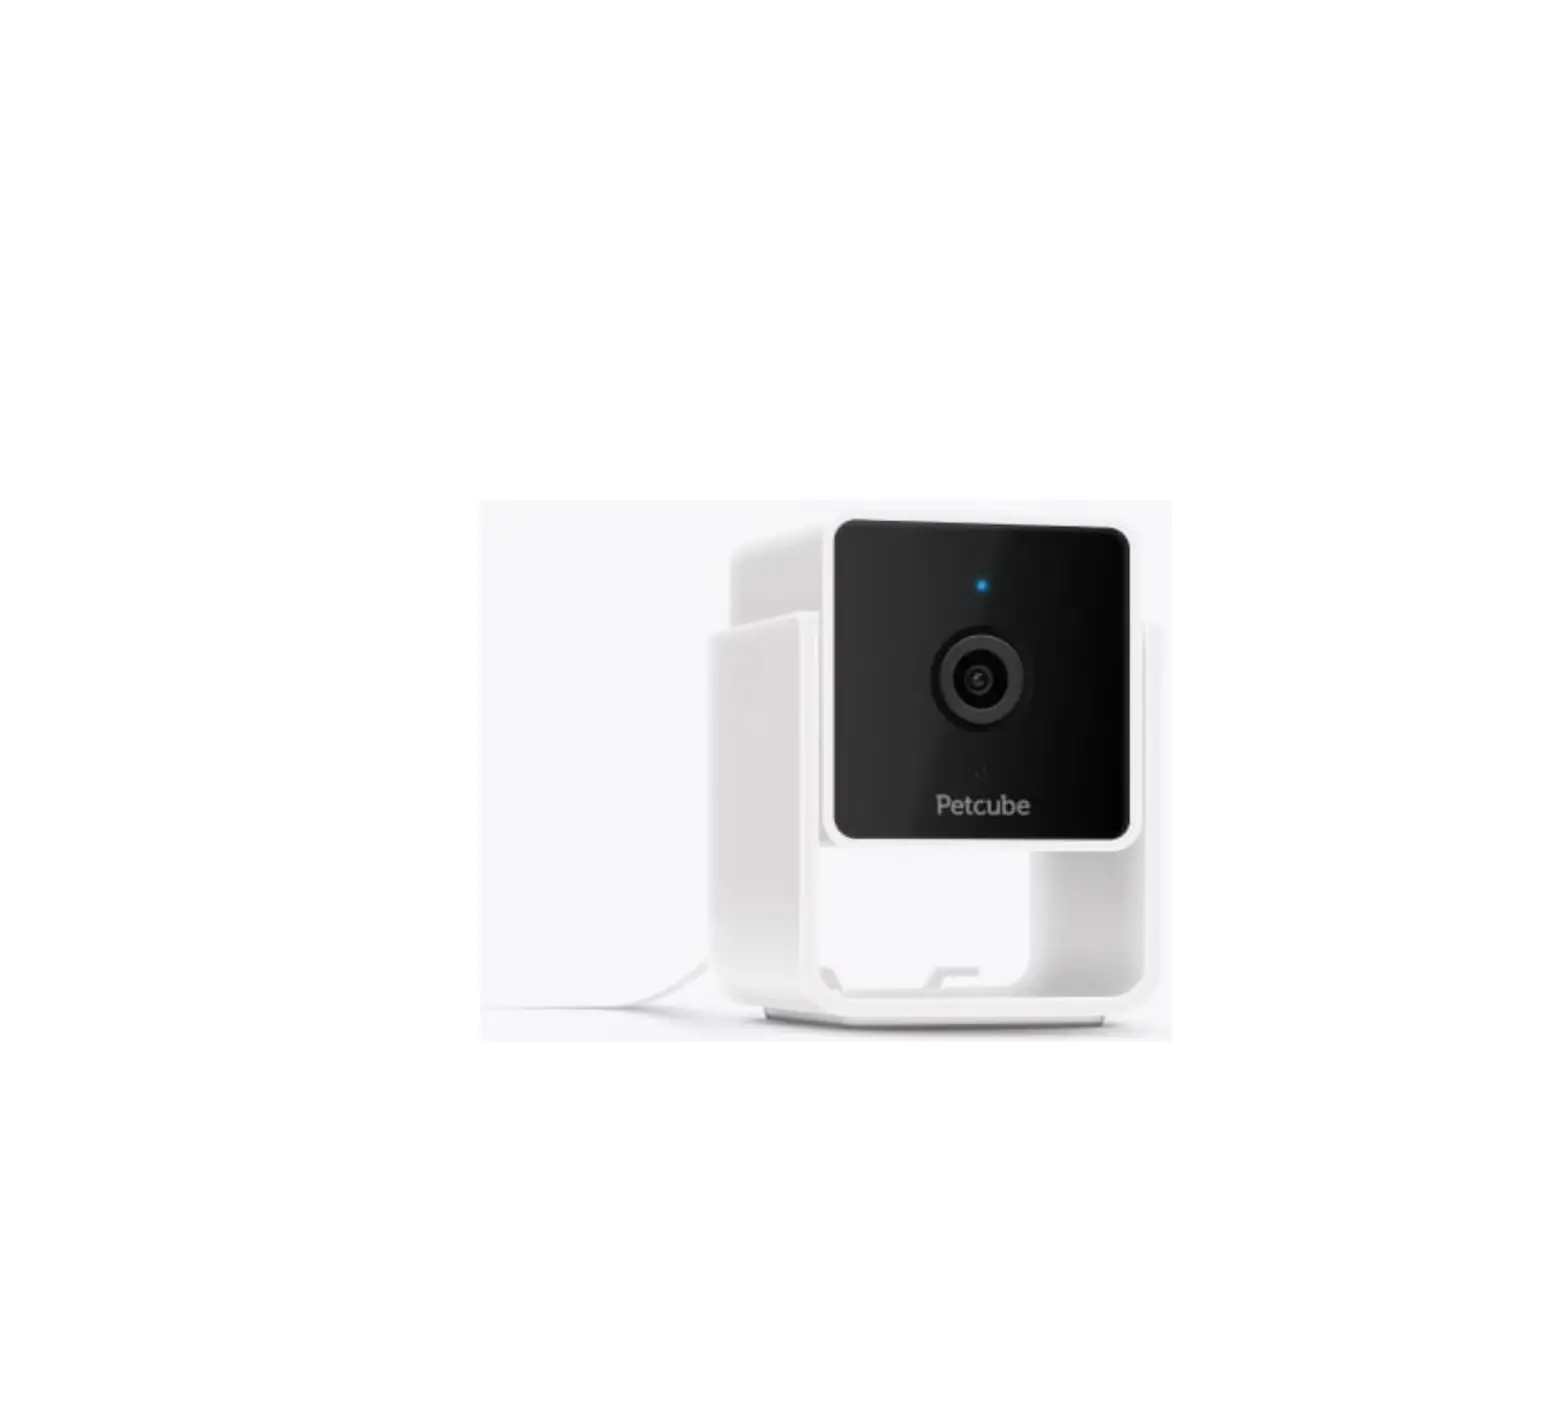
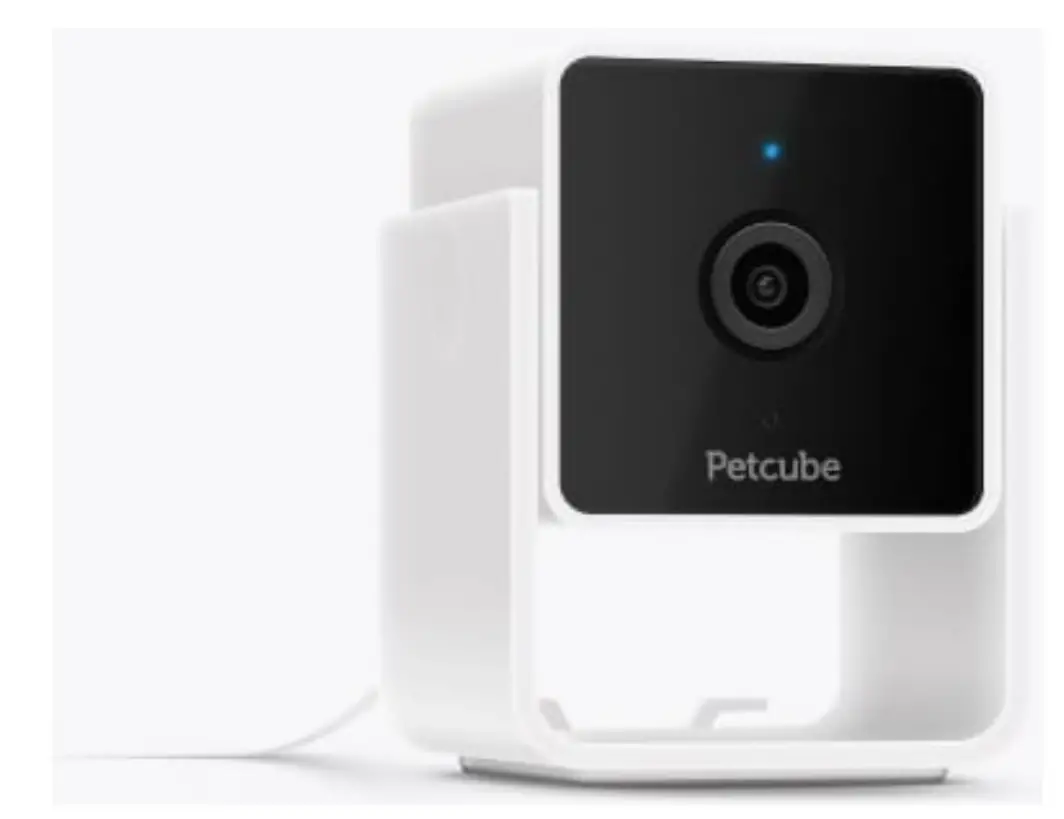
Petcube CC10US Cam Indoor Wi-Fi Pet and Security Camera
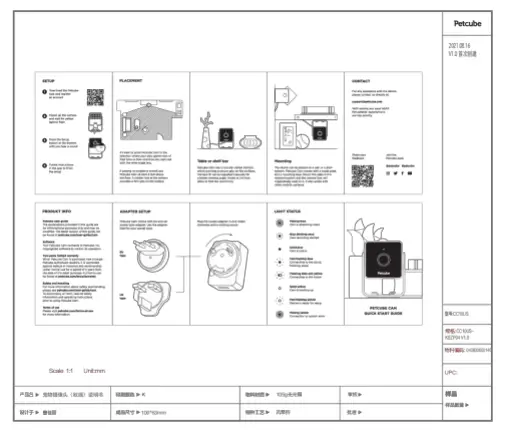
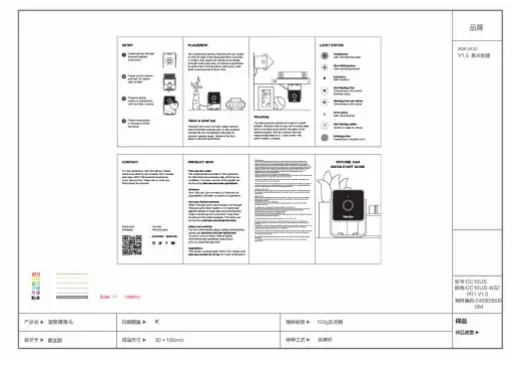
PRODUCT INFO
Petcube user guide
The explanations provided in this guide ar for informational purposes only and may be modified. The latest version of this guide can be found at petcube.com/user-guide/cam.
Software
Your Petcube Cam connects to Petcube, Inc. copyrighted software to control its operation.
Two-years limited warranty
When Petcube Cam is purchased new through
Petcube authorized resellers, it is warranted against defects in materials and workmanship under normal use for a period of 2 years from the date of the retail purchase. Full terms can be found at petcube.com/docs/warranty.
Safety and handling
For more information about safety and handling, please see petcube.com/user-gulde/cam.
To avoid injury or harm, read all safety information and operating instructions prior to using Petcube Cam.
Terms of use
Please visit petcube.com/terms-of-use for more information.
ADAPTER SETUP
Petcube Cam comes with EU and UK socket type adapter. Use the adapter that fits your socket type.’
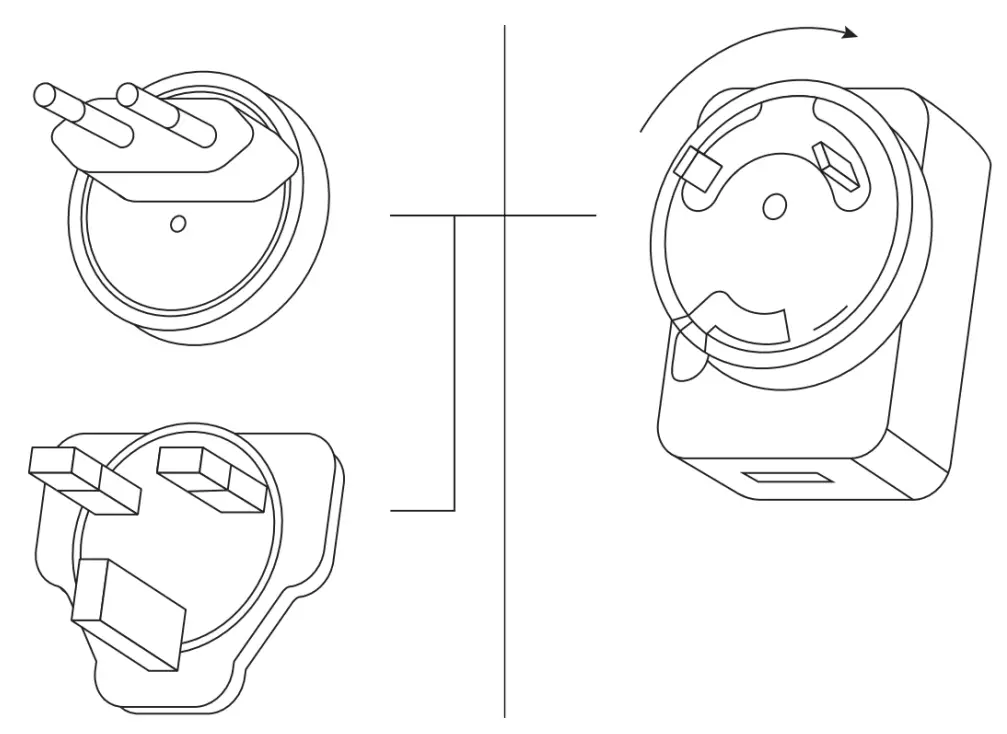
Plug the socket adapter in and rotate clockwise until a clicking sound.
LIGHT STATUS
![]() Pulslng blue
Pulslng blue
Cam is streaming video![]() Blue bllnklng once
Blue bllnklng once
Care recording started![]() Solid blue
Solid blue
Cam is online![]() Fast flashing blue
Fast flashing blue
Connecting to the cloud,finishing setup![]() Flashing blue and yellow
Flashing blue and yellow
Connecting to the router![]() Solid yellow
Solid yellow
Cam is booting up![]() Fast flashing yellow
Fast flashing yellow
Device is ready for setup![]() Pulsing yellow
Pulsing yellow
Connection or system error
SETUP
- Download the Petcube App and register an account


- Power up the camera and wait for yellow light to flash
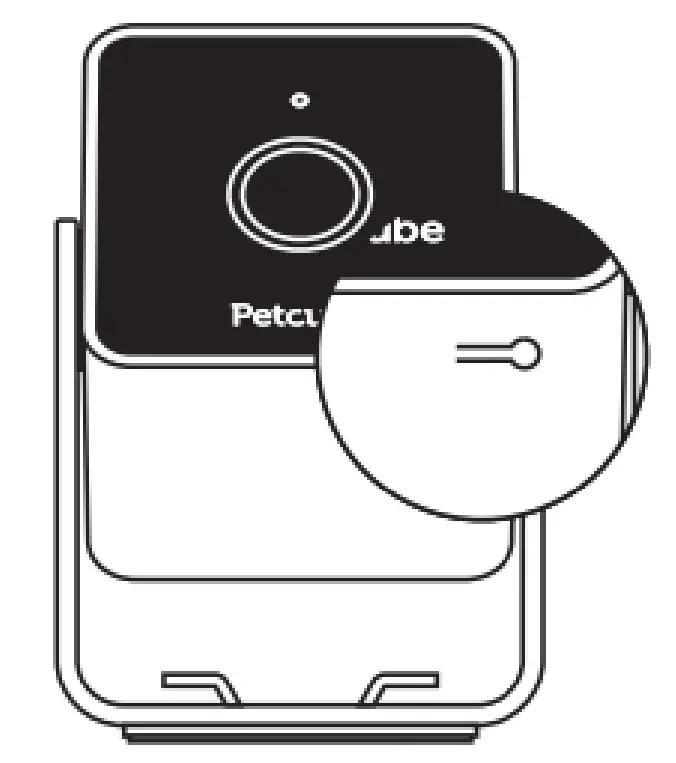
- Press the Setup button at the bottom until you hear a sound

- Follow instructions in the app to finish the setu

PLACEMENT
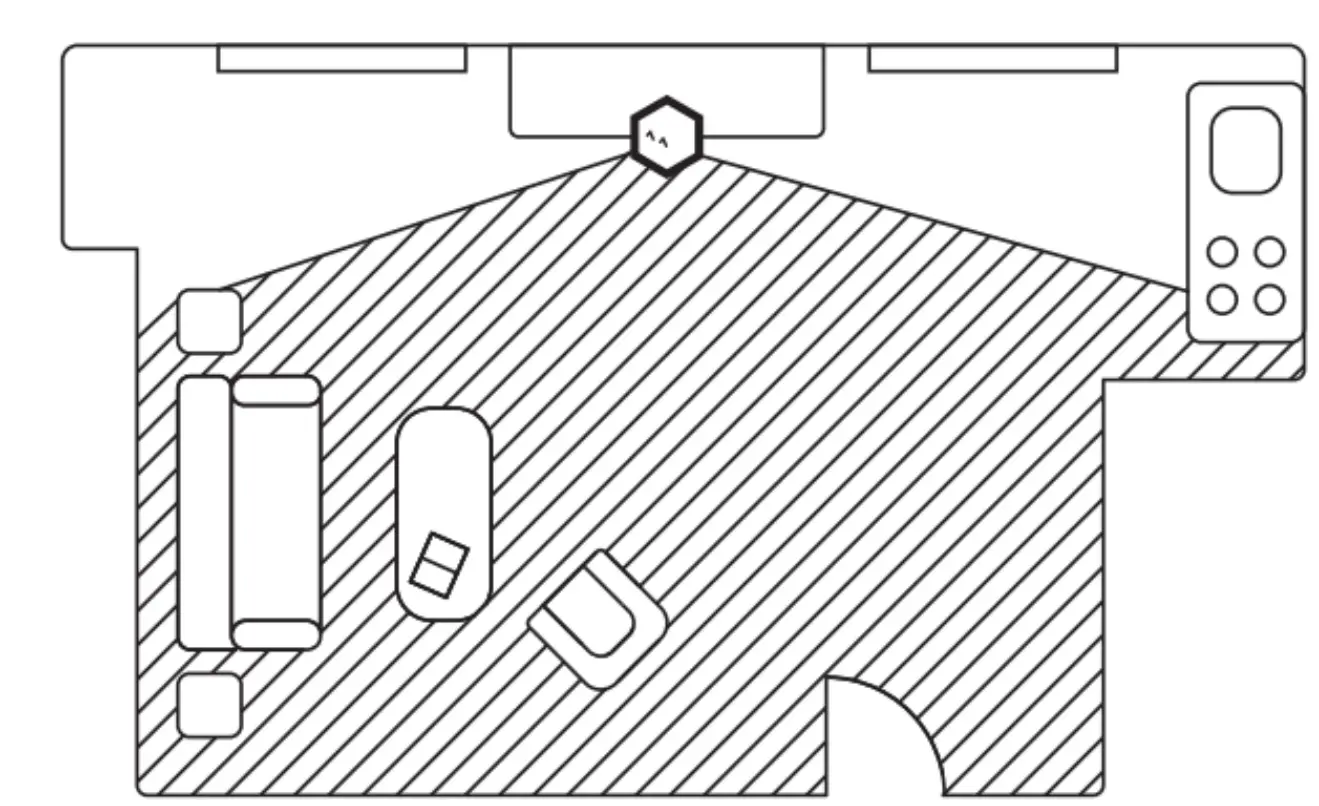
It’s best to point Petcube Cam in the direction where your pets spend most of their time so their activities are captured with the wide-angle lens.
If placing on a table or a shelf, put Petcube Cam at least 3 feet above the floor. A rubber foot at the bottom provides a firm grip on the surface.
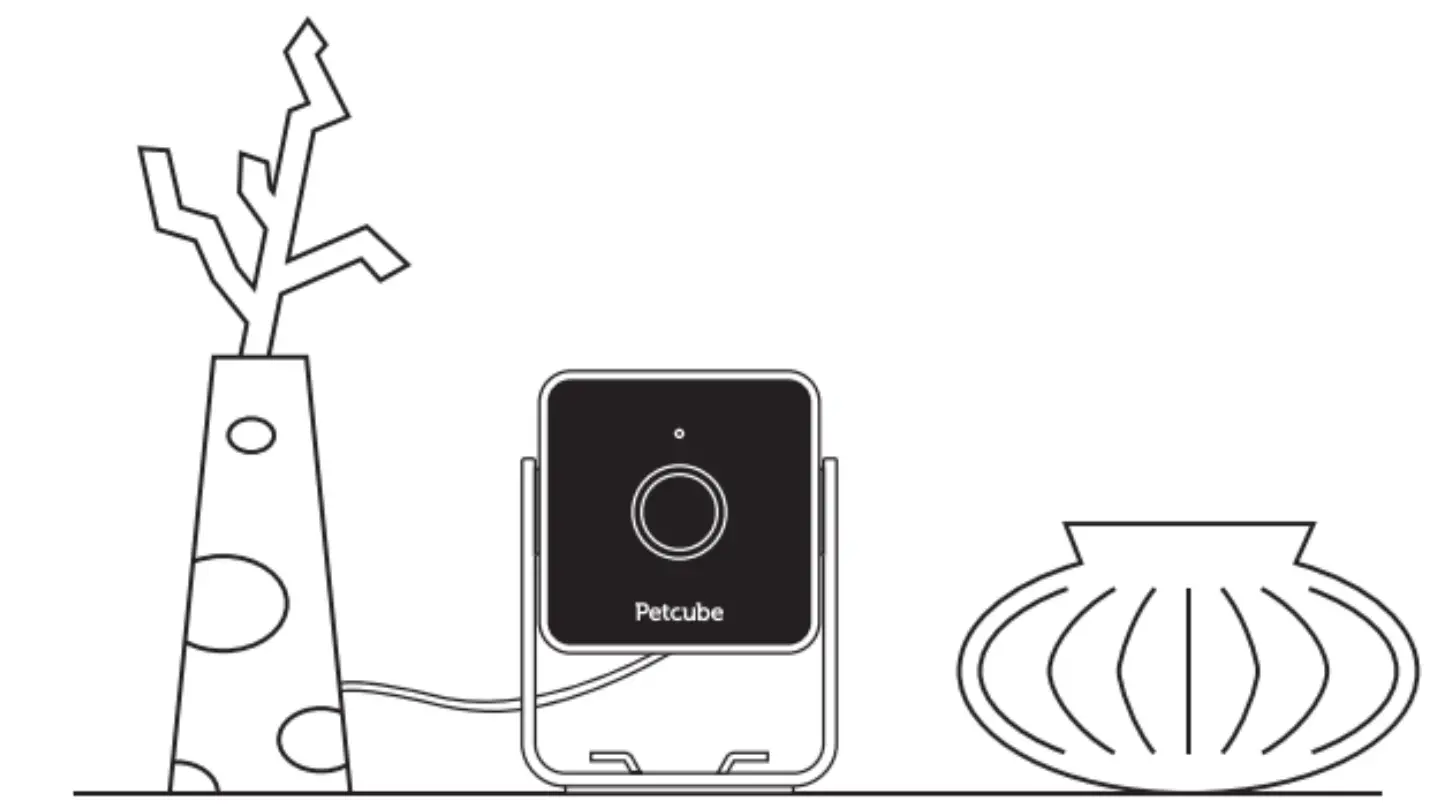
Table or shelf top
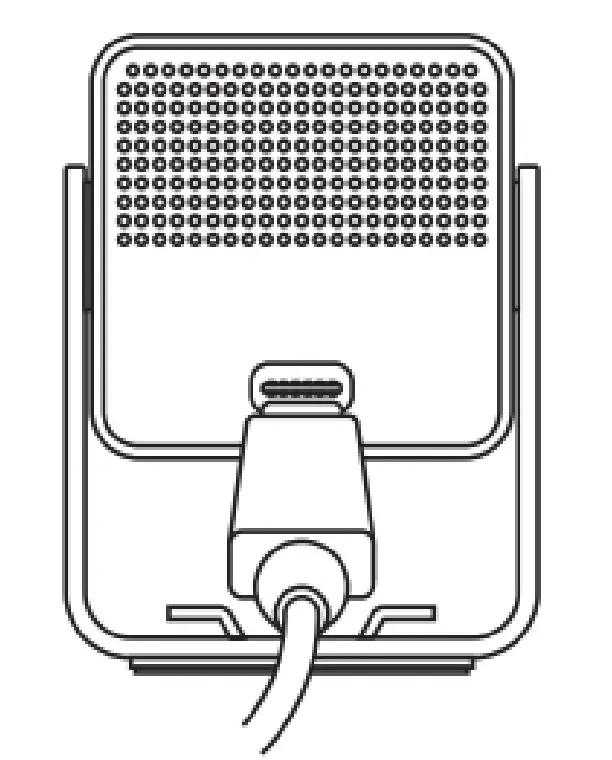
Petcube Cam has a non-slip rubber bottom. which provides a secure grip on flat surfaces.
Camera tilt can be adjusted manually for a better viewing angle. Hooks at the foot allow to fold the cord firmly.
Mounting
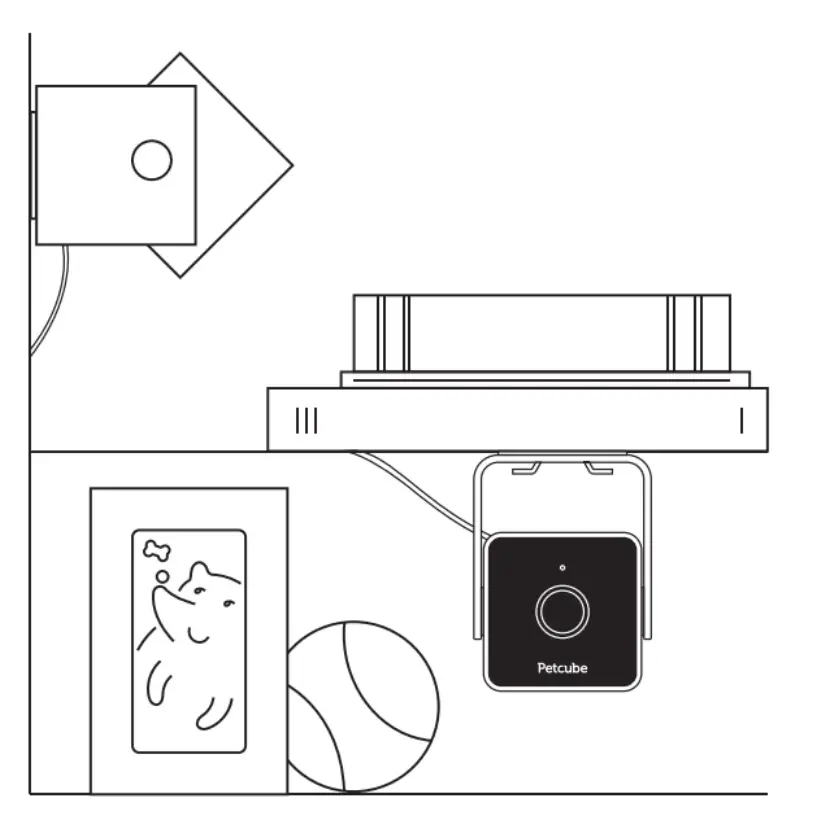
The device can be placed on a wall or a shelf bottom. Petcube Cam comes with a metal plate and a mounting tape. Mount the plate in the desired location and the camera foot will magnetically snap to it. It also works with other metallic surfaces.
CONTACT
For any assistance with the device, please contact us directly at: [email protected]
We’ll resolve any issue ASAP.
Pet parents’ experience is our top priority
Share your feedback Join the
Petcube pack
@petcube #petcube
Documents / Resources
 | Petcube CC10US Cam Pet Monitoring Camera [pdf] User Guide CC10USA, 2AK4CCC10USA, CC10US Cam Pet Monitoring Camera, CC10US, Cam Pet Monit oring Camera |
 | Petcube CC10US Cam Pet Monitoring Camera [pdf] User Guide CC10USA, 2AK4CCC10USA, CC10US, Cam Pet Monitoring Camera |
 | Petcube CC10US Cam Pet Monitoring [pdf] User Guide CC10US, 2AK4CCC10US, CC10US Cam Pet Monitoring, CC10US, Cam Pet Monitoring |
References

Documents / Resources
 | Petcube CC10US Cam Indoor Wi-Fi Pet and Security Camera [pdf] User Guide CC10US, CC10US Cam Indoor Wi-Fi Pet and Security Camera, Cam Indoor Wi-Fi Pet and Security Camera, Indoor Wi-Fi Pet and Security Camera, Wi-Fi Pet and Security Camera, Pet and Security Camera, Security Camera, Camera |


