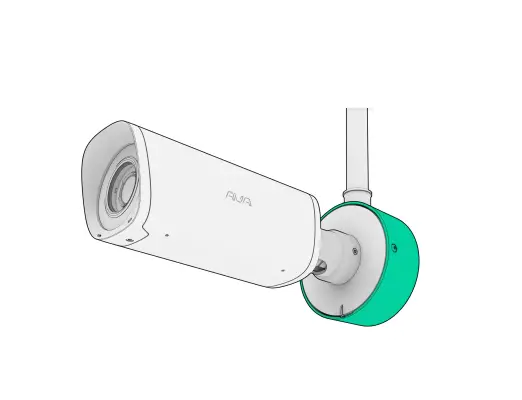
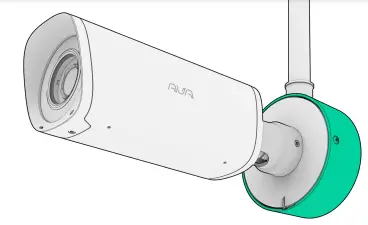
AVA 213C81E443DA Conduit Back Box
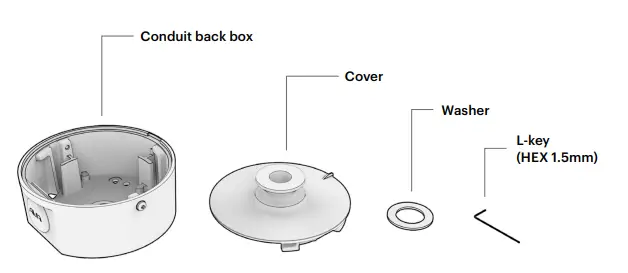
Box contents
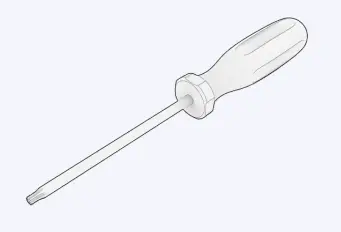
Tools Required
- T20 screwdriver

- Suitable fasteners for your wall

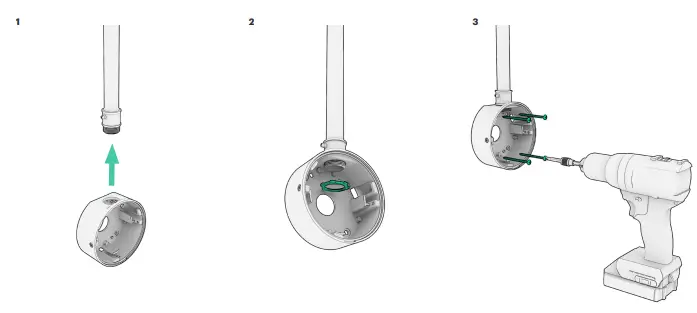
Installing the conduit back box
4 Determine whether your camera features bracket type A or B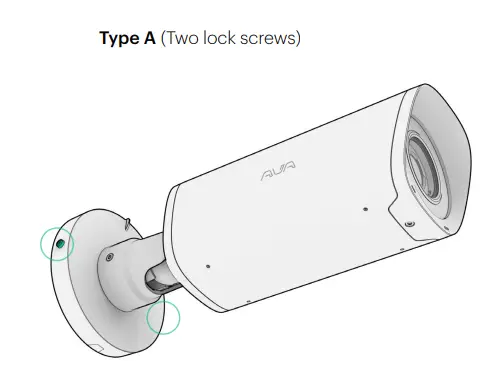
Bracket type A
A.5 Remove standard wall bracket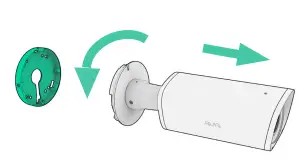
A.6 Please refer to the bullet camera mounting guide for cable management.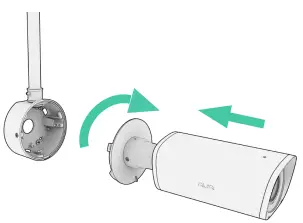
A.7 Lock the camera to the back box by tightening the 2x screws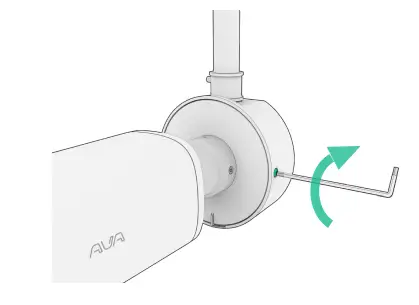
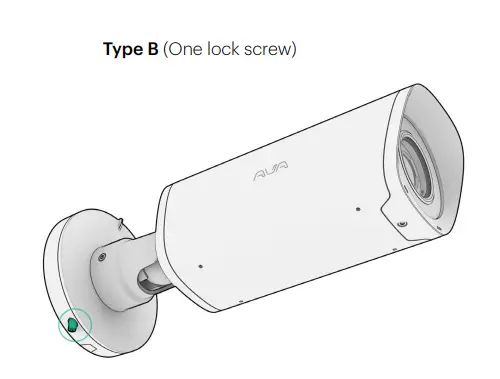
Bracket type B
B.5 Loosen small set screw using the supplied L-key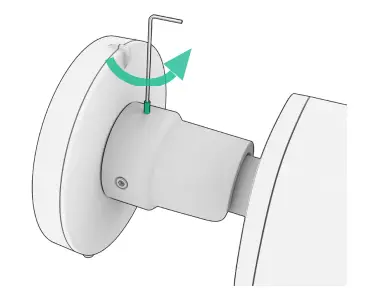
Loosen the M6 set screw (T20)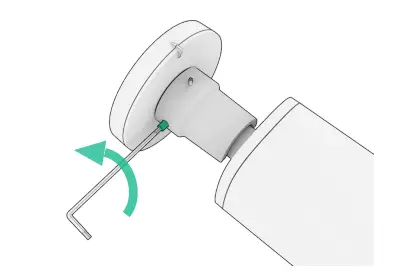
Loosen the M6 set screw on the opposite side (T20)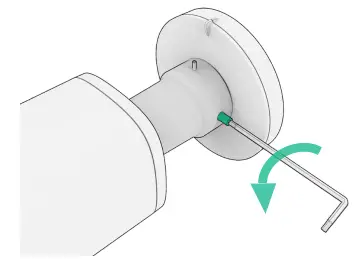
B.6 Remove original bracket parts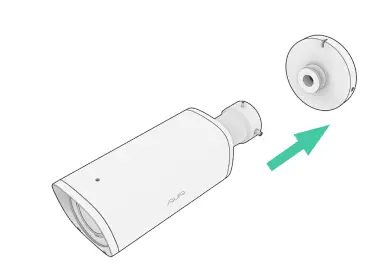
B.7 Insert the included washer and assemble the new cove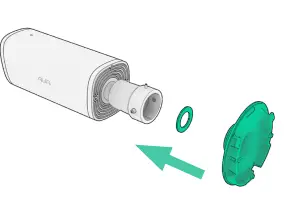
B.8 Tighten the M6 set screw (T20)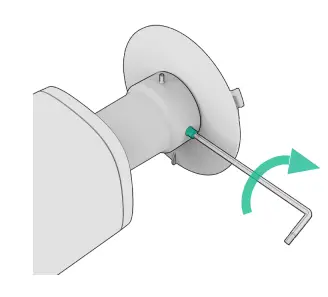
Tighten the M6 set screw (T20) on the opposite side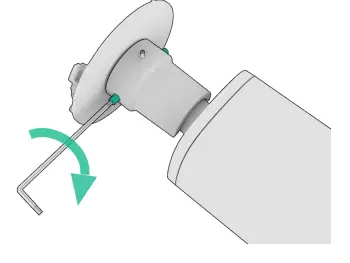
The smallest set screw should sit right below flush (not tightened properly)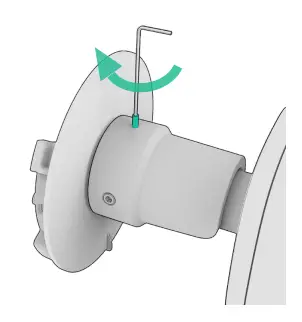
B.9 Please refer to the bullet camera mounting guide for cable management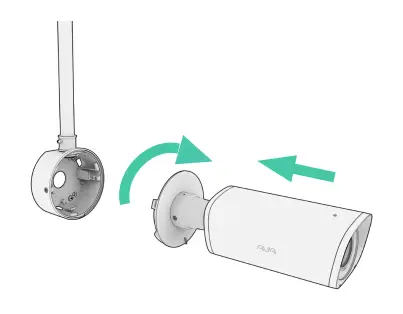
B.10 Lock the camera to the back box by tightening the 2x screws B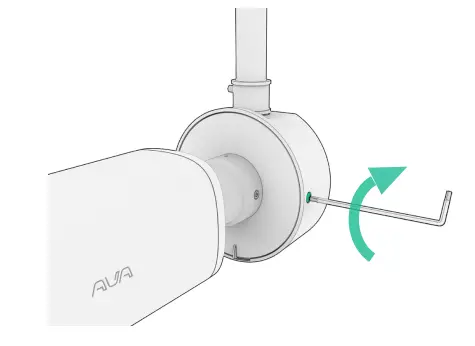

AVA-CON-BCK-MG-01


