![]() CONDOR
CONDOR
Mini Mechanical Key Cutting Machine
XC-009
User Manual
Safety precautions and warnings
To prevent personal injure or machine damage, users should carefully observe the instruct-ions provided by this operation manual and adopt the following safety precautions:
- Use the machine under the safe condition
- Place the machine on a horizontal surface, which should be firm enough to carry the weight of the machine
- Do not exposure machine in scorching sun or place the machine in any wet, oily, dusty area
- Keep the machine clean and dry and keep a distance of 30cm from the wall for ventilation
- Wear safety glasses that meets ANSI standards
- When the machine is working, keep clothing, hair, etc. away from all moving parts
- Do not leave the machine while it is operating
- Do not place anything on the machine while it is operating
- Power plug with ground wire must be connected when charging. Do not use power plug that is out of power and loose
- Turn off the switch when the machine is not in use or in service
- Shut down the machine immediately when any exception occurs. The switch on the left side of the machine
- Keep the machine out of reach of children
General information
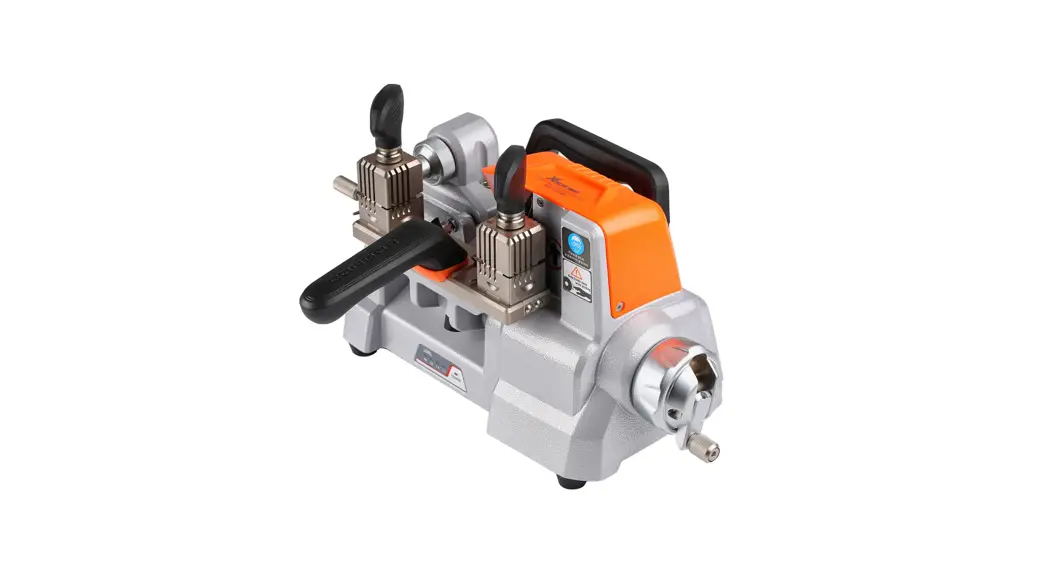
2.1 Machine description
Dear customers, Thank you for choosing CONDOR XC-009 Mini Mechanical Key Cutting Machine.
CONDOR XC-009 Mini Mechanical Key Cutting Machine is a portable professional device specially designed for global locksmiths. It is small in volume, light in weight and easy to carry. It can quickly and accurately duplicate and cut variety of automobile and resident mechanical key types. Please read it carefully before use. It is crucially important if you wish to operate the machine safely and efficiently.
2.2 Machine characteristics
CONDOR XC-009 is a new generation of Mini Mechanical Key Cutting Machine with the following characteristics:
- Attractive design, more contemporary and technology feeling
- Integrated casting, aluminum structure, durable
- Small volume, light weight, easy to carry
- Ergonomics designed, more comfortable, simple and convenient
- Micro-adjust guide for high-precision cutting requirements
- Built-in lithium battery, super long endurance ability
Product packaging checklist
CONDOR XC-009 should come with accessories listed in the following table. Please have a check when you get this product and contact your distributor if anything in the table is missing.
| Name | Sample picture | Quantity | Description |
| Macrine | 1 | Key cutting machine | |
| Handle | 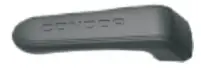 | 1 | Control handle, accessory |
| M6 screw |  | 2 | Fixed handle |
| Tools | 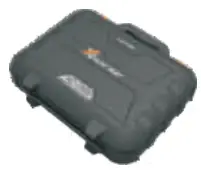 | 1 | Tools placed |
| Align stopper |  | 2 | stopper |
| 2.5mm hexagon bar wrench | 1 | Tool for removing | |
| 3mm hexagon bar wrench | 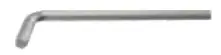 | 1 | Tool for removing |
| 4mm hexagon bar wrench |  | 1 | Tool for trimming slide |
| 5mm hexagon bar wrench | 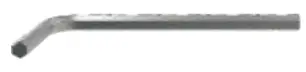 | 1 | Tool for trimming slide |
| Tool change rod | 1 | Change the cutter | |
| 19mm open spanner |  | 1 | Change the cutter |
| File | 1 | Tool for polish | |
| (p1.2mmnozzle cleaner | 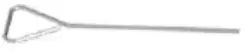 | 2 | Tool for putting the key |
| T1.7mmnozzle cleaner | 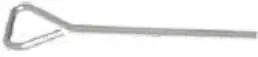 | 2 | Tool for putting the key |
| Power Adapter | 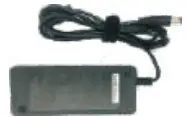 | 1 | Charger unit |
| Battery(optional) | 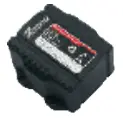 | 1 | Power unit |
| 1.5m Power cord of China standard |  | 1 | Connect to power |
| 1.5m Power cord of UK standard (optional) | 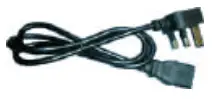 | 1 | Connect to power |
| 1.5m Power cord of US standard (optional) | 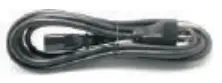 | 1 | Connect to power |
| 1.5m Power cord of EU standard (optional) | 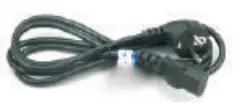 | 1 | Connect to power |
| Brush |  | 1 | Cleaning tool |
| Quality certificate and Product Packaging Checklist | 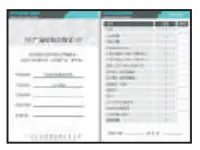 | 1 | Factory inspection report and packing list |
| User manual |  | 1 | Machine assembly/adjustmen t/oper ation instruction |
Overview
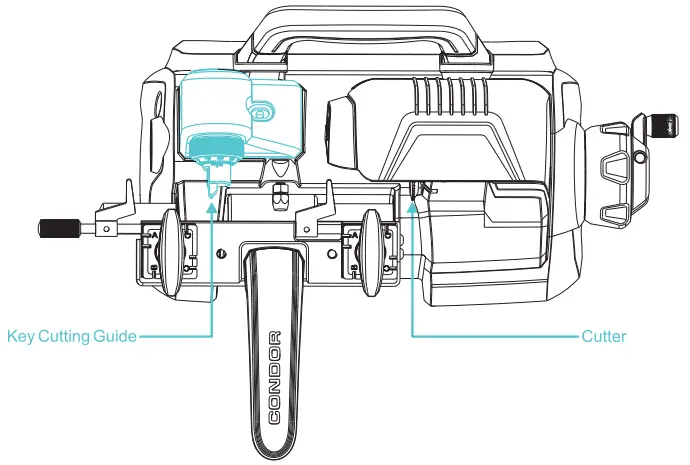
4.1 Structure diagram

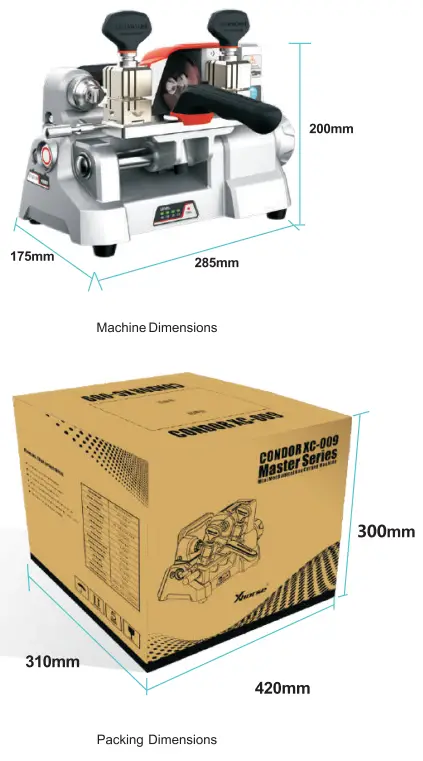
4.2 Specifiction
| Input Voltage | 90-264V AC |
| Input Frequency | 47-63Hz |
| Consume | 110W |
| Power Parameter | 12-18V DC /3A |
| Battery Capacity | 2600mAh/22.2V |
| Spindle Speed | 900rpm |
| Motor Torque | 1.2N m |
| Clamp Spacing | 95mm |
| Table Travel | 46mm |
| Working Temperature | 0-50°C |
| Humidity | 10-90% |
| Net Weight | 10.8kg |
| Gross Weight | 12.5kg |
| Machine Dimensions | 285mm*175mm*200mm |
| Packing Dimensions | 420m m*310m m*300mm |
4.3 Main parts and function declaration
4.3.1 Hand wheel
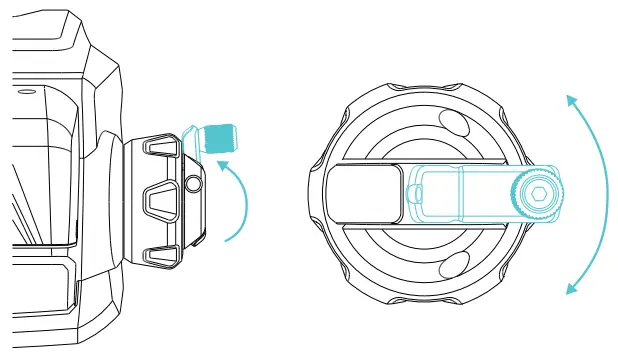 Unscrew the small hand wheel and turn the small hand wheel to achieve cutting feed. By rotating the hand wheel, the clamp slide can be controlled to move left and right, so as to achieve lateral feed during the cutting of the key. The hand wheel adopts a concealed structure, which opens outward when in use and can be hidden after use.
4.3.2 Sliding platform
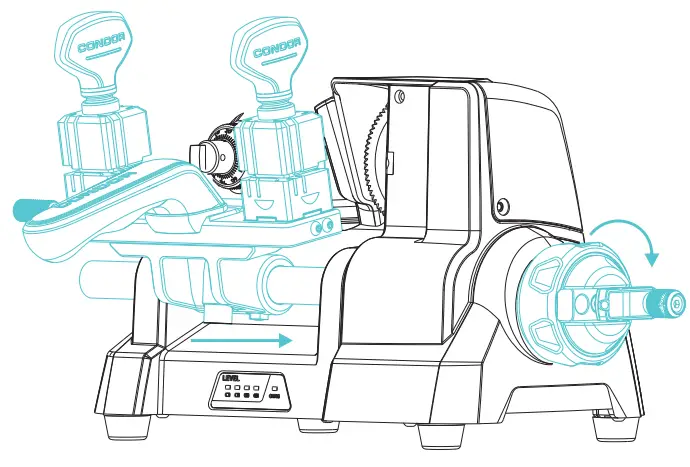 The clamp sliding platform can be rotated about the axis of rotation and moved axially to achieve lateral and longitudinal feed of the key. Rotating the hand wheel to realize the lateral feed of the s sliding platform, holding the handrail and rotating around the axis to realize the key longitudinal feed, the sliding platform has a lateral stroke of 46mm and the clamp spacing is 95mm.
4.3.3 Micro-adjust slide
 Adjust the Micro-adjust slide to align the cutter with key cutting guide.
4.3.4 Clamp
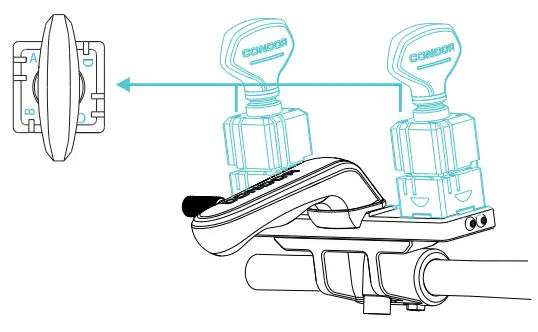 Allocation and clamp the key. the four-side (A. B. C. D) can be used to copy different key types. The left side is auxiliary clamp, placed original key, the right side is main clamp, placed blank key. Ensure that left and right clamp use the same cutting surface. Select the proper cutting surface according to different types (refer to chapter 6.2 clamp cutting surface selection). Be sure to clamp the key before cutting.
4.3.5 Power parts
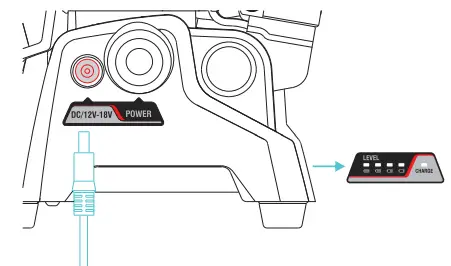 There is a battery capacity indicator in front of the machine. When the power is low, the indicator is red. Please charge it in time. When power is full, please unplug the power cord in time. It can be fully charged in about 4 hours. After it is full, the machine can cut 60-100 keys continuously.
- Please use original power cord and adapter.
- Please use power socket with ground wire.
- Do not cut the key when charging.
Equipment installing and setting
5.1 Handle installing
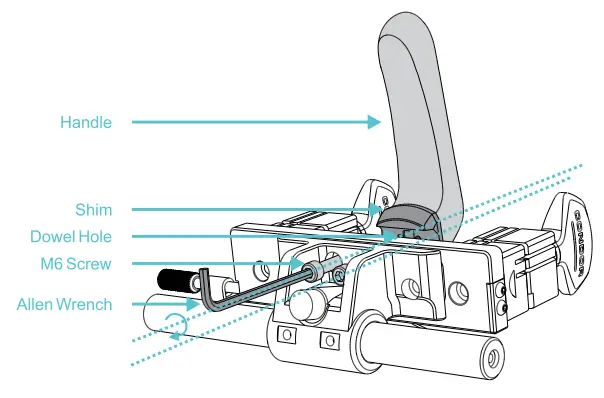
In order to save space, the handrail is separately from the whole machine in the package. Please open the box and install the handrail according to the picture above.
5.2 Cutter installing
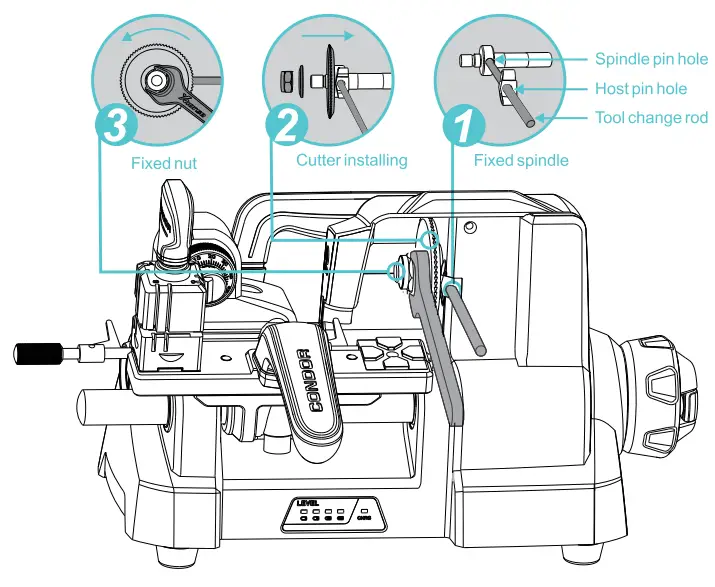
- While the machine is stopped, slowly rotate the spindle, align the spindle pin hole with the host pin hole, and then insert the tool change rod into the end.
- Installing the cutter on the spindle. Pay attention to the front and back surface of cutter (with the word facing left), install the cutter block and lock nut (anti-nut).
- Use the 19mm open spanner to tighten the lock screw counterclockwise. Then pull out the tool change rod. After installing the cutter, please refer to chapter 5.3 Micro adjust slide calibration.
5.3 Micro-adjust slide calibration
Micro-adjust slide calibration has been finished in the factory. If deviation or incorrect operations occurred, please adjust as follows.
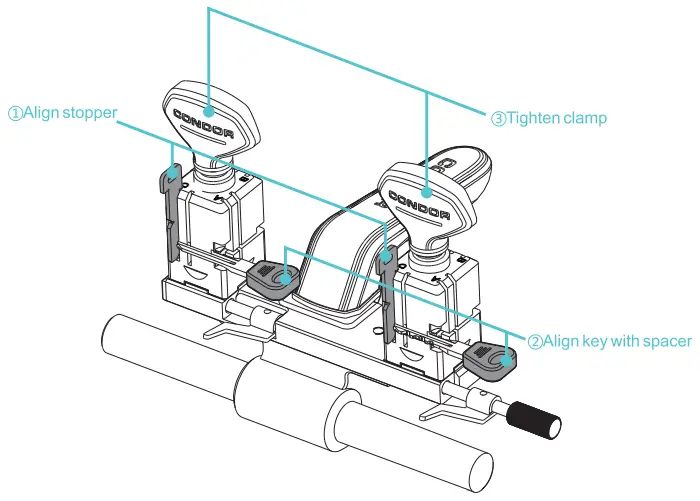
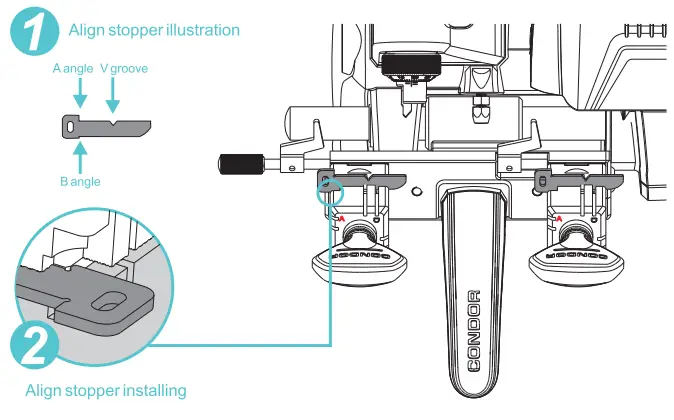 Firstly, both clamps are screw to A side, and clamp the align stopper on both clamps. Tighten the align stopper to clamp, the clamp is tightened. And adjust the lateral and longitudinal adjustment of the slide separately.
5.3.1 Lateral micro-adjust slide calibration
Perform lateral adjustment. After clamping the align stopper, rotate and slide the clamp slide, the left side of cutter is close to the align stopper, loosen the slide fixing screw slightly, and slowly adjust the left adjustment screw with an alien wrench. The left side of the key cutting guide is just close to the align stopper, and the fixing screw is tightened.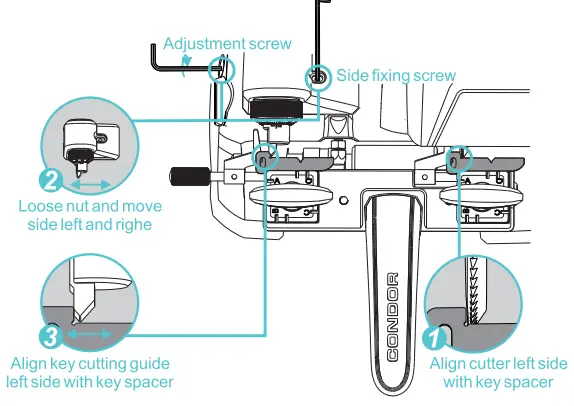 5.3.2 Longitudinal micro-adjust slide calibration
When the longitudinal direction adjusting, slowly rotates the clamp sliding platform, align the cutter with the key holder V groove, then rotates the micro-adjust slide dial, align the key cutting guide with the key holder V groove, rotates the dial 1 small lattice, the key cutting guide moves 0.02mm than before.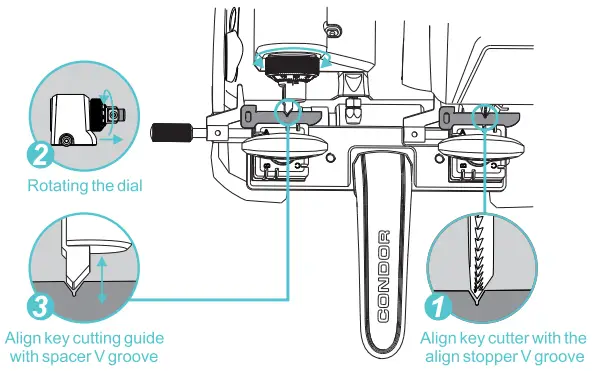 5.4 Clamp installing
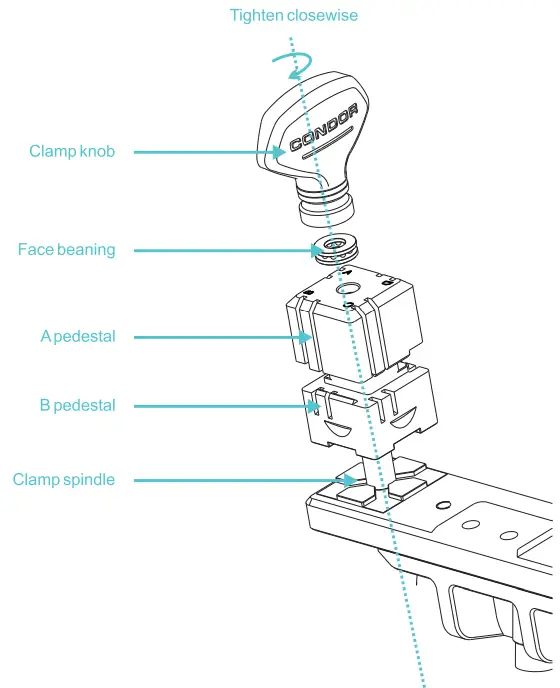 Do not remove the clamp under normal condition. If it is accidentally disassembled, please install according to the above figure. Pay attention to the clamp surface, otherwise it will not work normally.
Machine operation
6.1 Key alignment
6.1.1 Tip align
 When the key tip is spacing, use the alignment block, insert the positioning block into the spacing slot, slowly push the key until it touches the align stopper, the clamp is tightened to remove the align stopper.
6.1.2 Shoulder spacing
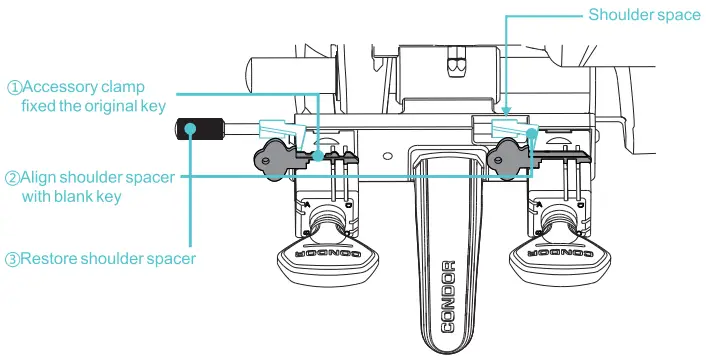 The original key is fixed on the auxiliary clamp, the shoulder spacer is aligned, then the blank key is aligned to the shoulder spacer, clamped, and finally the shoulder spacer is rotated to the initial state.
 If it is found that the distance between the shoulder position and the fixture is inconsistent, it is necessary to calibrate the shoulder spacer. As shown in the following figure, installed the alignment block (refer to chapter 5.3), rotating the shoulder spacing axis, make the left and right shoulder spacer just close to the alignment block A angle, if there is deviation, release the set screw. Slowly move the shoulder spacer, and adjusted the spacer in correct position, then lock the set screw tightly. Remove the Align stopper that it can be used normally.
6.2 Clamp cutting surface selection
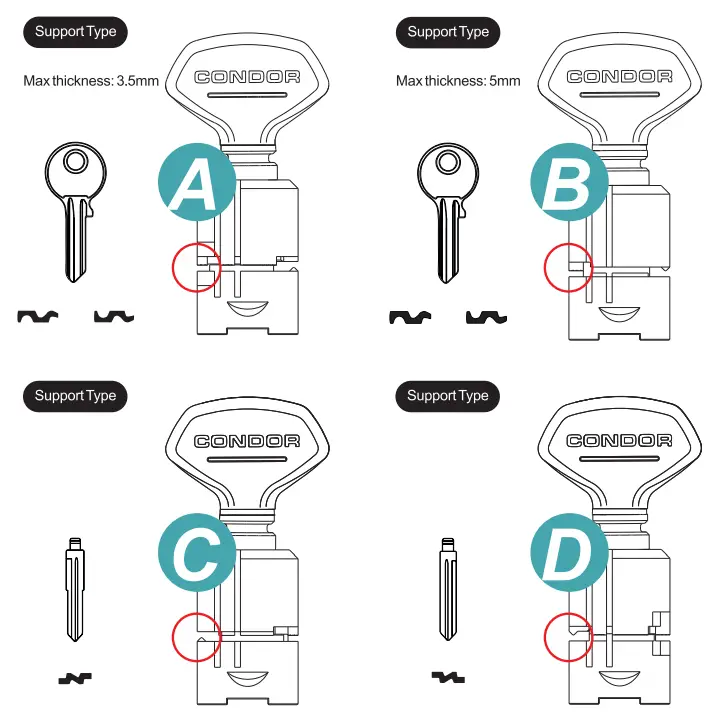 Clamp have A, B, C, Don all sides, different types of keys according to the above image to select the appropriate clamping surface, or reference appendix.
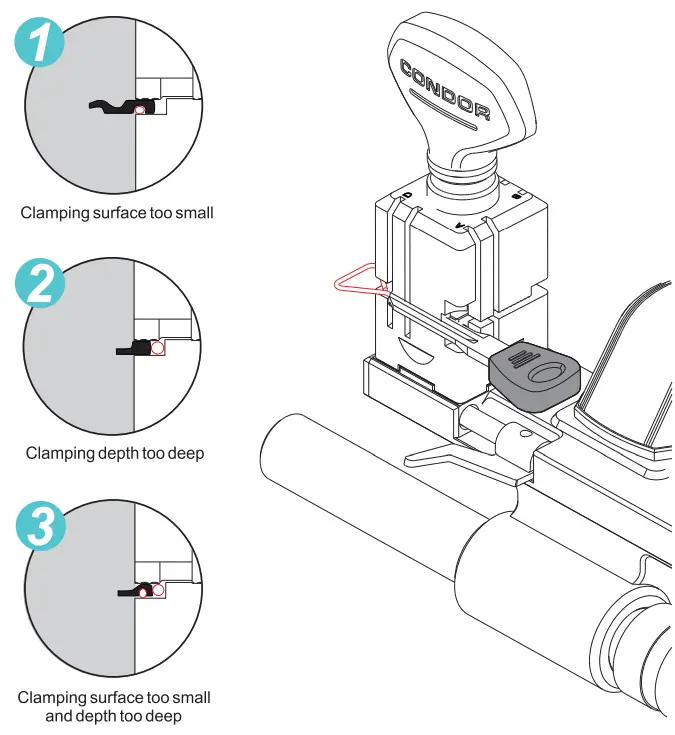
6.3 Use of needle
When using A or B surface, the clamping depth too deep, cutting less than the complete, you can use the needle, change the clamping depth to ensure normal processing, as shown in the following figure:
Maintenance
- Please clean the area around clamps with a brush before the machine starts to work. This is to assure cutting precision and avoid components damage by metal particles.
To avoid damage or corrosion to the machine, please do not use detergent or other - cleaning products to clean the machine.
- Please do not flush or wet the machine with water, in case rust and electrical current leakage.
Under any circumstance, please do not try to clean the working area with air guns and 0 – drying machines, in case any metal carvings getting inside the machine.
Warranty and after-sale description
CONDOR XC-009 has a warranty of 1 year for machine and six months for battery. The warranty starts from the date on invoice. If there is no invoice or the invoice is missing, purchase records from factory is used as reference.
Within Warranty, free maintenance and repairing is not provided if the machine becomes dysfunctional due to the following reasons:
- Operation without referring to or violating the user manual
- Modifications or repairs to the machine by individuals
- Falling, knocking or wrong voltage
- Force majeure
- Use of the machine in places such as ships that are bad for the machine for a long time a Damaged or worn-out plastic case and protective shield due to frequent use
Regarding to customer service and technical support, please contact distributors or Xhorse online customer service team by scanning the QR code below and downloading Xhorse official App.
 https://api.xhorse.com/release/download/app-xhorse
All the information and illustrations in this document are for guidance only. Xhorse reserves the right to alter products designs, dimensions or info to improve the products quality. The contents of this document are fully protected by Copyright and may not be copied or reproduced in any form (e.g. mechanical, electronic, printing or video recording), without permission from Xhorse.


