TOSOT KJ350G Air Purifier User Manual
READ AND SAVE THESE INSTRUCTIONS
Important Safety Instructions
Your safety and the safety of others is very important to us. Please read all instructions before use and save this user manual for future reference. A digital version can be obtained from Customer Support.
Installation and Setup
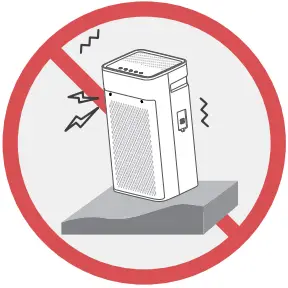 Only use your air purifier in an upright position. Make sure the angle of inclination<10°. Always place the appliance on a stable, flat, level surface to prevent the unit from overturning.
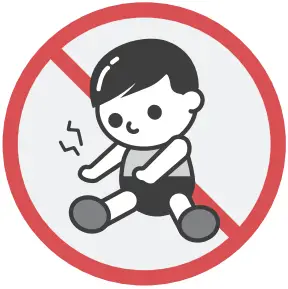 Place your air purifier in an area where it is NOT easily accessible to children.
Children should be under supervision when they are near the unit.
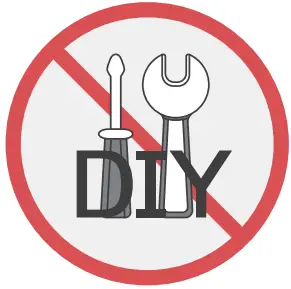 Do not attempt to disassemble or repair any part of this appliance.
All repairs and services must be performed by qualified service personnel.
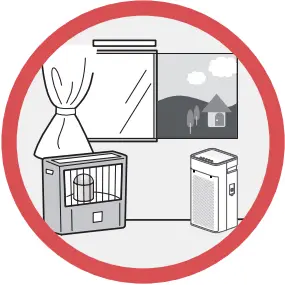
 Keep your air purifier away from fire. Do not store or use flammable gases or materials near the appliance.
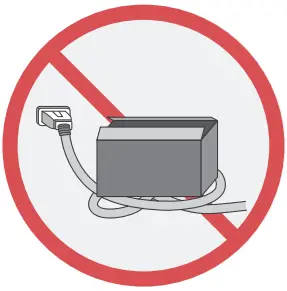
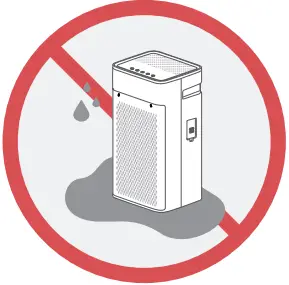 Do not wash your air purifier in water. Keep the unit away from water, wet and damp areas. Never place in water or liquid.
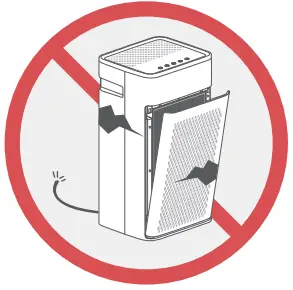
 Do not attempt to move your air purifier when it is powering on. Make sure the unit disconnects power before you start cleaning or servicing.
![]() Do not sit, stand or rest hot or heavy objects on your air purifier.
Do not sit, stand or rest hot or heavy objects on your air purifier.
 Only for household use. Do not use the unit outdoors or for commercial use.
![]() Keep plastic bags and sheets out of the reach of children as they might be mistakenly used for play. Packaging materials may pose a risk of suffocation if not disposed of properly.
Keep plastic bags and sheets out of the reach of children as they might be mistakenly used for play. Packaging materials may pose a risk of suffocation if not disposed of properly.
 Do not attempt to operate your air purifier if it visibly damaged, malfunctioning, disassembled or has missing or broken parts. This includes exposed wiring on a damaged cord or electrical plugin.
Electrical Safety Warning
 Always plug into a fixed 120V 60 Hz AC outlet.
- Your air purifier should be plugged directly into a power outlet.
Power outlets should be properly rated, protected, and sized in order to avoid electrical overload. - Do not use a multiplug power strip or extension cord. Failure to do so may result in short-circuit or electrical shock.
- Push the power plug all the way into the wall outlet so that it will not be loose.
- Do not damage, alter, excessively bend, twist, pull or heat the power cord.
- Do not cover the power cord with a rug or carpeting.
 Do not plug or unplug your air purifier with wet hands.
- Do not use your air purifier if the outlet is damaged or loose.
 To Reduce The Risk Of Fire Or Electric Shock, Do Not Use
This Fan With Any Solid-State Speed Control Device. POLARIZED PLUG WARNING:
THIS APPLIANCE HAS A POLZRIZED PLUG. One blade is wider than the other. To reduce the risk of electric shock, this plug is intended to fit in a polarized outlet only one way. If the plug does not fit fully in the outlet, reverse the plug. If it still does not fit, contact a qualified electrician to install the proper outlet.
DO NOT ATTEMPT TO MODIFY THIS PLUG OR DEFECT THIS SAFETY FEATURE IN ANY WAY. Unplug or disconnect the appliance from the power supply before servicing.
 This product complies with the maximum allowable concentration of ozone of 0.050 parts per million by volume (ppmv) in a 24-hour period. The Health Canada Guideline 2010 recommends that the maximum exposure limit, based on an averaging time of 8 hours, is 0.020 ppmv or less when tested in a sealed, controlled room approximately 30 m .
 Do not plug or unplug your air purifier with wet hands.
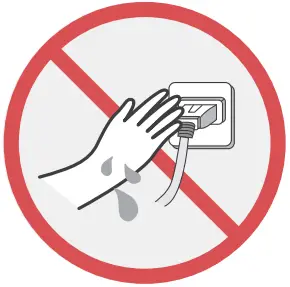 Do not use your air purifier if the outlet is damaged or loose.
 OZONE DENSITY about HEPA AIR PURIFIER
Specifications
| Power Supply | AC120V, 60Hz (18AWG power cord) |
| Standby Power | 0.6W |
| Rated Power | 58W |
| Operating TEMP | 41~104°F (5~40°C) |
| Filter Grade | H13 (TiO2 Treated ) |
| Dimension | 10.5*12*23in (26.5*31*59cm) |
| Weight | 17.6lbs / 8kgc |
Parts List

- Control Panel
- Air Outlet
- Unit Body
- Air Intake
- Air Quality Sensor
- Filter
- Grille Cover(Front)
- Built-in UV LED Light
Operation
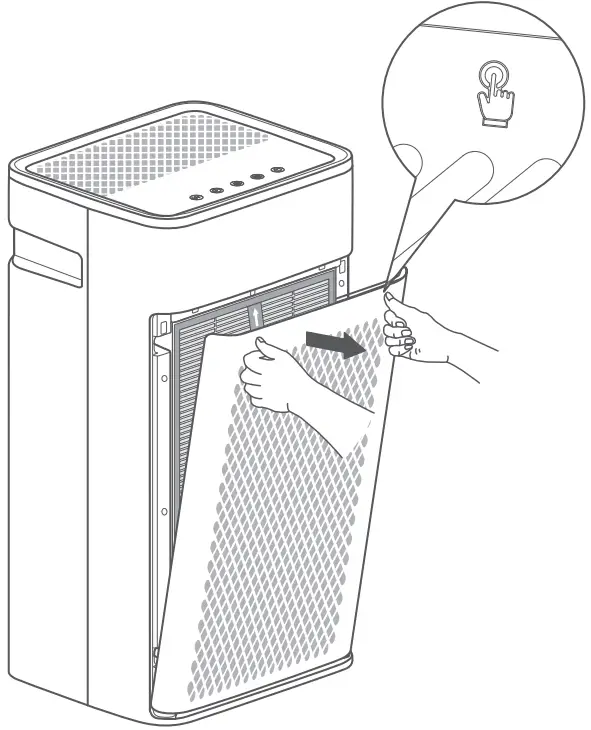
Installing the Filter
![]() WARNING
WARNING
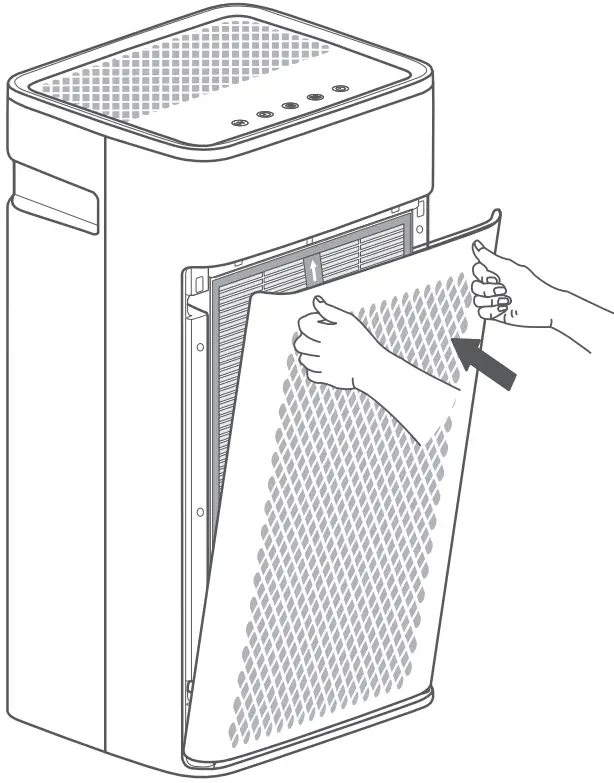
For safety concern, do not open the grille cover and replace filter when the unit powers on. Make sure the unit disconnects power before installing/replacing the filter.
- Push the left side “
 ” marked place, and then press the other side to open the front grille cover.
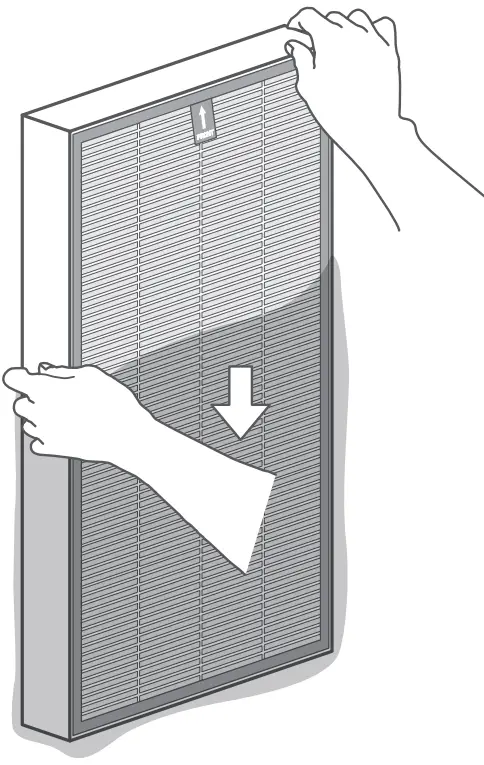
- Take out the new filter and remove from the plastic bag.

- Install the new filter and then place the front grille cover back in place.
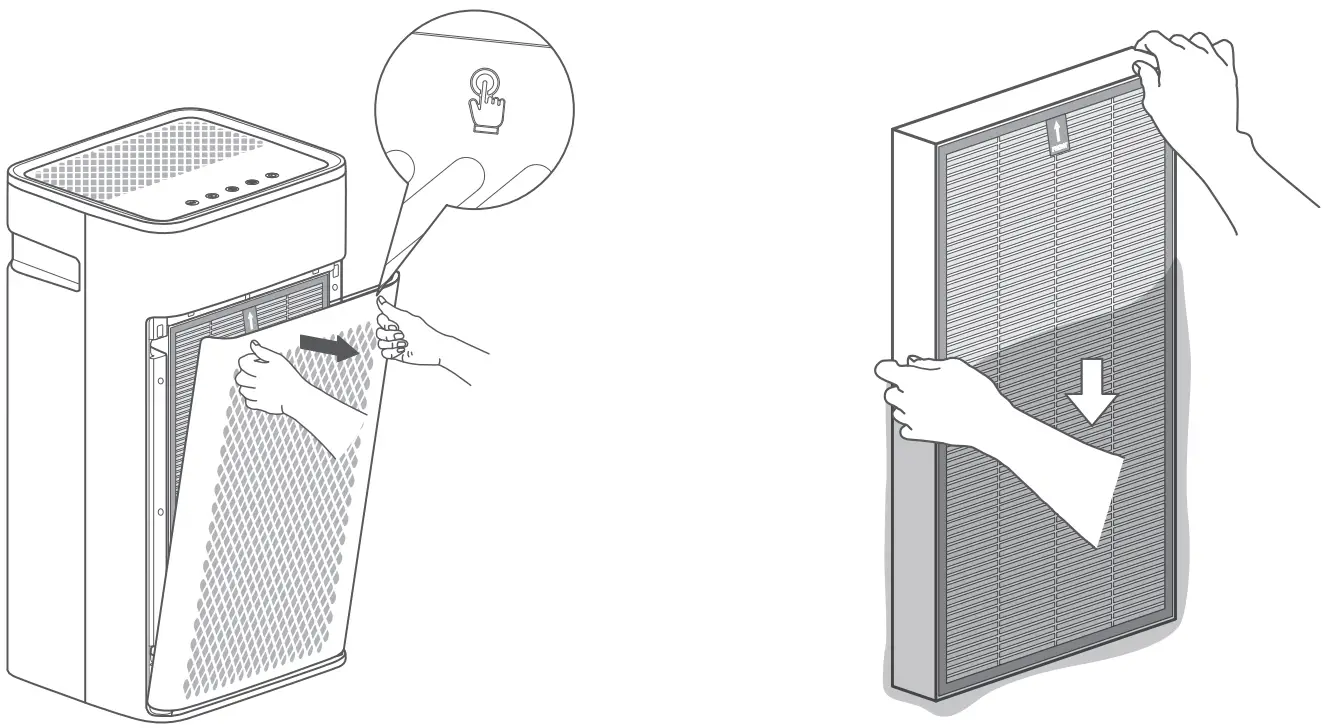
- Make sure the filter placed in the right position. Pull-tag on the filter should be outward and the white side with “True-HEPA” should be inward.

- Make sure the filter placed in the right position. Pull-tag on the filter should be outward and the white side with “True-HEPA” should be inward.
Connecting Power
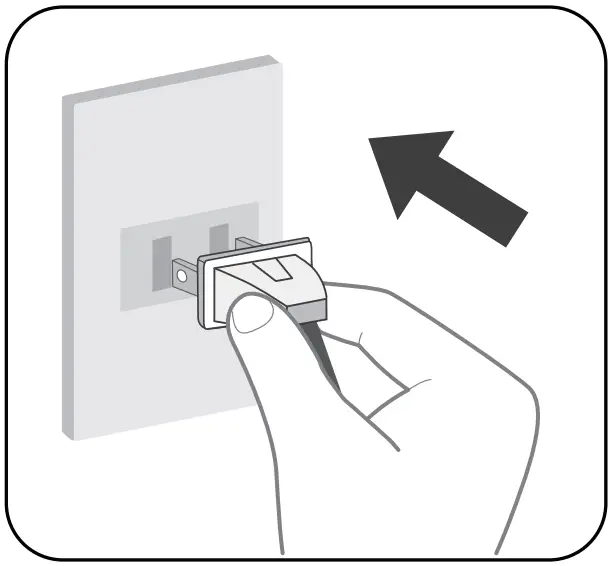
- Always plug into a fixed 120V 60 Hz AC outlet.
- Do not force the polarized plug into the outlet.
It will only fit one way. - Do not plug or unplug your air purifier with wet hands.
Display and Control Panel

Display:
- UV LED Indicator
- Sleep & Low Noise Mode
- Low Speed
- Timer Indicator
- High Speed
- Filter Replace Reminder
- Turbo Clean Mode
- Air Quality Indicator
- Auto Mode
Controls: - UV LED Light
- Timer Setting
- Filter Reset
- Operation Mode & Speed Setting
- On/Off Button
![]() ON/OFF Button
ON/OFF Button
Press to power the air purifier ON or OFF.![]() Operation Mode & Speed Setting
Operation Mode & Speed Setting
Press to cycle between operation mode and speed as it shows below: Sleep Mode->Low Speed->High Speed->Turbo Clean->Auto Mode
 Sleep Mode
In sleep mode, your air purifier will run at the lowest noise level to keep it the quietest during your sleep cycle.
Press to switch 3 level fan speeds
- High Speed: Suitable for faster cleaning and removing airborne dust, smoke particles and pet dander.
- Turbo Clean: Suitable for rooms with relatively high polluted air quality such as heavy smoke, heavy dust or bad odor. Unit runs at the highest speed to clean air.
![]() Auto Mode
Auto Mode
In Auto mode, your air purifier will automatically adjust the speed according to the air quality level.
You would see the color changing of ![]() indicating the Air Quality level as below:
indicating the Air Quality level as below:
| Indicator | Color | Air Quality |
| Green | Good | |
| Yellow | Medium | |
| Red | Poor |
 Filter Reset
When the indicator lights on, it is a reminder for you to replace the filter, you should check if it needs to be cleaned or replaced.
(More maintenance details
![]() Timer Setting
Timer Setting
- Press to activate the timer button, you could set time options (2H, 4H&8H) to adjust the length of the timer before the unit powers off.
- Your air purifier will automatically power off once the timer is finished.
- To exit the timer setting, continue tapping until
 the light shuts off.

![]() UV LED Light
UV LED Light
Press to turn the UV LED Light ON/OFF
This air purifier has a built-in long life LED UV Titanium Dioxide (TiO2) technology system. When activated by the LED UV light, the TiO2 can help enhance the elimination of airborne germs.
To activate the UV function, tap the UV control icon ” ![]() ” until the ” ” indicator is illuminated. To turn OFF the UV, tap until the UV indicator light shuts off.
” until the ” ” indicator is illuminated. To turn OFF the UV, tap until the UV indicator light shuts off.
You don’t need to do the normal maintenance or replace the UV LED light.
Cleaning and Maintenance
Filter Replacement Tips:
- When the indicator
 light is on, it is a reminder for you to check if the filter needs to be cleaned or replaced.
 - The general life cycle for the filter is 6-8 months, which means you need to replace the filter every 6-8 months.
- If your air purifier is running in an environment of relatively high pollution, you may need to change the air filter more often.
- Pay attention to the following alarm signals for the filter:
- Increased noise when the unit is running.
- Decreased airflow
- Clogged filters
- Increased presence of odors
How to replace the air filter?
a. Unplug the air purifier before installation of the air filter.
b. Push the left side “![]() ” marked place, and then press the other side to open the front grille cover. Remove the used filters and replace with a new filter.
” marked place, and then press the other side to open the front grille cover. Remove the used filters and replace with a new filter.
- Use only TOSOT authorized air filter replacements for TOSOT KJ350G Air Purifier. Go to www.tosotdirect.com or contact our Customer Support for more information.
c. Install the new filter and then place the front grille cover back in place.
d. Power on the air purifier and reset the Filter Replace Reminder. Press the Filter
Reset icon ” ![]() “, holding for 3 seconds until the reminder indicator ”
“, holding for 3 seconds until the reminder indicator ” ![]() ” turns OFF. This action is to recount the lifespan of the new filters.
” turns OFF. This action is to recount the lifespan of the new filters.
Regular Cleaning Tips:
- Make sure your air purifier is disconnected from the power outlet before you start cleaning.
- Keep cleaning the front grille cover every 30 days after continuous operation.
It can be rinsed or wiped with warm water. But make sure the grille cover is completely dry before installing it back into the outlet. - To prevent water drops going inside of the unit, using only a dry cloth to wipe the air purifier body is recommended.
Long-Term Storage Checklist Tips:
- Disconnect unit from the power outlet.
- Remove the filter and store in plastic packing.
- Wrap the unit and store in a dry place.
Troubleshooting
| Problem | Possible Cause | Solution |
Air purifier not working | Unit is not connecting the power supply. | Plug in the power outlet. |
| Filter or front grille cover not fully installed. | Reinstall the filter and the front grille cover, make sure they are in the proper place. (see page 6) | |
| The time set up to operation runs out. | Exist the timer setting mode. | |
Unusual noise | Not placing the unit on a stable and flat surface. | Place the unit on a hard, stable surface. Make sure the angle of inclination<10° |
| Dirty Filter | Replace a new air filter (see page 10) | |
| Abnormal noise from inside the machine | Stop use and contact Customer Support. | |
Bad smell from air outlet | Dirty filter with accumulated dust and contaminants. | Replace a new air filter (see page 10 ) |
| Unit is running in an area with high humidity, which may slowly cause an accumulation of bacteria with a bad smell. | Make sure your unit does not run in an area with high humidity. |
- If your problem is not listed, please contact Customer Support for more information.
Warranty & Customer Support
Warranty Information
- 1. 3-Year warranty:
TOSOT KJ350G Air Purifiers come with a 3-Year warranty from the date of
purchase. This warranty covers manufacturing and material defects.
Please visit : https://tosotdirect.com/warranty for more terms & policy. - Additional 6-Month warranty extension:
You can get a 6-month warranty extension by registering your new product at www.tosotdirect.com/extend and answering a short questionnaire.
Customer Support
Questions? We are here to help![]() [email protected]
[email protected]![]() 1-844-888-6768
1-844-888-6768![]() www.tosotdirect.com
www.tosotdirect.com
Share your experience![]() @tosotdirect
@tosotdirect


