brennenstuhl 010918680 Moisture Detector Instruction Manual
INTRODUCTION
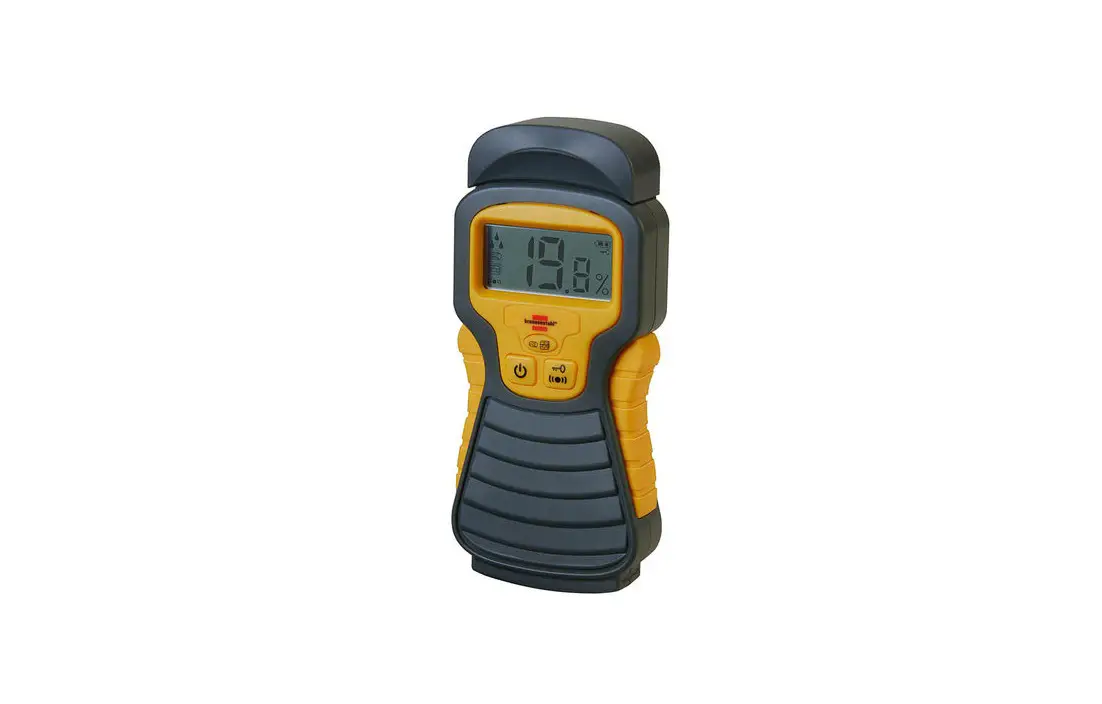
This moisture meter is a useful instrument, for determining the moisture content of wood or construction materials such as concrete, tile, screed, plaster, carpets, etc. Prior to operational start of the device, read the following instructions carefully and keep them for future reference.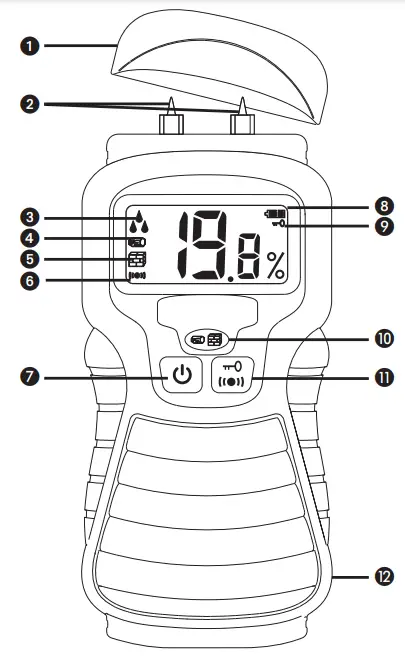
- Protective cap
- Measuring probe
- Moisture level indicator:
 Low
Low Middle
 High
High
- Wood display
- Construction materials display
- »Acoustic signal on/off« display
- On-/off switch: Hold longer than three seconds to turn on or off.
- Low battery indicator
- »Hold«-function display to »freeze« measured values
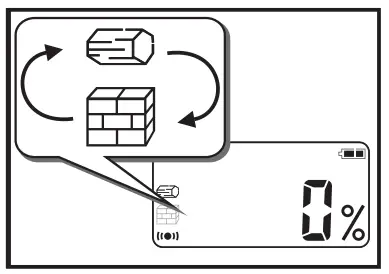
- Selector button: For switching from »wood« to »construction materials« and back
- »Hold«-button: To »freeze« the measured values, press and hold for ca. 1 second, the next push turns the function off again. To turn the acoustic signal on and off, press and hold for longer than three seconds.
- Battery cover (back)
Operation
![]() Note: Be aware that the probe tip can cause injuries if used incorrectly. Put the protective cover back on when the device is not in use. Keep the moisture meter away from children!
Note: Be aware that the probe tip can cause injuries if used incorrectly. Put the protective cover back on when the device is not in use. Keep the moisture meter away from children!
Inserting the Battery:
Remove the battery cover and insert a new battery (9V DC alkaline block battery). Make sure you connect the poles correctly.
Battery indicator:
The battery indicator is displayed when the device is in use. The battery symbol with two full bars ( ![]() ) means the battery is full. The battery symbol with one full bars and one empty bar (
) means the battery is full. The battery symbol with one full bars and one empty bar ( ![]() ) means the battery is half full. If the battery is empty, the battery symbol appears with two empty bars (
) means the battery is half full. If the battery is empty, the battery symbol appears with two empty bars ( ![]() ) and blinks. The device will then turn off and the battery must be replaced.
) and blinks. The device will then turn off and the battery must be replaced.
Performing measurements:
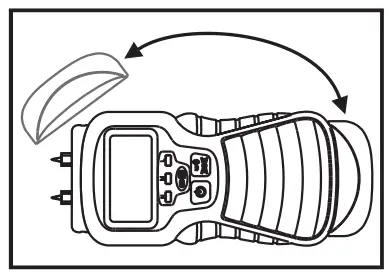
- Remove the protective cover and place it on the underside of the device.
- Press and hold the on/off switch »
 « until the display appears in the display window.
Select wood ![]() or construction materials »
or construction materials » ![]() « bypressing the selector button »
« bypressing the selector button » ![]() «.
«.
Insert the probe tip into the material to be tested (e.g. wood) and read the value in the display window. At the same time, an acoustic signal should sound. The higher the tone, the higher the moisture content.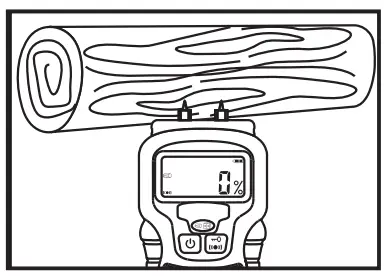
Press the »Hold«-button once ![]() to »freeze« the display in the display window. This can be useful if you wish to perform a reading in conditions of darkness or poor visibility. The symbol
to »freeze« the display in the display window. This can be useful if you wish to perform a reading in conditions of darkness or poor visibility. The symbol ![]() will appear in the display window and the reading will be displayed until the »Hold«-button
will appear in the display window and the reading will be displayed until the »Hold«-button ![]() is pressed again.
is pressed again.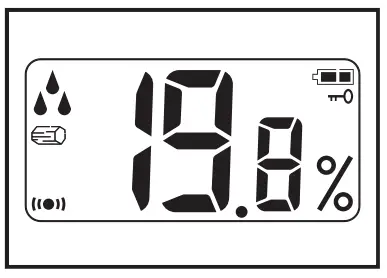
Press down the »Hold«-button ![]() for longer than 3 seconds to turn the acoustic tone on or off.
for longer than 3 seconds to turn the acoustic tone on or off.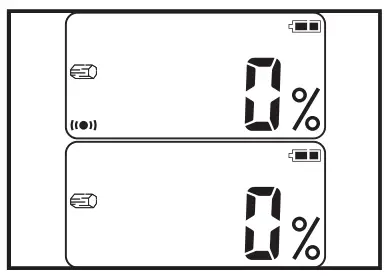
SAMPLE USES
Locating a leak in the wall
Place the probe on the surface to be tested. Take a reading and read the value from the display window. Repeat this procedure in various places. If the readings get higher, then you are getting closer to the leak. If the values stop increasing, you’ve found the leak.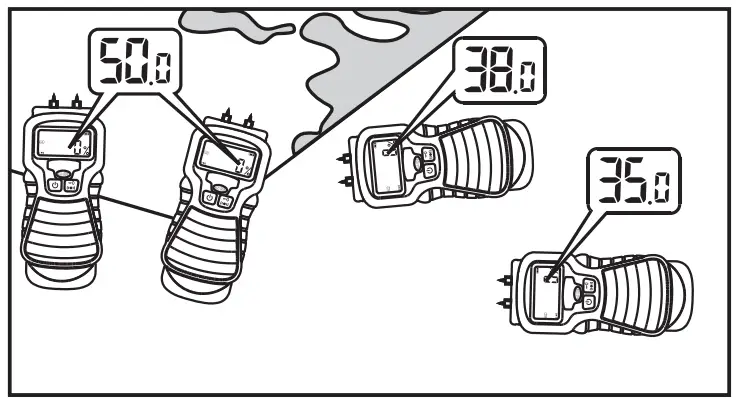
Check the moisture content of construction materials
e.g. concrete, tile, screed, plaster, carpets prior to finishing.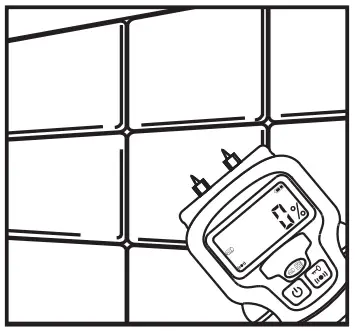
Check the moisture content of wood
e.g. of firewood or wood as a building material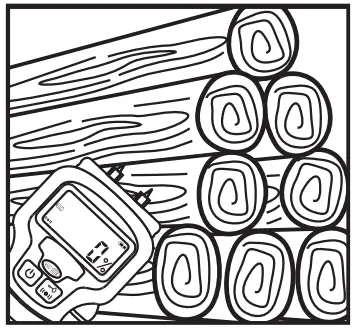
Determining the moisture content of soil
Use the setting for “construction materials”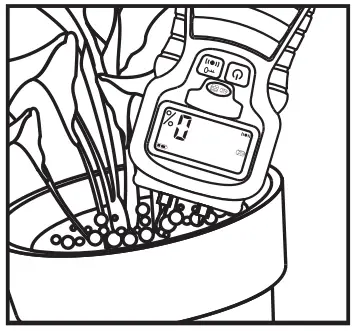
IMPORTANT NOTICES
Place the probe tips on the surface carefully, do not apply force.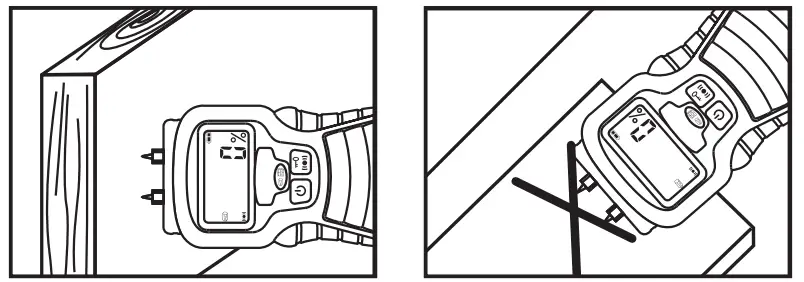
Handle the device carefully when the protective cap has been removed. The probes can cause injuries if used improperly.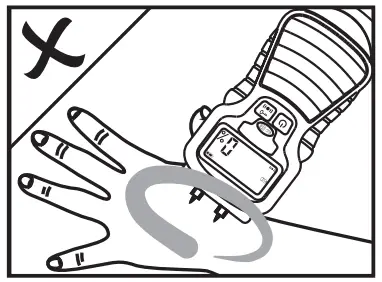
When measuring soil, you will get low readings if the readings are only taken at the surface and higher readings the deeper you press the probes into the soil. The measured value will differ significantly if you take readings in loose or tightly packed flower garden soil.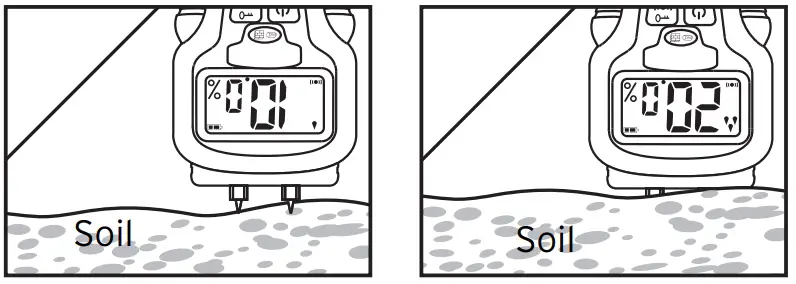
If the probes are set on a metal or a conductive surface, the maximum value of >>50<< or >>33<< will appear in the display.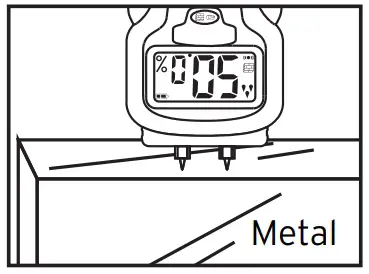
Keep the probes clean using a damp cloth and put them back in the protective cap.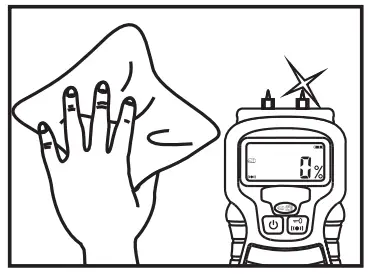
TECHNICAL DATA
- Power source: 9V DC alkaline block battery (not included in this package)
- Automatic shut-down: after 3 minutes
- Measurement range: 5% – 50% (wood); 1.5% – 33% (construction materials)
- Resolution: 0.1%
- Precision: +/– 3%


Reference values for moisture content:
Moisture Content |
| |
| 5 – 50 % | 1,5 – 33 % | |
| Low | 5 – 11,9 % | 1,5 – 16,9 % |
| Middle | 12 – 15,9 % | 17 – 19,9 % |
| Hight | 16 – 50 % | 20 – 33 % |
Disposal
 Please dispose of your used electronic devices in an environmentally friendly manner!
Electronic devices do not belong in your household waste. compliant with European Guideline 2012/19/EG concerning Electrical and Electronic Devices, used electronic devices must be collected separately and taken to a facility for environmentally sound recycling. You can find out about your options for disposing of your used electronic devices from your community or city government.
 Improper disposal of batteries can harm the environment!
Batteries do not belong in your household waste. They can contain poisonous heavy metals and are subject to treatment as hazardous waste. For this reason, please take your used batteries to your local collection site.
Support
Hugo Brennenstuhl GmbH & Co. KG
Seestraße 1-3 · D-72074 Tübingen
H. Brennenstuhl S.A.S.
4 rue de Bruxelles · F-67170 Bernolsheim
lectra-t ag
Blegistrasse 13 · CH-6340 Baar
www.brennenstuhl.com