![]() 10424 Wall Lights
10424 Wall Lights
Instruction Manual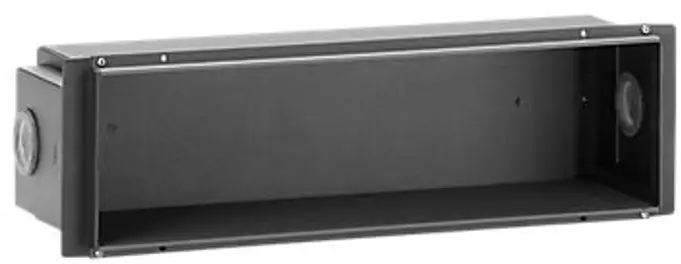 49.17
49.17
Technical amendments reserved
Installation housing
10424 Wall Lights
Instructions for use
Application
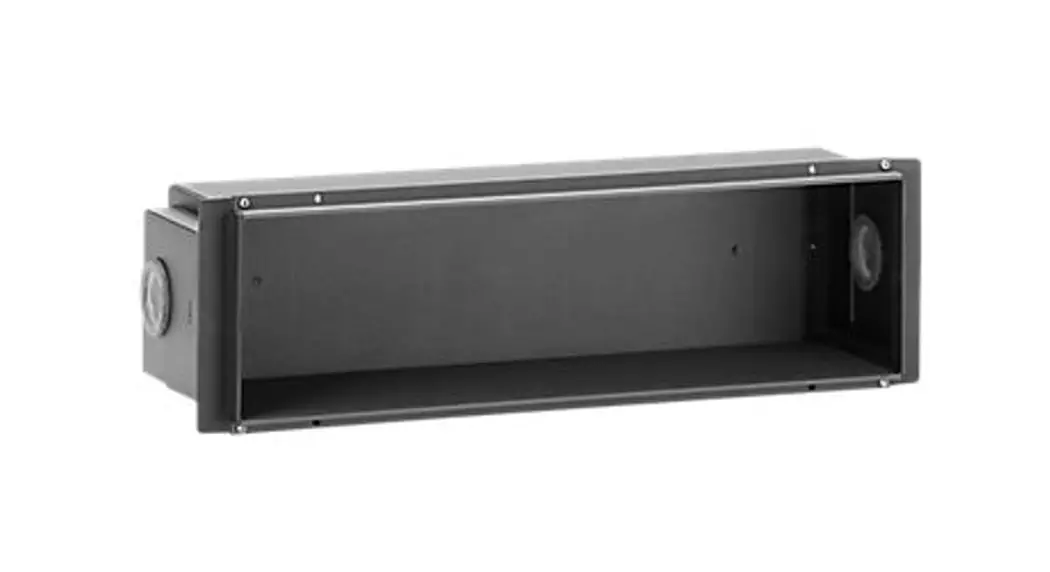
Installation housing for recessed installation of luminaires in walls made of concrete or plastered brickwork.
Product description
The installation housing is made of aluminium and glass fiber reinforced synthetic material
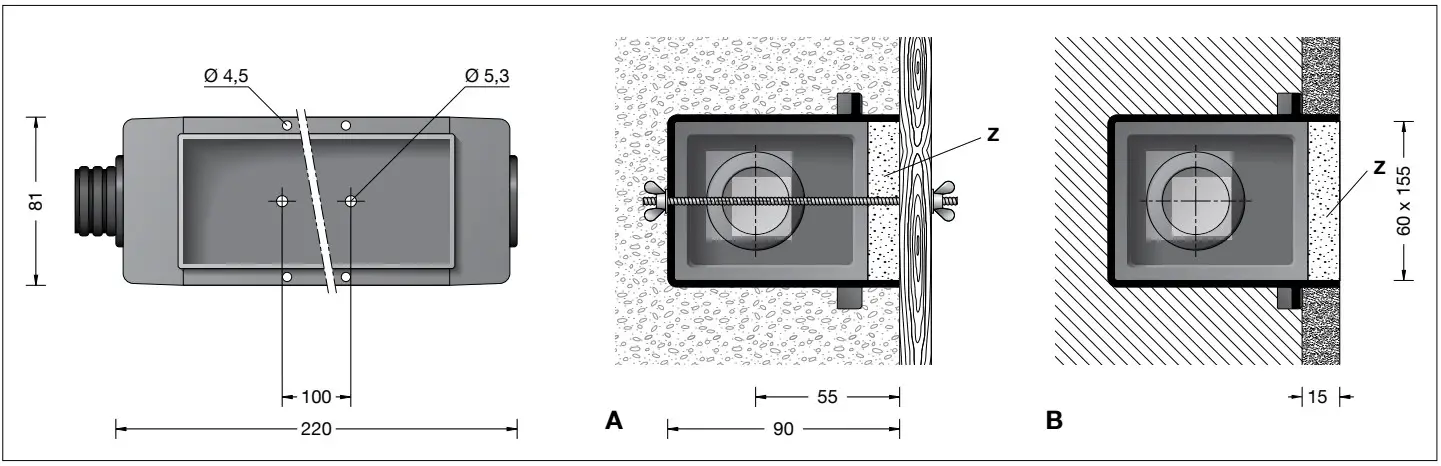
Recess opening 155 x 60 mm
4 holes ø 4.5 mm
2 holes ø 5.3 mm and
2 threaded rod with wing screws for fixing at the sheeting
2 opposite entries for installation conduits, max ø 30 mm
Centre-plate made of styrofoam with 2 fixing holes ø 5 mm to calibrate the position
Weight: 0.3 kg
Safety indices
The manufacturer is then discharged from liability when damage is caused by improper use or installation.
If any accessory is subsequently modified, the persons responsible for the modification shall be considered as manufacturer.
Installation
Installation in concrete
Calibrate the installation housing on the sheeting.
Fix the centre-plate Z.
It is needed for centering and positioning the installation housing and during building activity protects the installation housing against soiling.
Place the installation housing on the centreplate and fix it on the sheeting with the fixing holes and the threaded rods by means of the wing nuts. (ill. A)
If necessary seal.
In case of fairfaced concrete ensure that after demoulding the fixing is not visible.
Cut out the cable entries according to the installed conduits.
Lead conduits into the installation housing.
Flush mounted installation with plaster
Cut out the cable entries according to the installed conduits and lead conduits into the installation housing.
Insert centre-plate Z.
During building activity the centre-plate protects the installation housing against soiling.
If necessary seal.
Brick-in the installation housing flush mounted into the intended position. (ill. B)
Installation with plaster frame for plaster thicknesses from 12 – 20 mm
If installation housings are installed in brickwork or concrete walls that are subsequently
plastered, we recommend using plaster frames as well.
Accessories
10 024……………. Plaster frame
13 503……………….. Plaster frame flush
A separate instructions for use can be provided upon request.
![]() BEGA Gantenbrink-Leuchten KG
BEGA Gantenbrink-Leuchten KG
Postfach 31 60
58689 Menden
[email protected]
www.bega.com


