MULTIPLEX FreshBlender Decal

TOOLS REQUIRED
- Scissors
- Hand Decal Applicator/Smoothing Tool
- Clean Cloths, low-lint
- Isopropyl Alcohol (70-90%)
PARTS REQUIRED
- Decals
NOTE: Contact Multiplex Technical Support for part numbers.
TECHNICAL SUPPORT
| Country | Tech Support Phone Number |
| AUSTRALIA | 1800-423-626 |
| CANADA | 1-844-724-2273 |
| USA | 1-844-724-2273 |
![]() Warning
Warning
Power unit OFF and unplug from power source to prevent electrical shock.
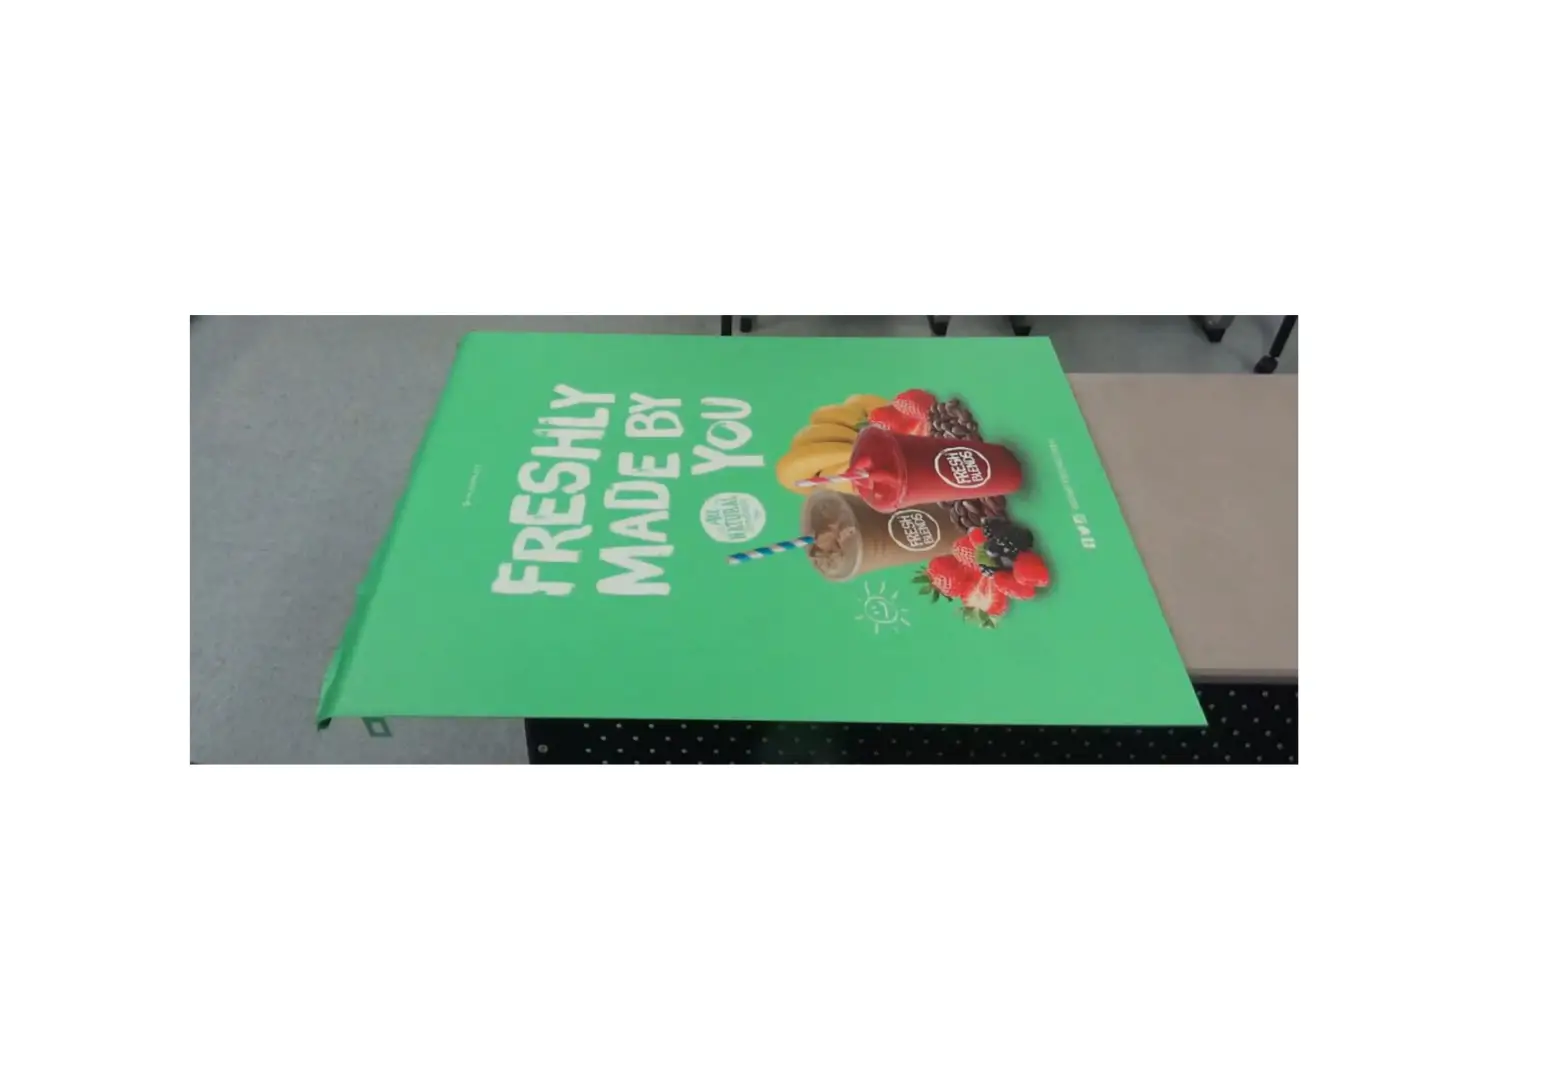
- If decals are rolled up, lay decal on a flat surface to remove curling.
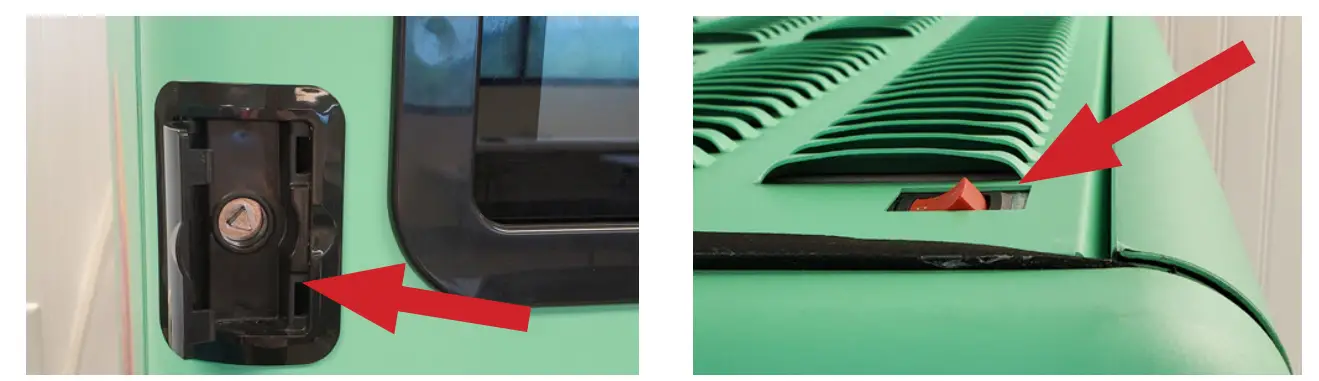
- Power unit OFF and unplug, then unlock door.

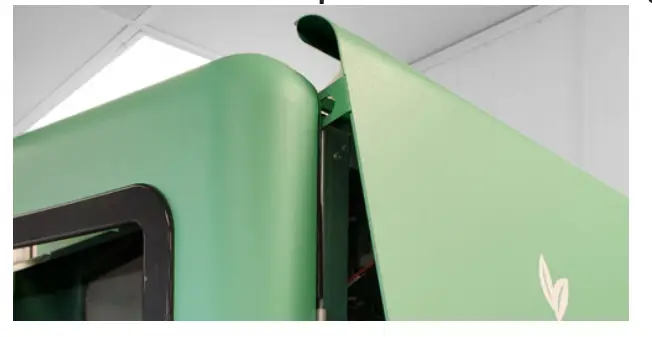
- Remove left and right side panels if replacing decals on side panels.
NOTE: Front top door must be open to remove right-side panel.
SIDE PANEL DECAL
- Lay side panel on flat surface with clips and curve hanging over edges so panel is flat.

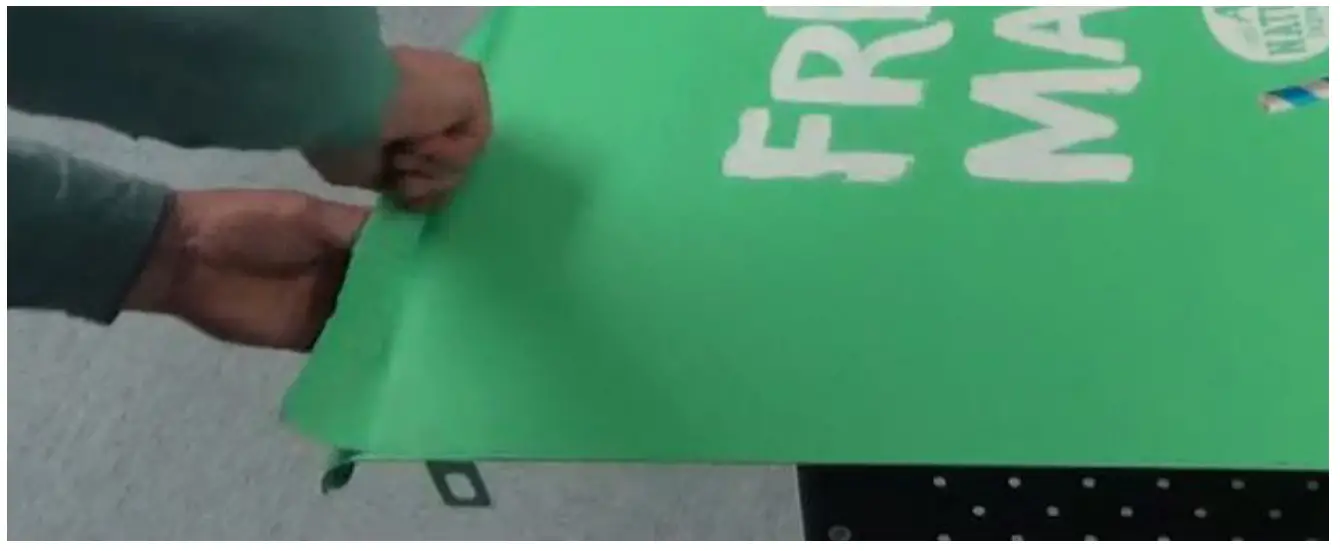
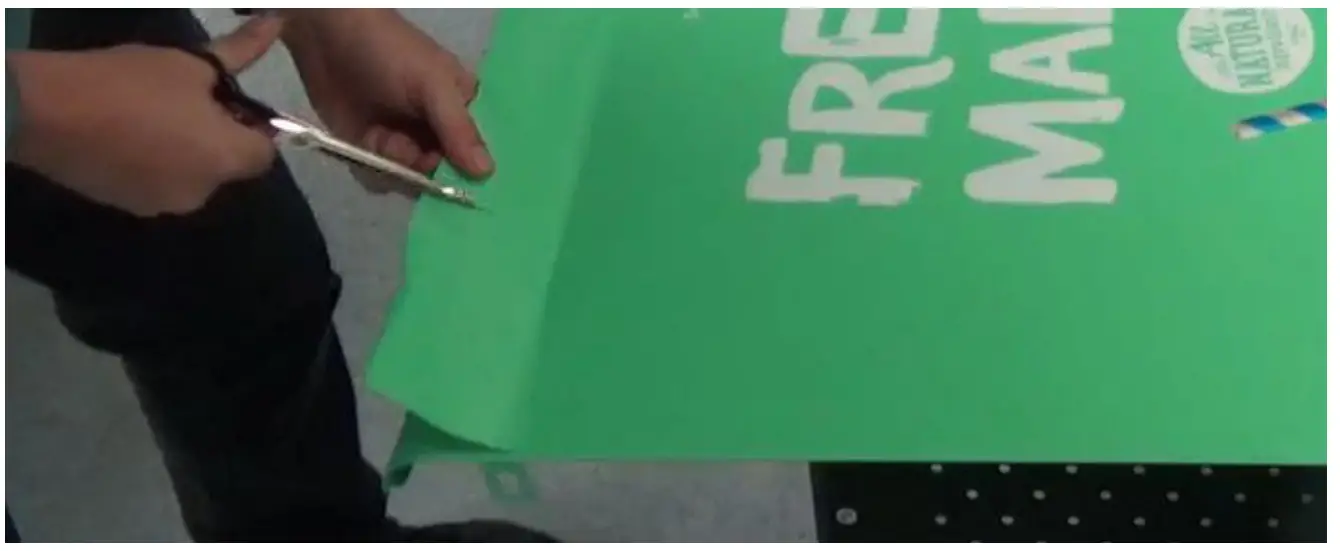
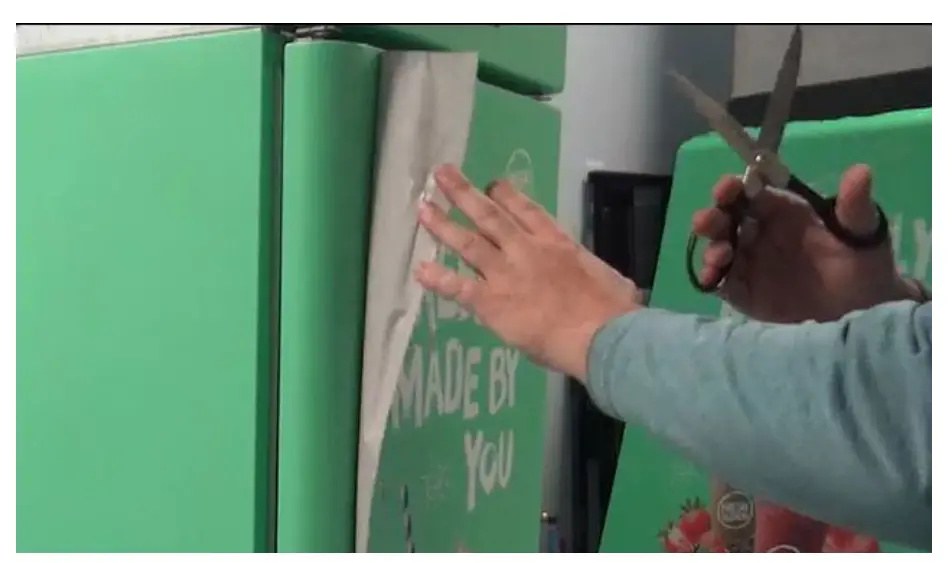
- Peel 2-3 inches (5-8cm) of old decal back along one edge.
- Using scissors cut 2-3 inch (5-8cm) slits 6 inches (15cm) apart along loose edge.
- Using scissors cut 2-3 inch (5-8cm) slits 6 inches (15cm) apart along loose edge.
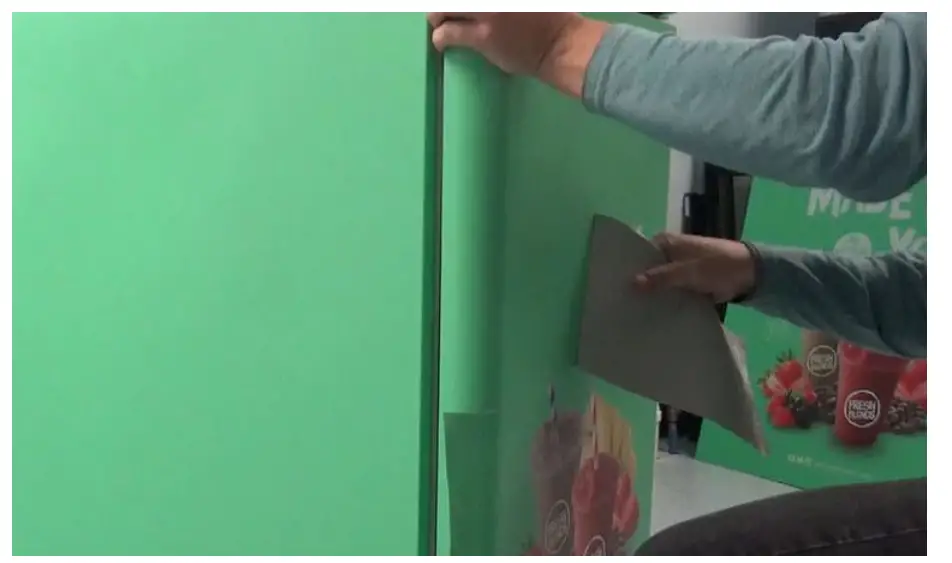
- Continue peeling old decal off in strips.

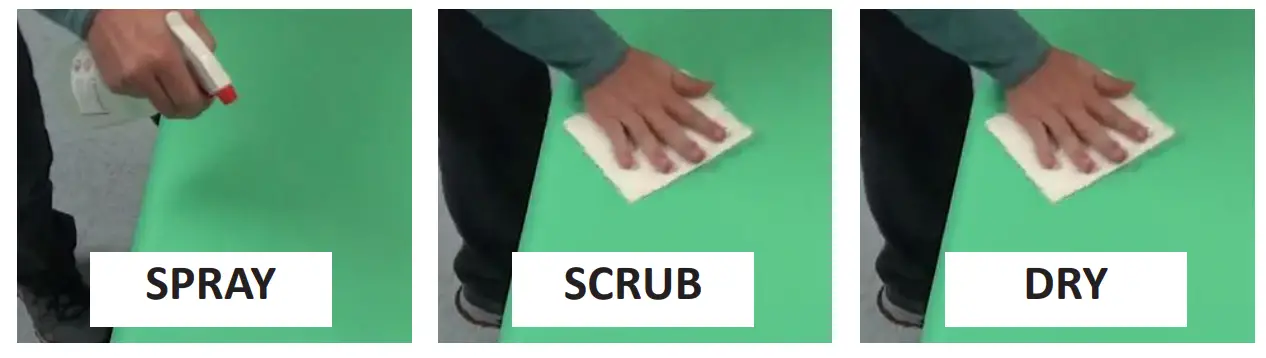
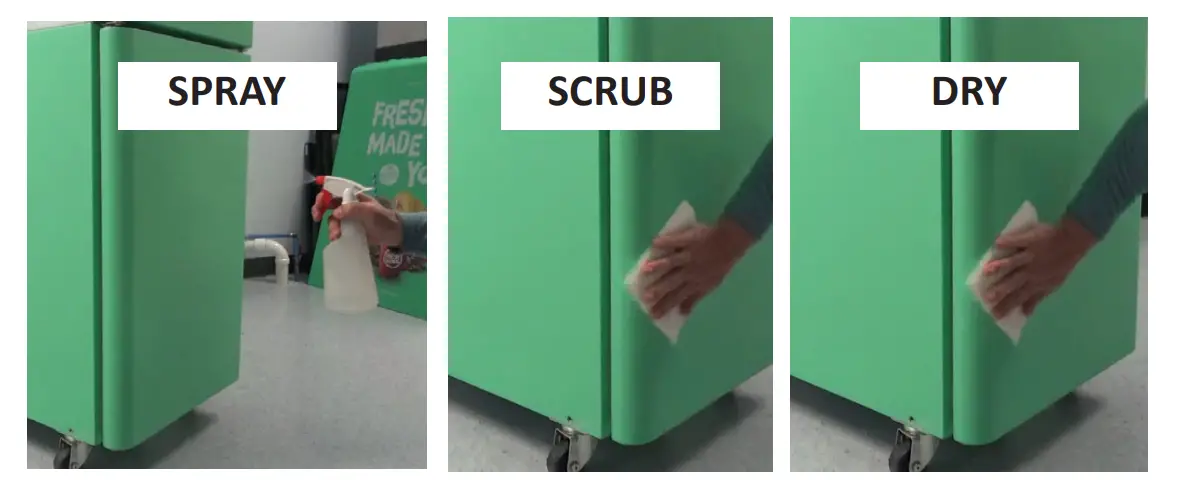
- Spray panel surface with isopropyl alcohol , scrub surface with clean cloth to remove dirt or adhesive residue.
Dry thoroughly with a different clean cloth. Make sure surface is dry and dirt/lint free.
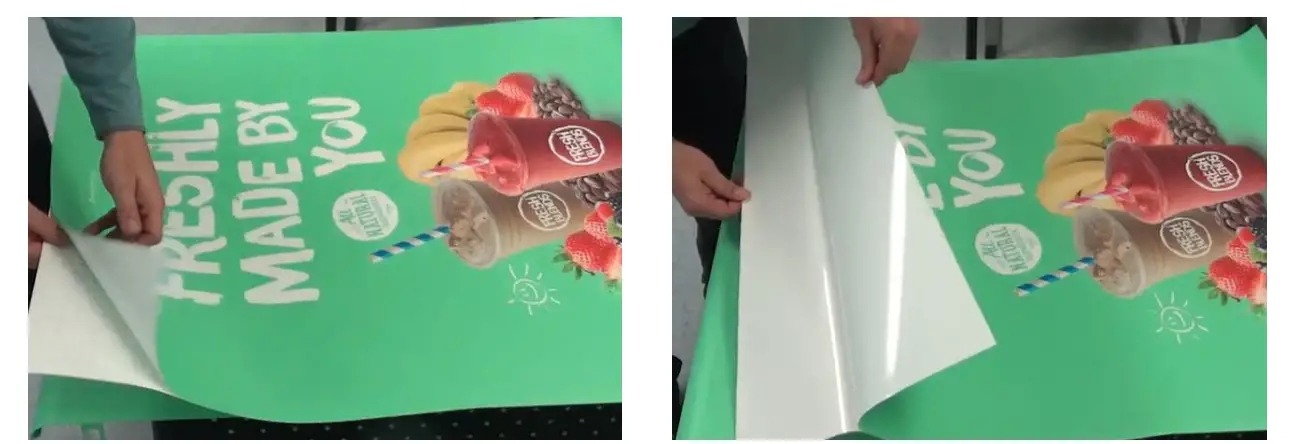
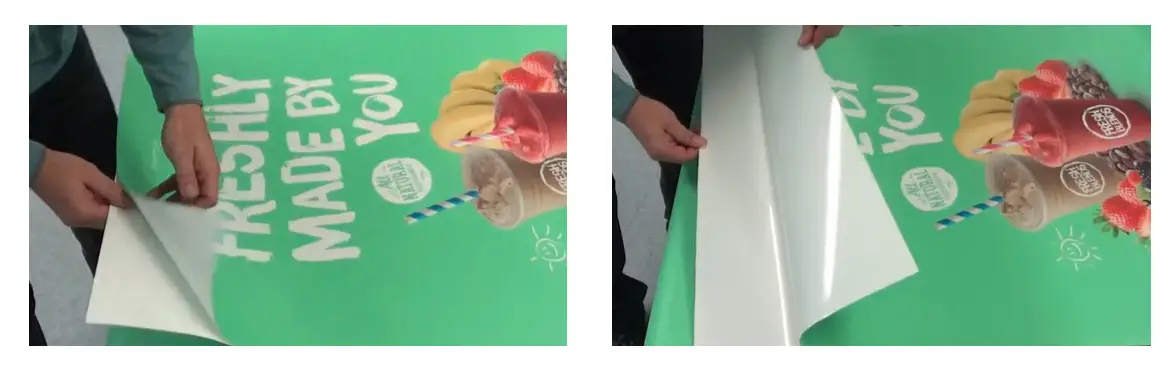
- Lay new decal face-up over clean panel and peel back 4- inches (10-13cm) along top edge. Do not take back of new decal off at this time.
NOTE: Curved edge is top of panel. Top of decal should be oriented along top of panel.
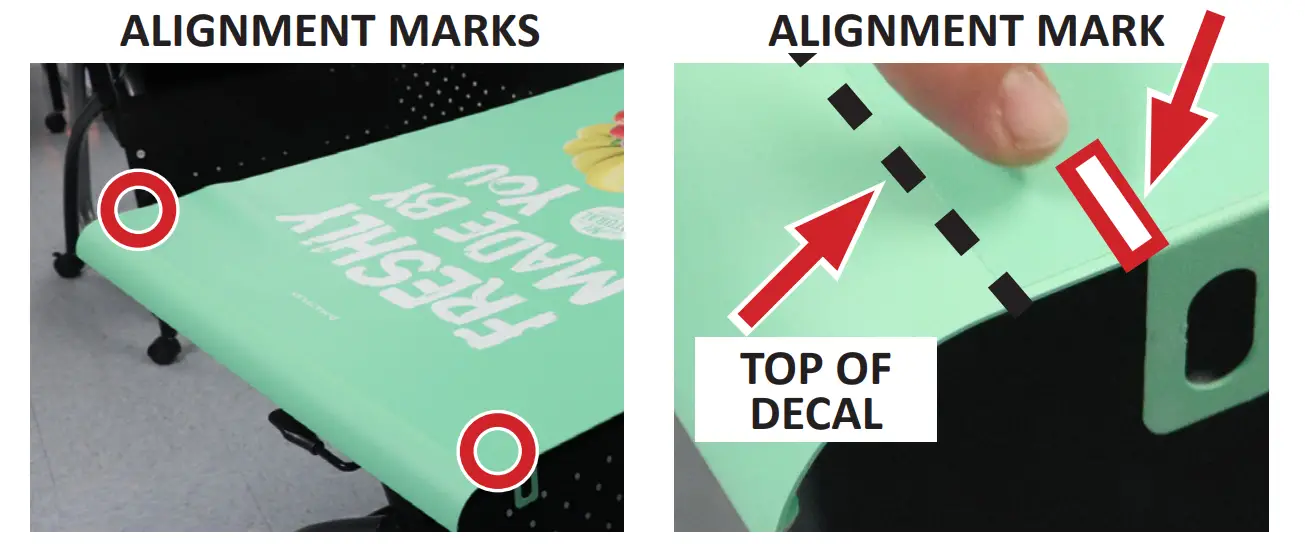
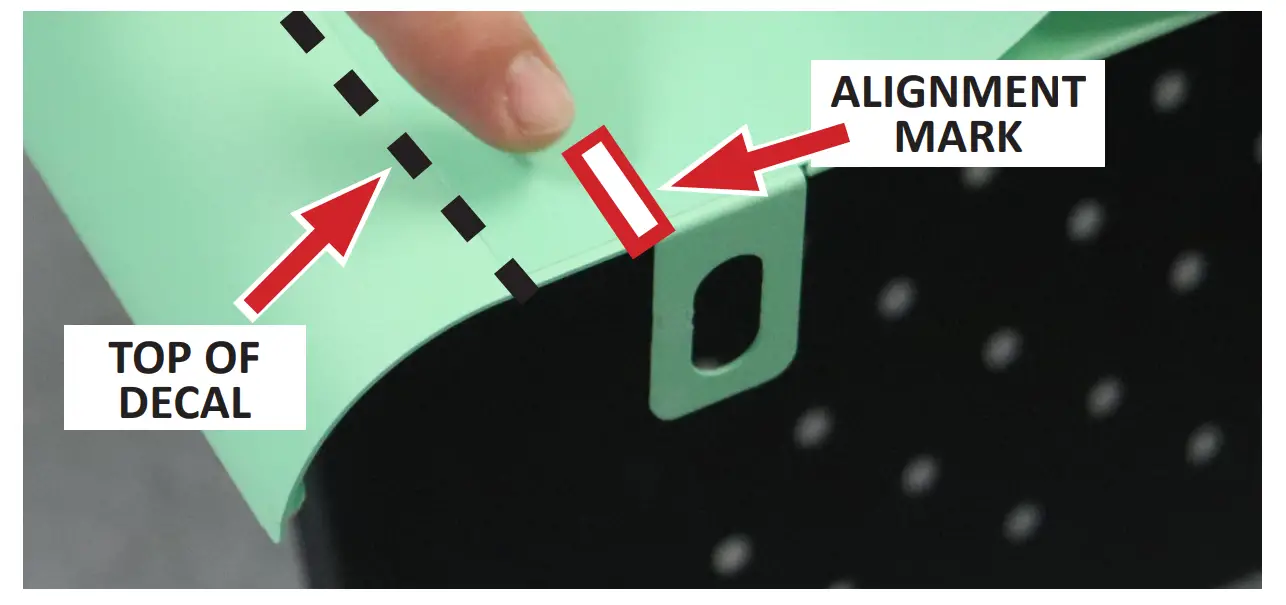
- Locate two (2) alignment marks on new decal.

- Align two (2) decal alignment marks with the two (2) clips located toward top of panel.
NOTE: Do NOT align top of decal with top edge of panel, use alignment marks.
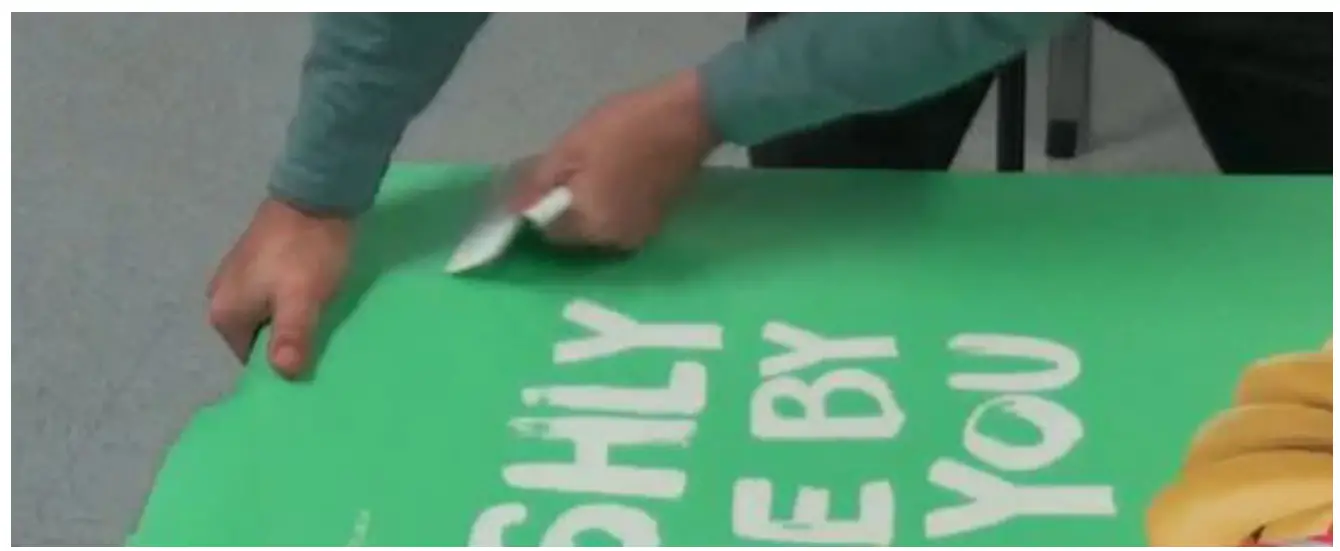
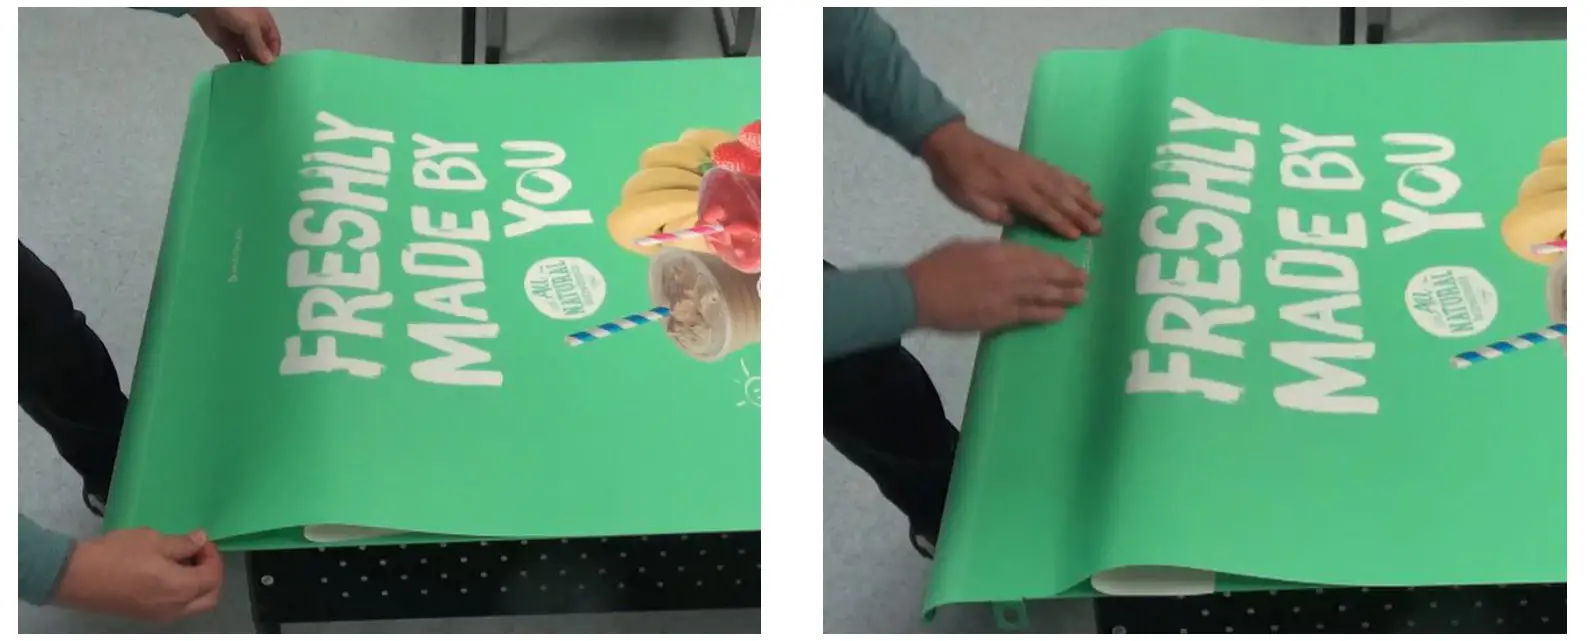
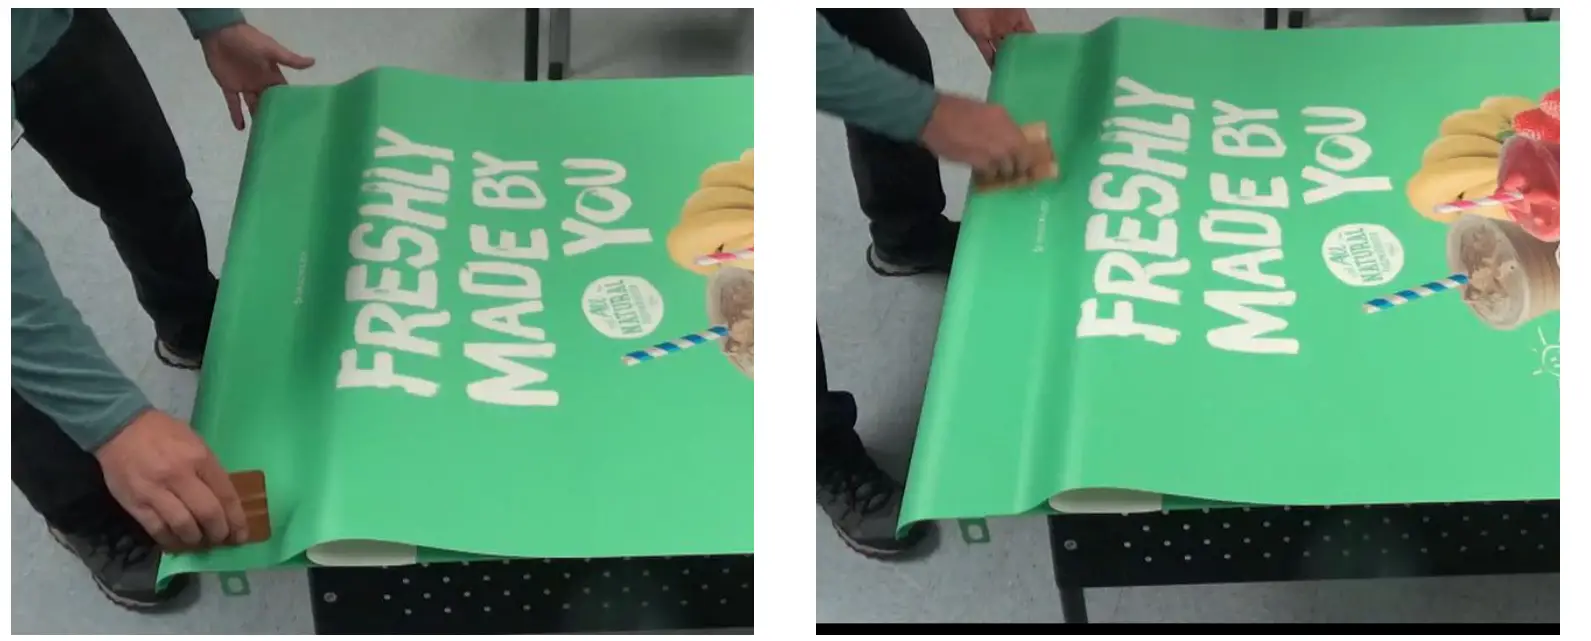
- Using clean hands start at center of decal and gently press outwards to secure the exposed adhesive back of decal to panel.

- Use decal applicator/smoothing tool to press out bubbles along top edge of decal to firmly secure exposed adhesive to panel.
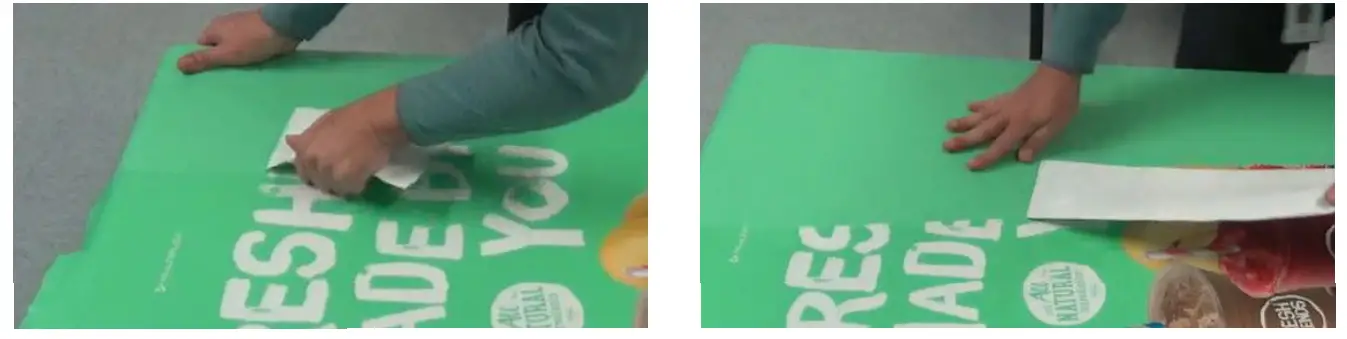
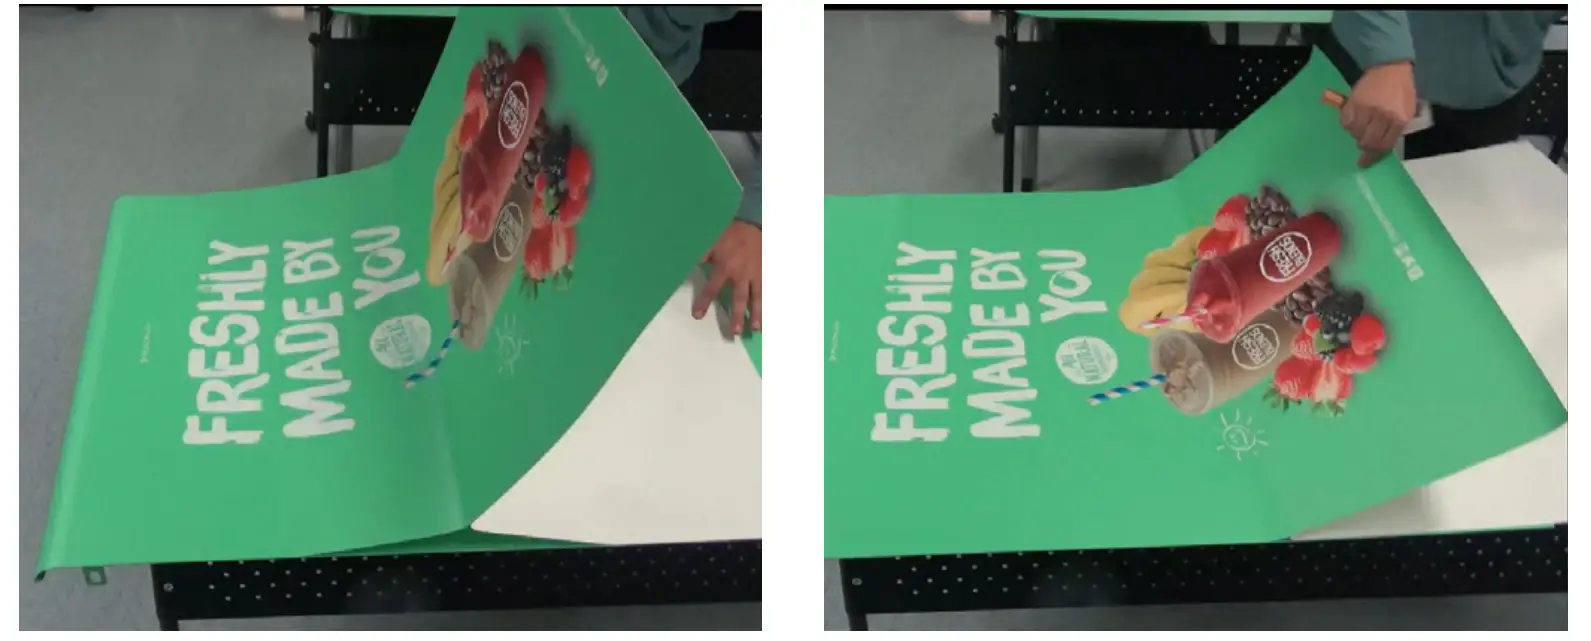
- With one hand remove remaining backing while guiding the decal onto the panel with other hand.
- With one hand remove remaining backing while guiding the decal onto the panel with other hand.

- Repeat process for other panel if necessary.
- Reinstall both panels.
- Close and lock upper front door.
- Plug in unit and power ON.
- Verify drain is correctly connected.
REFRIGERATED CABINET DOOR DECAL - Peel 2-3 inches (5-8cm) of old decal back along one edge.

- Using scissors cut 2-3 inch (5-8cm) slits 6 inches (15cm) apart along loose edge.

- Starting at edge with slits, peel away old decal in strips.
- Spray panel surface with isopropyl alcohol , scrub surface with clean cloth to remove dirt or adhesive residue.
Dry thoroughly with a different clean cloth. Make sure surface is dry and dirt/lint free.
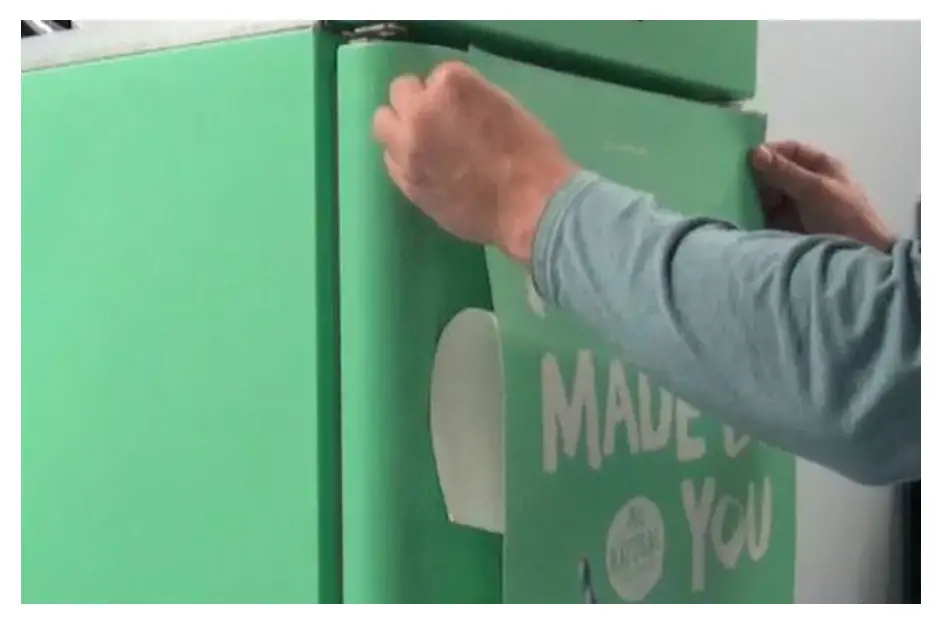
- Lay new decal face-up on clean surface and peel back 4- inches (10-13cm) along top edge. Do not take back of new decal off at this time.

- Center and align top of new decal with refrigerated cabinet door.

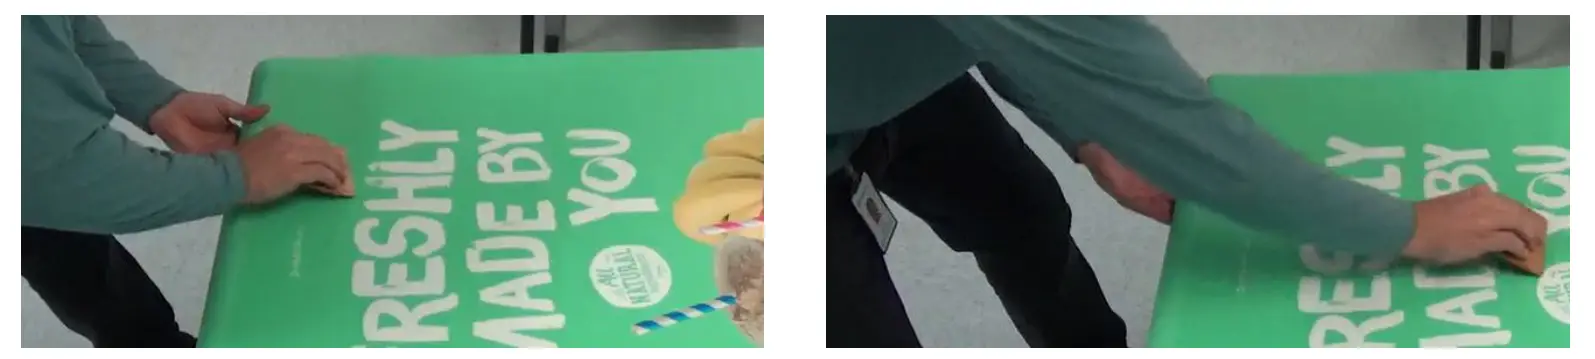
- Using clean hands start at center of decal and gently press outwards to secure the exposed adhesive back of decal to panel.
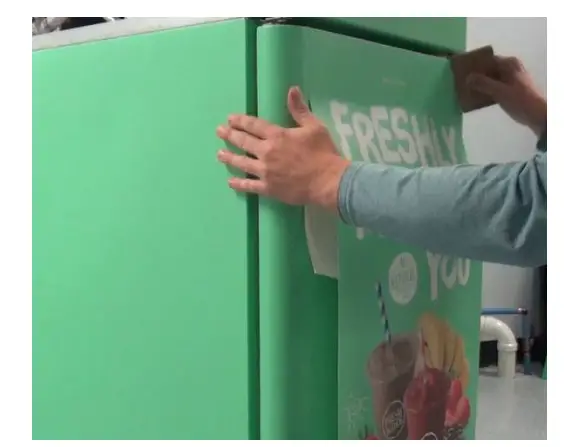
- Use decal applicator/smoothing tool to press out bubbles along top edge of decal to firmly secure exposed adhesive to panel.

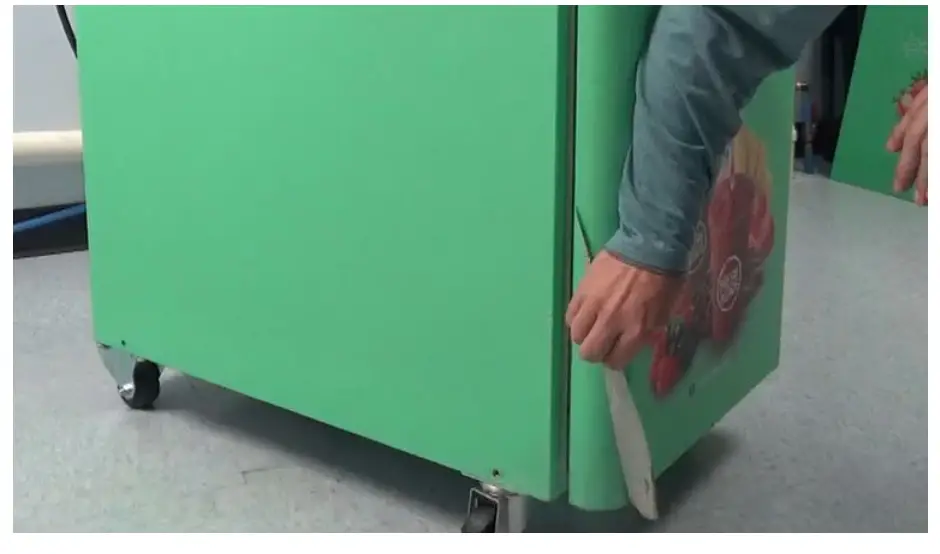
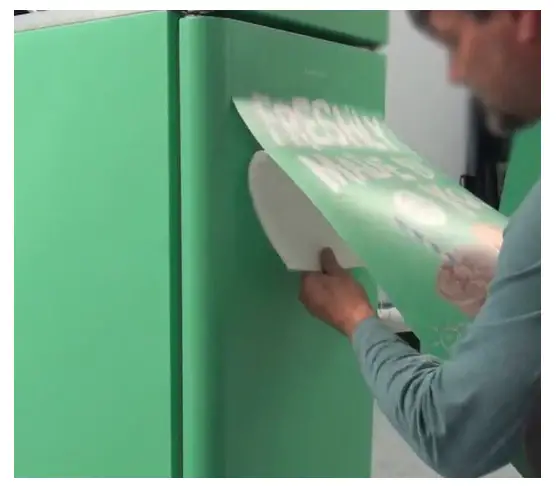
- With one hand remove remaining backing while guiding the decal onto the panel with other hand.

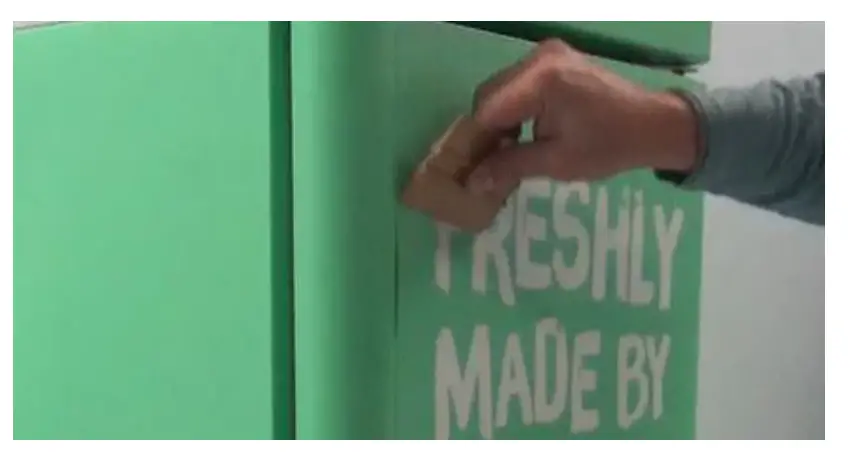
- Starting at the top of the decal use decal applicator tool to press bubbles out of decal using short strokes moving down towards floor.

CONFIRM OPERATION - Verify drain is correctly connected.
- Make several drinks with manager present to confirm operation.

CUSTOMER SUPPORT
MULTIPLEX
645 PARK EAST BLVD SUITE 5, NEW ALBANY, IN 47150
800-689-0157 OR 844-724-CARE
WWW.MULTIPLEXBEVERAGE.COM
Refreshing the Experience


