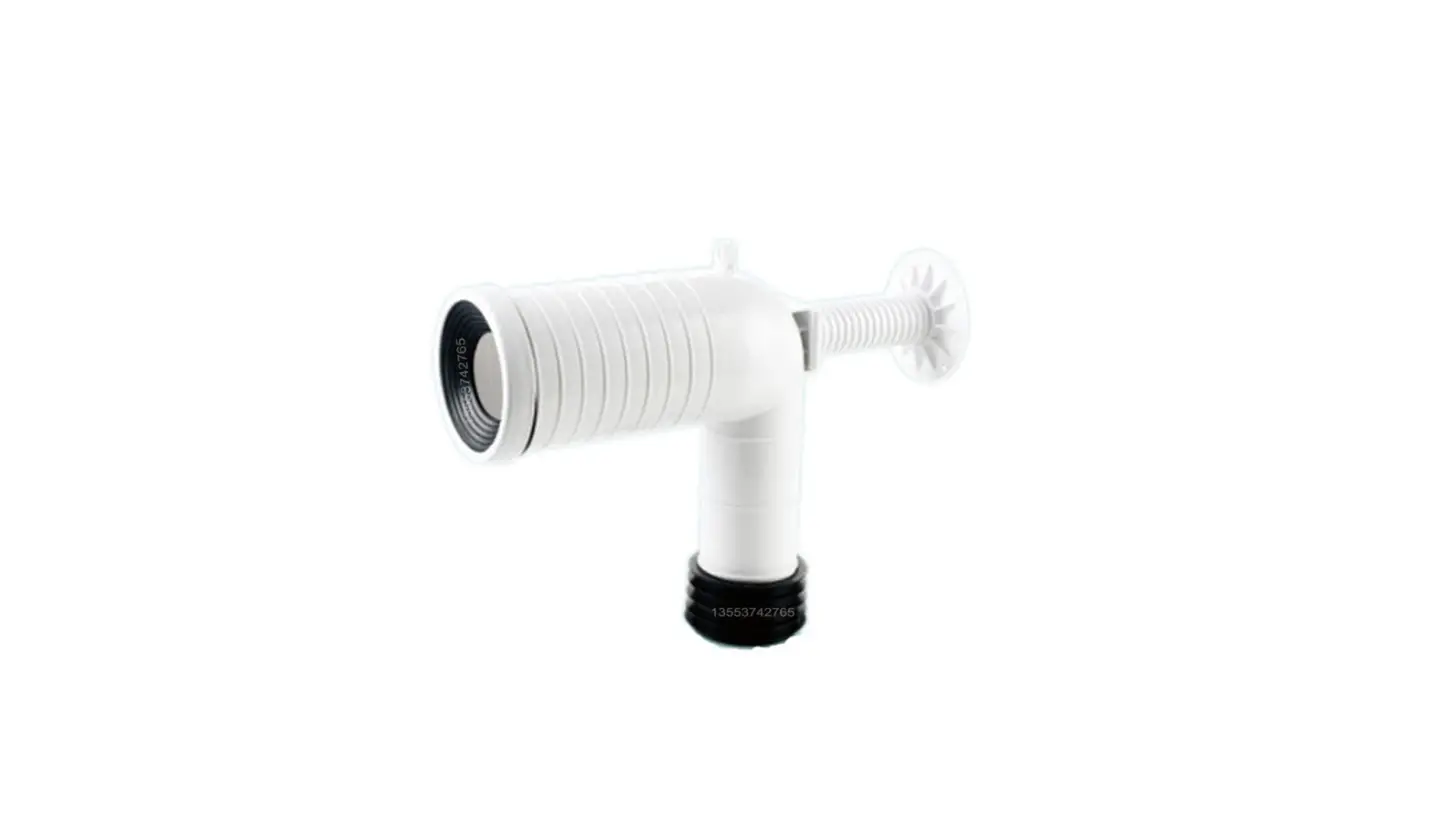
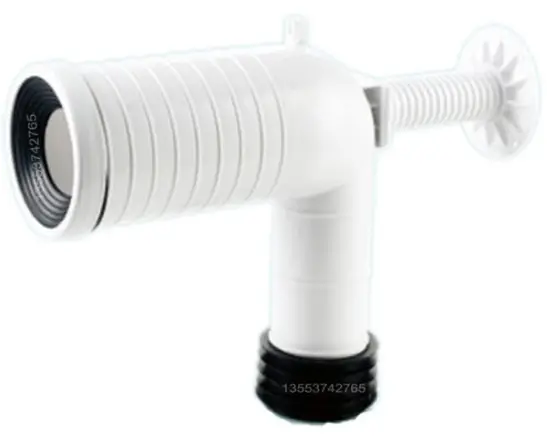
Wellis Plastic Flexible Drain S Pipe for Toilet
Note:
This installation instruction is made for the final user. In order to use the product well. please install it correctly.
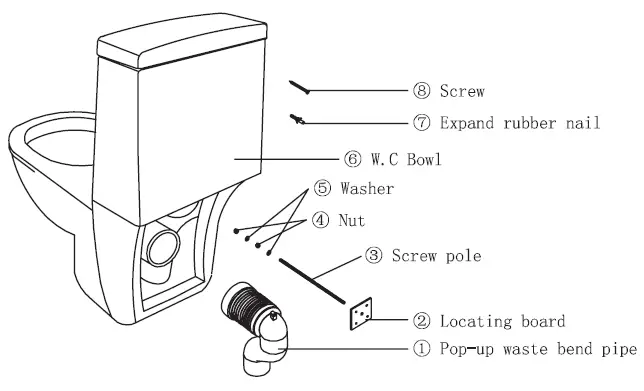
Block diagram
Step of Installation
The installation way on a tunnel distance 220mm
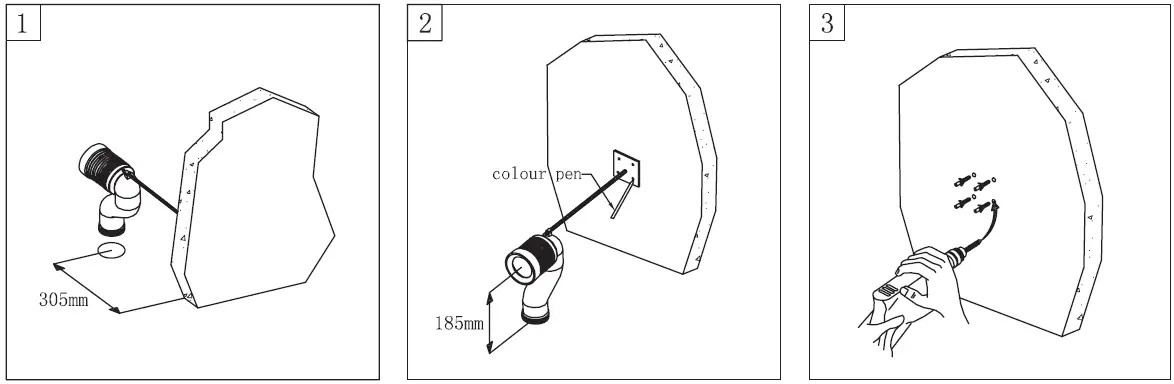
- As the picture: Set the pop-up waste bend pipe 1 on the exculding entrance, and finish the installation of the Screw pole 2 Locating board 3 (suggest saw the screw pole about 130mm shorter). in order to ensure the dimension (kindly please measure on the spot practically).
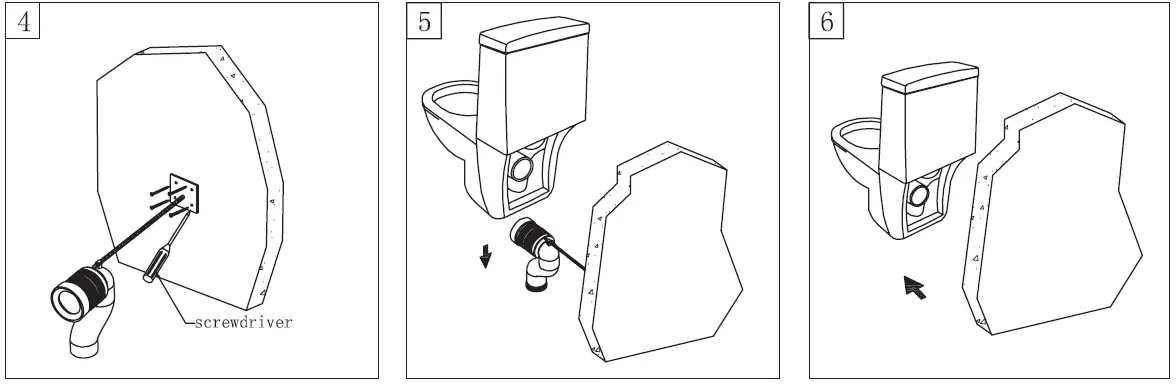
- Attention:the distance between the center of the pop-up waste bend pipe 1 and the floor should be 185mm, and find out the position on the wall with a colour pen.
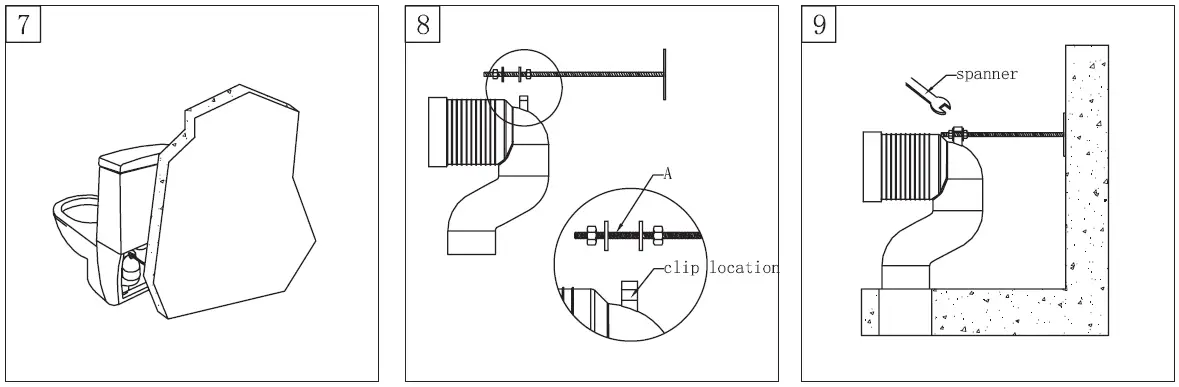
- As the picture: Drill a hole for a diameter of 6, deep 30mm on the mark with the impact driller. Finally, install the expanded rubber nail 7.

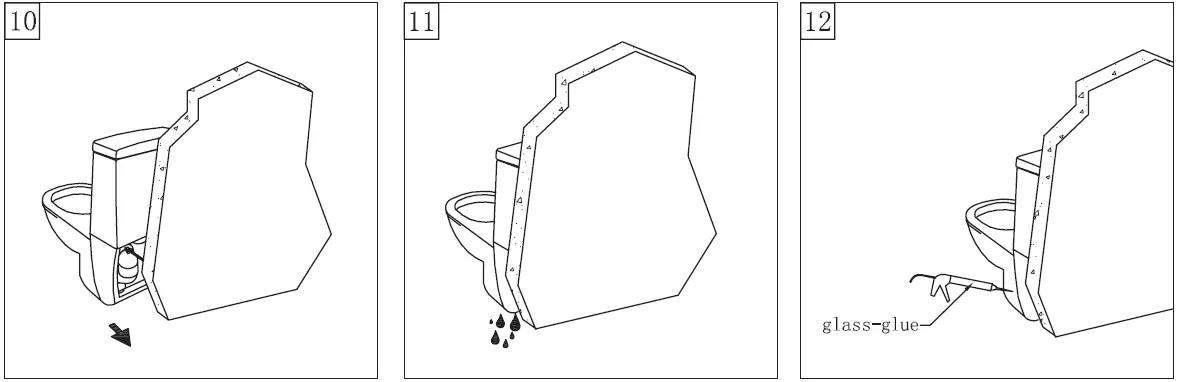
- As the picture: Install the screw 8) together with the locating board on the expanded rubber nail D, and tighten the screw 8 with the screwdriver.
- Lightly set the W. C Bowl with the popup waste bend pipe from up to down, and put it down slowly.
- As the picture: Move forward the W. C Bowl, make much room between the back of the W. C bowl and wall1 for the installation of the Screw pole.

- Install the screw pole according to pictures 8 and picture 9.
- Put the A into the proper clip location as the picture, and loose the two nuts , finally complete the connection between the screw pole and the locating board in a vortical way.
- In order to fix up the pop-up waste bend pipe D, please tighten the screw with the spanner, and then connect the inlet pipe.

- 10. Move the w.C Bowl to the wall slowly as the picture in order to make it close to the pop-up waste bend pipe 0, without any 1eaking.
- As the picture, test water after completing the installation to check up whether water leaks out from the bottom of the W. C bowl or not.
- Finally, attach the bottom of the W.C bowl and the floor with glass glue.