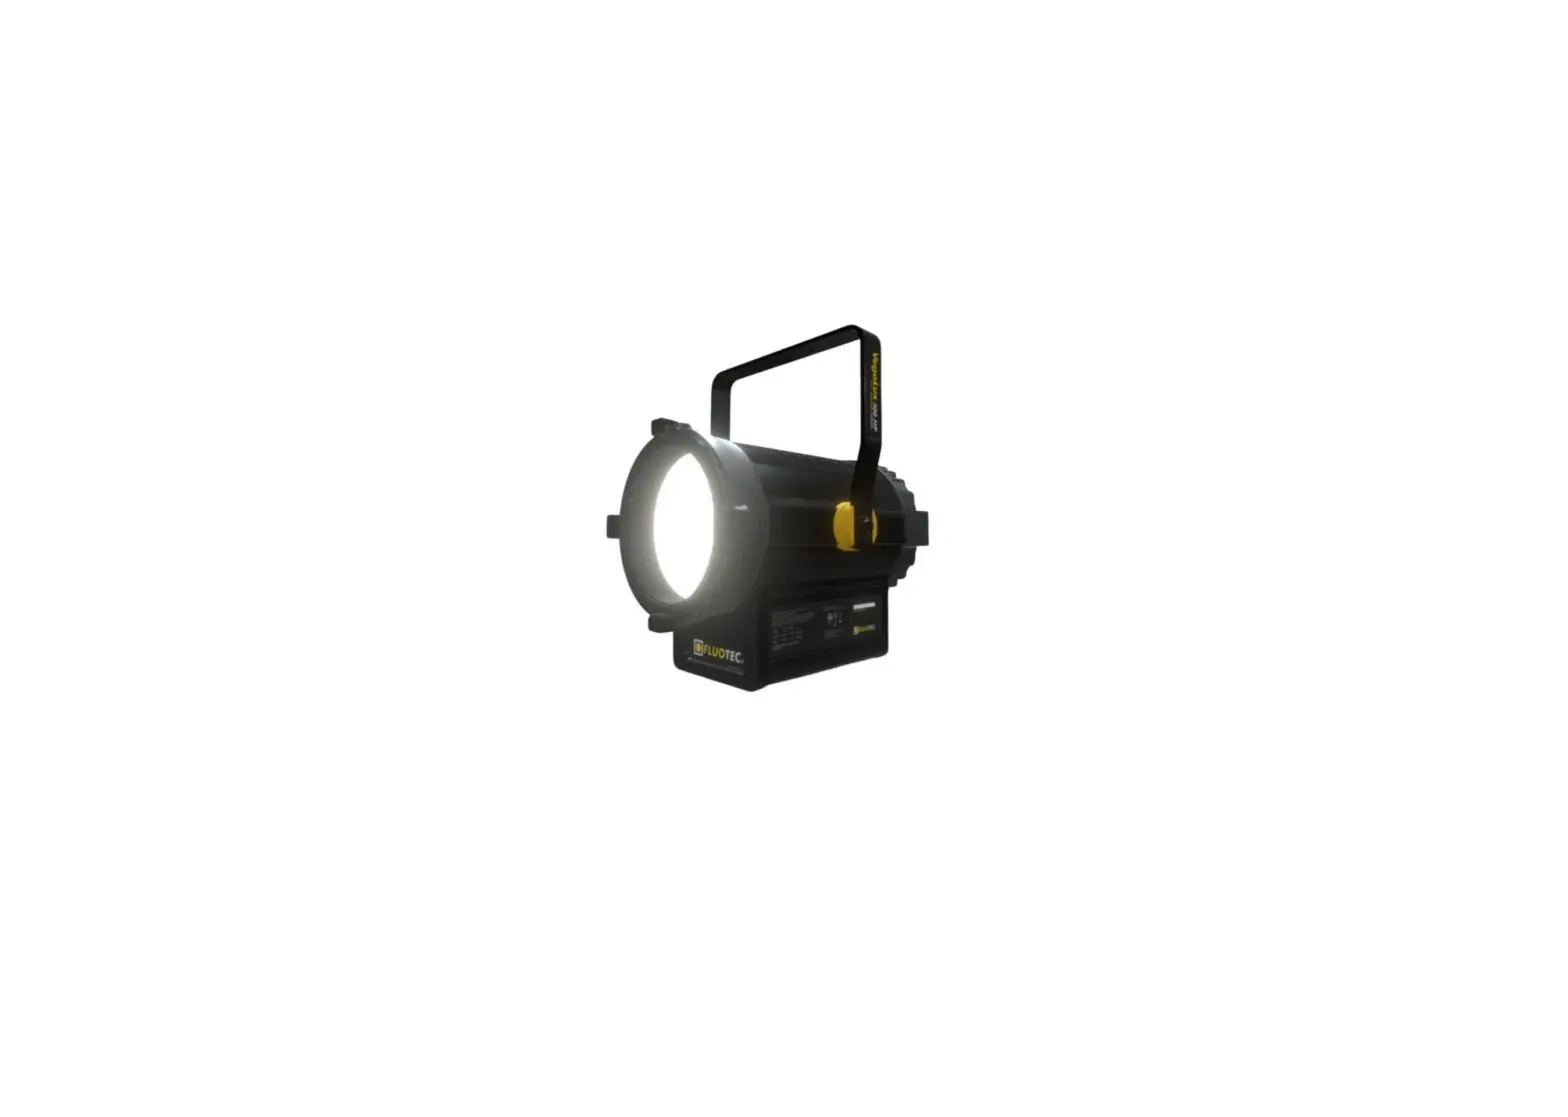
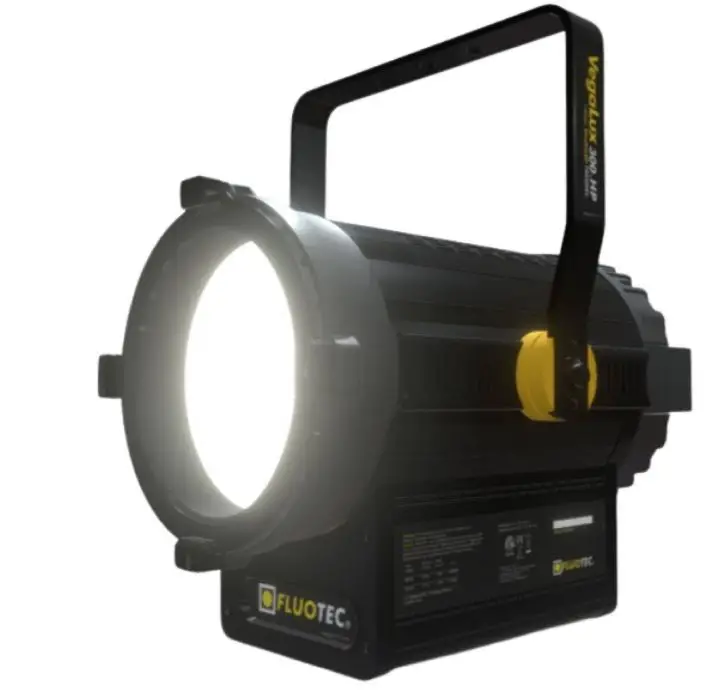
FLUOTEC VegaLux 300 HP Bicolor Professional Lighting System
Product Information
- Model: VegaLux 300 HP BICOLOR
- Code: G6LED300
- Display: Liquid crystal display
- CCT: 3000K-5600K
- CRI: 95
- Weight: 10 kg (22.2 lb)
- Power Consumption: 346 W
- Current: 2.89 A @ 120 VAC / 1.44 A @ 240 VAC
- Fuse: 5 A @ 250 VAC
Product Usage Instructions
Mounting the Fixture
On-Grid: Attach the clamp (C-clamp) firmly to the fixture’s yoke, hang the clamp on the pipe or rack, and tighten the large screw so that the clamp and fixture are securely mounted. Do not loosen the screw that secures the clamp to the fixture to attach the light. Connect the security cable between the ring and the grill rail to obtain the necessary security.
On Stand: Use the 5/8 bracket accessory (not included), and choose an appropriate size tripod or bracket for the fixture. Always use enough weight stabilizers (sandbags) at the base of the stand. The 5/8 bracket accessory allows you to mount the fixture to a tripod or bracket with a 5/8 male stud (not included). Ensure the tripod is large enough to support the fixture’s weight while holding a good balance at the desired height. Hold the female mounting fitting firmly to the yoke and tighten, hold the locking lever and place the 5/8 female fitting over the tripod, ensuring its locking screw is loose enough to allow the fixture to fit through. completely over the 5/8 bolt of the bracket. Tighten the knob, ensuring its screw is under the 5/8 bolt safety cutout on the fixture bracket. Add additional weight to the tripod base or fixture bracket to increase stability.
DMX Mode
- Confirm in the Setting menu that Mode is in DMX.
- Confirm in the Setting menu that Program is None.
- Check that the DMX controller is connected.
- Assign the desired DMX address.
M/S (Master Slave) Mode
- Disconnect the luminaire from the DMX controller.
- Select the master unit in the DMX chain through the configuration: Setting -> Mode -> M and progN Automatic operation.
- This mode is only compatible with similar products.
Manual Configuration Mode
- Remove the DMX controller from the unit.
- Verify they unit is in none in program in the setting menu.
- Press ENTER in the CTRL menu to enter the manual configuration.
- In the DMX option press ENTER / UP / DOWN to change the DMX address.
- Press MENU to exit the option to modify parameters.
- Repeat steps 4 and 5 with any other parameter you wish to modify.
System Configuration
- Select the Setting menu and press Enter.
- Through Up or Down select the desired option.
- Press MENU to return to the previous menu or exit.
Warnings
- The Vegalux 300 HP BICOLOR is a professional lighting system. Read these instructions, as well as any applicable accessory instructions and warnings before operating the unit:
- Do not leave the device unattended.
- For fixed (stationary) use in studios, theaters, and similar places.
- Not for home use.
- Use for photographic lighting (TV, video, and film)
- Always unplug the unit before changing the fuse.
- Do not use near standing water.
- Never remove the ground pin from the plug.
- Do not interfere with the ventilation of the unit.
- Do not operate the unit with barndoors closed.
- Make sure the clamp is tight to the yoke.
- Always use the safety cable when connecting to pipes or vents.
- Always use it with the supplied AC cord.
- Avoid looking directly at the luminaire (LED source).
General recommendations
- Do not operate this product if it is damaged.
- Avoid contact with water or other liquids to protect yourself from electric shock.
- You must turn the unit off before connecting it to the electrical network; also, when removing the unit from a grid or
tripod, turn it off before disconnecting it from an electrical network. - In case of failure or malfunction, to avoid electric shocks, Do not disassemble the unit; call your FLUOTEC® AUTHORIZED SERVICE CENTER.
Improper assembly or disassembly of this unit may cause a malfunction. - Using accessories not designed or recommended by FLUOTEC® may cause dangerous conditions or damage the device.
Cleaning
CHASSIS.
Use a damp, almost dry cloth to remove dust and any stains.
NEVER USE ABRASIVE FIBER AND NEVER USE SOLVENTS; they can damage the appliance or its finish.
Problems, repairs and information.
Repairs, problems, suggestions and requests for brochures, catalogs, illustrations and parts lists can be handled through your authorized FLUOTEC® dealer or directly through FLUOTEC®. Electrical repairs must be carried out only by FLUOTEC® or a qualified electrician.
Specifications and performance
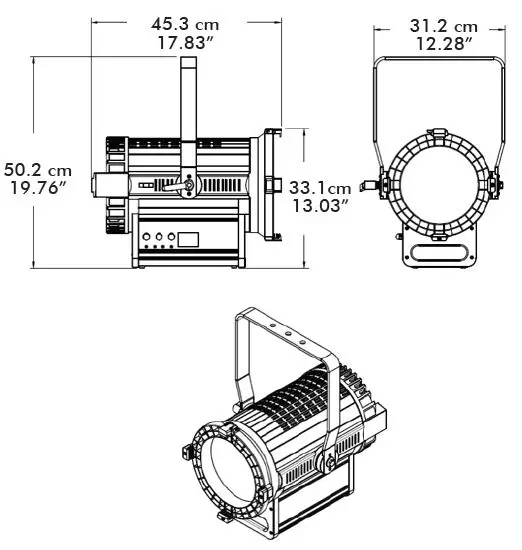
| Code: | Operation: | CCT: | CRI: | Weight: |
| G6LED300 | AC-POWERCON | 3000K- 5600K | ≥95 | 10 kg (22.2 lb) |
Functions
The VegaLux 300 HP BICOLOR unit has a liquid crystal display to visualize its functions.
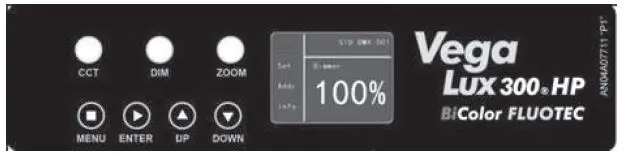
- MENU: Returns to the previous menu.
- ENTER: Allows access to the selected menu and saves and confirms the desired value.
- UP: Allows navigation through the different menus and submenus.
Increases the selected value. - DOWN: Allows navigation through the different menus and submenus.
Decrements the selected value. - CCT: Rotate the knob left and/or right to modify the color temperature value in a range of 300Ok-5600K. Press for fine adjustment. Press 2 times
quickly to select between 3000K-5600K. - DIM: Turn the knob left and/or right to modify the intensity value from 0 to 100%. Press for fine adjustment. Press 2 times quickly to select between
0%-100. - ZOOM: Turn the knob left and/or right to modify the angle of the light beam from 25º to 55%. Press 2 times quickly to select between 25º-55º.
If there is no manipulation of the knobs and/or buttons for 1 minute, the display screen will go into “standby”.
Fuses and power consumption
The VegaLux 300HP BICOLOR is self-adjusting for voltages between 90-240VAC
NOTE: Most electrical equipment briefly draws a larger amount of electrical current during startup (ignition). Please refer to the chart to confirm that your
electrical wiring is sufficient for the units used. All fuses must be rated at 250VAC.
| ELECTRICAL MEASUREMENTS | |
| Voltage [VAC] | 90-240 |
| Power [W] | 346 |
| Current [A] | 2.89 A @ 120 VAC / 1.44 A @ 240 VAC |
| Fuse | 5 A @ 250 VAC |
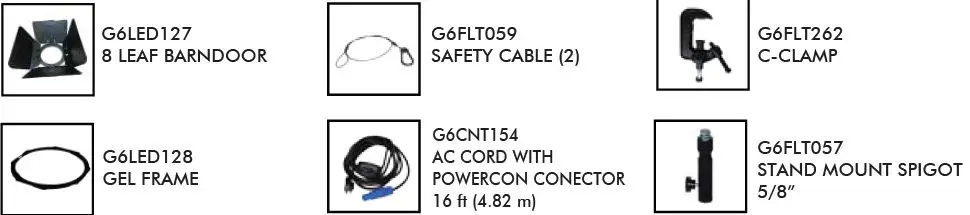
Each fixture comes with:
Mounting the fixture
On grid:
Attach the clamp (C-clamp) firmly to the fixture’s yoke, hang the clamp on the pipe or rack, and tighten the large screw so that the clamp and fixture are securely mounted.
Do not loosen the screw that secures the clamp to the fixture to attach the light.
Connect the security cable between the ring and the grill rail to obtain the necessary security.
On Stand:
Use the 5/8″ bracket accessory (not included), and choose an appropriate size tripod or bracket for the fixture.
Always use enough weight stabilizers (sandbags) at the base of the stand.
The 5/8″ bracket accessory allows you to mount the fixture to a tripod or bracket with a 5/8″ male stud (not included). Ensure the tripod is large enough to support the fixture’s weight while holding a good balance at the desired height. Hold the female mounting fitting firmly to the yoke and tighten, hold the locking lever and place the 5/8″ female fitting over the tripod, ensuring its locking screw is loose enough to allow the fixture to fit through. completely over the 5/8″ bolt of the bracket.
Tighten the knob, ensuring its screw is under the 5/8″ bolt safety cutout on the fixture bracket. Add additional weight to the tripod base or fixture bracket to increase stability.
Manual & DMX operation
DMX Mode
- Confirm in the “Setting” menu that “Mode” is in “DMX”.
- Confirm in the “Setting” menu that “Program” is “None”.
- Check that the DMX controller is connected.
- Assign the desired DMX address.
M/S mode (Master Slave)
- Disconnect the luminaire from the DMX controller.
- Select the “master” unit in the DMX chain through the configuration:
“Setting” ->” Mode” -> “M” and “progN” “Automatic operation”. - This mode is only compatible with similar products.
Manual Configuration Mode
- Remove the DMX controller from the unit.
- Verify they unit is in “none” in “program” in the “setting” menu.
- Press “ENTER” in the “CTRL” menu to enter the manual configuration.
- In the DMX option press “ENTER” / “UP” / “DOWN” to change the DMX address.
- Press “MENU” to exit the option to modify parameters.
- Repeat steps 4 and 5 with any other parameter you wish to modify.
System configuration
- Select the “Setting” menu and press “Enter”.
- Through “Up” or “Down” select the desired option.
- Press “MENU” to return to the previous menu or exit.
| FUNCTION | VALUE |
| DMX | DMX, M/S. |
| Person y | Standard / Reduced |
| Program | None, Prog1, Prog2, Prog3 |
| Language | English |
| Screen | Normal / Inverted |
| SigHold | ON / OFF |
| DimCurve | Square, Linear, I-Square, S-Shape, |
| DimSpeed | Tungsten, Led effect |
| DimMode | 24KHz,18KHz,12KHz,6KHz,4.8KHz,3.6KHz,2.4KHz, 1.2KHz (Refreshment rate) |
| NRFAddr | 0-255 |
DMX channel selection
- Select “ADDR,” press “ENTER”.
- Using “UP” and/or “DOWN,” select the desired address.
- Press “MENU” to save the changes and return to the previous menu.
System information
- Select “Info” and press “ENTER”, detailed system information will be displayed:
| INFO | DESCRIPTION |
| Version | Press “ENTER” |
| RDM-UID | ******** |
| Total hours | 0-99999 |
| Running hours | mm:ss |
| DMX | 0-99 Hz |
| Light source temp. | -55.0 – 125.0 ºC |
| Fan speed | rpm |
DMX channels
| MODE | CHANNEL | VALUE | FUNCTION | |
| REDUCED | STANDARD | |||
| 1 | 1 | Dim | 000-255 | 0~100% |
| 2 | 2 | Fine tuning | 000-255 | Fine tuning DIM |
| 3 | 3 | CCT | 000-255 | CCT 3000~5600K |
|
4 |
4 |
Strobe | 000-002 | Open |
| 003-127 | 1-20Hz | |||
| 128-252 | Random | |||
| 253-255 | Open | |||
| 5 | 5 | Zoom | 000-255 | 25°~55° |
|
\ |
6 |
Dim Curve | 000-063 | Square |
| 064-127 | I-square | |||
| 128-191 | S-Shape | |||
| 192-255 | Lineal | |||
| \ | 7 | Dim Speed | 000-127 | Tungsten effect |
| 128-255 | LED effect | |||
|
\ |
8 |
Refreshment | 000-031 | 24KHz |
| 032-063 | 18KHz | |||
| 064-095 | 12KHz | |||
| 096-127 | 6KHz | |||
| 128-159 | 4.8KHz | |||
| 160-191 | 3.6KHz | |||
| 192-223 | 2.4KHz | |||
| 224-255 | 1.2KHz | |||
|
9 |
Fan Mode | 000-010 | None | |
| 011-064 | Noiseless | |||
| 065-096 | Low speed | |||
| 097-128 | Automatic | |||
| 129-255 | Manual | |||
FLUOTEC®
TEL. +1-213-296-4202
email : [email protected]


