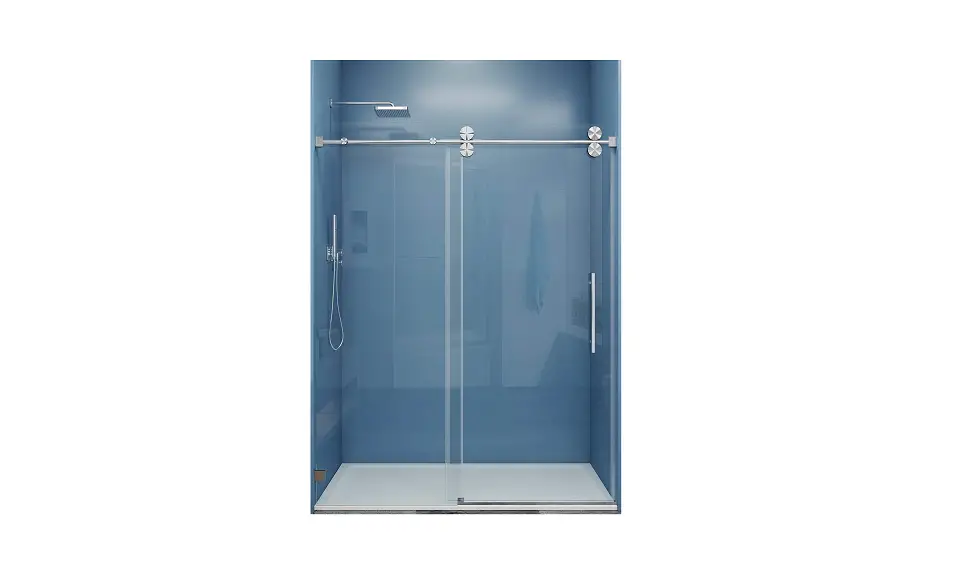
MCOCOD SS04-60×72-BR Single Sliding Frameless Shower Door-Tub Door Instruction Manual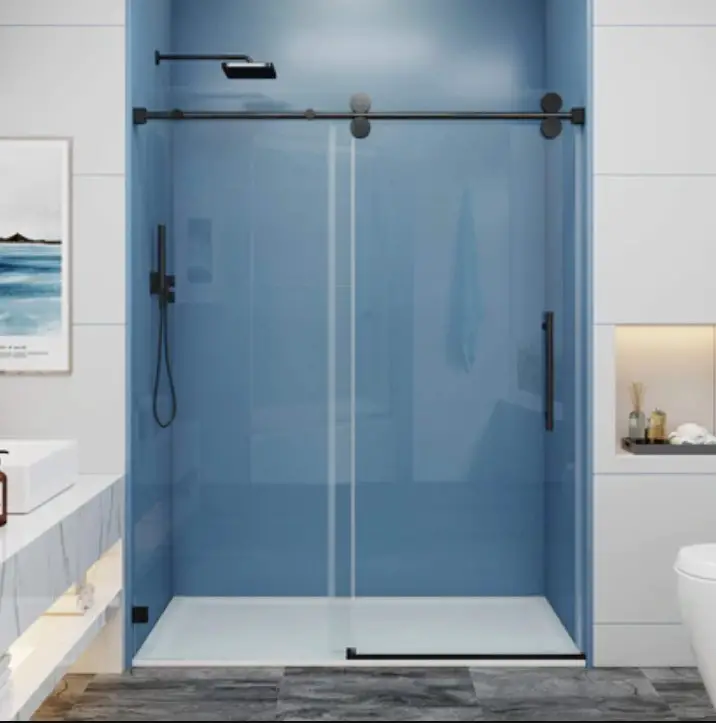
Instructions
PARTS LISTING
| NO. | Name | Picture | Qty | No. | Name | Picture | Qty | |
| 1 | 1 Slide Glass 1 Fixed Glass | 2 | 10 | Fixed Glass Seal | 1 | |||
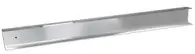
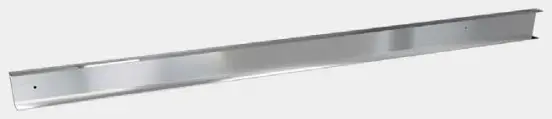
| 2 | Guide Rail | 1 | 11 | Anti-Splash Threshold | 1 | |||
| 3 | Roller | 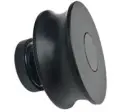 | 4 | 12 | 8mmWaII Plug | 4 | ||
| 4 | Glass Fastener | 2 | 13 | Screw ST5x40 | 4 | |||
| 5 | Wall Bracket | 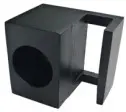 | 2 | 14 | Glass Bracket | 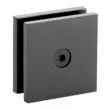 | 1 | |
| 6 | Anti Collision Block | 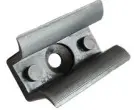 | 2 | 15 | Punch Template | 1 | ||
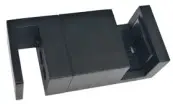
| 7 | Guide Block | 1 | 16 | Allen Key | 1 | |||
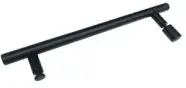
| 8 | Handle | 1 | ||||||
| 9 | Side Seal | 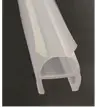 | 2 |
- Aluminum punch template
(If missing or broken, please refer to page 8 for punch data.)
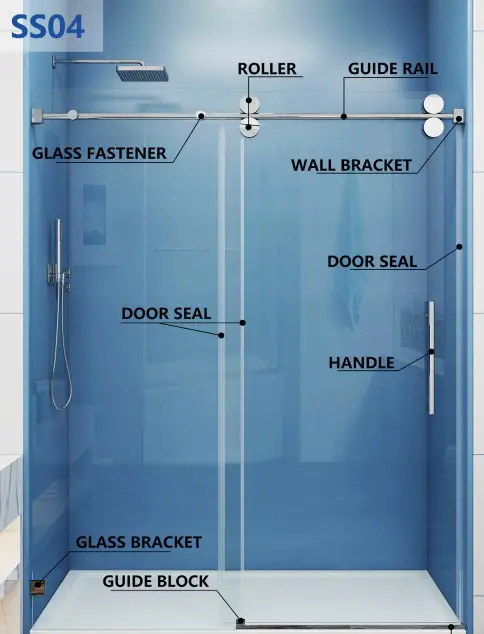
- Wall Bracket

- Anti Collision Block

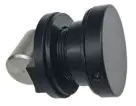
- Roller

- Handle

- Guide Block

- Glass Fastener

- Glass Bracket

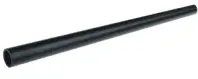
- Guide Rail

- Glass

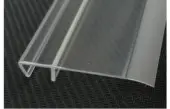
- Door Seal

- Anti-Splash Threshold
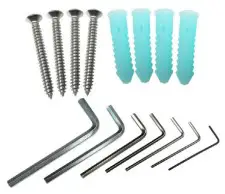
- Screw & Allen key


NOTES BEFORE INSTALLATION
- Prepare the tools. (Please refer to page 6)
- All measurements and installation should do after the wall is completed.
- Make sure the bottom is horizontal and both walls are vertical, if the bottom not horizontal or the wall not vertical, please contact us for installation support.
- KkUnderstand the names and uses of individual accessories of shower door. (Please refer to page 2-4)
- Installation by licensed professional contractor is recommended.
- Please watch installation video or call us for installation support. ( Installation Video: http://wsc.fit/ETM )
- To stretch width or cut the guide rail, Please contact us first to get installation support.
- Fixed glass protect corners can be removed during installation to avoid hard removing them after installation, but you need to handle them carefully to avoid breaking the glass.Sliding glass protect corners do not remove during installation.
- Tile walls are best to replenish some glass glue at the tile seams to avoid leakage after the installation is completed.
TOOLS REQUIRED
- (we offer) Aluminum punch template

- Spirit level

- Tape measure

- Power drill

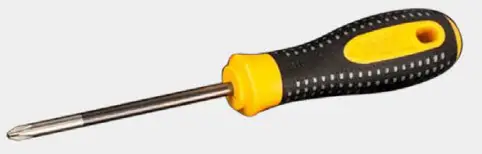
- Screw driver

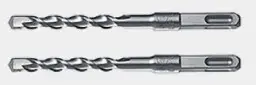
- Drill Bits 5/16

- Pencil

- Rubber hammer

- Hacksaw

- Silicone Gun Modified Silone (Silyl) Polymer


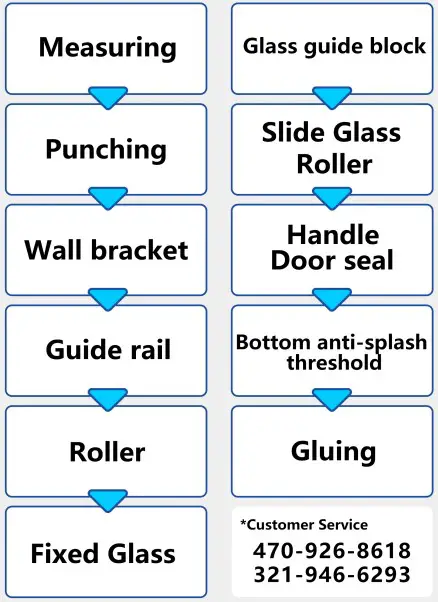
INSTALLATION STEPS
(t3There are 2 kinds of aluminum punch templates, suitable for left or right-opening,2 kinds of random shipping. Punch rules: the bottom fixed plass bracket perforation position needsto be 1 ” outside the vertical sui face of wall bracket punch position, to ensure that the fixed glass is installed on the outside of guide rail. The attached aluminum template is for reference, if punch method and opening is consistent with the illustration, punch templates can be used, if not please refer to step 2 of punch data. Please measure with horizontal ruler, draw the punching point position after ensuring the slope value.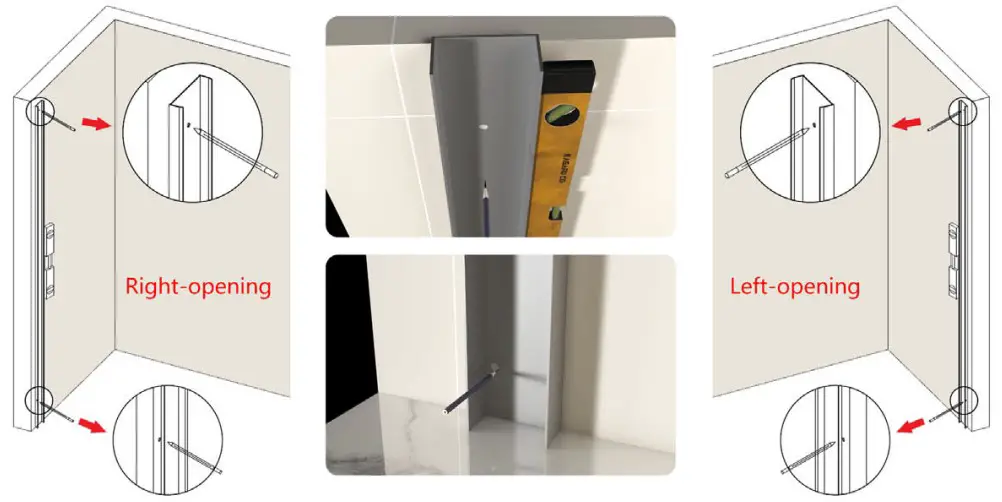
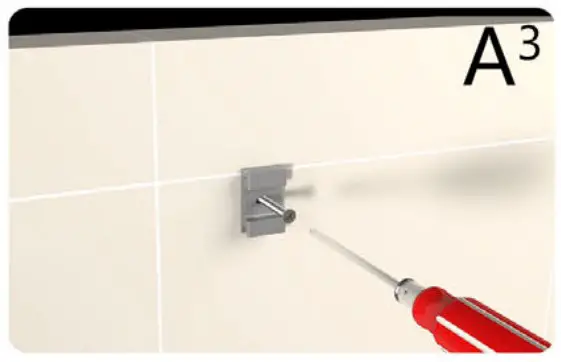
DriII the holes according to the drawn holes, making sure A that there is no offset of the holes. The wall bracket drilling positions of the left and right walls need to be in alignment and on the same horizontal and vertical plane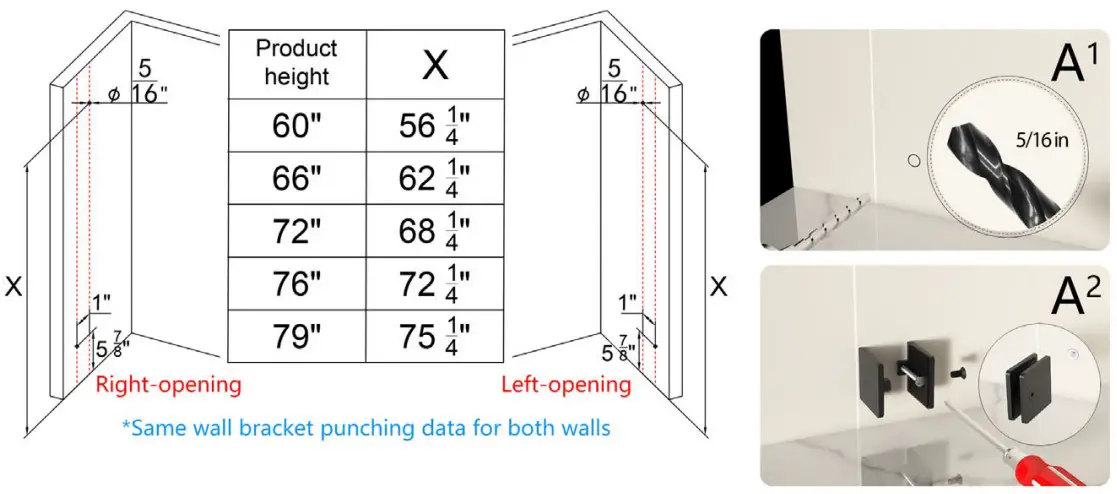
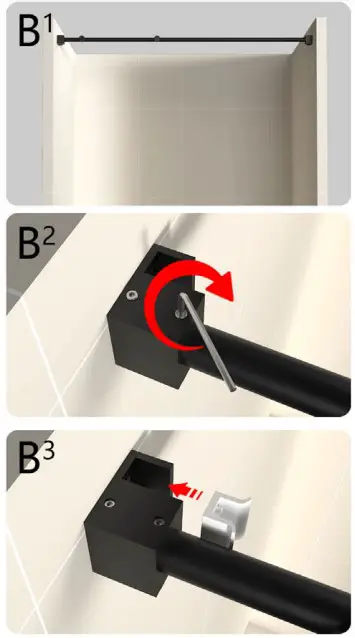
If the guide rail need to be cut to match your shower opening please do it based on actual measurements. If stretch the product installation width please adjusting the insertion depth of the wall bracket to the guide rail without cutting the guide rail. SS04 has maximum installation width stretch of 1/2″ for each size. Use wire or thin wooden stick to push the base nut into the corresponding hole, then fix the position.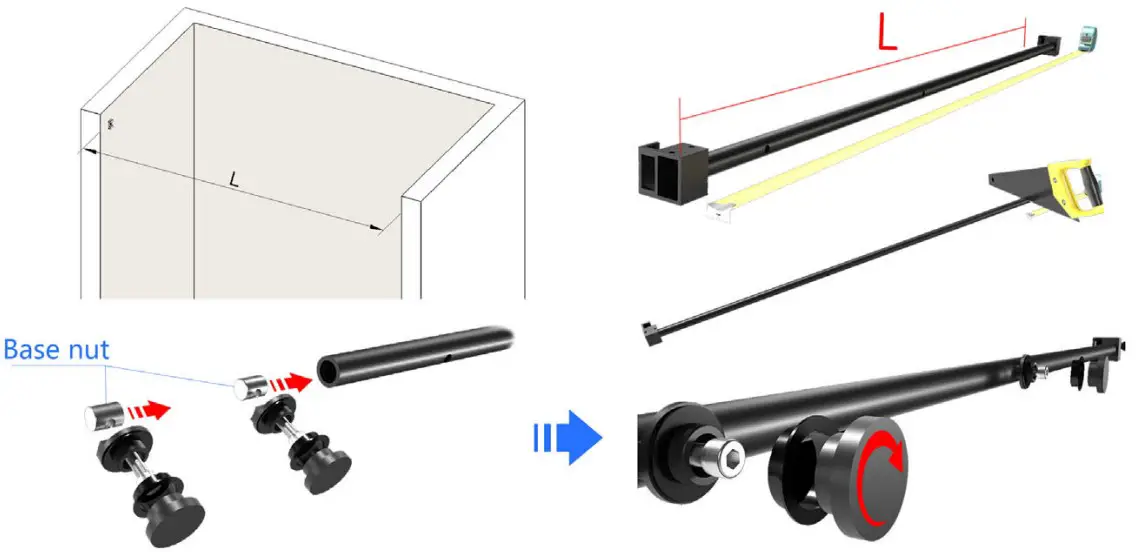
After the installation of the guide rail, please use the level ruler to measure whether the level. Then install Anti Collision Block on both sides.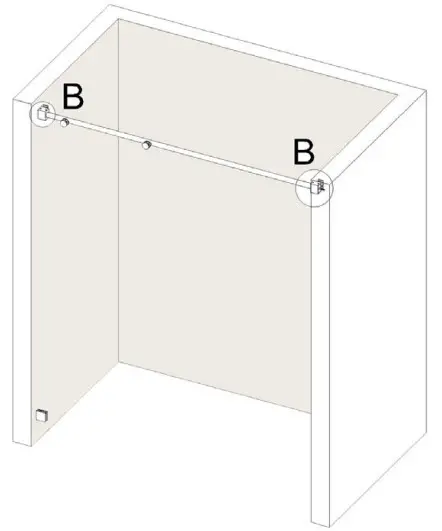
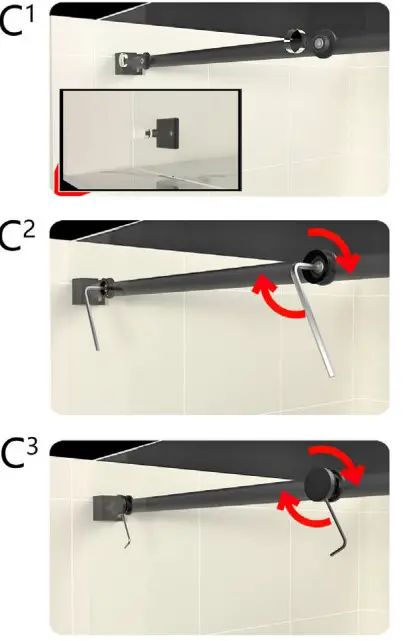
Install the glass fixing clips at the top of fixed glass according to the illustration. Fasteners can be slightly adjusted to match glass mounting offsets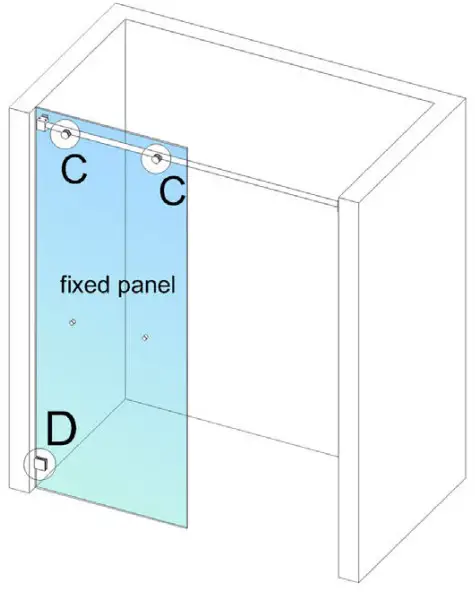
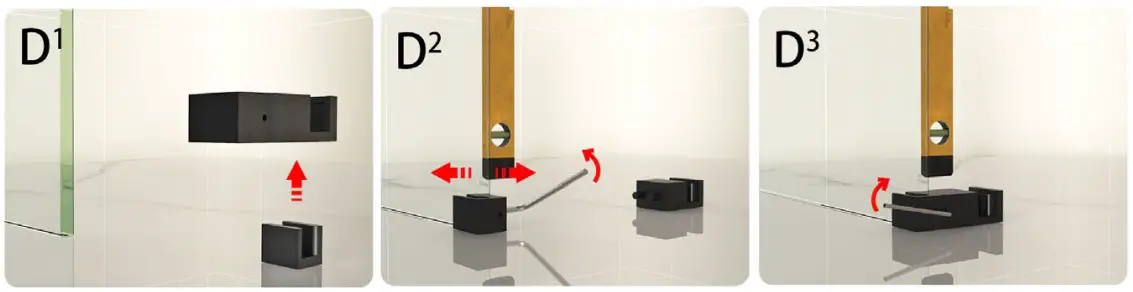
Install the glass bracket at the bottom of fixed glass according to the illustration.
After the glass installation is completed, please measure the glass with level ruler to confirm the vertical and horizontal of the glass and then install the glass guide block.Ensure the vertical condition of the glass after the guide block isinstalled. No need to drill hole on the threshold to install guide bloc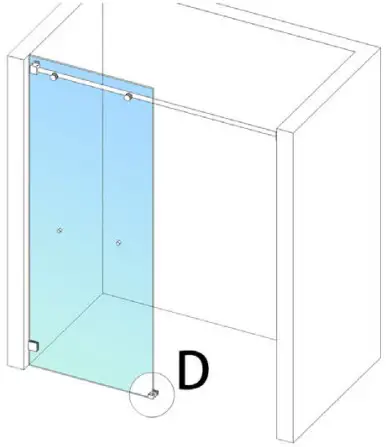
lnstallation of sliding glass: The height and level of the glass can be adjusted slightly by adjusting the rollers, through this adjustment can be adapted to the shower with a little wall offset, each wall offset preferably not more than 1/4″.
Aker the glass installation is completed, please measure the glass with level ruler to confirm the vertical and horizontal of the glass and then install the glass guide block.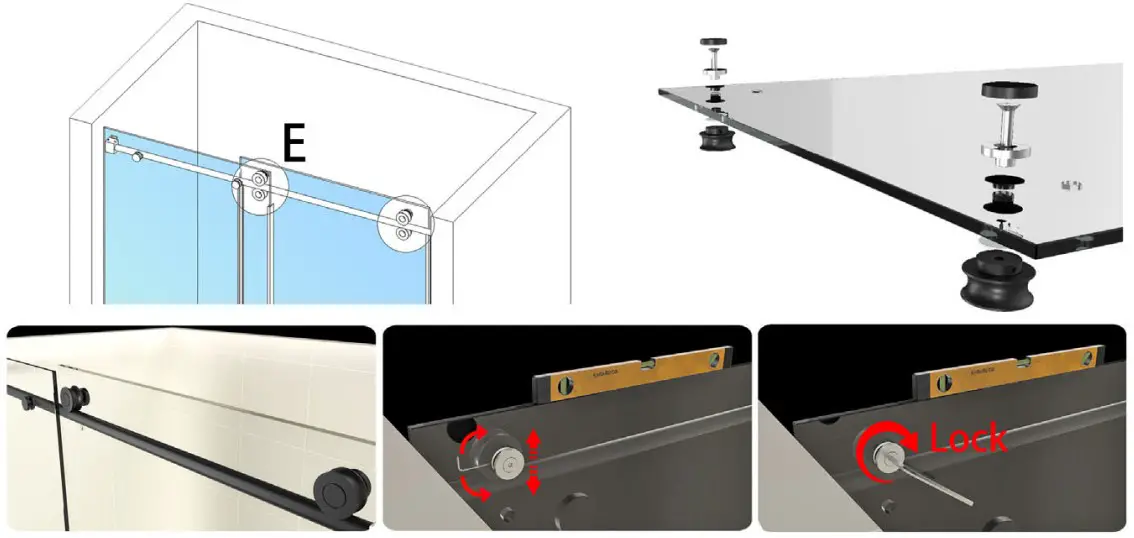
Please follow the guide to install the handle and the bottom rollers. Install the rollers under guide rail and adjust its height to fit the bottom of guide rail.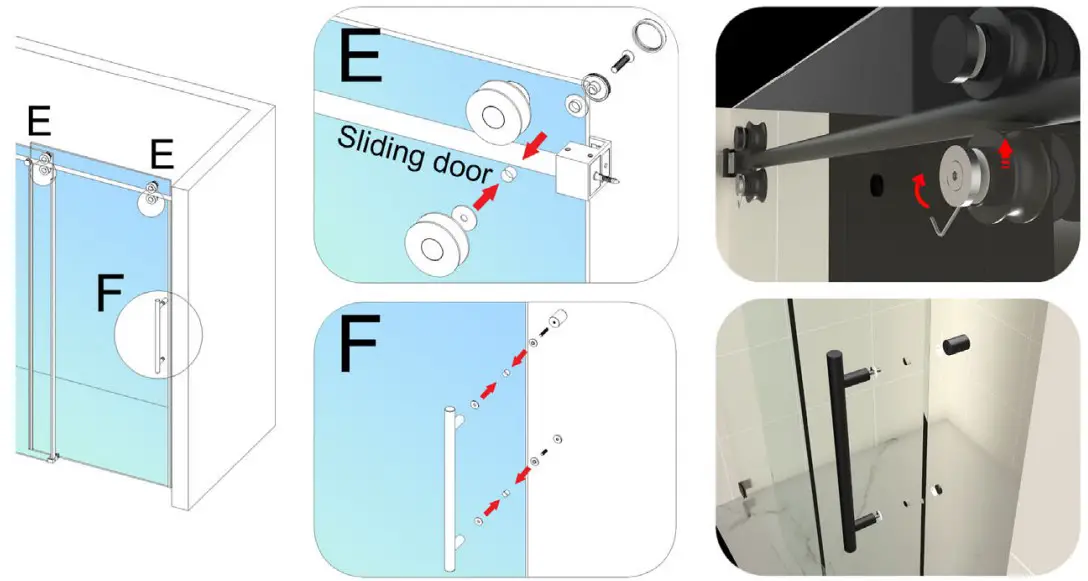
Install the door seal as illustrated, wide door seal should be installed on the fixed glass side. The top of wide door seal needs to be lower than the bottom rollers to avoid scraping. All door seals should be installed starting from the bottom and working upwards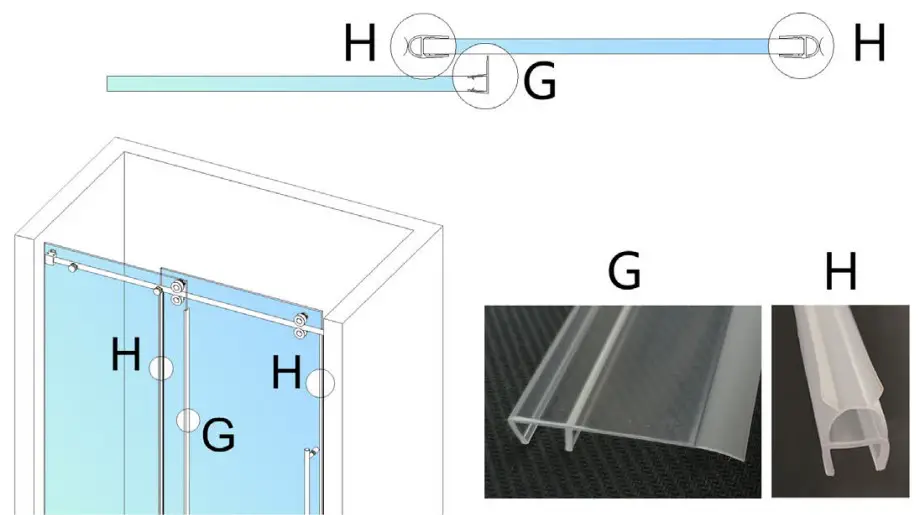
Install the anti-splash threshold according to the guidelines, please cut to the right size according to the width of your shower opening. Clean up the garbage and dry the water and stains with a soR cloth aRer instaIIation ,then applying the glass glue.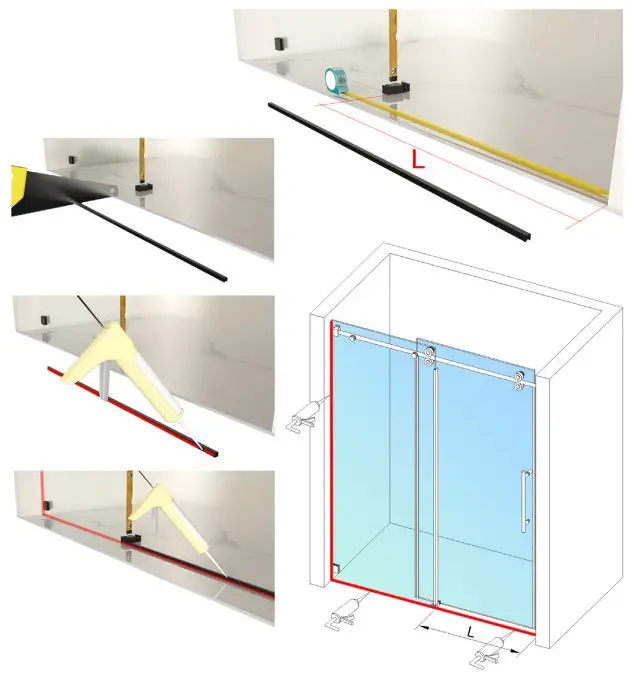
Note: Pleose dry for 24 hours oñer the gloss glue is opplied before use.
SAFETY TIPS
- Do not remove the slide glass protect corners during installation, remove them only after installation is complete.
- Wear protective equipment when drilling, cutting guide rail and anti-splash threshold.
- Careful installation of the glass is required during installation, please do not step on the glass to avoid bumping.
- Wait 24 hours after installation before using the shower.
SHOWER DOOR MAINTENANCE AND CARE:
- Shower door glass is double-sided easy-clean glass. For dailycleaning using moist soft cloth to wipe away surface water and stains, reduce the use of cleaning agents to extend the easy-clean performance. It*s recommended to use soft cloth to clean the residual water stains on the glass and hardware after shower.
- Silicone squeegee is available.
- Do not use any sharp cleaning tools or cleaning agents with abrasive ingredients to clean the glass.
- EkCaustic cleaners should not be used, such as alcohol. Long-term use of corrosive cleaners will cause discoloration of the hardware.
- Reducing the use of cleaners will prolong the use of the hardware&glass appearance. You can use small amount of anhydrous ethanol or detergent to clean stubborn water stains or calculus on the hardware.
Please contact our customer service to confirm the return steps before returning or get order replacement.
Customer Service:
470-926-8618
321 -946-6293
Installation Video:
http://wsc.fit/ETM
Return Address:
•4800 Little John St. Baldwin Park,
CA 91706
•309 Dodd Blvd SE,STE 1, Rome,
GA 30161


