BUSCH-JAEGER 1098 UF-102, 1098 U-102 Electronic Room Temperature Controller Insert Instruction Manual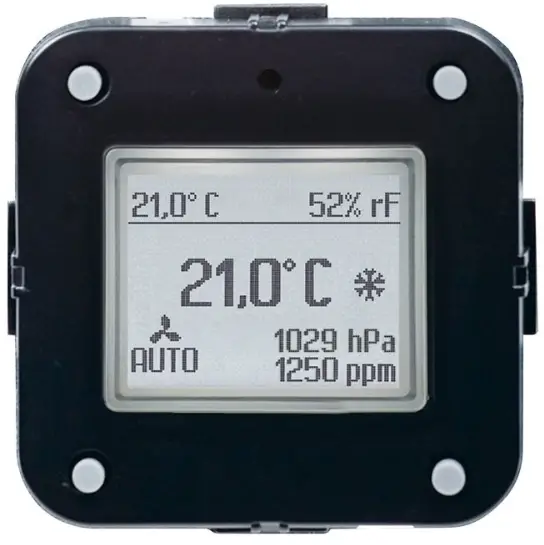
Electronic room temperature controller insert
 | Dangerous currents flow through the body when coming into direct or indirect contact with live components. This can result in electric shock, burns or even death. Work improperly carried out on current-carrying parts can cause fires.
|
- Read the operating manual carefully and keep it in a safe place.
- Additional user information and information about planning is available at www.BUSCH-JAEGER.deor by scanning the QR
code.
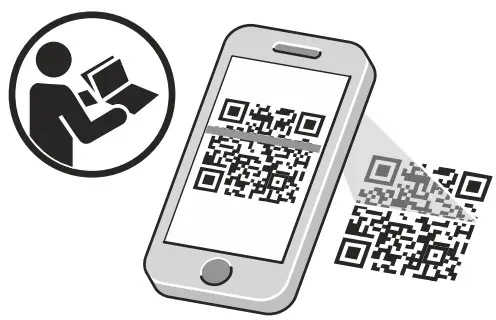 |
Scan Me |
 |
Intended use
The Electronic room temperature controller insert 1098 UF-102/1098 U-102 is used to room and/or floor heating through witching contact.
The Electronic room temperature controller insert 1098 UF-102/1098 U-102 is to be installed in a flus mounted box or into a corresponding surface-mounted housing.
Technical Data
| Rated voltage | 230 V AC ±10 % 50 Hz |
| Outputs | 1 normally open contact |
| Connecting terminals | 1.5 mm2 – 4 mm2 |
| – Skinning length | 6…7 mm |
| – Minimum tightening torque | > 0.8 Nm |
| Switching capacity | 250 V AC / 16 (2) A |
| Protection class | II |
| Degree of protection by enclosure | IP21 |
| Operating temperature | 0 °C…35 °C |
| Quartz accuracy (at 20 °C) | < +/- 0,5 sec / day |
| Power consumption (standby) | < 0.05 W |
| Floor sensor | NTC 10 kΩ @ 25 °C |
| External input | 230 V AC / 10 µA (same phase) |
Connection
![]() For the mains supply, see the circuit diagram (* refers to optional
For the mains supply, see the circuit diagram (* refers to optional
sensor as included in 1098 UF-102.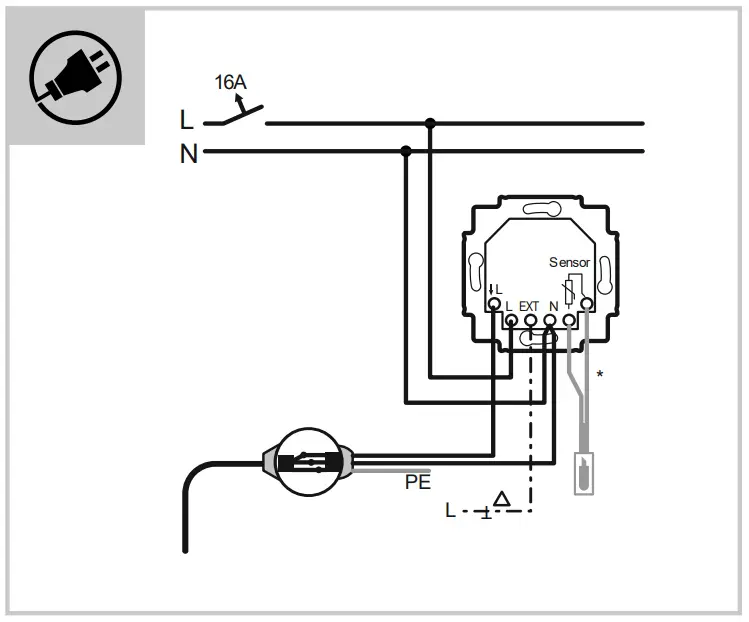
Mounting
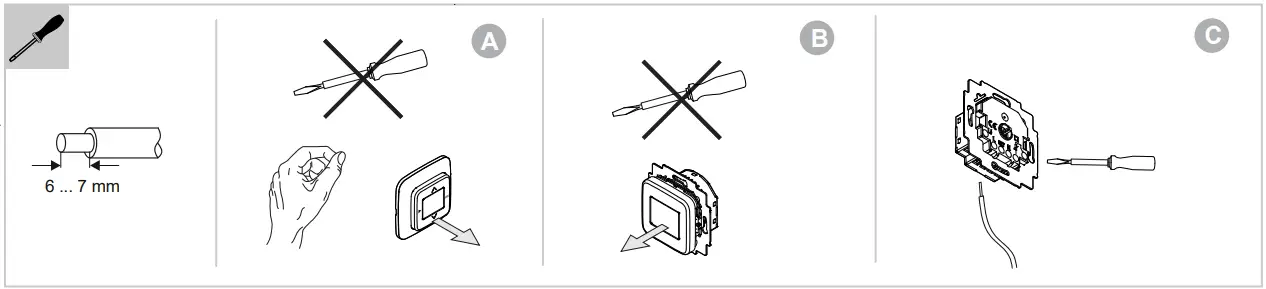
![]() Attention: equipment damage
Attention: equipment damage
The plastic parts of the device are sensitive.
The device can sustain damage when coming into contact with hard objects.
- Pull the control elements off only with your hands.
- Do not use screwdrivers or similar hard objects.
- A. The device is already mounted. Pull off the control element.
- B. State of the device at the point of delivery. Pull off the control element.
- C. Connect the cable to the flush-mounted insert (screw-type terminals).
- D. Mount the flush-mounted insert.
- E. Plug the control element onto the flush-mounted insert.


Commissioning
![]()
- Select language.
- Set date and time.
- Select control mode (room, floor, or combination; floor and combination mode only with floor sensor).
- Select the min and max values of the floor sensor if combination mode has been chosen.
- Give the connected load in Watts.
- The device starts up in Comfort-mode.
Operation
![]() Note
Note
For the operation of this device we recommend the extended operating manual.
- Use the QR code to access the extended operating manual, see the heading in these brief instructions.

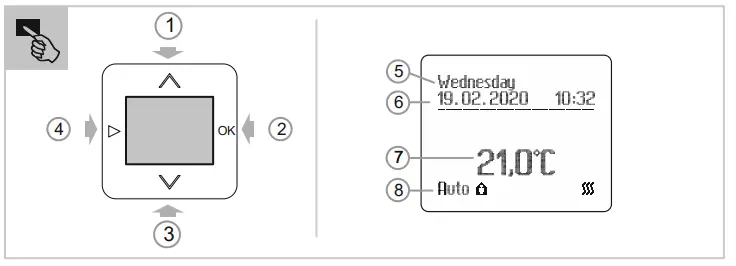
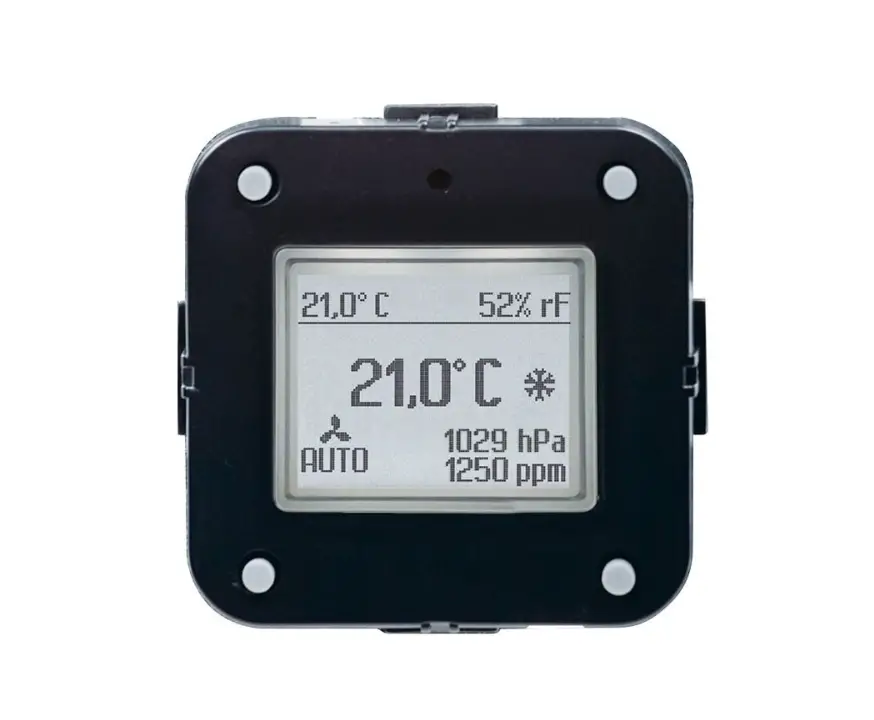
Displays
| [5] Day of the week | [7] Set temperature |
| [6] Date and time | [8] Operating mode |
Standard mode
[1] Standard modes AUTO, OFF, ECO and Comfort set point for the temperature can be adjusted.
Programming mode: mode selection
Programming mode: Displayed values can be adjusted.
- Short press: First digit single step change.
- Longer press > 1 second: First digit changes step by step with a frequency of 5 Hz until 5 or 0 is reached, then the step value is increased to be 5.
[2] With the OK key, the value of a flashing display is confirmed and next parameter appears.
Programming must be confirmed completely.
If you press > 0.6 seconds the selection of the standard modes AUTO, OFF, ECO and Comfort appears and the mode can be adjusted.
If you press < 0.6 seconds the start times for the current day are displayed.
Selection with the keys Λ V and confirmation with OK.
[3] Same as [1].
[4] From Standard modes AUTO, OFF, ECO and Comfort to Programming mode and backwards.
Furthermore, this button can be used to get one level back in the menu.
Expert mode
Simultaneously actuate all four buttons of the display for 5 seconds.
- E.g. to set display lighting, language selection or external input. Service
Service
Busch-Jaeger Elektro GmbH – A member of the ABB Group,
Freisenbergstraße 2, D-58513 Lüdenscheid, Germany
Tel.: +49 2351 956-1600
www.BUSCH-JAEGER.de


