![]()
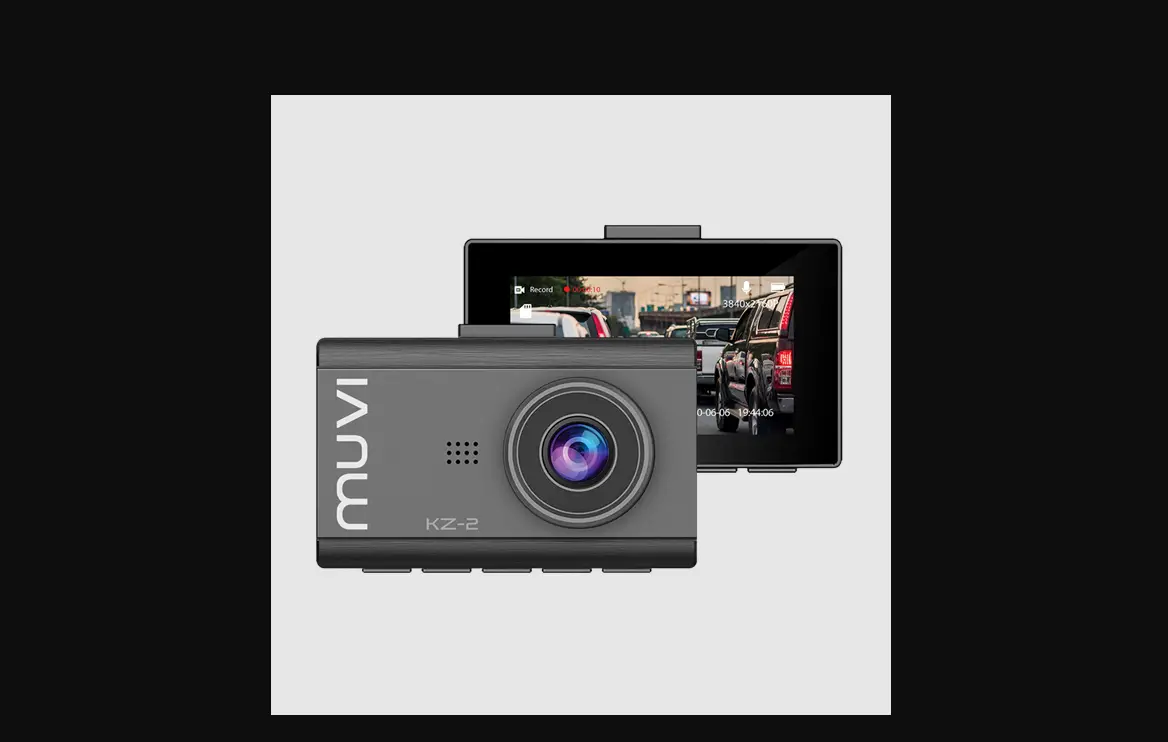
KZ-2 DASH CAM
Introduction
The Muvi KZ2 Drive Cam (VDC-003-KZ2) is the perfect solution to capture your journey in 4K. This manual will show you how to set up and operate the camera.
Please read and follow this manual carefully to ensure that you maximise every capability of your camera. Keep this manual safe for future reference.
Disclaimer: Veho cannot guarantee that all incidents will be captured by the Muvi KZ2 Drive Cam.
Important! 
Tips on capturing the best footage
- Position the camera so that it does not distract or obstruct the driver’s view (we recommend behind the rearview mirror).
- Ensure both the inside and outside of the windscreen are clean and dry so the mount adheres securely.
- The camera’s view should not be obstructed, ensure it is within the ‘wiper zone’.
- Angle the camera so the amount of sky in the camera view is reduced. Too much sky will cause the camera to overexpose and make the road appear darker.
Tips on memory card performance
- Before using a new microSD card you will need to format the card using the camera, you can do this in the camera settings.
- We recommend formatting your microSD card at least once every two weeks, this will ensure invisible memory is cleared and reduce the risk of file corruption. Formatting the card will completely wipe all data from the card, back up any files you wish to keep before formatting.
- Switch the camera off before removing the microSD card to prevent any damage to the card.
- The Muvi KZ2 supports microSD cards with up to 128GB capacity. We recommend using a U3 grade card from a well-known brand such as SanDisk, Toshiba, Samsung.
![]() DO NOT try to adjust the camera position or try to access or change the camera settings whilst driving. Use the camera safely and according to the laws in your country. You use this camera at your own risk.
DO NOT try to adjust the camera position or try to access or change the camera settings whilst driving. Use the camera safely and according to the laws in your country. You use this camera at your own risk.
1 What’s in the box?
1 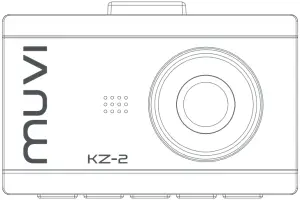
2 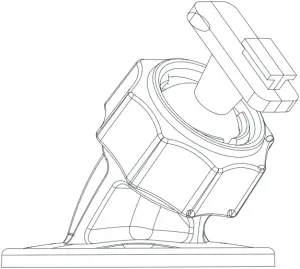
3 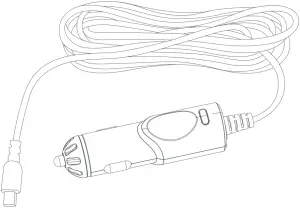
4 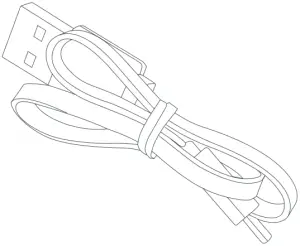
- Muvi KZ2 Drive Cam
- Windscreen suction mount
- 12v Power adapter
- 2m USB cable
- Quick start guide
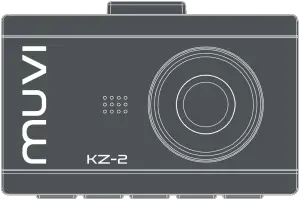
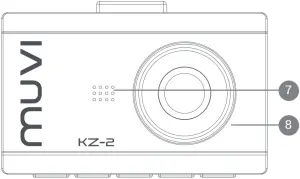
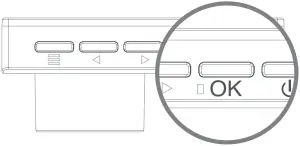
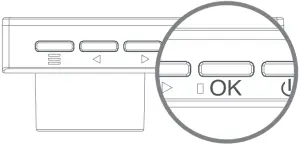
2 Guide to controls
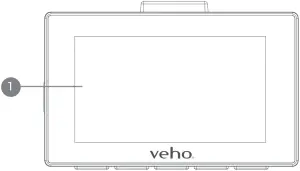
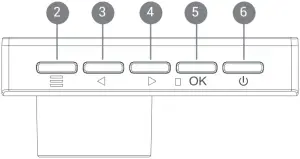
- LCD screen
- Menu button
- Left/Up button
- Right/Down button
- OK/Confirm button
- Power button
- Speaker
- Camera lens
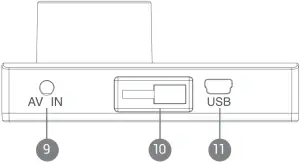
- AV IN port
- Bracket mount
- USB port
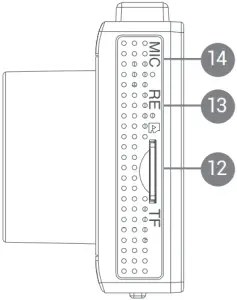
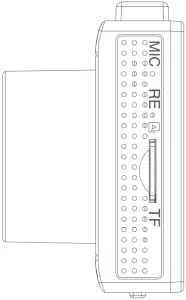
- microSD card slot
- Reset button
- Microphone
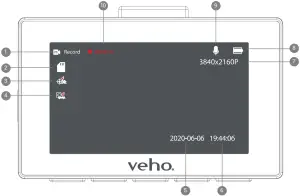
- Video recording icon
- microSD card icon
- Motion detection
- G-sensor
- Date stamp
- Time stamp
- Video resolution
- Battery level indicator
- Microphone audio
- Video duration
3 Installing the KZ2
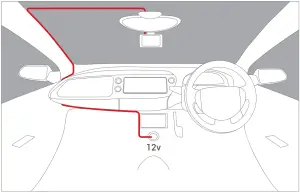
- Ensure both the inside and outside of the windscreen are clean and dry so the mount adheres securely and the camera’s view is not obstructed.
- Position the camera so that it will not obstruct the driver’s view (we recommend behind the rearview mirror).
- Stick the mount into position, ensuring it is fully secure.
4 Charging the KZ2
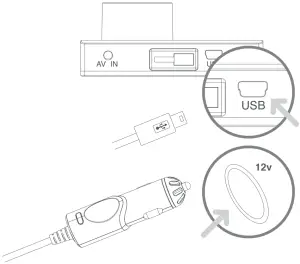
Before using the Muvi KZ2 for the time it is essential that the camera is fully charged. Using the supplied 12v cable connect the camera to the vehicles 12v output port. We recommend leaving the camera connected to a power source when in use.
5 Using the KZ2
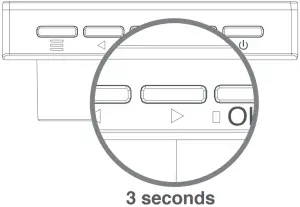
Power on/off
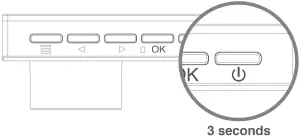
Press and hold the ‘Power’ button for 3 seconds (approx) to power on the camera, the Muvi KZ2 loading screen should appear. Press and hold the ‘Power’ button for a further 3 seconds (approx) to shut down the camera.
To turn the screen off whilst recording press the ‘Power’ button once, this feature is intended to prevent distraction whilst driving.
Please note the camera will automatically switch on and off when connected to the vehicle.
Video recording

During normal operation the camera will automatically start recording when the vehicle engine is switched on and stop recording when the engine is switched off. The footage will be automatically saved to the microSD card.
Should you need to start recording manually press the ‘OK’ button when on the camera home screen. The video timer will start indicating that the camera is recording. Press the ‘OK’ button again to stop recording.
If you are involved in a collision the G-sensor function will be triggered, this will lock the camera footage for 5 seconds before and after the incident. This footage will then be protected from being overwritten by the loop recording feature.
Playback mode
To playback recorded footage using the Muvi KZ2 set the camera to ‘Record/Photo/Stand-by’ mode then press and hold the ‘Right/Down’ button for 3 seconds (approx).
Once in playback mode, use the ‘Left’ and ‘Right’ buttons to scroll through the footage, then press the ‘OK’ button to view the selected footage.
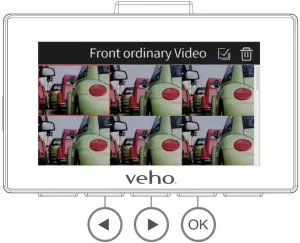
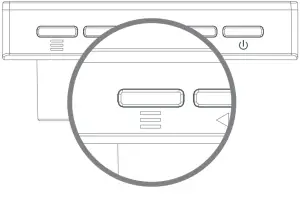
Photo capture
When the camera is in ‘Record/Photo/Stand-by’ mode press and hold the menu button to toggle between Record/Photo/Stand-by. Once in Photo mode press the ‘OK’ button to take a single photo.
Timed and Automatic photo capture
Timed photo mode has settings of 3, 5, 10, or 20 seconds. When this mode is enabled it lets you set an interval from when the ‘OK’ button is pressed to a single photo is taken. It takes one photo only.
Automatic photo mode has settings of 3, 10, 15, 20, or 30 seconds. When this mode is enabled it lets you set an interval from when the ‘OK’ button is pressed to a single photo is taken. It takes continuous photos until you click the ‘OK’ Button again to stop.
These two modes can not be used together.
Using a microSD card

 Before using a new microSD card you will need to format the card using the camera, you can do this in the camera settings. We recommend formatting your microSD card at least once every two weeks, this will ensure invisible memory is cleared and reduce the risk of file corruption. Formatting the card will completely wipe all data from the card, back up any files you wish to keep before formatting. If formatting through a computer, the card should be in FAT32 format.
Supports microSD cards with up to 128GB capacity. We recommend using a U3 grade card from a well known brand such as SanDisk, Toshiba, Samsung.
Please note Veho is not responsible for the loss of any data.
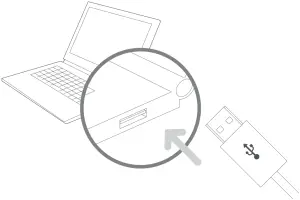
Transferring footage
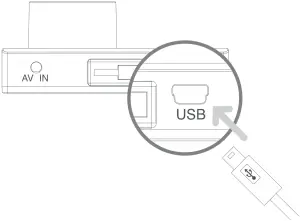
To transfer footage from the Muvi KZ2 onto your PC using the USB data cable. Connect the camera to your PC and switch the camera on, your PC will recognise the camera as a third-party device use File Explorer to access the footage. Alternatively, use a microSD card reader.
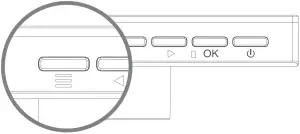
6 Settings
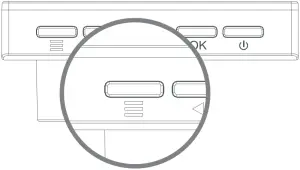
To access the camera settings press the ‘Menu’ button. Browse the menus by using the ‘Left/up’ & ‘Right/down’ buttons. Select a category by pressing the ‘OK’ button.
Below are some of the settings you can edit:

- Video resolution
- Loop recording time
- Coding type
- Parking mode
- G-sensor detection
- Photo resolution
- Exposure
- Screen sleep
- Timed shutdown
- Language
- Volume
- Motion detection
- Date and time
- Format microSD card
- License plate watermark
- Factory reset
To exit the menu, press the ‘Menu’ button again, this will return you to the home screen.
Specifications
| Model | Muvi KZ2 Drive Cam |
| DSP | Hi3559 V200 |
| LCD | 3.0” IPS LCD (360 x 640) |
| Lens | 6G 140° |
| Video resolution | 4K/2.7K/1080P |
| Video format | H.264 /H.265 |
| Photo resolution | 16M/13M/8M |
| Photo format | JPG |
| Power input | Mini USB port 5V/2.5A |
| Voltage/working current | DC3.7V/230mAh |
| Working temperature | -15° ~ +65° |
| Battery | Built-in Li-ion battery 150mAh |
| Speaker | 0.8W |
| Microphone | Supported |
| Loop recording | Seamless loop video – 1 minute, 2 minutes, 3 minutes |
| microSD card | Not included. We recommend using a U3 grade card from a well-known brand. Supports cards with up to 128GB capacity |
| Date & time stamp | Supported |
| Motion detection | Supported |
| Portable disk | Supported |
| G-Sensor | Supported |
| Frequency | 50Hz/60Hz |
| Dimensions | 86.5mm x 57mm x 16.5mm (35mm with lens) |
| Net weight | 70g |
Maintenance
- Do not disassemble, repair, modify your camera or power-related accessories.
- Do not adjust or operate the camera whilst driving.
- Avoid installing the camera where it may obstruct the driver’s view or airbag deployment.
- Avoid exposing your camera to extended periods of humidity and/or heat as this may reduce the product’s lifespan.
- Do not spray water or cleaning agents directly onto the camera. This may cause a fire, electric shocks, or other malfunctions.
- Only use the Muvi KZ2 power adapter supplied with your camera. Other power adapters may create a safety hazard or damage the camera.
- Do not use damaged power adapters or cables.
- In certain cars, the power may be constantly supplied to the camera even with the engine turned off. This may drain the vehicle’s battery.
- Keep the camera away from heaters or other hot objects. Store at lower temperatures to reduce the rate of self-discharge of the battery.
- Do not leave the camera in the car when not in use.
Other Veho products
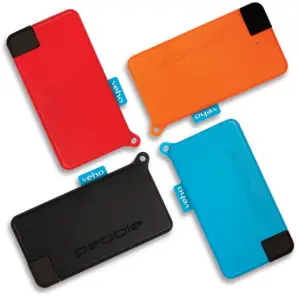
Pebble Pokket 1000mAh Micro Size Keyring Power Bank
Available in Red, Orange, Blue, Black
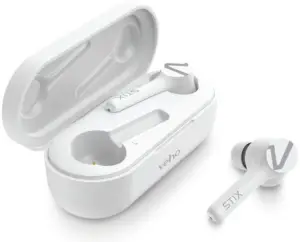
STIX True Wireless Earphones
VEP-115-STIX-W
Cave Smart Home Starter Kit
VHS-001-SK

Support
In the event, you need to contact Veho for support or troubleshooting for your Muvi KZ2 Drive Cam, please contact us via our Live Chat on our website at:
veho-world.com
EC DECLARATION OF CONFORMITY
Hereby, Veho UK LTD declares that the radio equipment type (VDC-003-KZ2) is in compliance with EU Directives.
The full text of the EU Declaration of Conformity is available at
https://veho-world.com/compliance/
![]()
![]()
 This symbol, affixed to the product or its packaging, indicates that the product must not be processed as household waste. This product should be correctly disposed of according to your local guidelines for electrical and battery operated products. Correct disposal of the battery will avoid potential harm to the environment and human health. For further information regarding the recycling of this product, please contact your local waste recycling centre.


