![]() SASO-200V Intelligent Anti-overflow Float Valve
SASO-200V Intelligent Anti-overflow Float Valve
Instruction Manual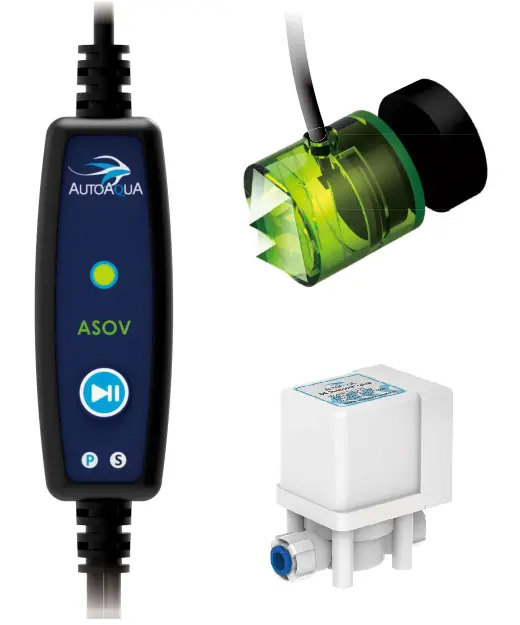
List of Parts (Can be purchased separately)
| Item | Picture | Description |
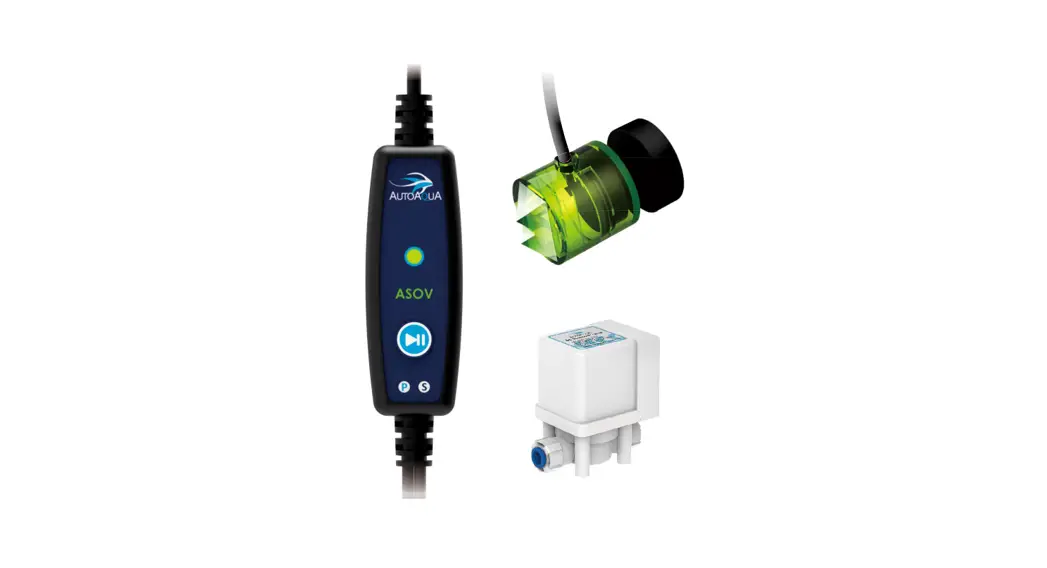
| Smart ASOV Controller | 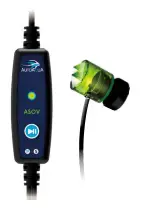 | 1. Controller with Dual Sensors 2. Max. Mounting Thickness: 1/2 inch (12.7 mm) 3. P- For Power Supply Connector S- For RO Solenoid Valve Connector |
| Universal Power Adapter | 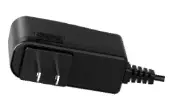 | Universal Power Supply:100V- 240V |
| RO Solenoid Valve | 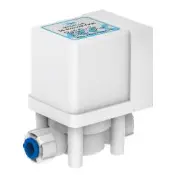 | For use with RO/DI Systems and 1/4-inch tubing |
| ROTubing Holder | 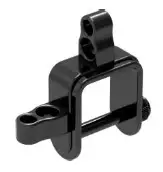 | 1. For use with 1/4-inch RO tubing 2. Max. Mounting Thickness: 1.2 inches (30.5 mm) |
![]() caution: Risk of Injury from Strong Magnets
caution: Risk of Injury from Strong Magnets
Installation
- Mount the dual sensors at the normal water level (with the water level reaching the lower one) on the reservoir with the magnet.
- Connect the RO solenoid valve with the RO tubing and the tubing holder according to the installation diagrams below.
- Plug the RO solenoid valve in the “S” jack of the controller and the power supply in the “P” jack. Next, plug in the universal power adapter.
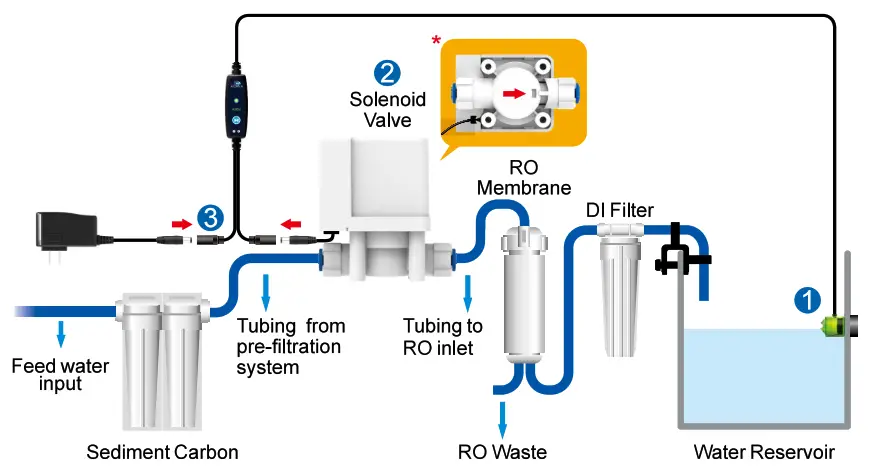
a. RO/DI System without Auto Shut Off
Cut the tubing between the carbon block filter and the RO membrane, and then connect the tubing to the solenoid valve (*pay close attention to the directional water flow arrow on the solenoid valve).
Note: Filtered water is required to prevent sediments from clogging the solenoid valve. Do not install the solenoid valve before your filtration system
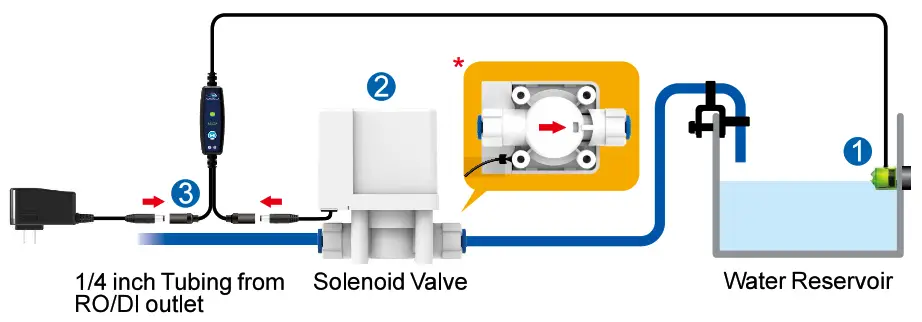
b. RO/DI System with Auto Shut Off Connect the solenoid valve at the RO/DI output (*pay close attention to the directional water flow arrow on the solenoid valve).
Specifications
- Power Input: 100-240 VAC 50-60 Hz
- RO Solenoid Valve:
•6 W@ 12 VDC
• 1/4 inch RO Tubing Connection - Max. Mounting Thickness:
• Sensor: 1/2 inch (12.7 mm)
• RO Tubing Holder: 1.2 inches (30.5 mm)
Notice
- Please read the manual before the installation. Keep the power adapter dry and avoid any contact with water to prevent any malfunction.
- Please avoid setting up the sensor in an area with microbubbles or direct lighting.
Operation
- When SmartASOV is powered up, the LED Indicator will flash 3 times with 3 beeps.
- SmartASOV will perform a one-time filling automatically after every power-up. If it detects water when powered up, it will turn to standby mode, and you can press
 it to start a one-time filling.
 - After SmartASOV completes filling, the LED indicator will flash with 5 long beeps and then turn solid. The Smart ASOV will then enter standby mode.
| Action | LED Indicator | System Action |
| Push | Flashing | One-time filling. |
| Push Push Push Push | Flashing every 3 sec. Flashing Off Solid | Filling pauses. Filling resumes. Switches to sleep mode. Switches to standby mode. |
Limited Warranty
- The limited warranty is provided by AUTOAQUA only if your AUTOAQUA Product (“Product”) was purchased from an authorized distributor or an authorized reseller. This limited warranty is not transferable.
- All warranty repairs or replacements are performed by the authorized distributor or authorized reseller in the region where the Product was first shipped by AUTOAQUA.
- The limited warranty is valid for a period of 2 years under proper installation and normal use from the date of the original purchase listed on the proof of purchase or sales receipt.
- In the event of a limited warranty claim, proof of purchase or sales receipt (issued to the original purchaser) is required.
Purchase Date
(Y/M/D)
Warranty Period
Two years from the purchase date
Place of Purchase
(Store name, phone, email, address)
Service
AUTOAQUA Technologies Co., Ltd. 7F-7., NO.229, Fuxing 2nd Rd., Zhubei City, Hsinchu County, Taiwan
E-mail: [email protected]
www.autoaqua.com.tw
* Please go to the AUTOAQUA website to get the distributor information.