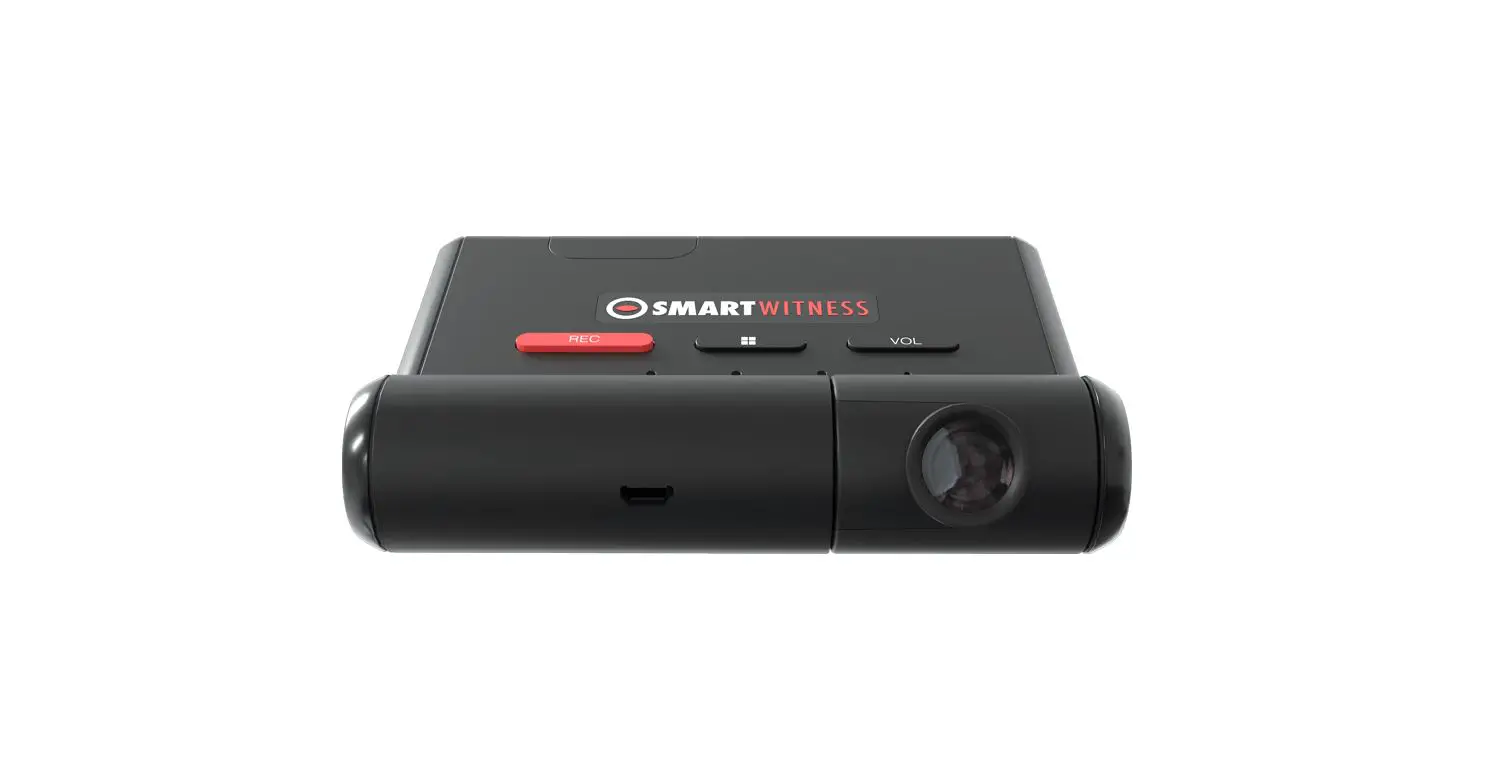
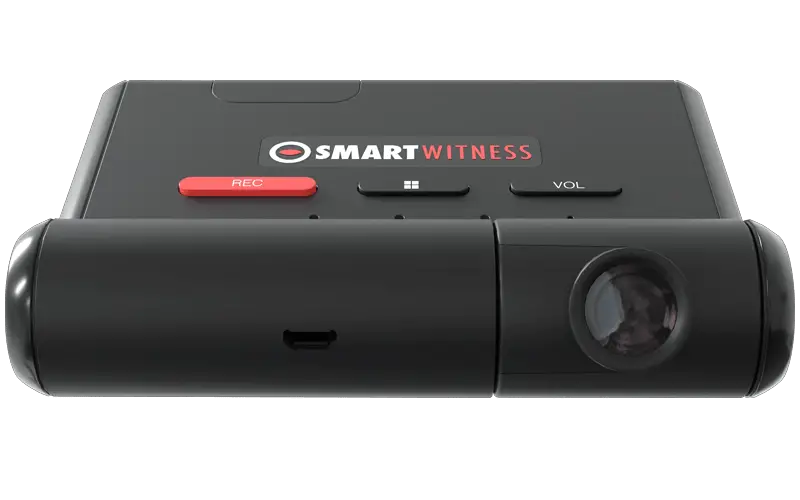
SMARTWITNESS AP1 Video Telematics Camera
QUICK START INSTALLATION GUIDE
FOR AP1 VIDEO TELEMATICS CAMERA

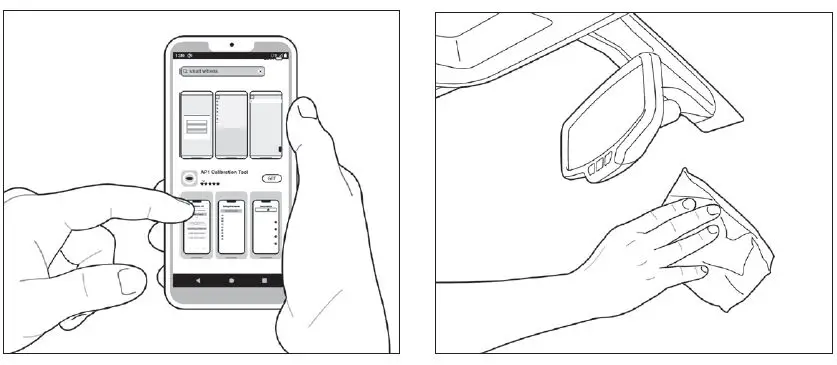
Use the appropriate QR code to download the AP1 Calibration Tool
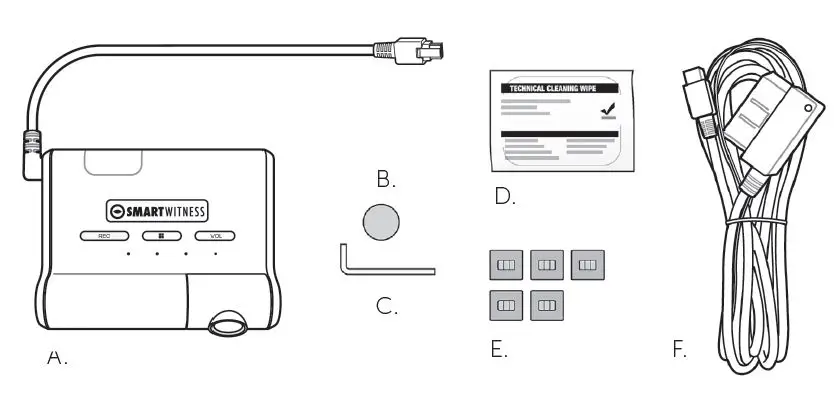
- Review the package contents.

- AP1 Camera
- Camera Angle Cover
- Locking Screw Tool
- Alcohol wipe
- Clips
- Cable
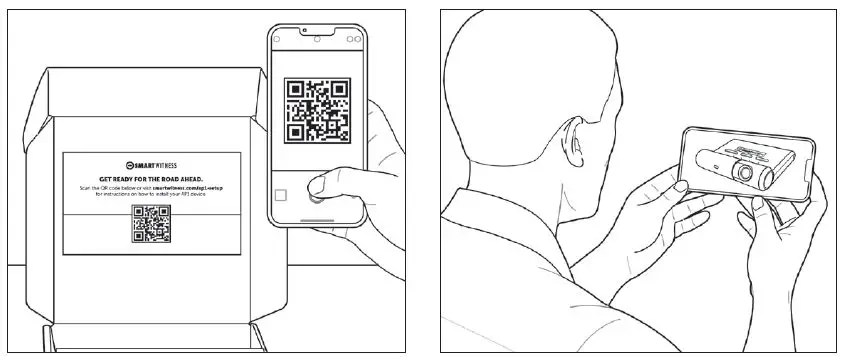
- Scan the QR code inside the box for a detailed installation video, spec sheet and user guide.

- Watch the installation video.
- Scan the QR code above to find and download the app.

- Use included wipe on windshield surface. Allow time to dry.
- Remove backing, then press and hold unit to window for 30 seconds.

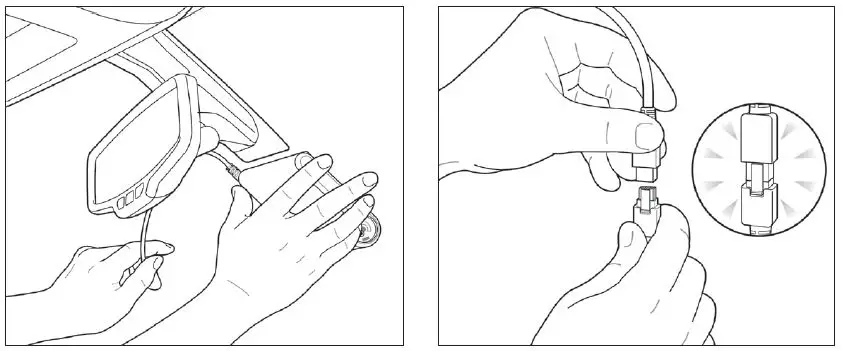
- Connect AP1 unit wire to main cable harness.
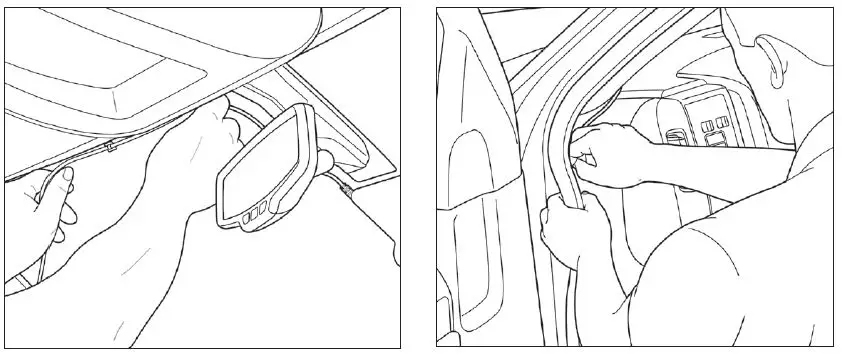
- Remove adhesive backing on clips, and adhere cable to windshield.

- Tuck cable behind weather stripping, and push stripping in to secure it.
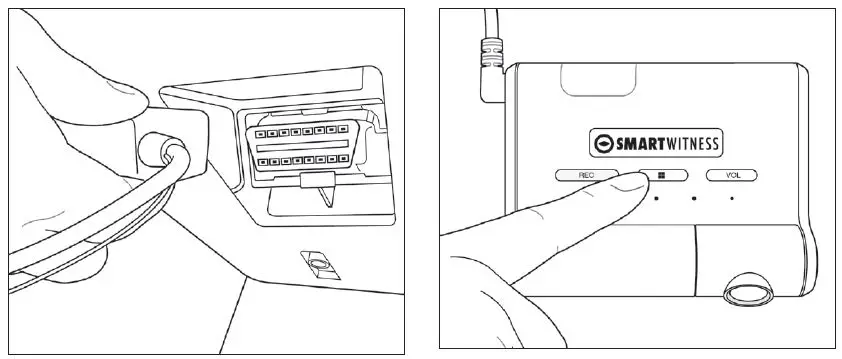
- Plug main cable into your vehicle’s OBDII (or J-BUS) port.

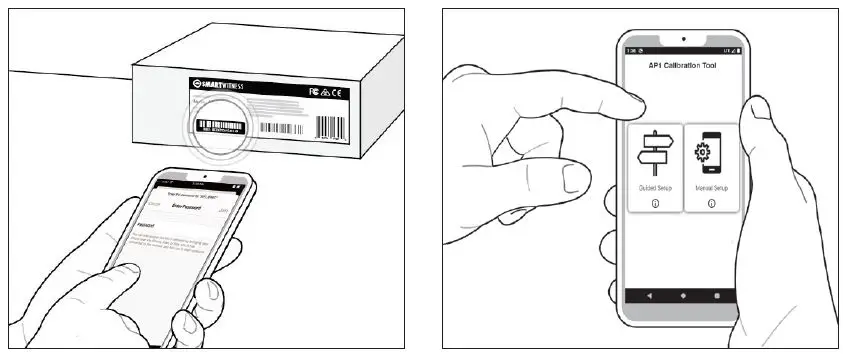
- Hold center button on AP1 camera unit for 5 seconds. Release button, and wait 3 seconds for blinking orange light.
- Select your device’s Wi-Fi settings, choose AP1, and enter the last 8 digits of the IMEI code on the box’s sticker.

- Open the AP1 Calibration Tool, and choose the manual option.
- Tap the Connect to Camera option. If your device is connected through Wi-Fi to the camera properly, you will see “Connection Status: Connected.” When prompted to Download Settings From Camera, tap Yes. If the download was successful, you’ll see the Main Menu.

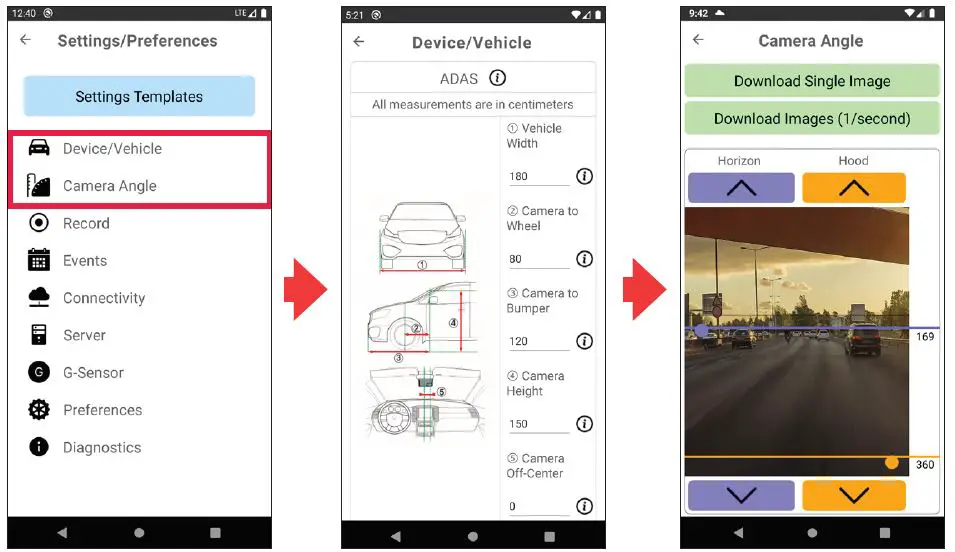
- Tap the Adjust Settings/Preferences button to open the Settings page.

- Rotate the camera on the AP1 to adjust its angle. If using ADAS, enter vehicle dimensions within the Device/Vehicle settings, as well as your hood and horizon lines in the Camera Angle settings.
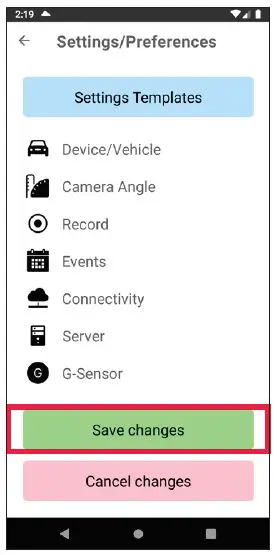
- Tap Save Changes.

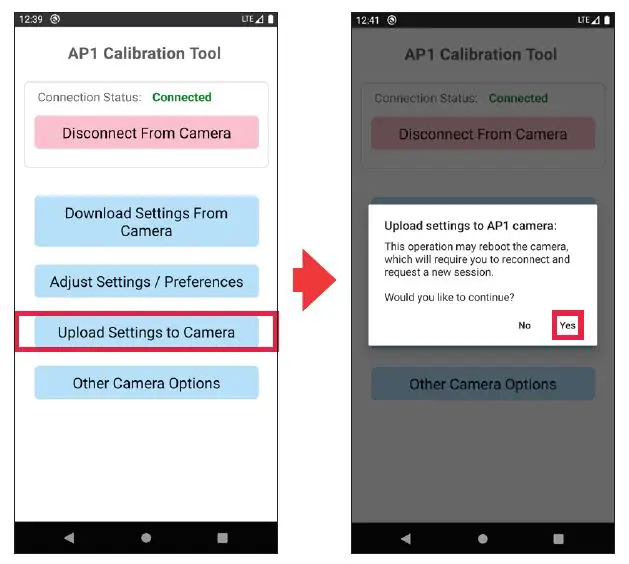
- Select Upload Settings to Camera from the main page.

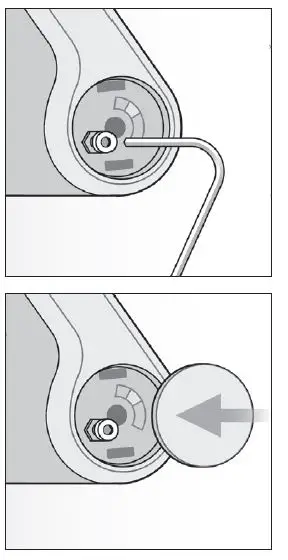
- Tighten the camera angle lock screw, and attach the cover.


Congratulations! Your AP1 is now ready to go!


