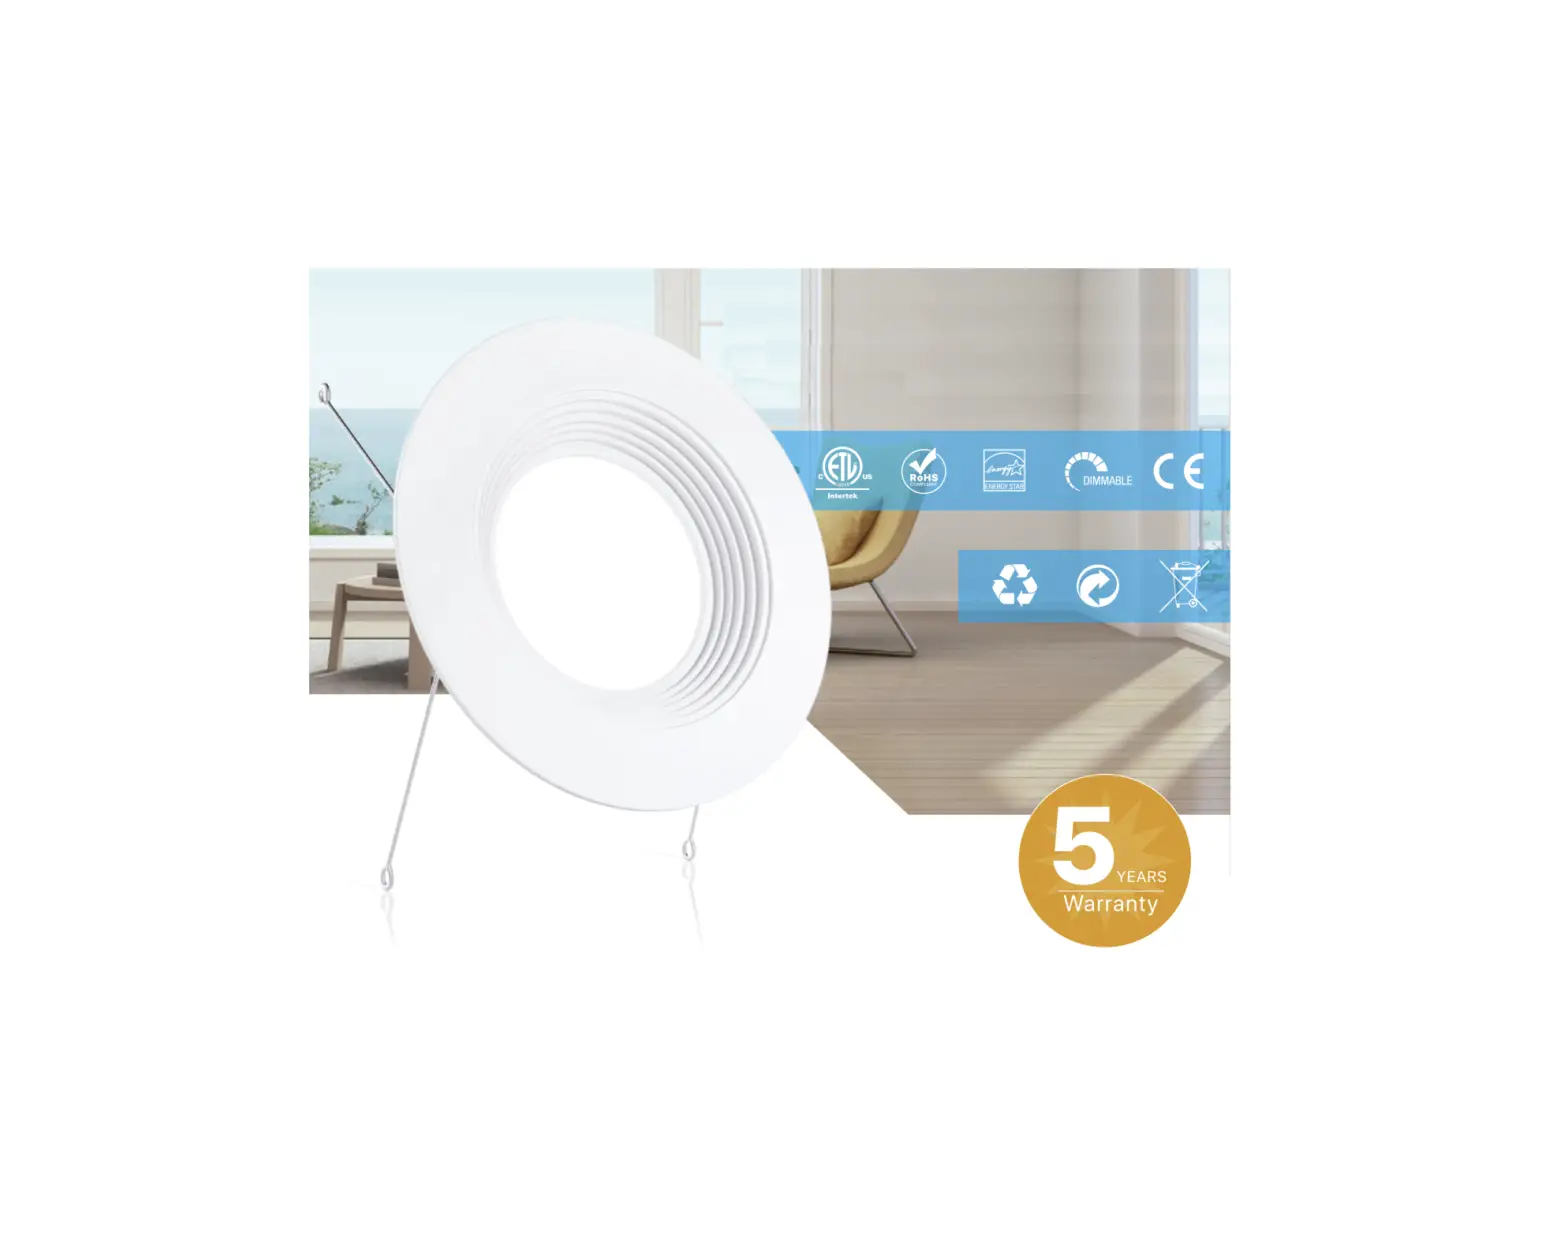
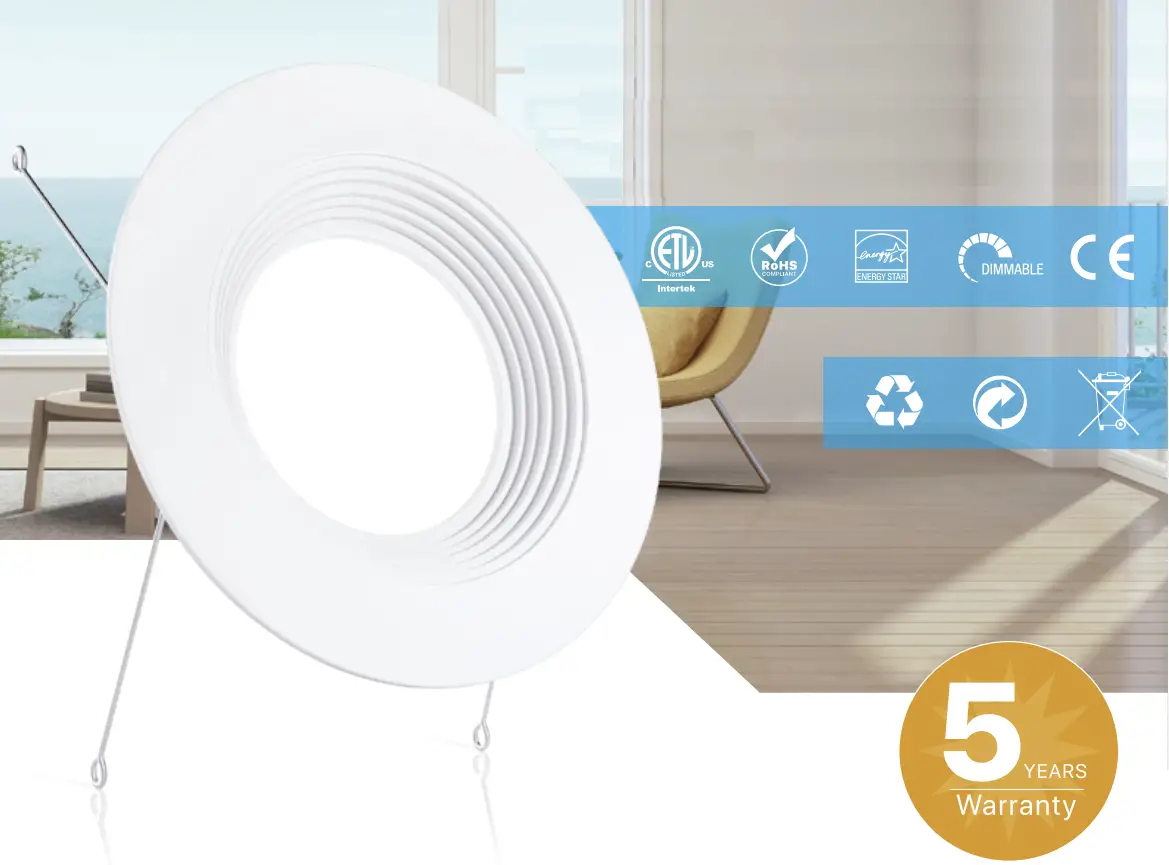
Ensenior GT-600P Can Light
 SAFRTY INSTRUCTION
Ensenior’ s LED Recessed Downlight is certified by ETL & Energy Star of a high standard. But to reduce the risk of death, personal injury or property damage from f ire, electric shock and other hazards, please read all warnings and instructions included with and on the fixture box and all fixture labels, please review instructions carefully before proceeding.
![]() WARNING
WARNING
![]() RISK OF ELECTRIC SHOCK
RISK OF ELECTRIC SHOCK
- All electrical connections must be in accordance with local and National Electric Code (N.E.C.) standards.
- Consult a qualified electrician if you are unfamiliar with proper electrical wiring connections.
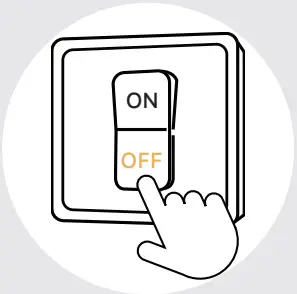
- Turnoff the switch and circuit breaker before installing this LED light.
- Do not alter, re-locate or remove wiring.
- Double-check all connections to be sure they are t ight and correct.
- Verify that supply voltage is correct by comparing it with the luminaire label information.
![]() RISK OF FIRE
RISK OF FIRE
- Keep combustibles and other materials that may burn away from lights.
- The maximum ambient temperature is 104°F. Do not operate f ixture at temperatures higher than it.
![]() CAUTION
CAUTION
![]() RISK OF INJURY
RISK OF INJURY
- Wear gloves and safety glasses at all time when removing luminaire, installing or performing maintenance.
- Avoid direct eye exposure to the light source while it is on.
- Wear rubber- soled shoes and work on a sturdy wooden ladder.
![]() RISK OF BURN
RISK OF BURN
- Do not touch enclosure or light source. It is normal of the luminaire surface heating up during work. Allow lights to cool before handling.
![]() RISK OF PRODUCT DAMAGE
RISK OF PRODUCT DAMAGE
- Do not restrict fixture ventilation. Allow for some volume of airspace around fixture. Avoid covering LED fixtures with insulation, foam, or other material that will prevent convection or conduction cooling.
- Electrostatic Discharge (ESD): ESD can damage LED fixtures. Personal grounding equipment must be worn during all installation or servicing of the unit.
- Do not touch individual electrical components as this can cause ESD, shorten lamp life, or alter performance.
- Do not let the product directly contact with water. Our product is damp-rated but it is not water- proof.
- Do not make or alter any open holes in an enclosure of wiring or electrical components.
- Never connect components under load.
- Please make sure that all wires in and out are wired firmly and sufficiently. If not, there will be a flickering issue or the light will just stop.
IMPORTANT
- Our temperature has been strictly monitored. But the temperature will be slightly different with varied monitors. Please test them before installation up in the ceiling wall and see the color if it meets your needs.
- If there is anything wrong with our lights, please see the Troubleshooting page. If you could not find an answer in that page, please refer to the Customer Service page and contact us.
ROUTINE MAINTENAINCE
- Please make sure the power is off before maintenance.
- To avoid any damage to the product, please do not use any chemical solvents during the routine maintenance.
- To ensure better lighting, please clean the lamp at regular intervals.
LIMITED WARRANTY
This product is warranted to be free from defects in workmanship and materials for up to 5 years from date of purchase. If it fails to do so, please contact the
Customer Service Team at
+1 (213)-296-2111 or visit [email protected].
STEP-BY-STEP INSTALATION
Step 1
Turn off circuit breaker that provides power to the fixture.
Step 2
Remove any existing fixture prior to the installation.
Step 3
Screw the E26 base adapter with E26 holder in the can.

Step 4
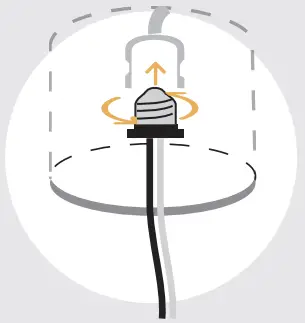
Connect the male connector with the female connector.
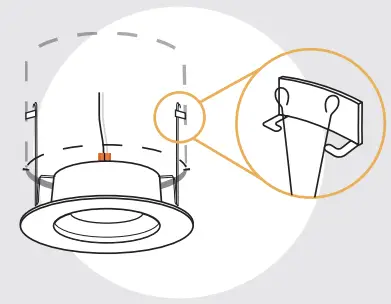
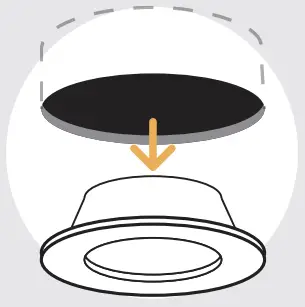
Step 5
Push up the spring holders to insert the fixture in the opening in the can.
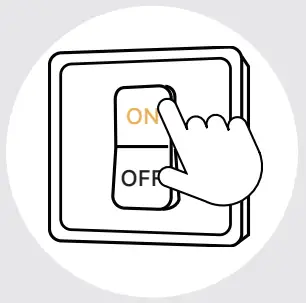
Step 6
Turn on circuit breaker and test the light.
SEPECIFICATIONS
| Voltage | 120V |
| Wattage | 12W |
| Current | 1A |
| Power Factor | 0.75 |
LIGHTING PERFORMANCE
| Lumens | 1100LM |
| Equivalency | 65W |
| Color Temperature | 2700K/3000K/4000K/6000K |
| Color Rendering Index (CRI) | >90 |
| Beam Angle | 90º |
| Dimmable | Yes |
| Efficiency(lm/w) | 95lm/w |
| Operating Temperature | 14Fº -104Fº |
ENVIRONMENT
| Suitable for Damp Location Ingress | Yes |
| Application | Indoor Only |
CONSTRUCTION
| Housing Material | PVC+PC |
| Weight | 206g |
LIFESPAN
| Average Life(hours) | 50000+ |
| Warranty | 5 years |
DIMMER COMPATIBILITY GUID
Brand | Model | Feature |
| Lutron | GT-600P | LECL-153P |
| TGCL-153P | DVWCL-153PH | |
| DVCL-153P | AYCL-153P | |
| MSCL-OP153M | SCL-153P | |
| PD-6WCL | STCL-153P | |
| MACL-153M/MA | CTCL-1 53P/H | |
| MACL-153M-RHW | / |
30-day money-back guarantee for any reason
For 30 days after the date of purchase, return your Ensenior product and receive a full refund for ANY reason.
5-year warranty for quality-related issues
For 5 years after the date of purchase, if there is any issue with the product, we will send a new product for free or a full refund. (no need to return the purchased product)
Under most conditions, we will not require you to return the purchased items. Sure, if you would return the defective one(s) to us, we will be very happy for that would help us to make continuous improvements.
Quick response within 12 hours
If there is any problem with our light, please refer to the Troubleshooting page on the back. If you still could not fix this, please contact us immediately. It doesn’t matter if you have installed the product, we will respond within 12 hours.
The fastest way to help us confirm the problem is to send us a video of the problematic light to our official email box.
Friendly reminder
We sincerely hope to solve the problem for you. We do not recommend that you leave a product rating first, because we cannot obtain your contact information through the review/feedback, nor can we obtain your relevant information and provide you with compensation.
Please rest assured that our service aim is to make customers 100% satisfied. If there is any problem, please contact us as soon as possible, we will not let you down.
COMMON TROUBLESHOOTING
We are an LED manufacturer with 10-year experiences and receive feedback from more than 1000 customers every year. According to our statistics, 95% of customers’ problems are related to the method of installation and the use of dimmer, which could be solved by customers themselves. To save your valuable time, please read this introduction first to quickly identify the cause, if you encounter any problems.
Problems you may encounter
| PROBLEM | POSSIBLE CAUSE | SOLUTION |
| Unit | the wire falls off/ loosens/ breaks | Double check the connection of the wire. |
| the connector is missing or the connector lacks metal shrapnel | Double check the connector. | |
| Voltage is too high | Install the lights on 110 volts. | |
| Dim | the wire falls off/ loosens/ breaks | Double check the connection of the wire. |
| not setting the dimmer right | Double check the setting. | |
| compatible dimmer, but too many lights connect to one dimmer | Reduce the number of lights connected to the one dimmer. (Total Power of the Lights≤80% of the Rated Power of the Dimmer) | |
|
Flickering | the wire falls off/ loosens/ breaks | Double check the connection of the wire. |
| not setting the dimmer right | Double check the setting. | |
| (x) incompatible dimmer | Select a dimmer from the recommended dimmer list. | |
| compatible dimmer, but too many lights connect to one dimmer | Connect fewer lights to the one dimmer. (Total Power of the Lights≤75% of the Rated Power of the Dimmer) | |
| High-power electrical appliances on the same circuit | Remove and set them further away from each other. | |
| Buzzing noise from dimmer/ Junction box/ circuit breaker(> 20Db) | (x) incompatible dimmer | Select a more compatible dimmer from the recommended dimmer list. |
| (√) compatible dimmer, but too many lights connect to one dimmer | Reduce the number of lights connected to the one dimmer. (Total Power of the Lights≤75% of the Rated Power of the Dimmer) | |
| (x) incompatible circuit breaker | A. Mechanical circuit breaker: replace a compatible dimmer. B. Electronic control circuit breaker: replace the circuit breaker first. | |
| high-power electrical appliances on the same circuit(radio, air conditioners, refrigerators, etc.) | Remove and set them further away from each other. |
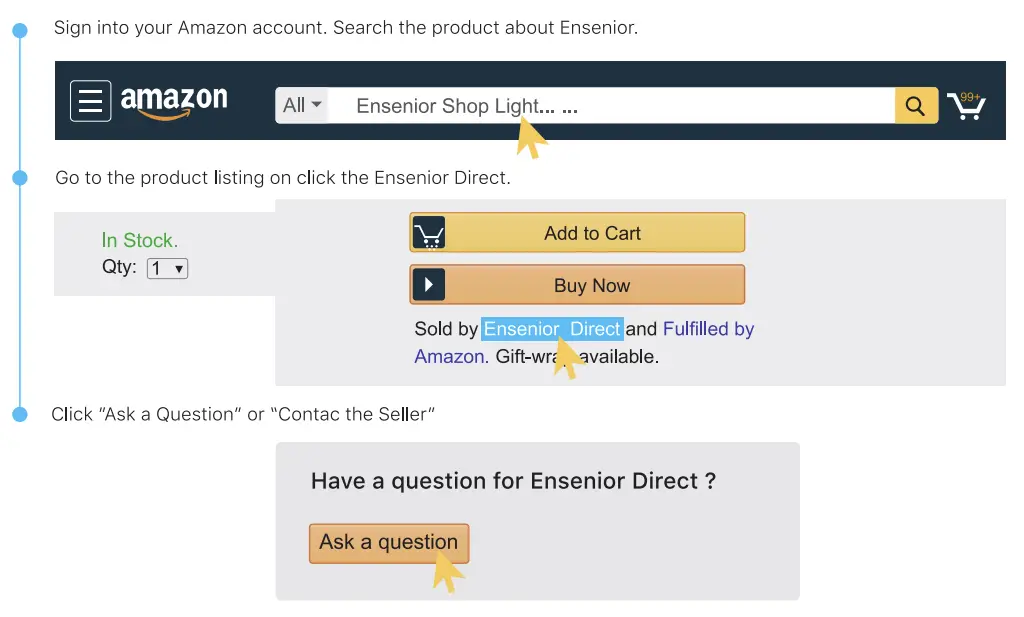
CONTACT US
Contact by “Ask a question” on the “Ensenior” Seller Page, and attach your e-mail address to the message(7x24H)
Because Amazon’s information system sometimes can’t successfully receive and send information, in which case you may not receive our response. We will never be able to reply to your inquiry. If you find that we have not responded to you within 24 hours, please send us an e- mail.
Contact via Email: [email protected]t (7x24H)
Call us: +1(213)-296-2111(Monday-Sunday 17:00- 21:00 PST)
Rewarding
Scan the QR code to fill the form, you will get 1 Free EXTRA YEAR Warranty.
You also get the chance of participating our FREE PRODUCT TRIALS and Coupon!