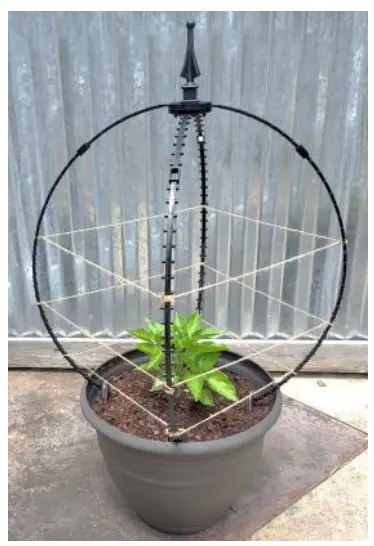
Scroll Trellis ST-306 One Finial Orb 4 Stake Trellis

Assembly and Installation Instructions
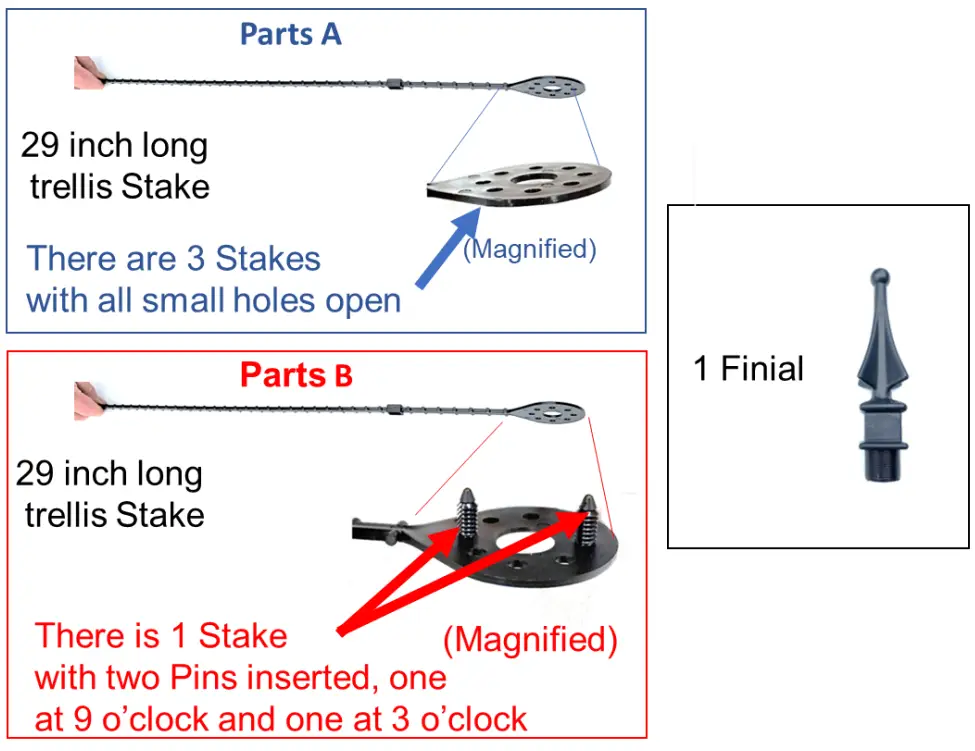
Parts Identification for 1 Trellis
Steps 1-6 Assembly Instructions
Step 1
Take 1 stake from Parts A and one stake from Parts B as shown
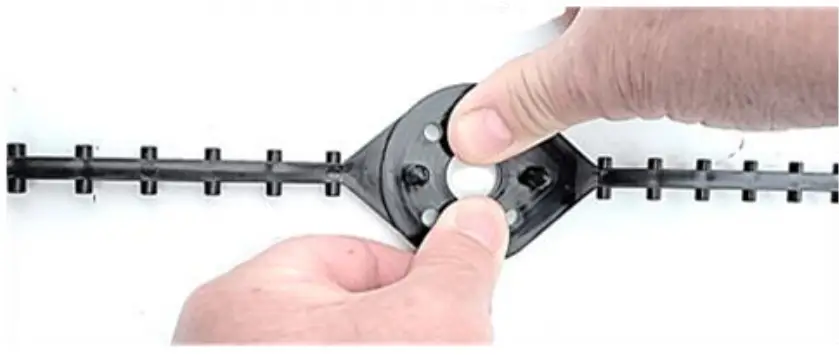
Step 2
Lay Stake B (with pins up) on a flat surface.
Line up Stake A on top with the stakes directly across from each other as shown. Push the stakes together so that the buttons attach Stake A to Stake B
 |  |
Step 3
Line up another stake from Parts A to form a “T” and push together as shown so the pins attach the second stake to Stake B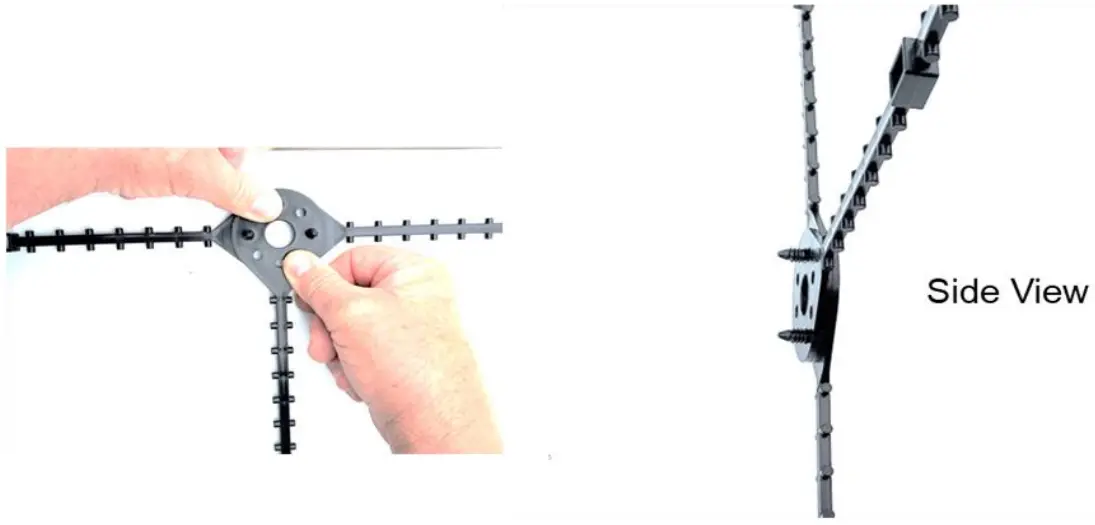
Step4
Line up another Stake from Parts A to form an “X” and push together as shown to create the ”X” assembly
Step 5
Flip the trellis over so the Pins are facing down
 |  |
Step6
Insert the Finial into the center of the large hole
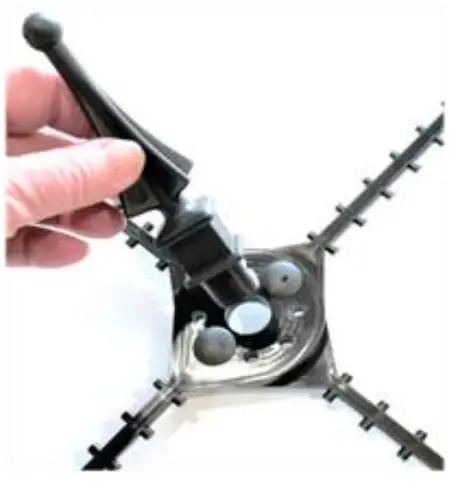 |  |
Step 7
Prepare the container planter for the trellis to be installed.
Start with a fully planted container planter.
Insert all 4 Key Hole Staples as shown on the illustration below and in the order shown.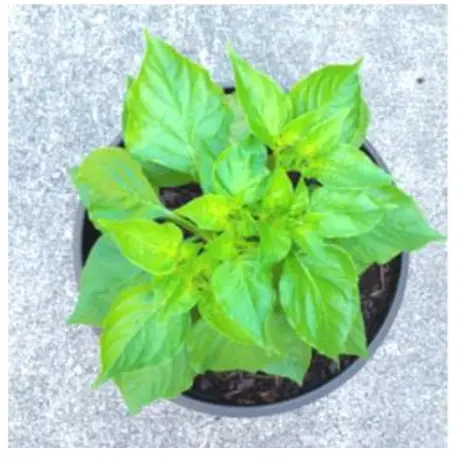
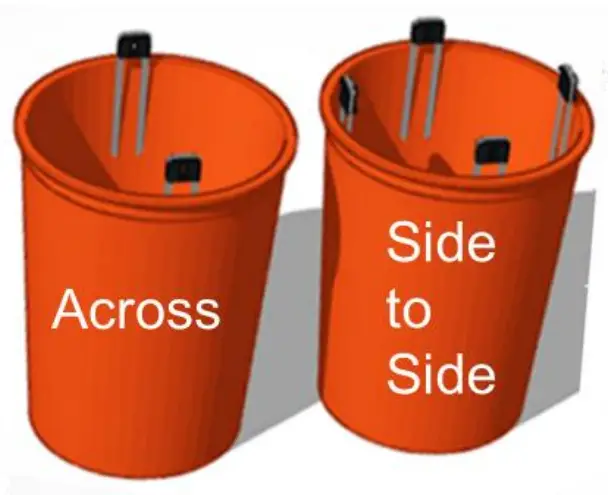

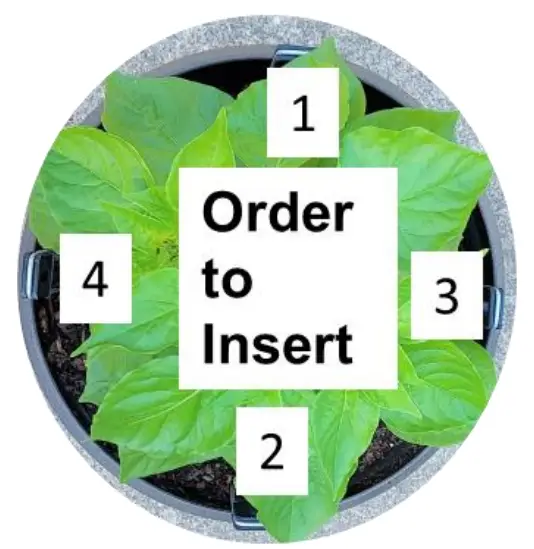
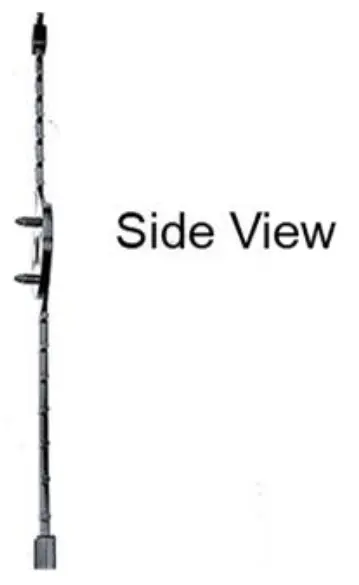
To Insert the Key Hole Staple:
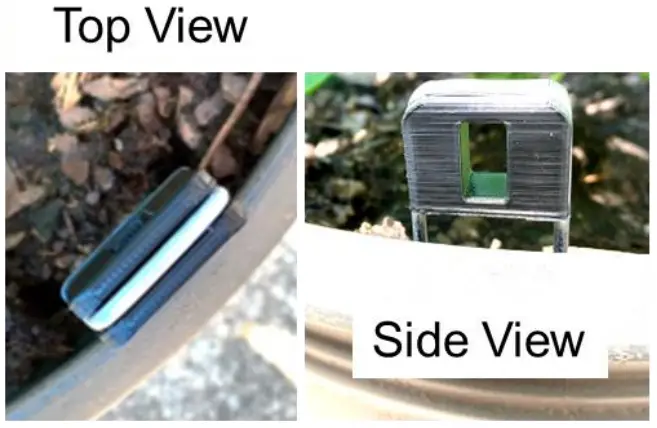
Push the Key Hole Staple straight down into the soil next to the rim of the planter with the Key Hole facing outward. Only push the Key Hole Staple in as deep as the rim so the Key Hole is still exposed, see side view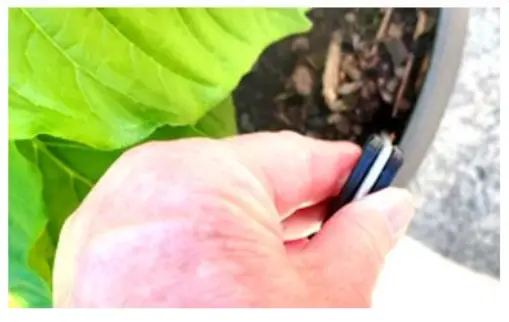
Step 8
Hold the trellis centered directly over the container planter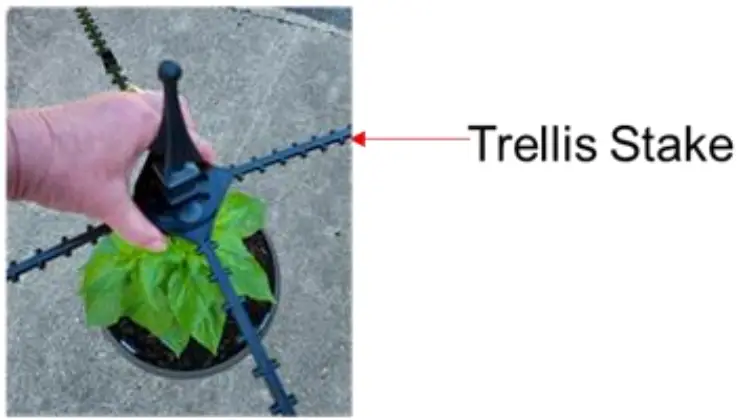
Step 8 Continued
With your ot her hand, grab one of the loose trellis stakes and twist it to insert it into the key hole on the staple.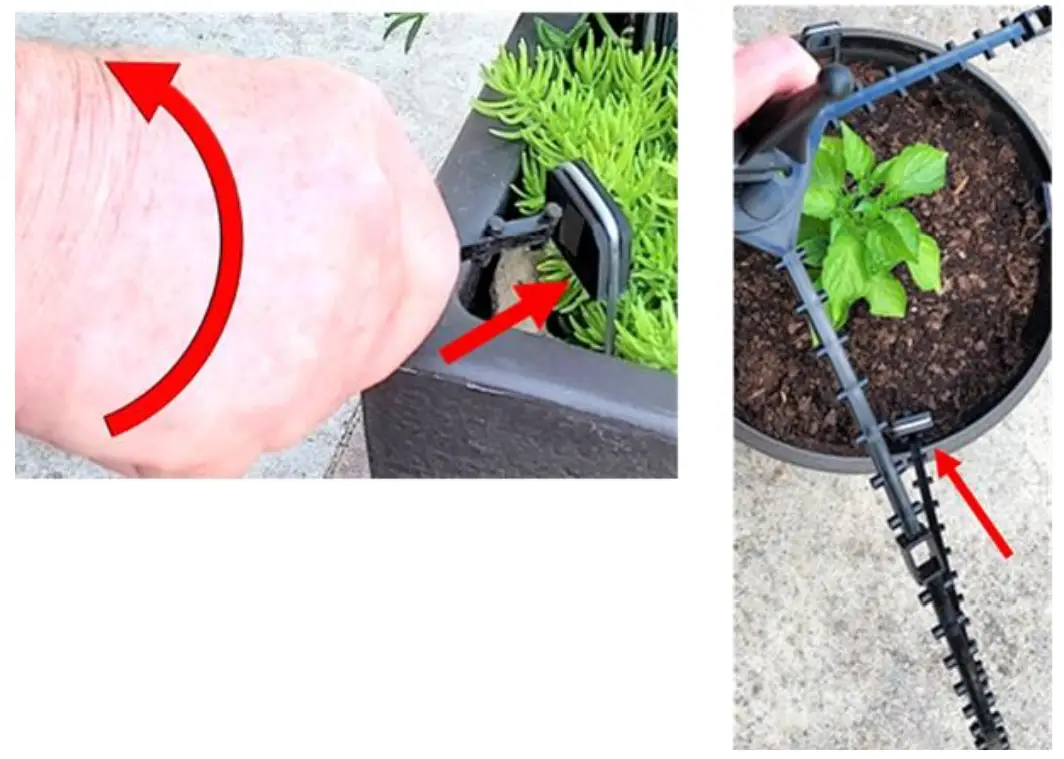
Repeat the process of inserting remaining loose stakes into their respective key holes. (Note, it is easiest follow the pattern as shown in Step Ts illustration)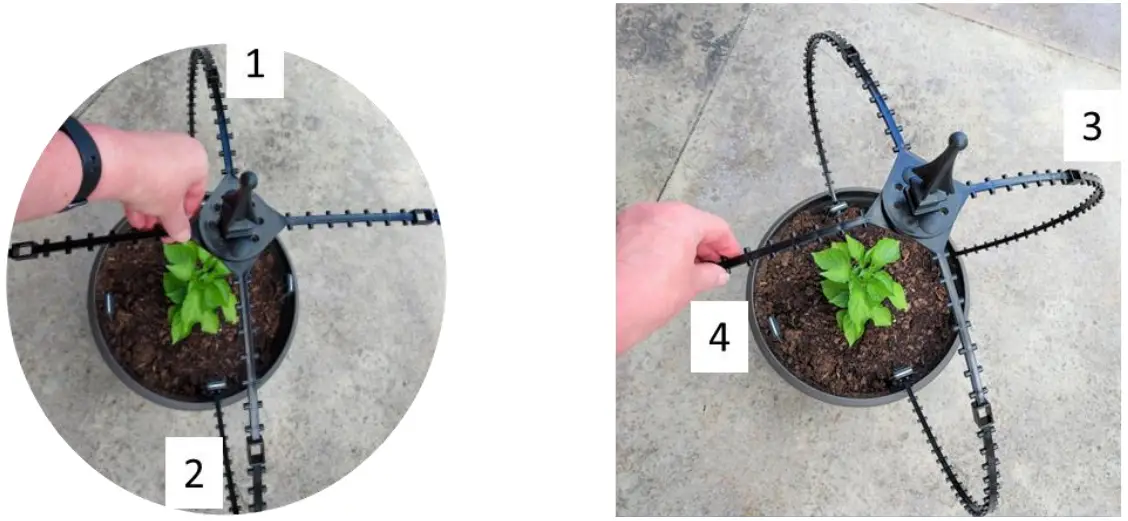
Gently push straight down on each Key Hole Staple until the trellis stake touches the rim of the container.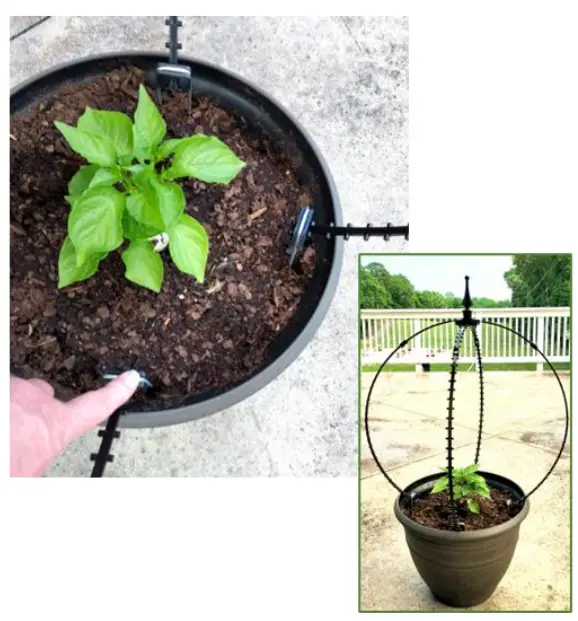
String twine in parallel rows when growing vegetable plants for added support, the trellis nubs will prevent the twine from slipping