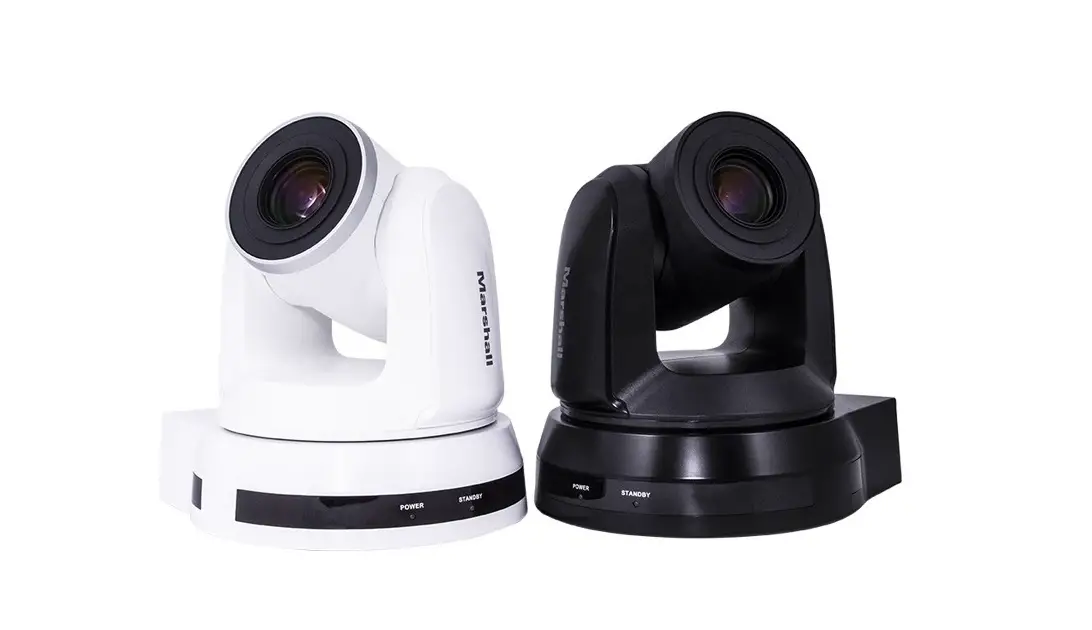
Marshall CV620-WH4 PTZ Camera with 20x Optical Zoom Installation Guide
Installation Using Ceiling or Wall Mount
Prepare parts and equipment required for installation
- Metal Plates A and B
- M3 Screws (8x Silver, 2x Black)
- Standard Mounting Hardware (Drill, Screwdriver, ladder, etc.)
Installation Steps
- Adjust desired camera resolution using the DIP Switch setting prior to installation (refer to 2. DIP Switch Setting).

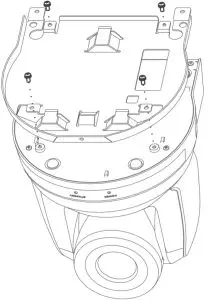
- Attach Metal Plate A to camera base using supplied M3 screws (silver).
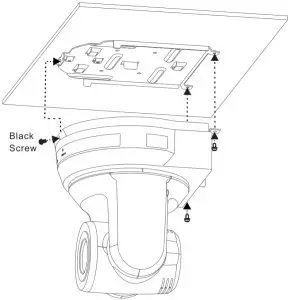
- Attach Metal Plate B to ceiling or wall using proper mounting hardware.
- Attach Camera (with Metal Plate A) to Metal Plate B, and slide to the right to lock the plates in place.
- Secure the installation with 2x M3 screws (silver), and one M3 (black) screw.

NOTE: Please be sure to use proper mounting hardware, and ensure that the mounting surface has obtained UL security approval.
DIP Switch Setting
Output Switch

IR Select
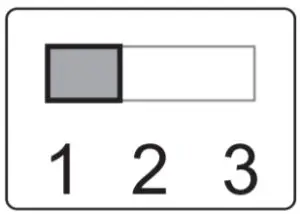
ID | SETTING |
1 |  |
2 |  |
3 |  |
SETTING | OUTPUT MODE |
| 0 | 1920X1080/60p |
1 | 1920X1080/50p |
| 2 | 1920X1080/30p |
3 | 1920×1080/25p |
| 4 | 1920×1080/60i |
5 | 1920×1080/50i |
| 6 | 1280×720/60p |
7 | 1280×720/50p |
| 8 | 1280×720/30p |
9 | 1280×720/25p |
A | 1080/59.94p |
| B | 1080/59.94i |
C | 1080/29.97p |
| D | 720/59.94p |
E | 720/29.97p |
| F | Reserved |
Customer Support
Toll Free: (800) 800-6608
Website: www.marshall-usa.com
Support: [email protected]
![]()


