Atomi Smart Triggers & Automations
Triggers and Automations allow you to add additional control to your smart device and create shortcut buttons, rules based on time of the day, weather and many other conditions.
Triggers
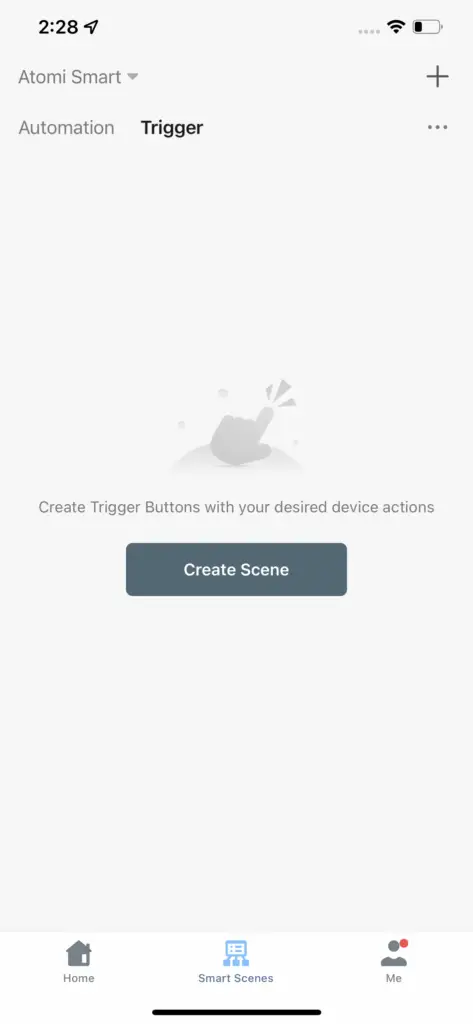

Trigger Button – Start customizing your Trigger button
Climate – Allows you to specify weather and other condition settings for your light (See more details at “Automation” section)
Schedule – Allows you to specify a time of the day to trigger certain actions and other condition settings for your light (See more details at “Automation” section)
Device Status – Allows you to create automations based on the condition of specific devices. Example: If Smart Light turn ON, then turn OFF Smart Plug (See more details at “Automation” section)
Step 4: Now it’s time to Set up an action. On the ‘Then’ section, press ‘+’ , ‘Execute Device Action’ and select your smart device
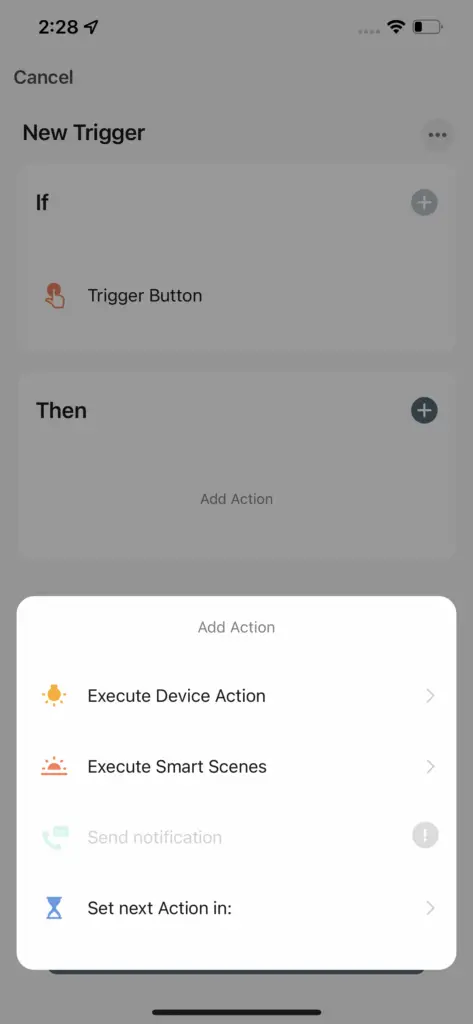
Execute Device Action – Allows you to set up actions using a specific device
Execute Smart Scenes – Allows you to select previously created ‘Trigger’ buttons or Automations
Set Next Action in – Allows you to dd custom delays between your actions
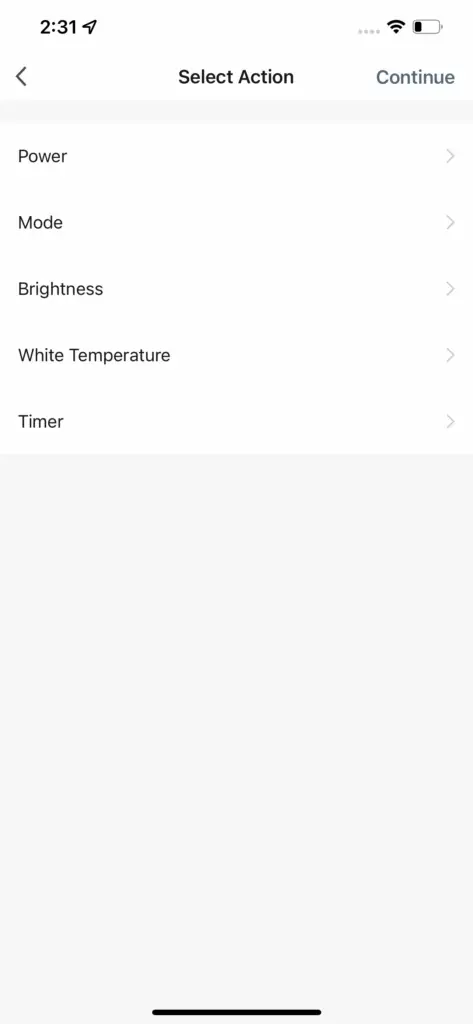
In this example, the Smart Light was selected.
We can now customize the Trigger button by specifying each function of the light. Example: Power ON in Color Mode. Tip: Actions can be left empty
Once you are done customizing your device settings, press ‘Continue’
Step 6: Review your settings
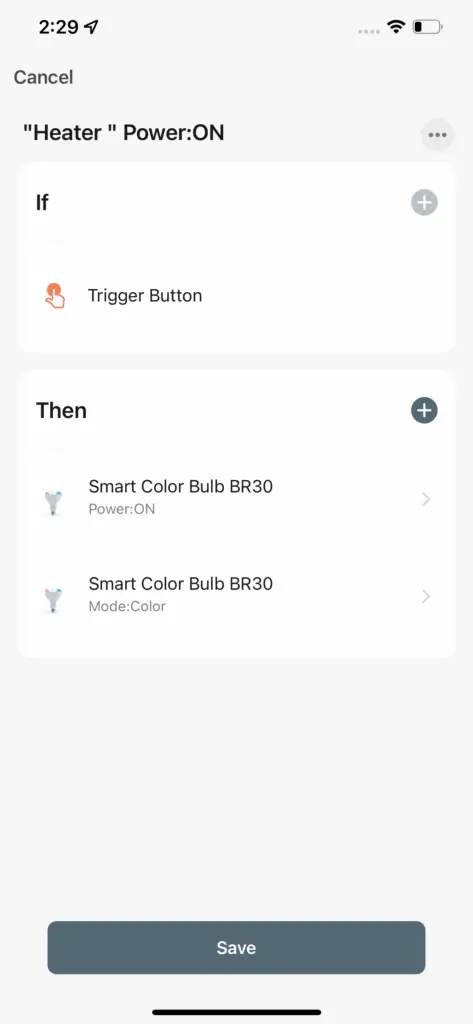
Now it’s time to review your settings. You can add additional Actions if necessary. You can also modify the name and tag by pressing the 3 dots (…) button.
It’s recommended to add a short name to your Trigger button. In addition, you can customize the style of the button and decide if it should appear on the Home Page as well or only on the “Smart Scenes” page
Once you are done, press ‘Save’
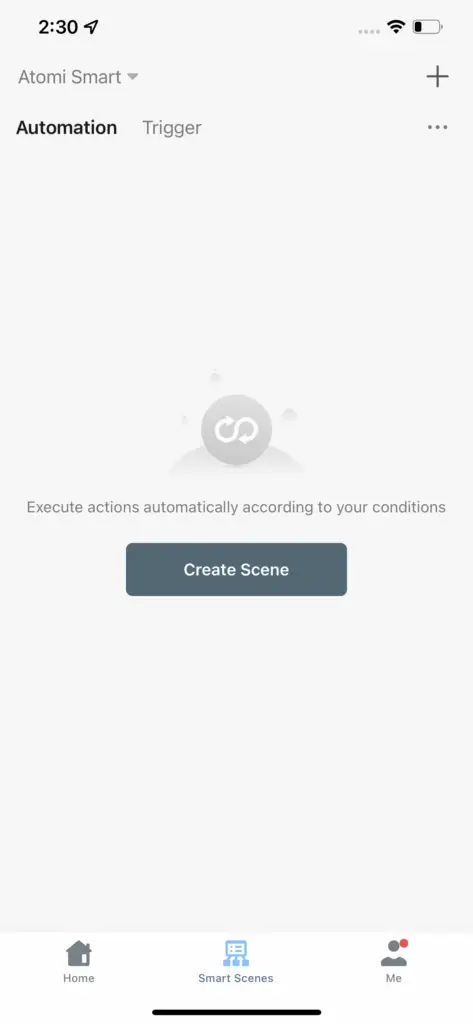
Automations
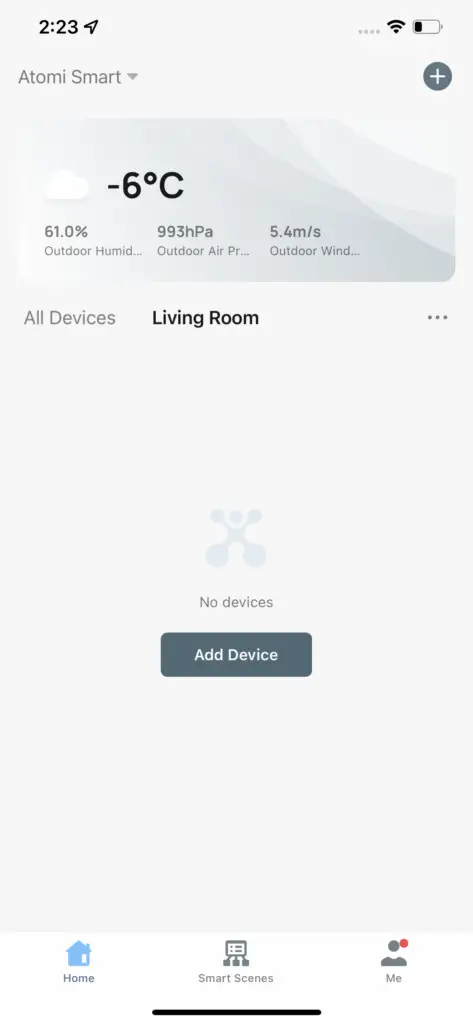
Automation’ allows you to create rules and conditions for your smart device.
In this example, we will create an Automation for the Smart Light.

Step 3: Select a condition for your Automation
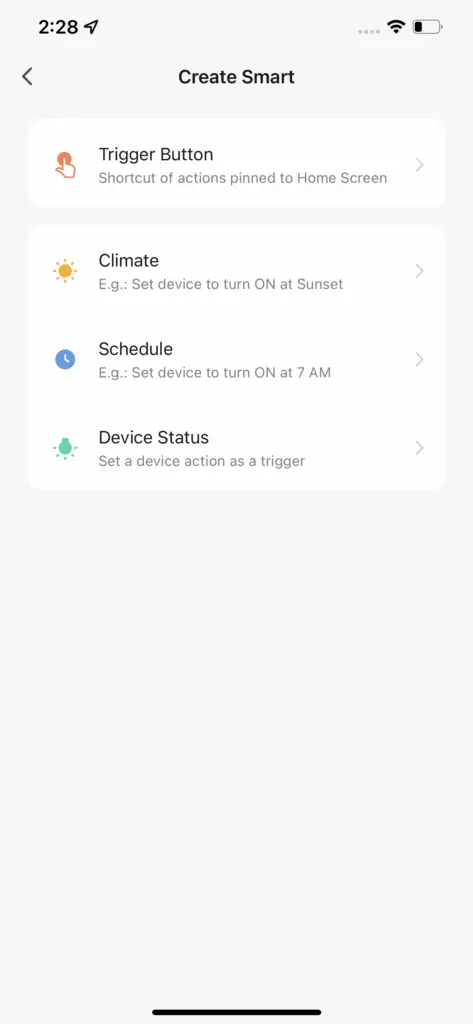
Trigger Button – Start customizing your Trigger shortcut button (This is not used for ‘Automations’. See more details at the Trigger section above)
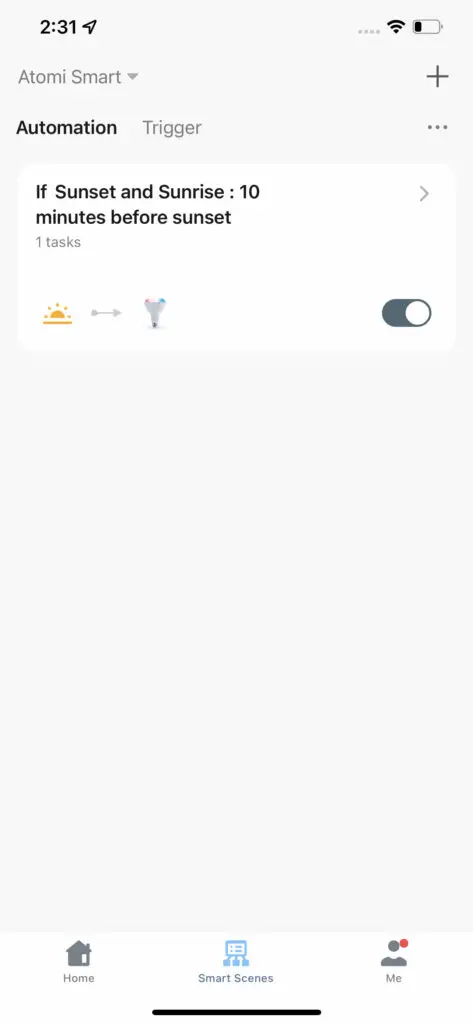
Climate – Allows you to specify weather and other condition settings for your light. Example: When it’s 10 minutes before sunset, turn ON Smart Light
Schedule – Allows you to specify a time of the day to trigger certain actions and other condition settings for your light. Example: When it’s Saturday at 2pm, change light mode to ‘Color’
Device Status – Allows you to create automations based on the condition of specific devices. Example: If Smart Light turn ON, then turn OFF Smart Plug
Step 4: For this example, we selected the condition ‘Climate’

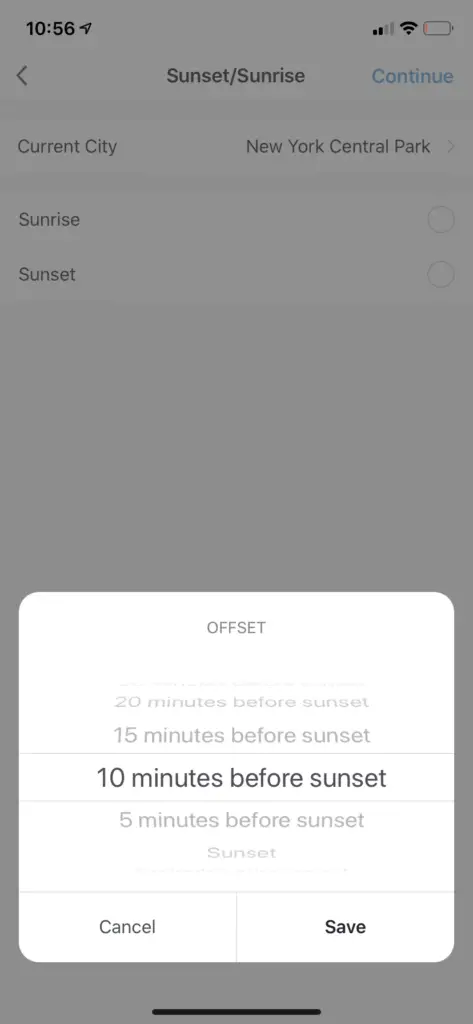
Step 5: Then, select ‘Sunset/Sunrise’ and specify the offset. Press ‘Save’ and continue
Step 7: Customize the device functions that will be activated whenever your Automation runs

In this example the Smart Light was selected.
We can now customize the Automation by specifying each function of the light. Example: Power ON. Tip: Functions can be left empty
This means that 10 minutes before sunset, the light will be activated to these specific settings.
Once you are done customizing it, press ‘Continue’
Step 8: Review your settings
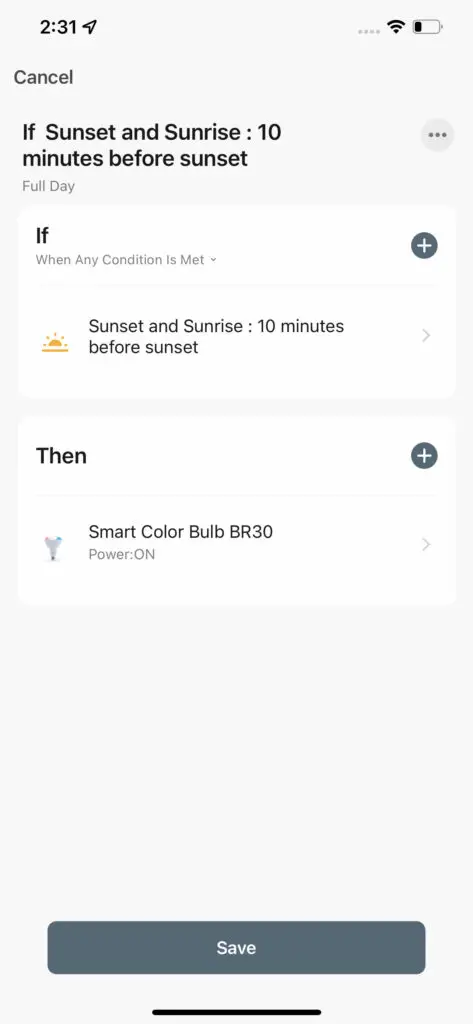
Now it’s time to review your settings. You can add additional Actions if necessary. You can also modify the name, tag and Effective Period by pressing the 3 dots (…) button.
It’s recommended to add a short name to your Automation. In addition, you can customize the style of the button and set the Effective Period that the Automation should run. Example: If you want this automation to be activated only during a specific time/day of the week
Once you are done, press ‘Save’
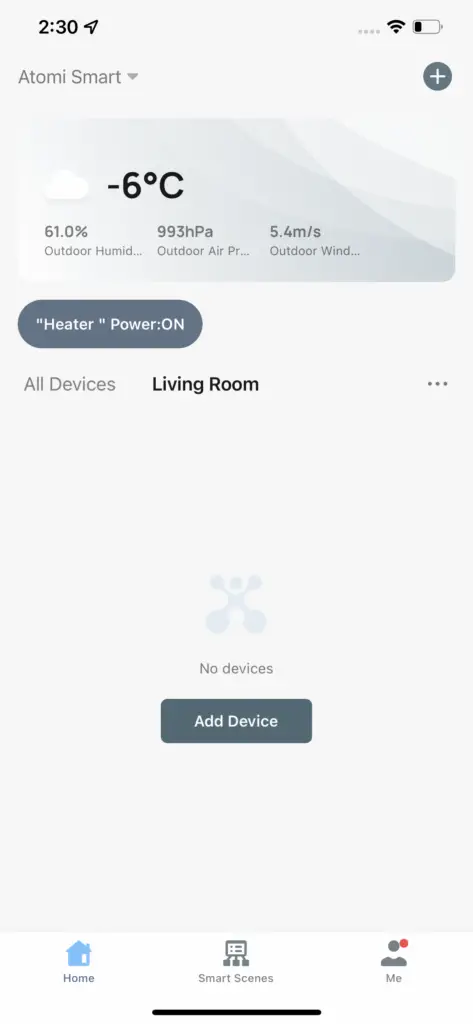
Step 9: Congratulations! Your ‘Automation’ was created