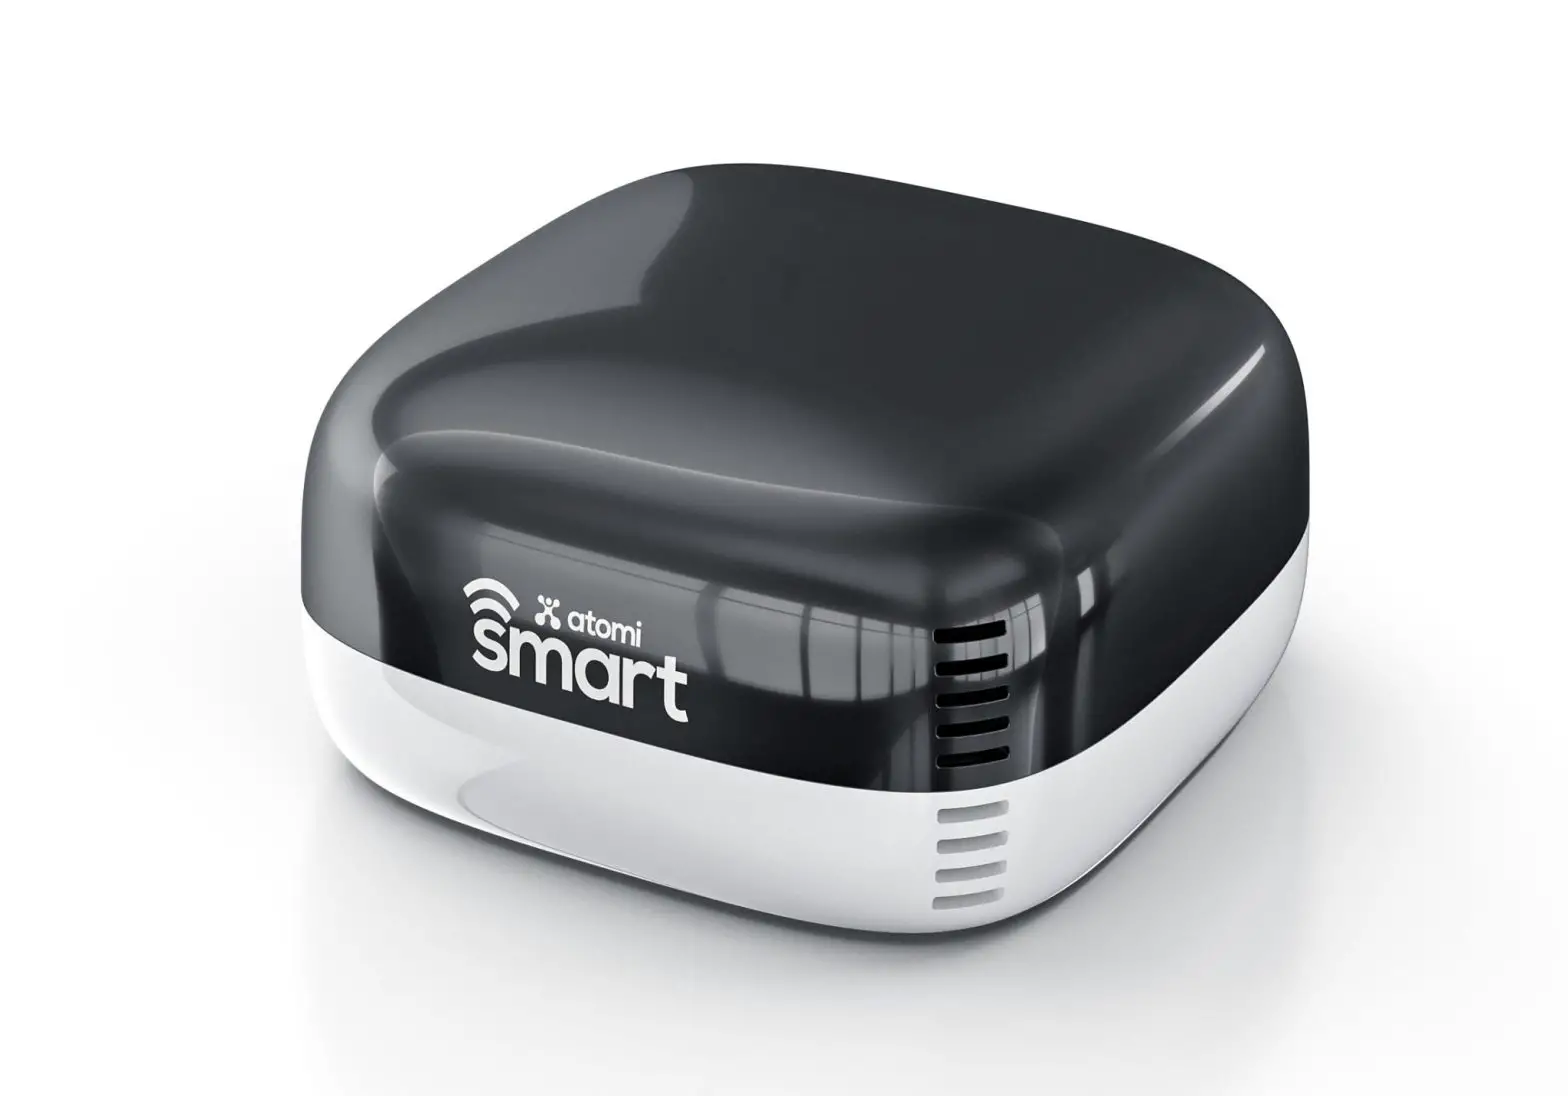
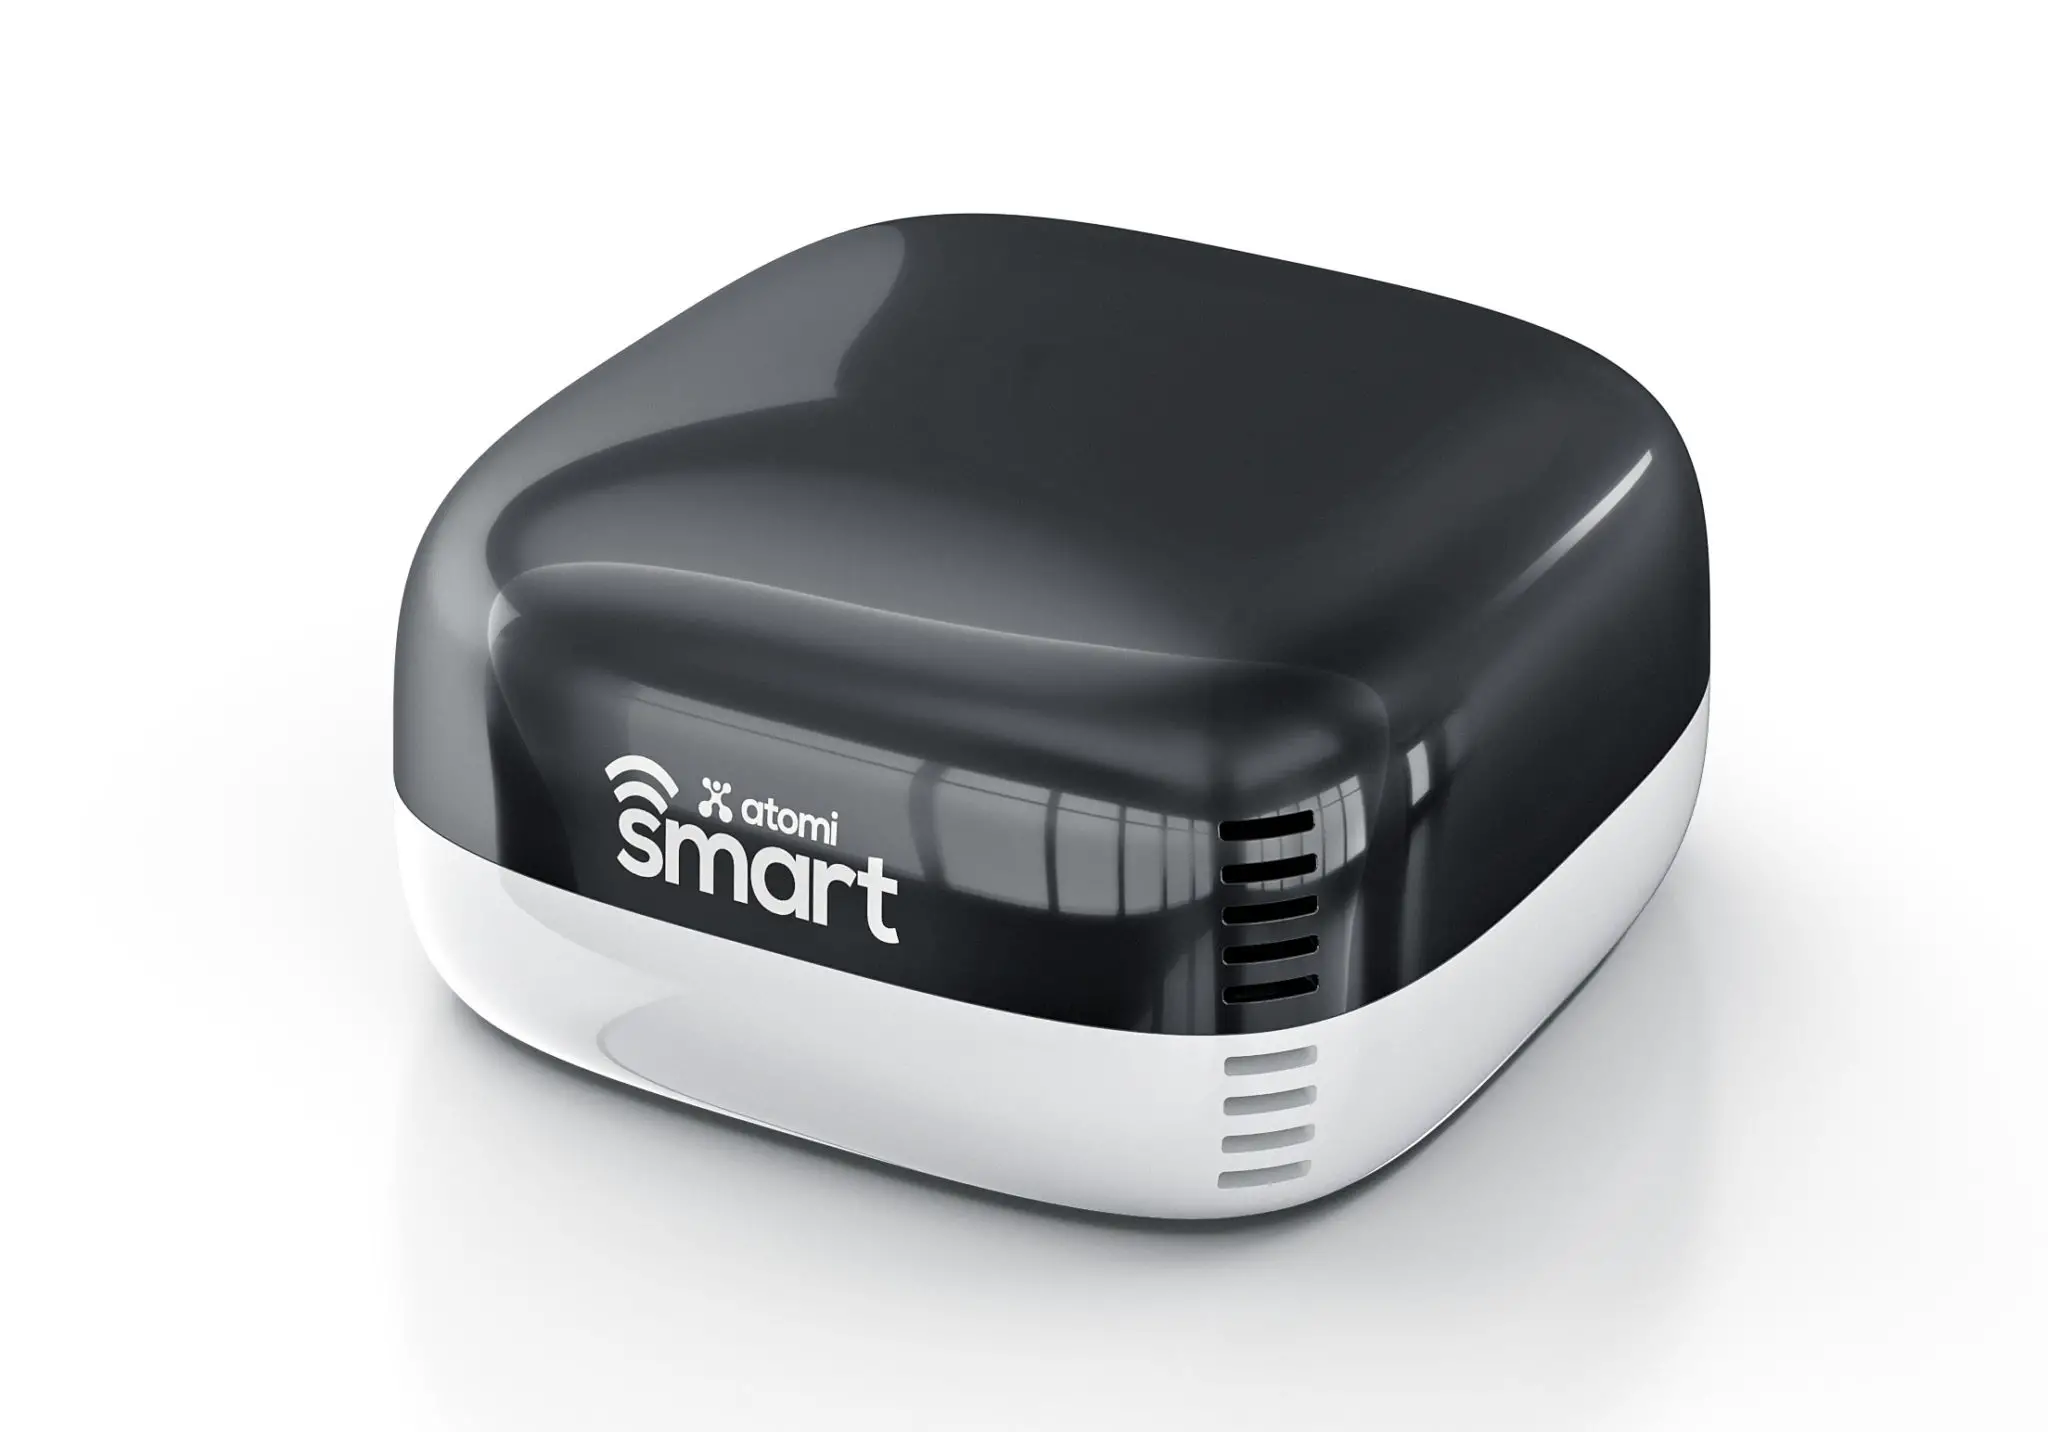
Smart AC Controller
User Manual
Introduction
Compatibility
The Atomi Smart AC Controller can be installed to control all window or free-standing air conditioners with a remote control.
Before you begin
- Know your Wi-Fi network and password
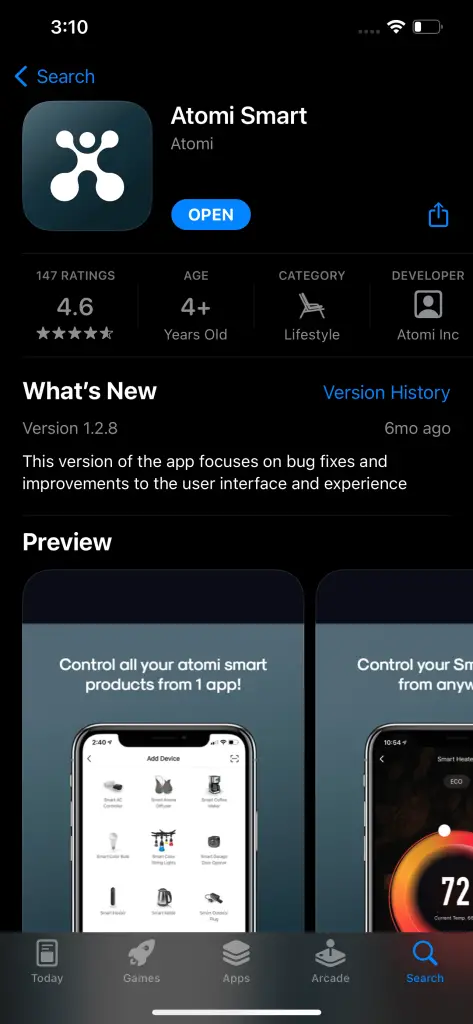
- Make sure your mobile device is running iOS® 8 or higher or Android™ 4.1× or higher
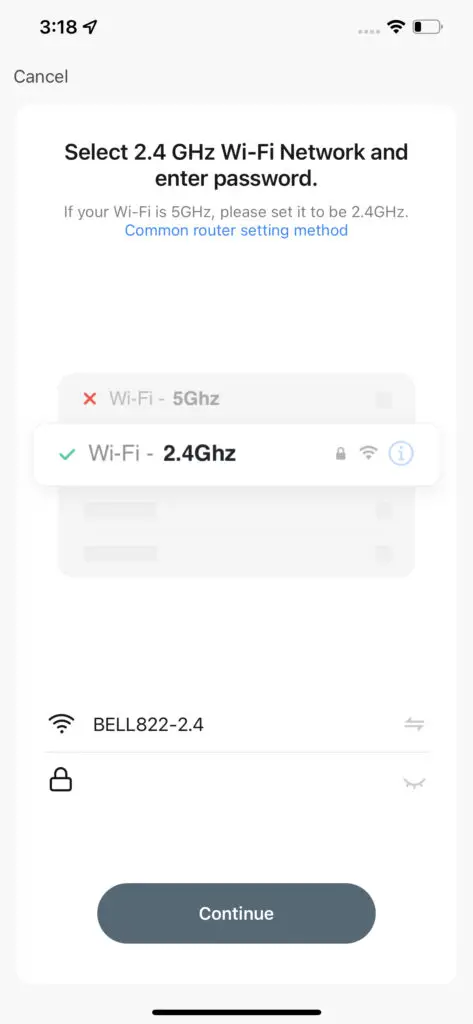
- Make sure you’re connected to a 2.4GHz Wi-Fi network (Atomi Smart can’t connect to 5GHz networks )
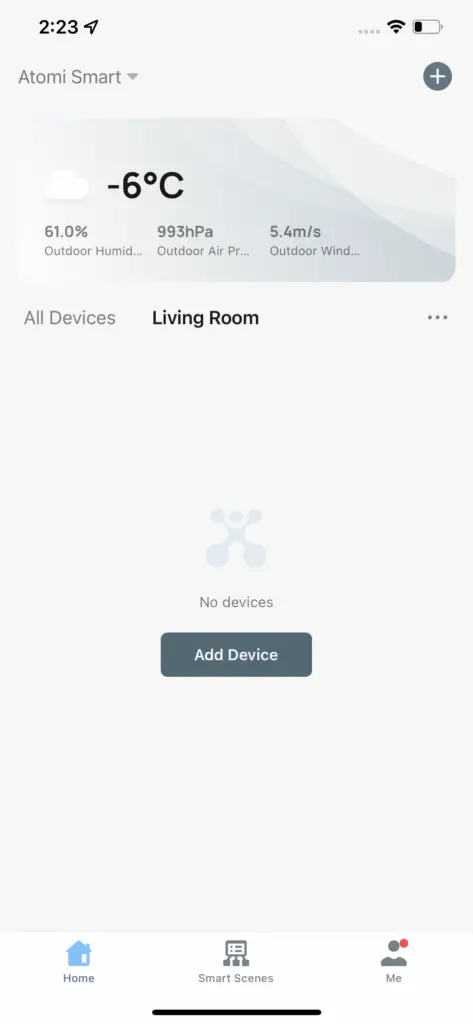
Connecting Your Device


FAQ & Troubleshooting
What are the available voice commands?
Alexa
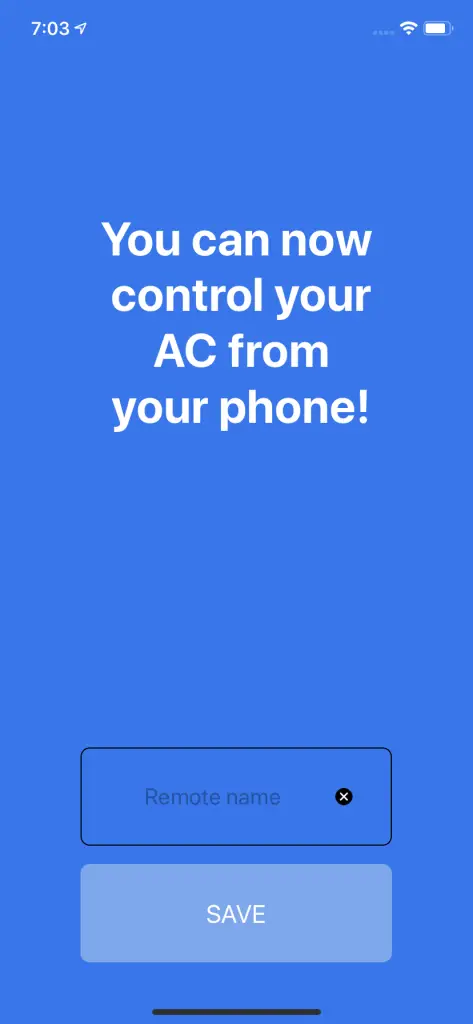
“Alexa, turn on [remote name]”
“Alexa, turn off [remote name]“
“Hey Google, turn on [remote name]”
“Hey Google, turn off [remote name]”
I’m having issues to connect. And why do I need to connect to a 2.4GHz network?
In order to successfully connect Atomi Smart devices, a 2.4GHz connection is required.
The 2.4GHz frequency waves travel further than the 5GHz. This means that if your device is in another room or far from your phone, you will have a better signal reception (compared to 5Ghz) which is essential for your smart device to function correctly and stay online.
All modern routers come with 2.4GHz and 5GHz. Depending on your router type, these bands may appear as separate WiFi networks (Example: Name-2.4GHz and Name-5GHz) or combined. If you only have one WiFi network, you should still be able to connect since the Atomi Smart app automatically finds the 2.4GHz frequency when connecting to your router.
However, if you experience any issues, please follow the points below:
- Make sure that you are connecting to a 2.4GHz network
- Keep your mobile device close to the router during connection
- If you have two SSID for your WiFi (Example: Name-2.4GHz / Name-5GHz), please temporarily disable “Auto-Join” on your Name-5GHz network)
- If you have two SSID for your WiFi, make sure that your 2.4GHz and 5GHz WiFi have different names
- If your router gives the option to disable the 5GHz network, please disable it temporarily
- Disable any VPN apps/services in order to connect successfully
- If you are having issues to connect, turn on Airplane Mode (Keep only WiFi activated when connecting your smart device)
- Make sure that you’ve entered the correct password for your 2.4GHz WiFi on the “Select 2.4GHz Wi-Fi Network” screen (Case sensitive, and make sure that there are no extra spaces)
- If you have too many devices connected to your 2.4GHz (more than 10), please turn off some of them temporarily and retry connecting your smart device to the app
- If you have a Mesh router, you may not be able to manually switch to a 2.4GHz frequency. Since this frequency travels further than the 5GHz, you can force your device to connect to it by moving your phone far from the router
- If you are still experiencing issues to connect, delete the app and reinstall it
- If the issue persists, restart your router
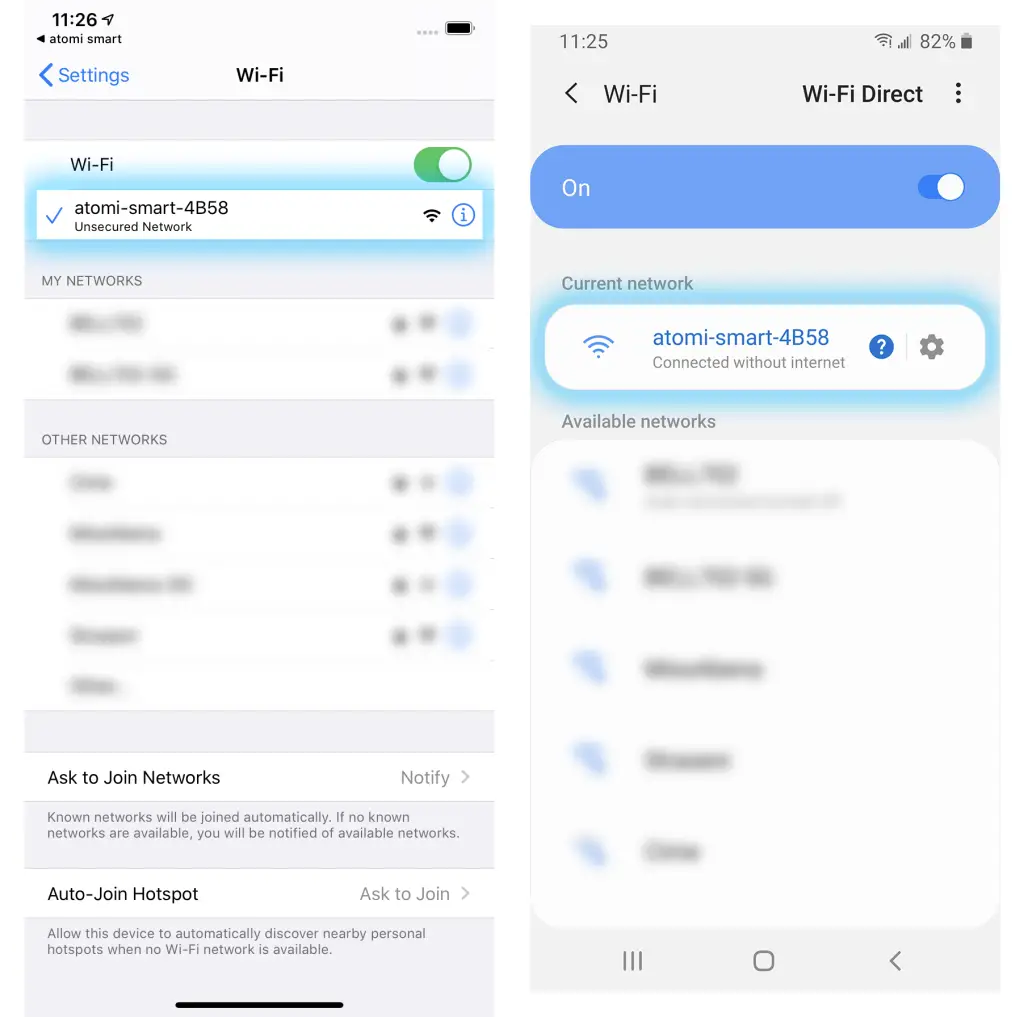
I can’t find the atomi-smart-XXXX network in my Wi-Fi list
My Wi-Fi network doesn’t appear in the Atomi Smart app
Cannot connect to your WiFi network
Make sure you entered the correct WiFi password during the WiFi setup. Check if there are problems with your internet connection. If the WiFi signal is too weak, reset your WiFi router and try again.
My Atomi Smart app is frozen
Setup is not working properly
- Close all apps that are running in the background then re-open the Atomi Smart app.
- Uninstall and reinstall the Atomi Smart app then repeat the setup process. For setup instructions, please refer to page 8.
- Reset or restore your Smart AC Controller to factory default settings. Please go to page 22 for reset instructions.
Setup complete but app is not responding
WiFi pairing is not working
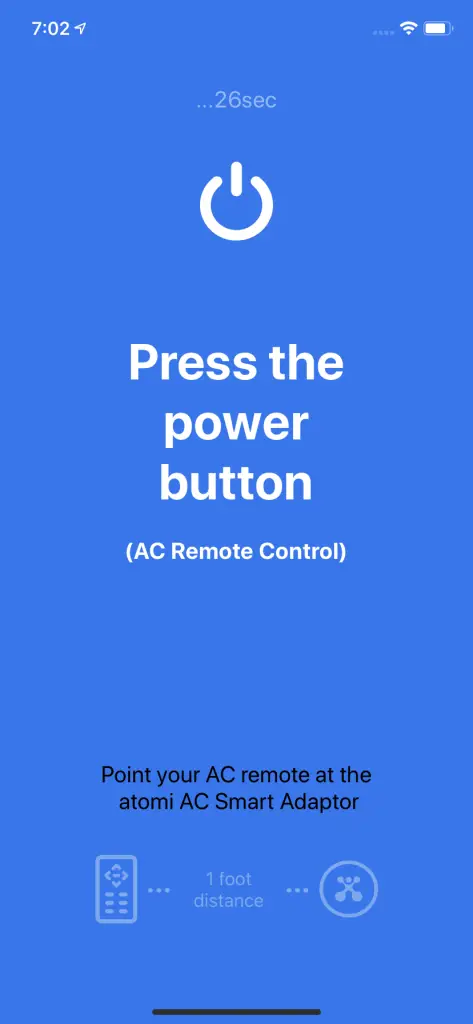
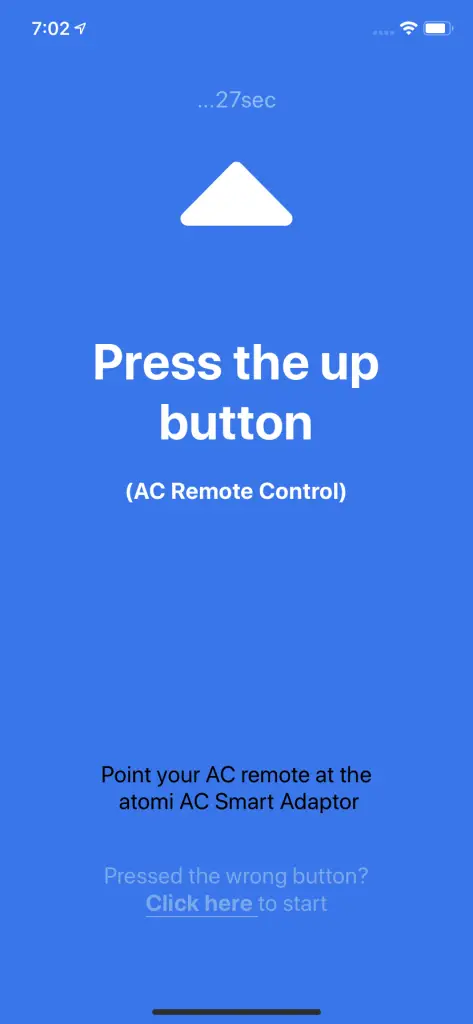
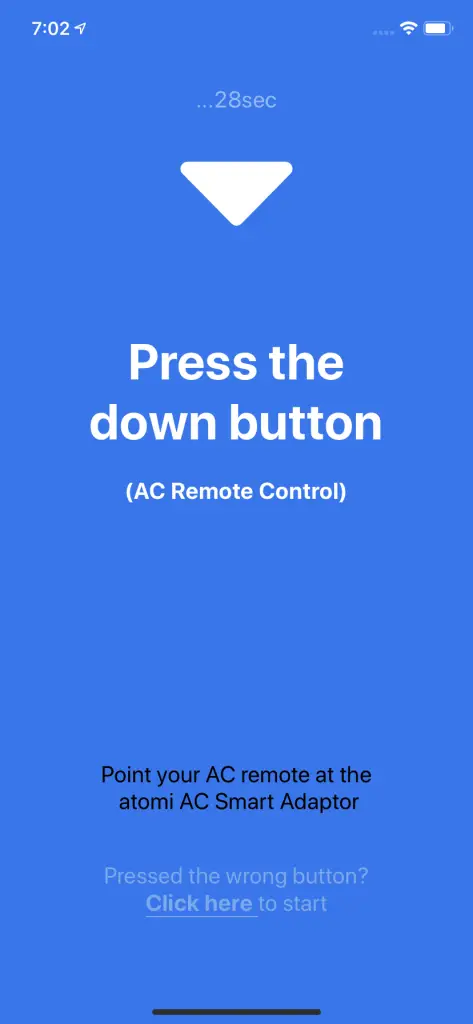
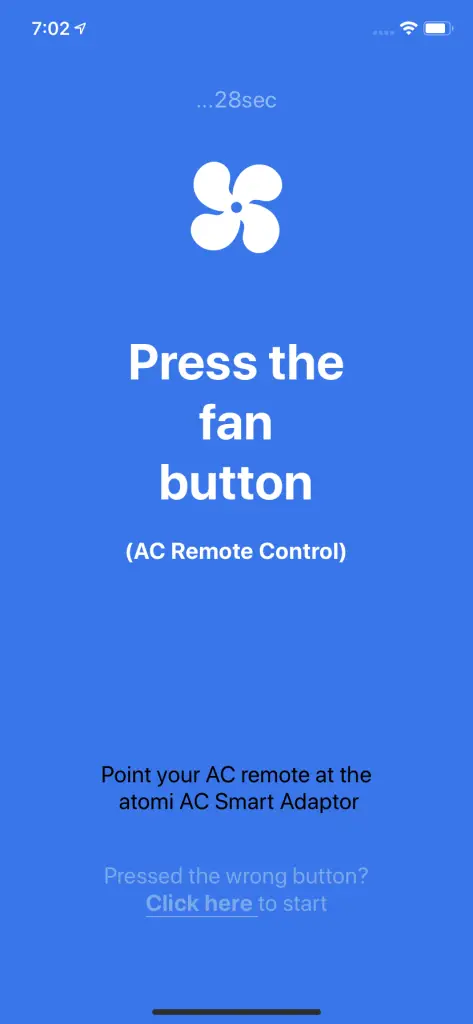
AC remote is not pairing with the app
How to reset my device
I’m still having trouble!
Wi-Fi networks come in a lot of shapes and sizes with many quirks of their own. It doesn’t mean your Atomi Smart device is malfunctioning.
If problems persist, please try these steps, in this order:
- Force quit and re-launch the Atomi Smart app. Check to see if this fixes the issue.
- Unplug your Atomi Smart device and plug it back in. Check to see if this fixes the issue.
- Unplug your router and plug it back in. Check to see if this fixes the issue.
- Delete and reinstall the Atomi Smart app. Check to see if this fixes the issue.
- If all else fails, restore your Atomi Smart device to factory defaults: First, unplug your Atomi Smart device. Press and hold the power button while you plug it back in. Keep holding until the Wi-Fi light starts blinking, then release. Wait for your Atomi Smart device to reboot (about 20 seconds). When the Wi-Fi light starts blinking, repeat steps 3-6 of the setup process.
* Download User Guide
The Atomi Smart AC Controller user guide is available – Here….
Downloads
AT1310 Smart AC Controller User Guide – [ Original PDF ]


![Midea Smart Ac [cw058iu-awifi] User Manual](https://static-data1.manualsee.com/1/img/294/17740/2020/12/Midea-Smart-AC-CW058IU-AWIFI.png "Midea Smart Ac [cw058iu-awifi] User Manual")


