![]()
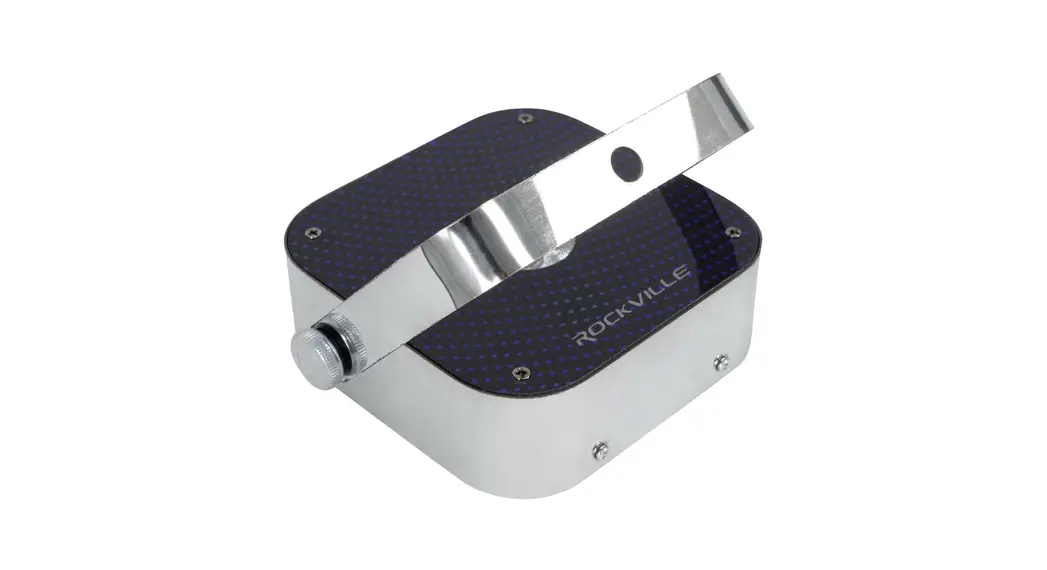
MINI RF1 RGBWA DJ Party LED Wash Lights
Instruction Manual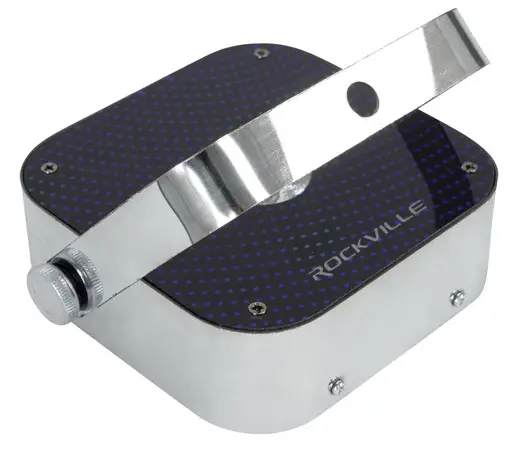
MINI RF1 Operating Instructions
Should you need assistance, please call our technical helpline at 1-646-758-0144, Monday through Thursday, 9 am to 10 pm https://rockvillesupport.com/mini-rf1
: EST, and Fridays, 9 am to 3 pm EST. For how-to videos and other helpful information, visit rockvillesupport.com/mini-rf1 or scan the QR code
Functions
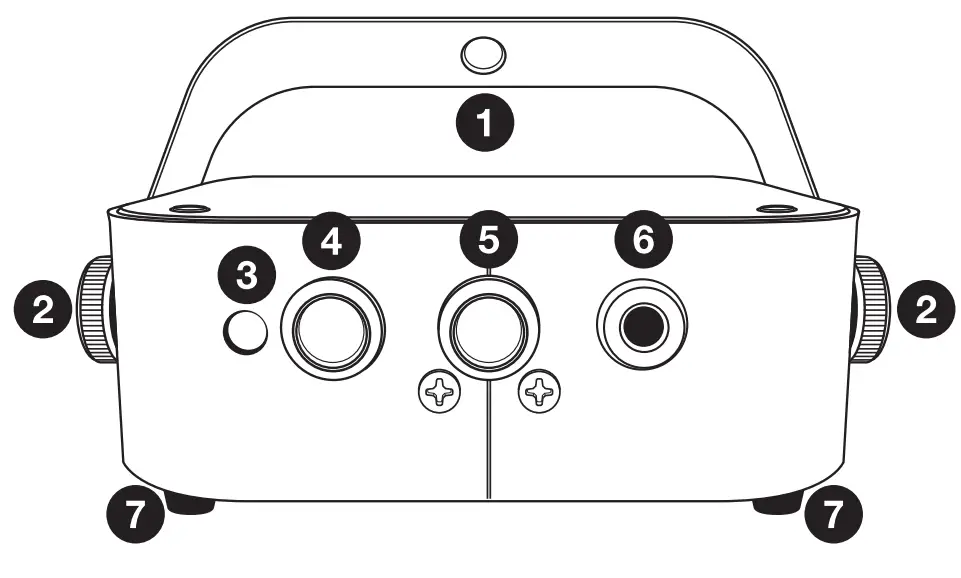
- Adjustable mounting bracket
- Mounting bracket adjustment knobs
- Mode LED indicator
- Mode button
- Power button
- Power input port
- Non-slip rubber feet
Settings
Press MENU to change signal mode. The sequence is as follows: Red > Green > Blue > Yellow >Pink>Cyan. For primary/secondary operation, press the menu button until you arrive at the desired function. The LED will remain lit. Once you are at the desired function, press and hold the mode button for 3 seconds. The LED will begin to flash indicating that the unit is now the primary.
| Cyan | Function | Description |
| Red | Color cycle, no wireless DMX signal | Hold the MODE button for 3 seconds to switch between primary and secondary mode within any of the functions. When a unit is in primary mode, its signal is sent to all secondary units. Please note, that when you set a unit to primary mode, the LED indicator will begin to flash. Make sure the secondary units are set to “Secondary Mode/Wireless DMX”. Their indicator LEDs of will show solid cyan color. |
| Flashing Red | Color cycle, the primary mode | |
| Green | Color fade, no wireless DMX signal | |
| Flashing Green | Color fade, the primary mode | |
| Blue | Strobe, no wireless DMX signal | |
| Flashing Blue | Strobe, the primary mode | |
| Yellow | Sound control, no wireless DMX signal | |
| Flashing Yellow | Sound control, the primary mode | |
| Pink | Remote mode | This indicates that the unit is in standby mode. |
| Cyan | Secondary Mode/Wireless DMX | Syncs the unit to a primary device/wireless DMX receiver. Units will only look to pair with other units that are in primary (flashing mode) or for a wireless DMX console. In this mode, they cannot be master units, only slave units. To sync with a console, press the wireless DMX channel button on the console until it is paired with the lights. All units in Cyan mode will follow console commands |
DMX Controller Functions
When using an OMX controller, use the charts below to reference each channel’s function.
10-Channel Mode
| Channel | Function | Value | Description |
| 1 | Master dimmer | 0 – 255 | Adjust overall brightness |
| 2 | Red | 0 – 255 | Adjust the individual color brightness |
| 3 | Green | 0 – 255 | |
| 4 | Blue | 0 – 255 | |
| 5 | White | 0 – 255 | |
| 6 | Amber | 0 – 255 | |
| 7 | UV | 0 – 255 | |
| 8 | Strobe | 0 – 9 | Strobe off |
| 10 – 255 | Set strobe speed | ||
| 9 | Manual dimming (CH1 – CH8 valid) | 0 — 50 | Adjust function settings |
| Color jump | 51 – 100 | ||
| Color gradual | 101-150 | ||
| Color pulse | 151- 200 | ||
| Sound mode | 201 – 255 | ||
| 10 | Color Speed | 000- 255 | Adjust color change speed functions for CH9 |
2022 ROCKVILLE// The information presented is subject to change and/or improvement without notice.
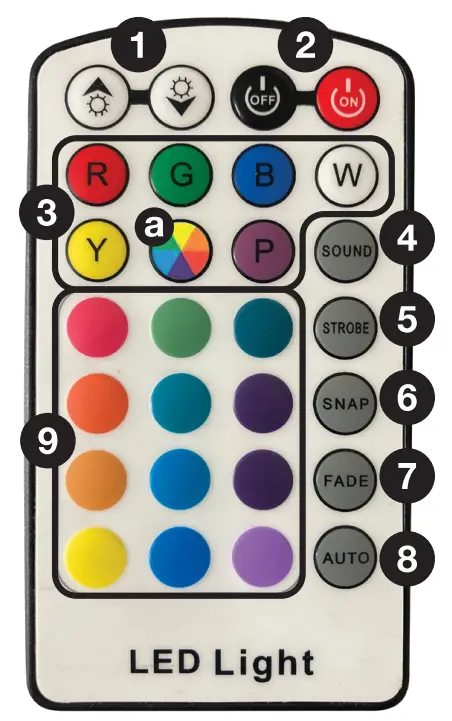
Remote Control Functions
 3/& (+/-): Adjust speed, brightness, or sensitivity depending on the function the unit is set to.
- ON/OFF: Turns the LEDs on or off. Please note, that this button is strictly for the LEDs. The unit will remain on and continue to use battery power. To turn it off, use the power button on the unit (no. 5 on the functions diagram).
- COLORS: Directly select red, green, blue, white, yellow, or purple LED colors. Use the ‘buttons to adjust the brightness. Press the COLOR WHEEL button (a) then use the buttons to cycle through the 32 colors presets.
- SOUND: Sets the unit to sound control mode. Use the buttons to adjust the sensitivity of the internal microphone.
- STROBE: Sets the unit to strobe mode. First, select the desired color, then press the strobe button. Use the buttons to set the strobe speed.
- SNAP: The unit will snap/pulse through colors. Use the buttons to set the snap/pulse speed.
- FADE: The unit will fade from one color to the next. Use the buttons to set the speed at which the unit will fade between colors.
- AUTO: Cycles through 32 colors. Use the buttons to set the speed at which the unit will cycle through colors.
- COLOR PAD: Use the color pad to directly select a variety of preset colors.
![]()


