RAIN HARVESTING HW0003 3 Way Water Diverters Installation Guide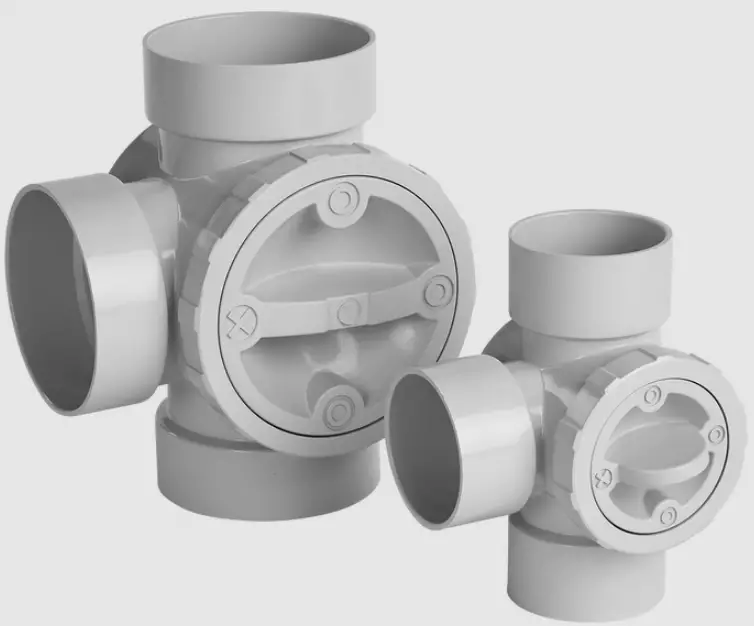
PRODUCT DETAILS
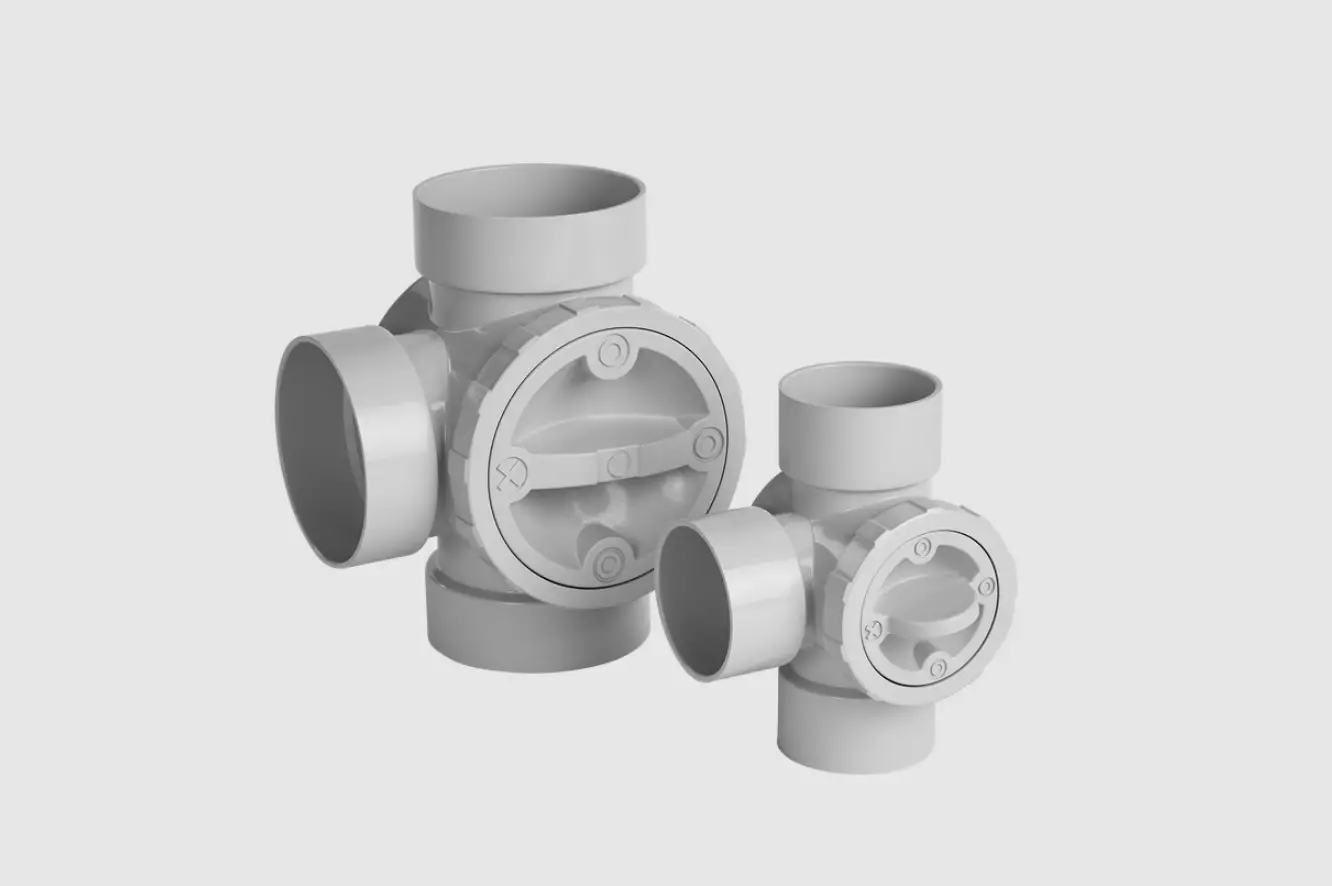
Divert water quickly in non pressurised systems with this easy to use water diverter.
| Code | Size | Country |
| HW0003 | 100mm | Australia |
| HW0002 | 50mm | |
| HW0001 | 90mm | |
| HW0603 | 105/110mm | EU |
| HW0601 | 75mm | |
| HW0103 | 4″ | USA |
| HW0301 | 80mm | South Africa |
| HW0201 | 80/90mm | New Zealand |
| HW0501 | 68mm | UK |
WHAT’S IN THE BOX?
- Water Diverter
- Your kit may include international adaptors
TOOLS/MATERIALS YOU MAY REQUIRE
- Marker Pen
- Tape Measure
- Saw
- Solvent weld glue
- Priming fluid
NOTE: When The Plug – Fire, Clean, Divert is activated, there will be a considerable weight of water in the roof gutter, therefore it is important to check that the roof gutter system has been installed to the Building Code and Australian Standards, and ensure that it has the appropriate number of support brackets. After fitting, test the effectiveness of the system.
INSTALLATION
- Select your desired installation point. The Water Diverter can be installed for nonpres surised rainwater, storm water and greywater applications on vertical and horizontal pipes.
- To install, measure and remove section of pipe (Please see Dimensions and Pipe Fittings Table). Ensure all cut edges are clean and smooth.
- Use priming fluid to clean inside any sockets of the Water Diverter and the outside of the pipes you will be gluing to. If you are installing HW0201, clean the inside of the adaptors and solvent weld glue them into each of the three Water Diverter outlets.
- Apply solvent weld glue first to inside of the two sockets on your Water Diverter that will attach the existing pipe work and then to the outside of the pipes. Bring together and ensure the pipes are inserted fully into the sockets of the Water Diverter.
- Apply solvent weld glue to the remainder socket and outside of the new pipe you will be diverting water to. Insert the pipe and hold until secure ensuring pipe has been inserted fully.
- Your Water Diverter is designed to switch the direction of flow through your pipes. This is done by rotating the flow control handle. The “X” on the handle indicates the sealed pipe. Importantly, the handle can only be rotated 90 degrees between two pipes and the “X” should never point up. As such, it may be necessary to adjust the handle orientation to suit your installation.
- To adjust the flow control handle orientation, unscrew the front locking ring and pull the handle fully out of the unit. Reinsert the handle so it’s oriented to suit your installation and will fully close one pipe direction. If necessary, press the O-ring back in around the handle, then screw the front locking ring back on to secure the handle in place. Twist the handle to test everything is working as it should.
Product Specifications
3-Way Water Diverters
FRONT VIEW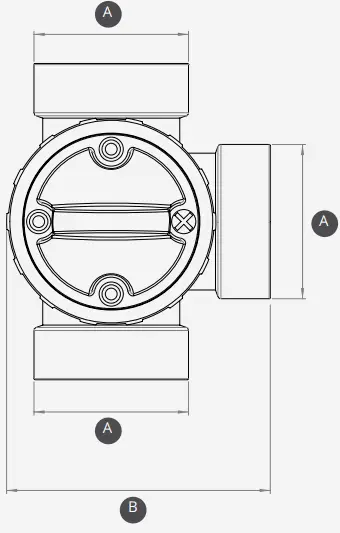
SIDE VIEW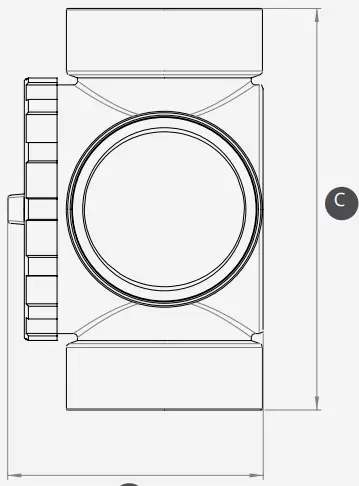
Dimensions & Pipe Fittings
| Country | Code | A | B | C | D | Section to remove |
| Australia | HW0003 | 100 F | 210 | 255 | 161 | 76 |
| HW0002 | 50 F | 112 | 148 | 101 | 87 | |
| HW0001 | 90 F | 164 | 197 | 125 | 136 | |
| New Zealand | HW0201 | 80 F / 90 F | 188 | 246 | 125 | 207 |
| South Africa | HW0301 | 80 F | 188 | 246 | 125 | 207 |
| USA | HW0103 | 4” SCH40 F / SDR35 F | 9.21” | 11.85” | 6.34” | 6.34” |
| UK | HW0501 | 68 F | 187 | 242 | 125 | 203 |
| EU | HW0601 | 75 F | 185 | 239 | 125 | 199 |
| HW0603 | 105 F / 110 F | 224 | 281 | 161 | 242 |
All dimensions are in mm unless otherwise stated.
Fitting guide:
F = Female / Socket Fitting
M = Male / Spigot Fitting (Pipe size)
IP = In-Pipe Fitting
Maintenance
Once installed your 3-way Water Diverter should be maintenance free.
![]()
A common misconception about collecting rainwater is that all you need is a roof, a tank and some rain. This ‘tanking’ approach cannot always be relied on to deliver the volume – or quality – of water that you require. That is where we can help.
With some thought, your rain harvesting system can provide you with cleaner water and lots of it. Whether you’re completely reliant on tank water or wanting to keep the garden green, our simple steps will help you achieve your goal.
The Rain Harvesting approach to rainwater collection involves using tested and proven products to make quality rainwater available for use in and around your property. You don’t need much to get started and you will be surprised how easy it is to get the most out of your rainwater system.
How can we help you?
DISCLAIMER: This product specification is not a complete guide to product usage. Further information is available from Rain Harvesting Pty Ltd and from the Installation and Operating Instructions. This specification sheet must be read in conjunction with the Installation and Operating Instructions and all applicable statutory requirement. Product specifications may change without notice. © Rain Harvesting Pty Ltd
WHAT’S IN THE BOX?
- Water Diverter
- Your kit may include international adaptors
TOOLS/MATERIALS YOU MAY REQUIRE
- Marker Pen
- Tape Measure
- Saw
- Solvent weld glue
- Priming fluid
NOTE: The use of greywater is regulated by state/territory or local government environmental health and/or water authorities. Before use, please ensure installation complies with all state/ territory and local government guidelines.
WATER DIVERTER
- Select your desired installation point. The Water Diverter can be installed for non pressurised rainwater, storm water and greywater applications on vertical and horizontal pipes.
- To install, measure and remove section of pipe (Please see Dimensions and Pipe Fittings Table). Ensure all cut edges are clean and smooth.
- Use priming fluid to clean inside any sockets of the Water Diverter and the outside of the pipes you will be gluing to. If you are installing HW0201, clean the inside of the adaptors and solvent weld glue them into each of the three Water Diverter outlets.
- Apply solvent weld glue first to inside of the two sockets on your Water Diverter that will attach the existing pipe work and then to the outside of the pipes. Bring together and ensure the pipes are inserted fully into the sockets of the Water Diverter.
- Apply solvent weld glue to the remainder socket and outside of the new pipe you will be diverting water to. Insert the pipe and hold until secure ensuring pipe has been inserted fully.
- Your Water Diverter is designed to switch the direction of flow through your pipes. This is done by rotating the flow control handle. The “X” on the handle indicates the sealed pipe. Importantly, the handle can only be rotated 90 degrees between two pipes and the “X” should never point up. As such, it may be necessary to adjust the handle orientation to suit your installation.
- To adjust the flow control handle orientation, unscrew the front locking ring and pull the handle fully out of the unit. Reinsert the handle so it’s oriented to suit your installation and will fully close one pipe direction. If necessary, press the O-ring back in around the handle, then screw the front locking ring back on to secure the handle in place. Twist the handle to test everything is working as it should.
Dimensions & Pipe Fittings
Fitting guide:
F = Female / Socket Fitting (Pipe fits inside)
M = Male / Spigot Gitting (Pipe size, fits into a socket)
For more information or to find out how we can help, just give us a call on
+61 7 3248 9600
Or visit our website at
rainharvesting.com


