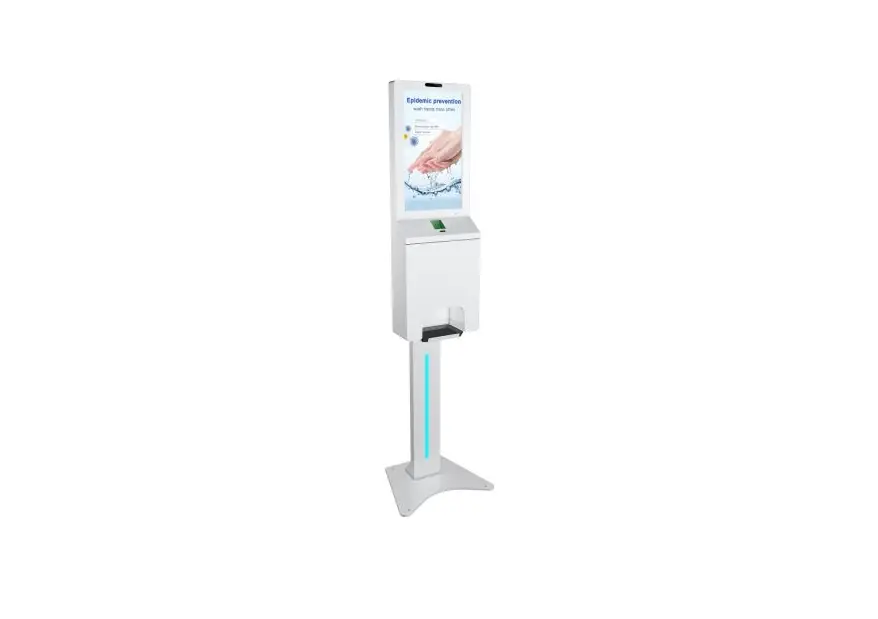
AIYOS ADV2152SANITIZ Digital Signage with Auto Hand Sanitizer Dispenser User Manual
Please read user manual carefully before using
Important Notes
- Please keep the device away from high temperature (50 ℃ above), low temperature (-10 ℃ )
- Do not severely hit the equipment, and do not put heavy objects on the equipment
- Do not use accessories not provided by the manufacturer.
- Keep away from benzene, diluents or other chemicals.
- Keep away from water.
- Non-professionals are not allowed to open the back cover of equipment for self-maintenance.
- If you do not use the machine for a long time, please unplug the power
- To avoid damage to the touch panel, do not place heavy or sharp objects on the touch panel when using or transporting
- Arrange all cables and wires so that people and pets cannot trip, move or cross the area.
- When you use the machine and there is no liquid coming out, please check the following tips:
- Please make sure the liquid in container is sufficient.
- Hand is within sensing distance (machine sensing distance is 5cm).
Packaging Content (21.5″)
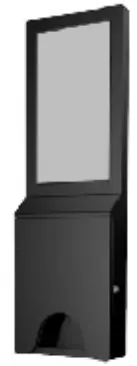
- Machine

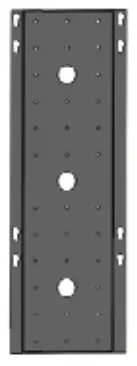
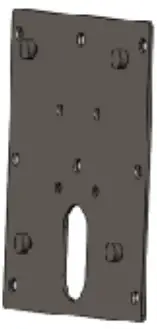
- Wall plate
- Floor stand

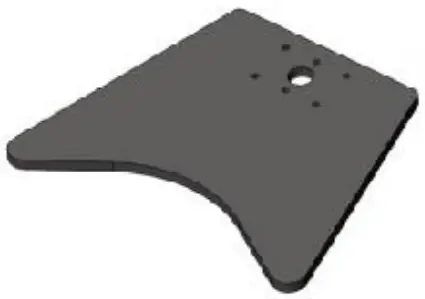
- Ground base

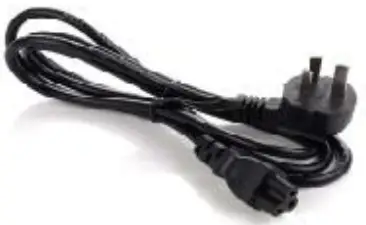
- Power cable

- WiFi antenna

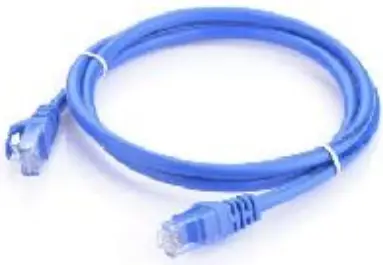
- Network cables

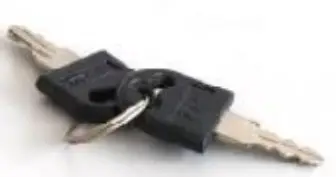
- Keys

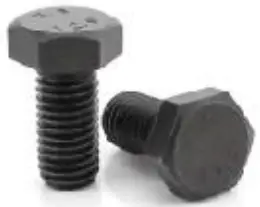
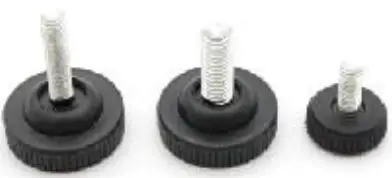
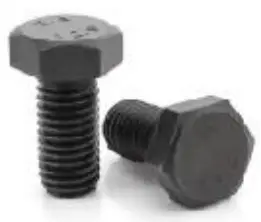
- Screws

- Rubber mat (optional )

- Nozzles(optional)

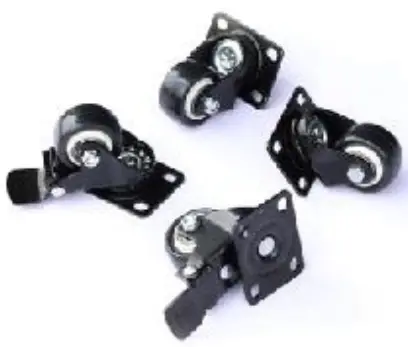
- Wheels(optional)


Packaging Content (10.1″)
- Machine

- Wall plate

- Floor stand(two parts)

- Ground base
- Power cable
- Keys
- Nozzles(optional)
- Wheels(optiona)
- Screws


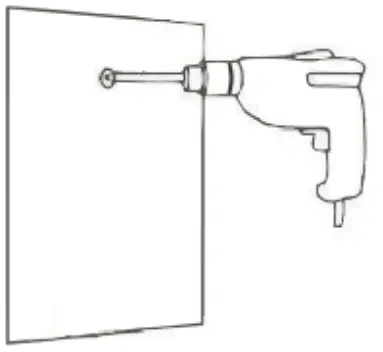
Installation for 10.1 inch wall mount
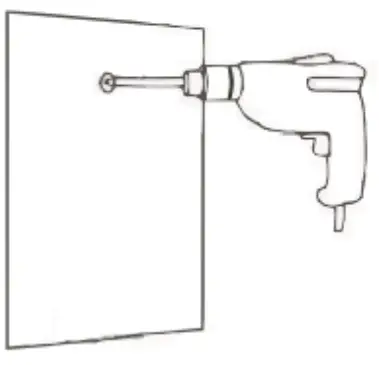
- Drill holes on the wall of the correct position

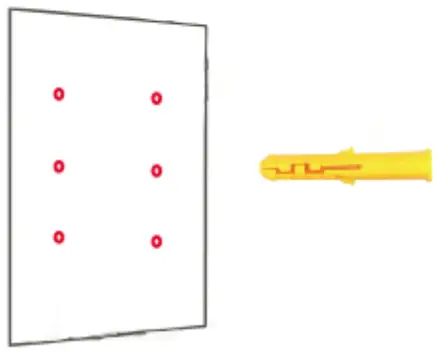
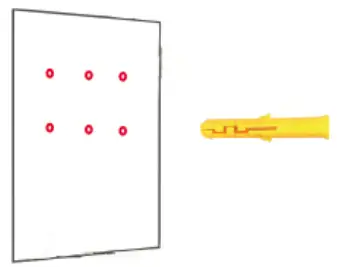
- Insert the rubber plug into the hole in the wall

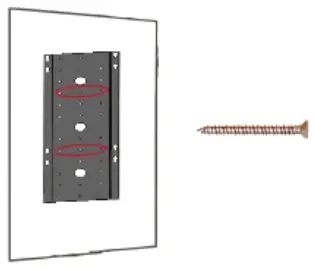
- Use screws to fix the wall bracket on the wall

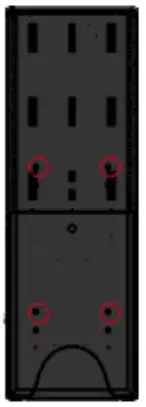
- Align the four holes and hook to the plate

- The installation is complete

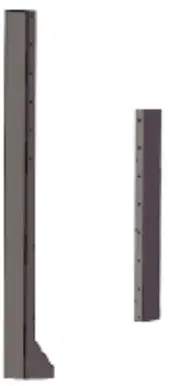
Installation for 10.1 inch hand sanitizer free stand
- .Take out the ground base and floor stand, fix the stand to the ground base

- Take out the shorter floor stand strut.Place the shorter strut on the longer strut. Secure with screws

- Take out the hanging bracket and fix it on the strut

- Align the four holes and hook to the plate

- Snap the screw on the back of the machine into the hole of the stand

- The installation is complete

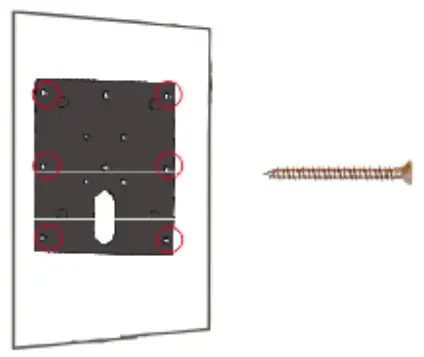
Installation for 21.5 inch wall mount
- Drill holes on the wall of the correct position

- Insert the rubber plug into the hole in the wall

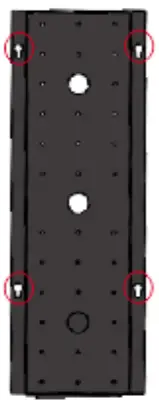
- Use screws to fix the wall bracket on the wall

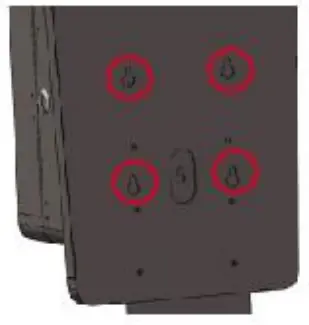
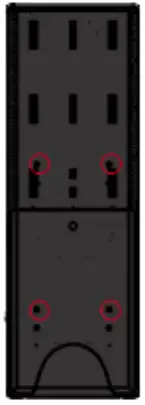
- Install screws on the back of the machine. Remember not to fully screw the screws into the machine.

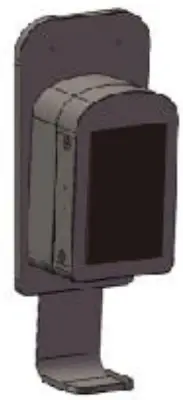
- Put the machine onto the hook

- The installation is complete


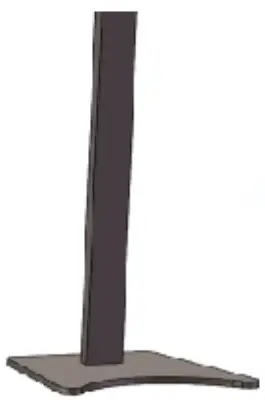
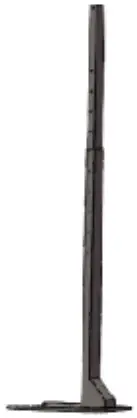
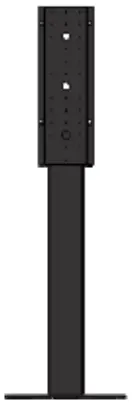
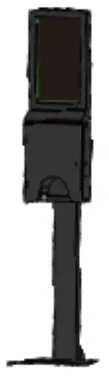
Installation for 21.5 inch Floor Stand
- Take out the ground base and stand, and fix them with screws from the bottom

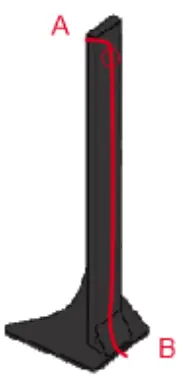
- Put the AC power cable through the column and lead out from B at the base

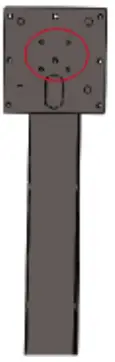
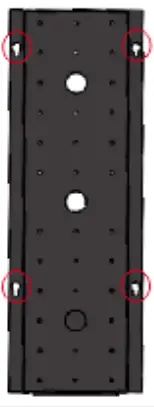
- Fix the hanging plate with screws

- Lock 4pcs screws on the back of the machine

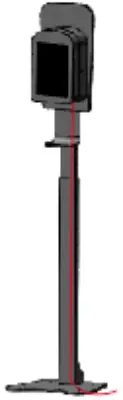
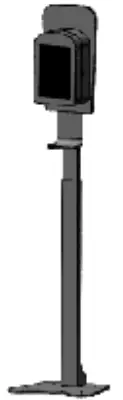
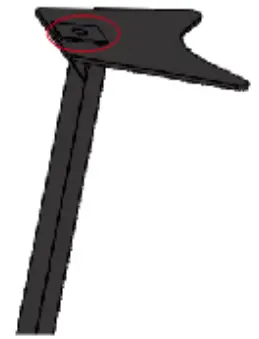
- Snap the screw on the back of the machine into the hole of the stand

- The installation is complete

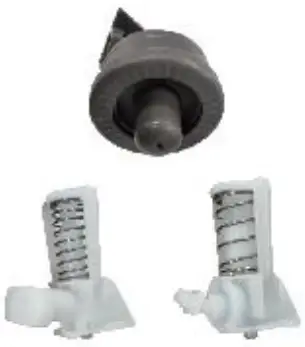
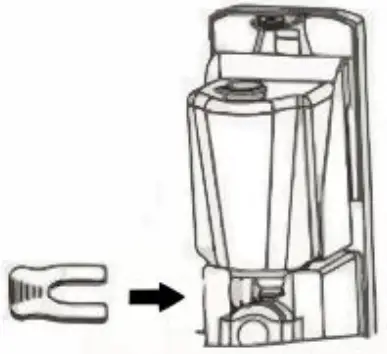
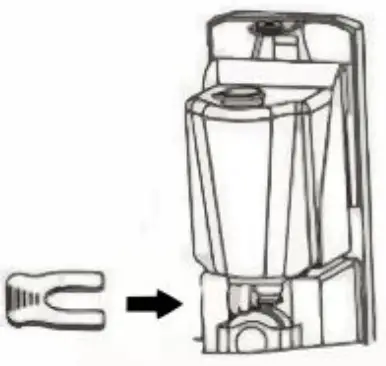
Change Pump/Nozzle
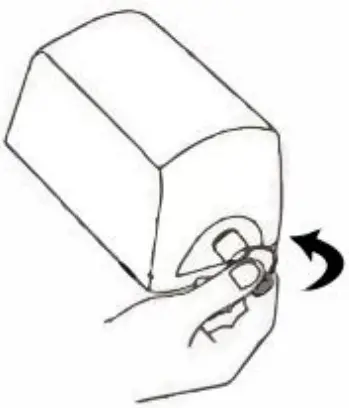
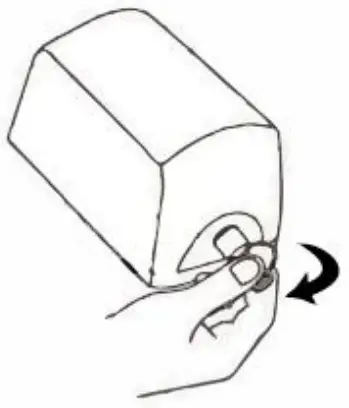
- .Remove the U-shaped plate

- Put the tank back inside the machine

- Fix the container with a U-shaped card

- Install the new nozzle
- Put the tank back inside the machine

- Fix the container with a U-shaped card

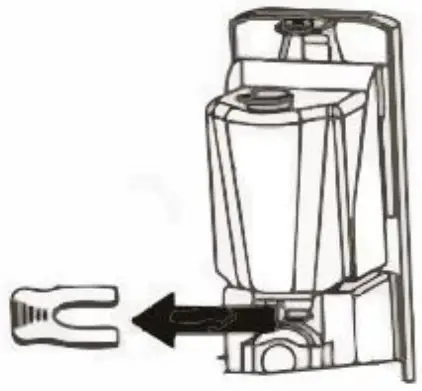
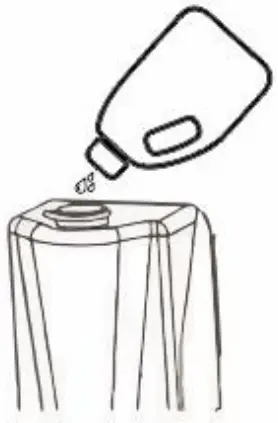
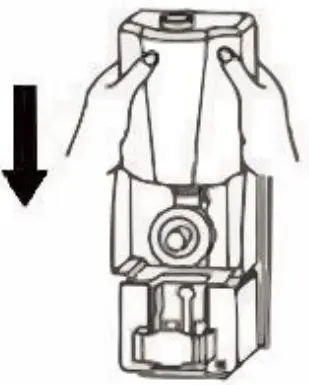
Refill the hand sanitizer
You can refill the tank with hand sanitizer. you need to select the right nozzle according to the type of the hand sanitizer , such as: gel/liquid/foam,Do not add liquid with impurities. Otherwise, or otherwise the nozzle will be blocked.
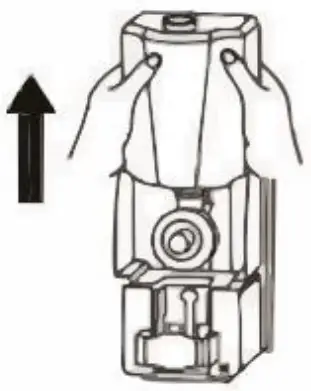
- Take out the U-plate

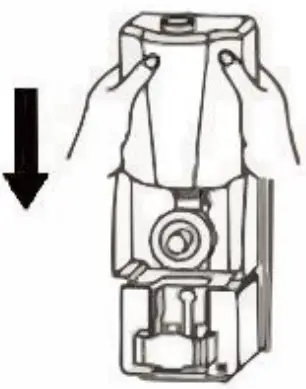
- Upward to take out the tank

- Fix the container with a U-shaped card

- Add hand sanitizer to the tank

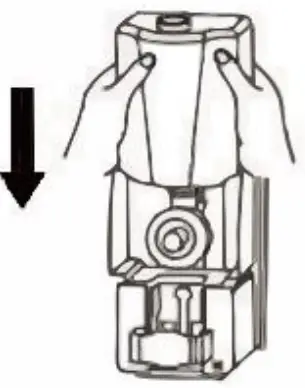
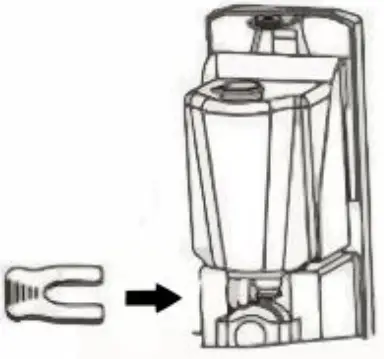
- Install the tank back into the holder

- Fasten the U-plate back


Power On
- Connect the AC cable/power adapter
- Press the switch to power on the machine
- The start up icon will be displayed on the screen.
- Wait for about 30 seconds and enter into main interface.

Power Off
- Shutdown: press the power switch to off
- Remove the AC cable/power adapter
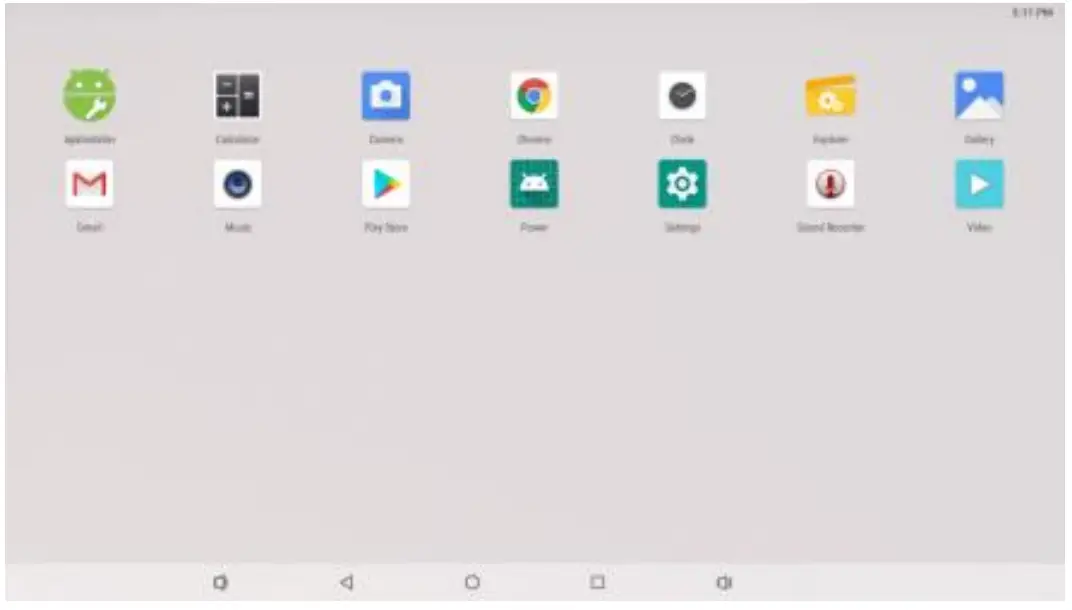
Access to The Application
- In the main menu,
 click icon to go to APPS menu screen.
 - Click the apps icon to enter into apps click the “RETURN” icon, return to previous page ,click the “HOME”icon return to the main menu.
Wireless Internet
- Enter into the settings and turn on the Wlan, connect to the available networks.
- Enter into the APPS and click the ‘browser’, then you will get into the google homepage.
- You can type in the url at the top of the browser, and access to the interesting news and videos.
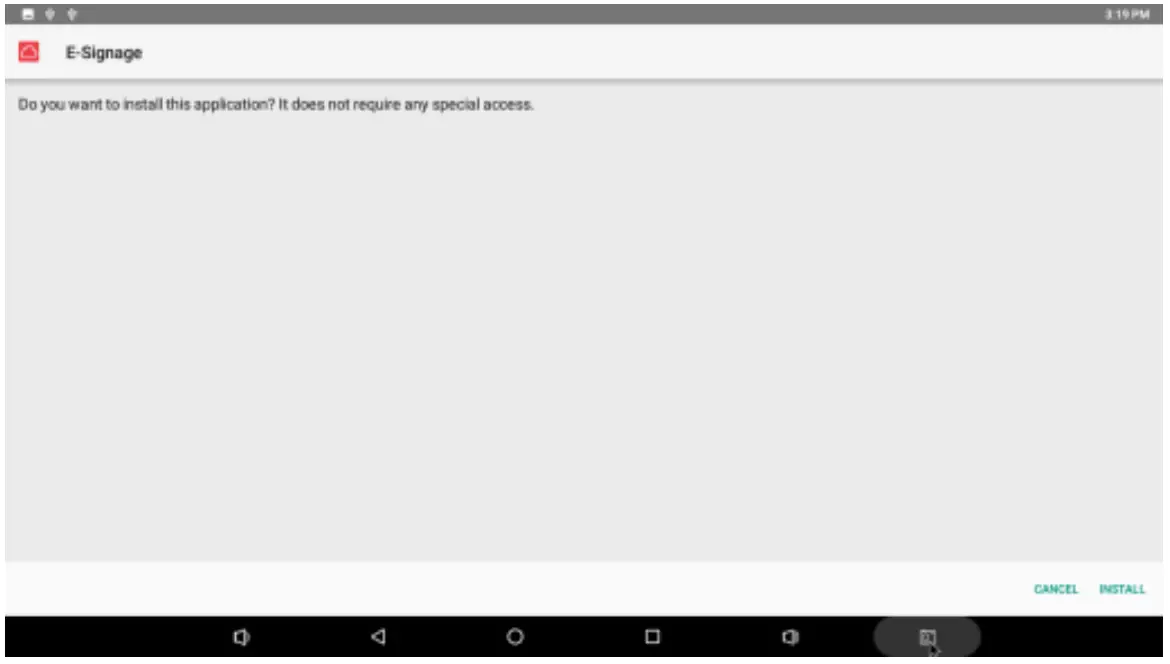
Install APK
- Copy the fle in apk format to the device or usb flash drive.
- Click
 Application program and find the APK ,open it and install.
After installing the APK, you can click the APK icon in the apps to enjoy the application.
Uninstall APK
Follow below steps to uninstall the APK Setting-APPS¬ifications-See all 18 apps-choose the application uninstall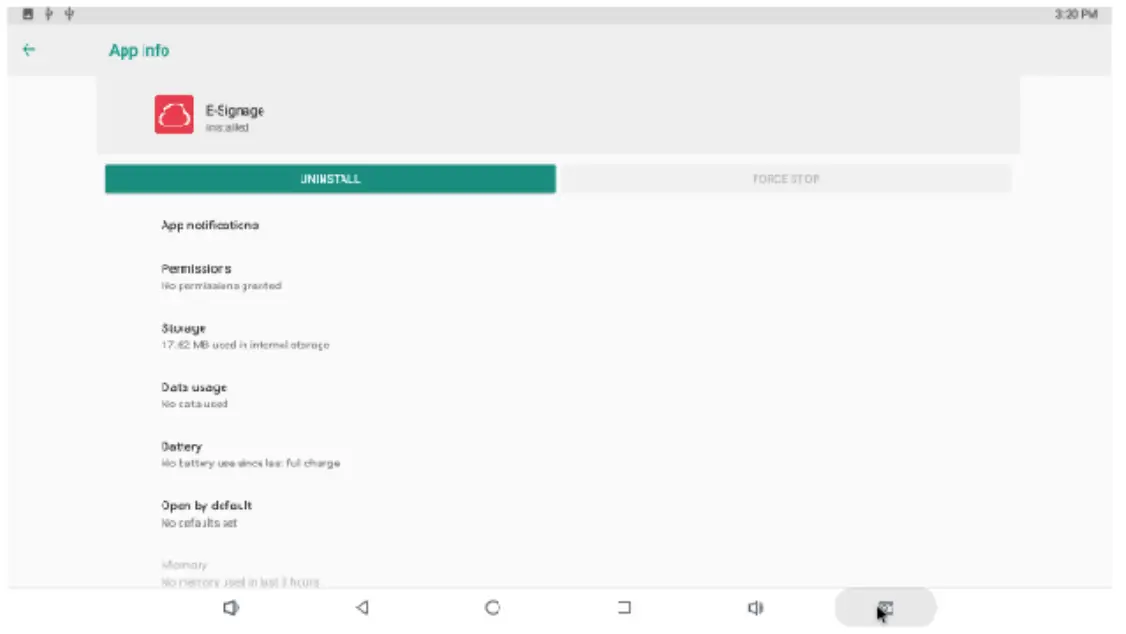
Factory Reset
If your device is infected with a virus or accidentally works by installing a third-party application,you can remove all data from the device by resetting the tablet. Steps: “setting”, “System”,”Reset options”, “Erase all data”, erase everything.
![]()
![]()
![]()

This symbol on a product or in the instruction manual means that your electrical and electronic equipment should be separated from your household waste at the end of its life. There is a separate recycling system in your country for recycling. For more information, contact the place where you purchased the product or your retailer.
FCC WARNING
Note: This equipment has been tested and found to comply with the limits for a Class B digital device, pursuant to part 15 of the FCC Rules. These limits are designed to provide reasonable protection against harmful interference in a residential installation. This equipment generates uses and can radiate radio frequency energy and, if not installed and used in accordance with the instructions, may cause harmful interference to radio communications.
However, there is no guarantee that interference will not occur in a particular installation. If this equipment does cause harmful interference to radio or television reception, which can be determined by turning the equipment off and on, the user is encouraged to try to correct the interference by one or more of the following measures:
- Reorient or relocate the receiving antenna.
- Increase the separation between the equipment and receiver.
- Connect the equipment into an outlet on a circuit different from that to which the receiver is connected.
- Consult the dealer or an experienced radio/TV technician for help.


