![]() USER GUIDE
USER GUIDE
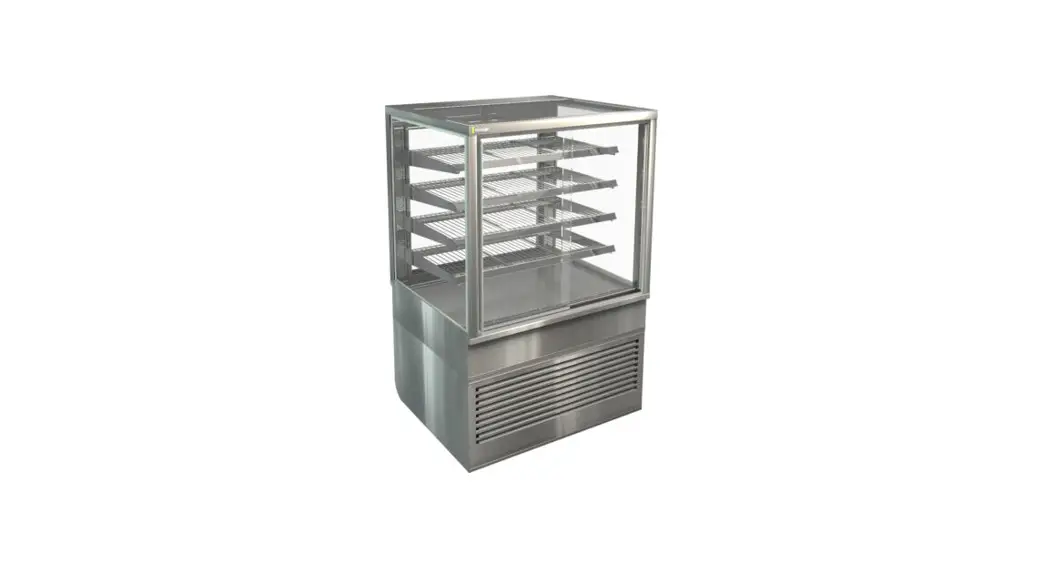
Thank you for purchasing a Cossiga food display cabinet
This is a guide only. If you are unsure of any aspects of the installation or operation, please contact us or visit our website
www.cossiga.com
The appliance is not to be used by persons (inclusing children) with reduced physical, sensory or mental capabilities, or lack of experince or knowledge, unless they have supervision or instruction Children should be supervised so they do not play with the appliance
The applicance is intended to be used for comercial applications, but not for the continuous mass production of food.
If the supply cord is damaged, it must be replaced by the manufacturer, its service agent or simmilarly qualified persons in order to avoid hazard.
Do not store explosive substances such as aerosol cans with a flammable propellant in this appliance.
This appliance can be used by children aged from 8 years and above and persons with reduced physical, sensory or mental apabilities or lack of experience and knowledge if they have been given supervision or instruction concerning use of the appliance in a safe way and understand the hazards involved.
Cleaning and user maintenance shall not be made by children without supervision.

SAFETY
![]() Always disconnect this appliance before cleaning and servicing Servicing should only be carried out by an approved service agent, registered electrician or refrigeration engineer
Always disconnect this appliance before cleaning and servicing Servicing should only be carried out by an approved service agent, registered electrician or refrigeration engineer![]() Do not use a multi-box or overload your power supply
Do not use a multi-box or overload your power supply
Risk of fire / flammable materials![]() WARNING: Keep clear of obstruction all ventilation openings in the appliance enclosure or in the structure for building-in.
WARNING: Keep clear of obstruction all ventilation openings in the appliance enclosure or in the structure for building-in.![]() WARNING: Do not use mechanical devices or other means to accelerate the defrosting process, other than those recommended by the manufacturer.
WARNING: Do not use mechanical devices or other means to accelerate the defrosting process, other than those recommended by the manufacturer.
WARNING: Do not damage the refrigerant circuit.
WARNING: Do not use electrical appliances inside the food storage compartments of the appliance, unless they are of the type recommended by the manufacturer.
INSTALLATION
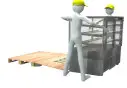 Carefully roll the unit off the pallet down the ramp. Two or more people may be required depending on the size of the unit. For more details, please visit our website.
Your cabinet has been delivered fully assembled.Please check nothing has moved during transit
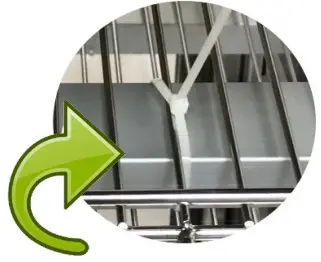
REMOVE Cable ties + any remaining stainless protection sheets
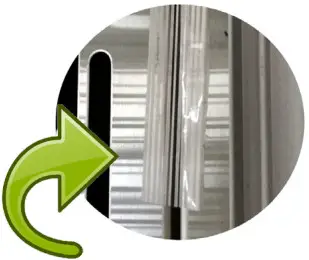
REMOVE clear tape which is securing doors and base plates
REMOVE yellow tabs holding shelves in place
Ensure cabinet is level (door operation and drainage can be affected )
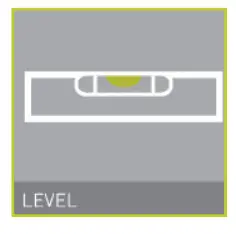
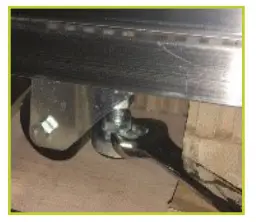
Adjust feet using spanner to level your cabinet
No Multiboxes
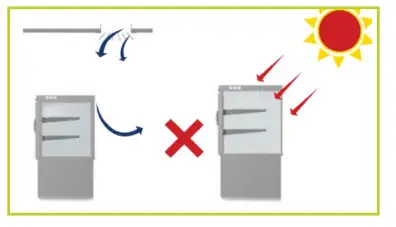
Avoid placing under air vents or in direct sunlight
HALOGEN LAMPS
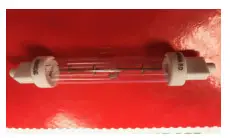
Light Bulb Type
64243011 / 240V 300W
Clear Quartz Jacket
Halogen Infra-Red
Catering Lamp
R7s Cap
Life span of each bulb is between 1500 and 2000 hours which is approximately 7-10 weeks when running 24/7.
Bulbs are incredibly sensitive to vibration and can cause premature blowing or shattering.Ensure doors are not slammed and do not allow steam moisture to build on globes
VENTILATION
key to the efficient running and long life
Ensure condensor unit has adequate ventilation as per Cossiga specifications
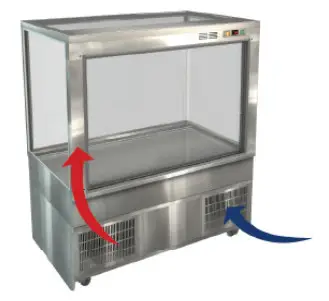
No front ventilation required if back is completely clear
NEVER stack boxes behind as it will block rear vents
Make sure the fan is drawing cool air in and hot air can escape
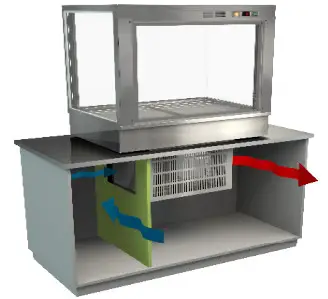
Air IN must be separated from Air OUT
ALL SPECIFIC MODEL VENTILATION DRAWINGS ARE AVAILABLE ON OUR WEBSITE VENTILATION MUST BE CORRECT FOR WARRANTY TO BE VALID
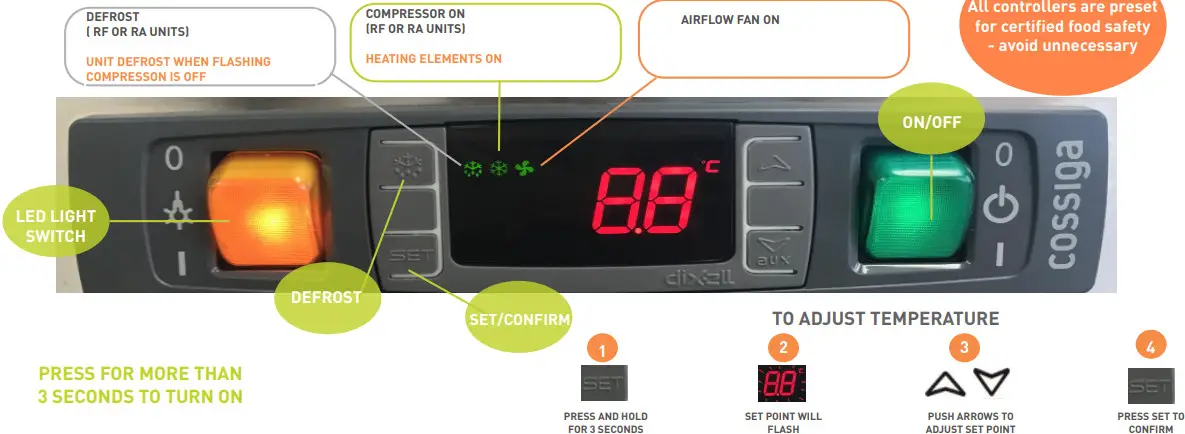
CONTROLLER INSTRUCTIONS
DOORS
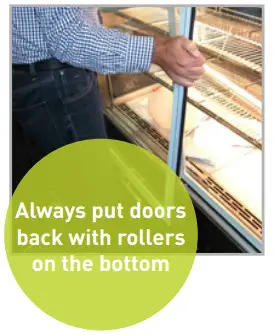
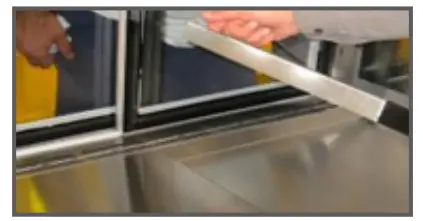
To remove doors,lift door up and pull bottom of door towards you Lower door out of top track Reverse procedure to reinstall door Be careful when putting doors on the ground whlist cleaning
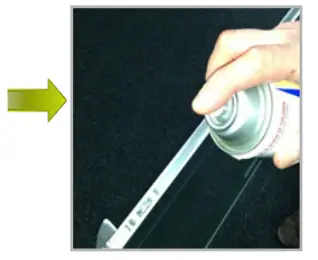
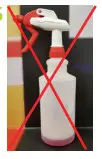
Spray rollers regularly with food grade silicone spray to ensure rollers glide easily
DO NOT DAMAGE ROLLERS
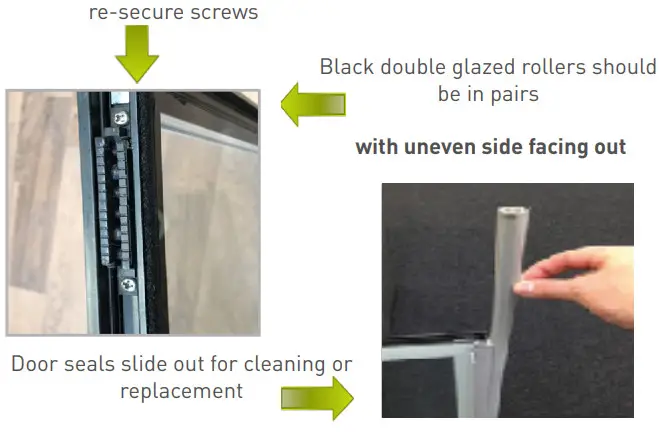
Door rollers are secured by screws, if they become dislodged remove screws,tap back in place and re-secure screws
EVAPORATION
Designed to boil off excess water produced by your cabinet
NEED TO BE KEPT CLEAN!
Disconnect the power and unscrew and remove the rear cover to access pan
Remove water and wipe pan ( CAUTION: MAY BE HOT)
Your unit can be plumbed into your waste, see website for details
LOADING
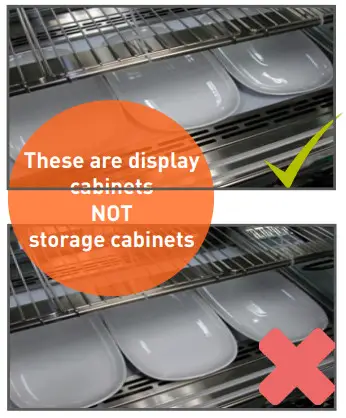
NEVER LOAD PRODUCTS OVER
INTERNAL AIR VENTS
DO NOT PLACE PRODUCTS OVERHANGING SHELVES
Product MUST enter at correct temperature:
 | Chilled |
 | Heated |
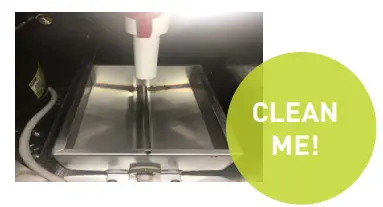
 BAIN MARIE
 Clean Daily Clean with hot soapy water Rinse + Dry
Need to be kept clean to stop the build up of lime scale
A commerical descaler may be required periodically
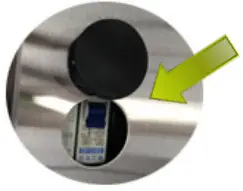
IF YOUR BAIN MARIE HAS NO POWER?
Check the ‘trip switch’ in the hood under black cap
RESET
If it continues to trip please call a service techician
TO AVOID STEAM ON GLASS?
Ensure pans fit tight – NO GAPS +
Leave rear door slightly open
LED LIGHTING
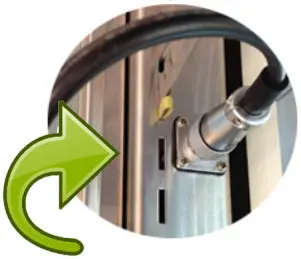
Can be disconnected from rear pillar by unscrewing socket
LED are easily replaced:
– Remove shelves from cabinet
– Unscrew extrusion from end bracket ( 2 screws)

SHELVES
Adjustable:
– Height
– Flat or Angled
To Adjust:
– Remove Racks
– LIFT up from back of shelf arms at either end
Maximum shelf load weight 15kg spread evenly
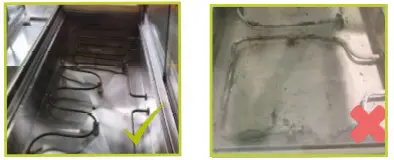
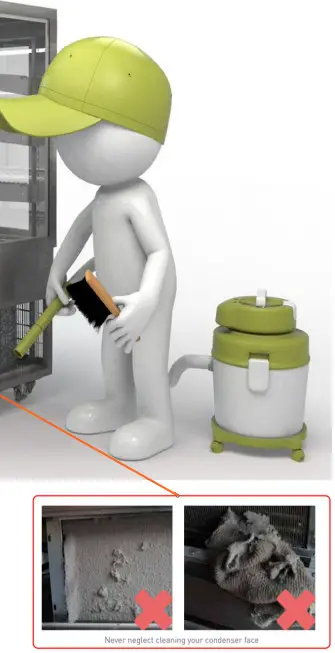
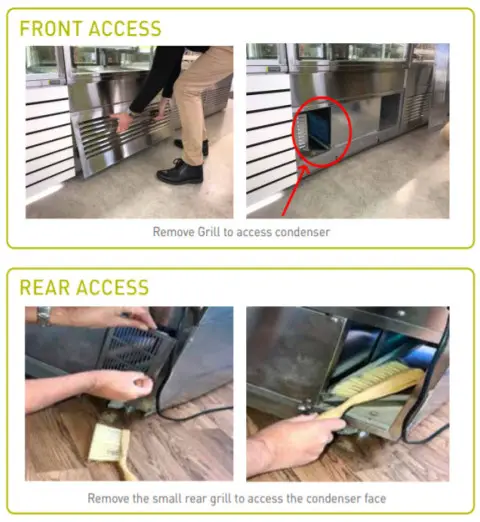
CONDENSER CLEANING
 | Better Performance |
| Lower Power Consumption |
| Longer Cabinet Life |
CLEANING
![]() Always disconnect power before cleaning and allow hot units to cool
Always disconnect power before cleaning and allow hot units to cool
ONLY USE SUITABLE STAINLESS STEEL CLEANERS AND GLASS CLEANERS
NO abrasive pads or cleaners
Brush door track to remove crumbs and ensure door slides smoothly
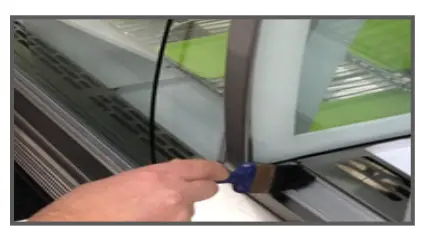
Spray suitable silicone on tracks regularly to ensure door slides freely
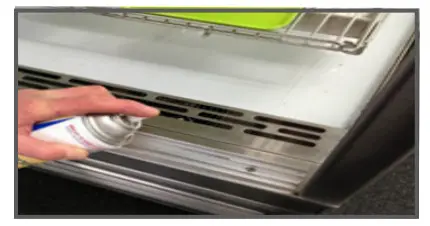
To clean under deck trays lift base plates and then unscrew the wingnuts to expose the coil and fan box
Gently wipe or vacuum around coil and fanbox
The fan box can be lifted to wipe underneath
CAUTION:
Cooling fins are sharp
Rest glass door on feet when cleaning
NO HOT WATER ON GLASS
Appliance shall not be cleaned with a water jet or a steam cleaner
R290 REFRIGERANT
The key to maintaining your cabinets
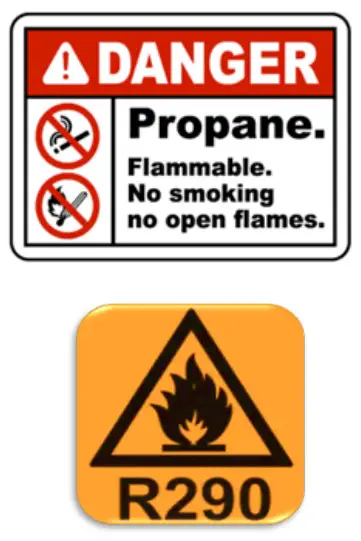
R290 (Propane) is refrigerant grade propane with high purity and low Global Warming Potential (GWP).
Propane is highly flammable. Please observe caution and follow the safety maintenance requirement when servicing equipment with R290.
Before the maintenance of R290 refrigeration products, safety inspection must be carried out to ensure that the risk of ignition is minimized.
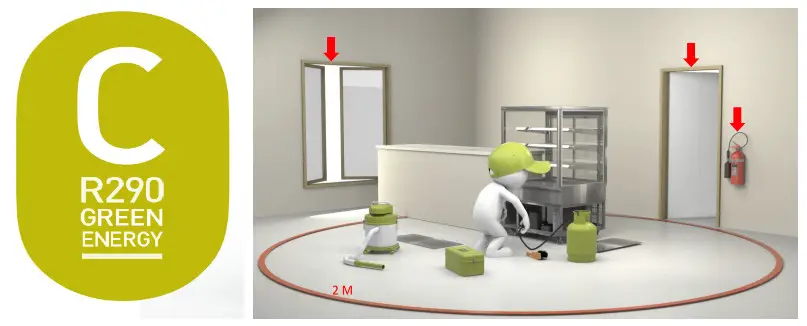
The maintenance area must be ventilated. Fire extinguishing equipment (dry powder or carbon dioxide fire extinguisher) shall be provided in the maintenance site There should be enough space in the maintenance site. Open fire, electric spark and ≥470 ℃ heat source are prohibited within 2m.
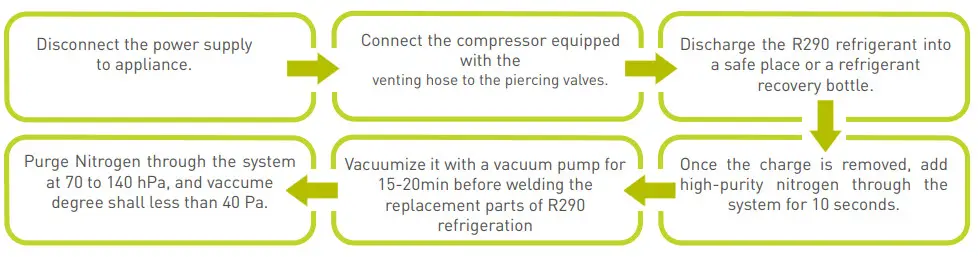
SERVICING GUIDELINES
![]() ALWAYS DISCONNECT CABINET BEFORE SERVICING
ALWAYS DISCONNECT CABINET BEFORE SERVICING
An electrical wiring diagram can be located under the hood of electrical box LED driver and electrics can be located in the hood or electrical box

To access fans for service or repair:
Remove deck tray in cabinets and lift out
Remove stainless cover with screw drivers
This will allow access to fans,elements and coil Operation temperature ( Climate 3 ): 25 °C
Electrical diagrams
Exploded spare parts
Refrigerated parameters
Can be found on our website:
www.cossiga.com


