
HYUNDAI LF 1020 MULTI Digital Photo Frame
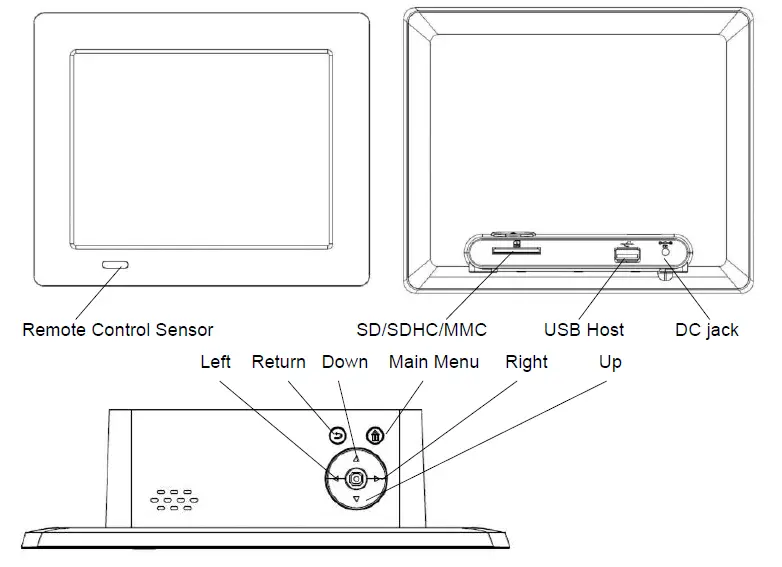
FRAME DIAGRAMS
REMOTE CONTROL
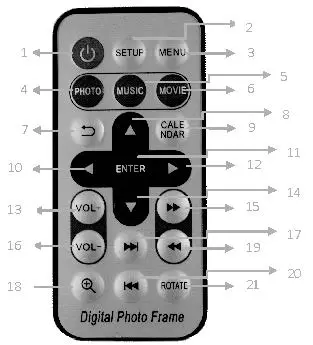
- Power on/off
- Setup
- Menu
- Photo mode
- Music mode;
- Movie mode;
- Return to previous menu;
- Go up, go to the previous sub-menu;
- Calendar
- Left
- Enter, confirm selection, play/pause function
- Right
- Volumn plus
- Go down;
- Fast Forward
- Volumn minus
- Next
- Zoom in
- Fast backward
- Previous
- Rotate -90 degree
INSTALLATION
Insert the jack of the DC adapter into the digital photo frame, and then plug the DC adapter into a standard power outlet. Your frame will start up automatically.
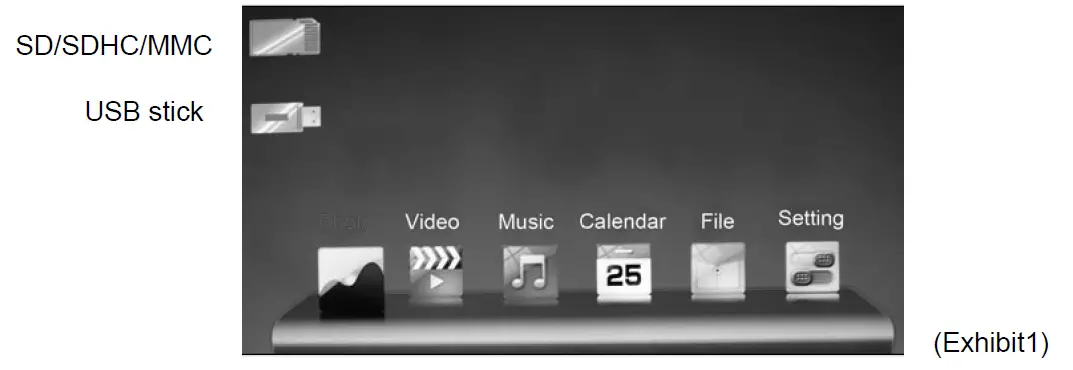
- MEMORy SELECT (Exhibit 1)
Press [RETURN] on remote control or on backside button to go to the Memory selection interface under main menu.- Card select: Show the memory card you insert into frame, the icon will be highlighted if relative card is inserted
- USB stick icon.
FUNCTION SELECT (Exhibit1)
Press [left]/[right] button to choose different function and then press Enter to confirm.
- Photo: Select to play as a photo slideshow.
- Music: Select to play music files.
- Video: Select to play video files.
- Calendar: Select to show the calendar and clock.
- Files: Select to display the files .
- Setting: Select to make changes to the setting.
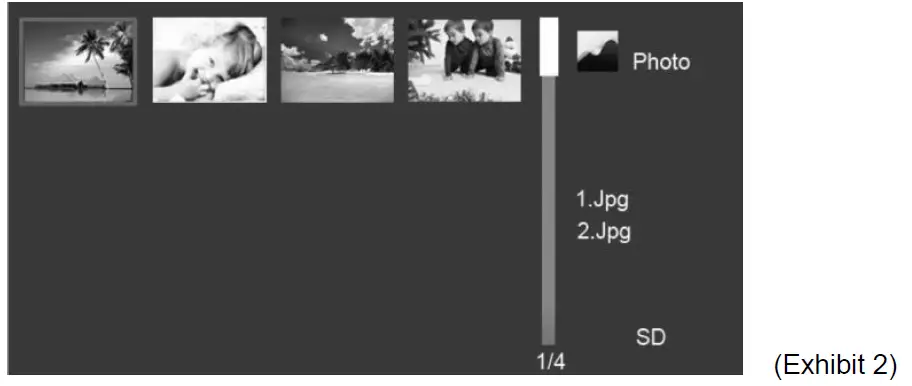
- PHOTO DISPLAY
- Choose Photo icon, press [ENTER] on remote control, or instead press the Photo key on the remote control, it will play picture slideshow automatically on the screen.
- During photo slideshow, press [ENTER] go to different modes “Browse Mode” “Slide-show”. Press [UP]/[DOWN] to view the previous or next photo
- Press [Return] to return back to the thumbnail (Exhibit 2).
 Note: the picture can be ZOOM IN or Rotate only under browse mode.
- MUSIC DISPLAY
- Choose Music icon, or instead press the Music key on the remote control, press [UP]/[DOWN] to choose one music and press ENTER to display music. (Exhibit 3)
- Press [ENTER] on remote control to activate and stop music during music display.

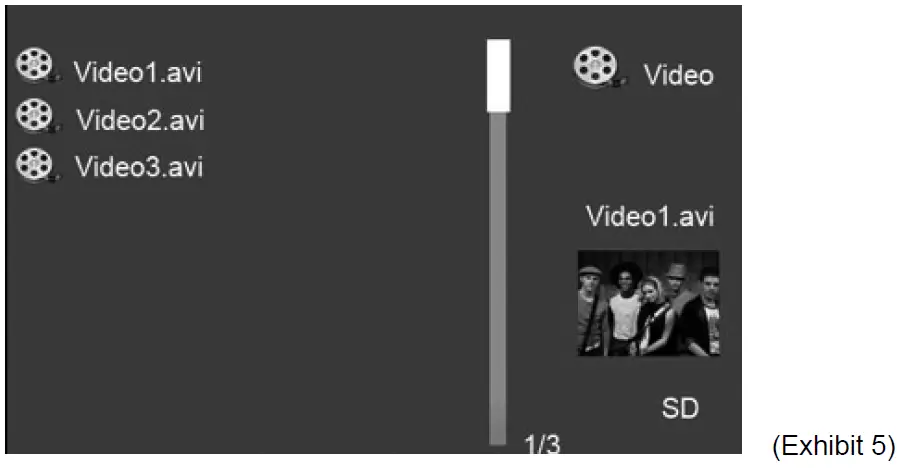
- VIDEO DISPLAY
- Choose Video icon or instead press the Video key on the remote control, press [UP]/[DOWN] to choose one video and press ENTER to display video. (Exhibit 5)
- Press [ENTER] on remote control to activate and stop video during video display.

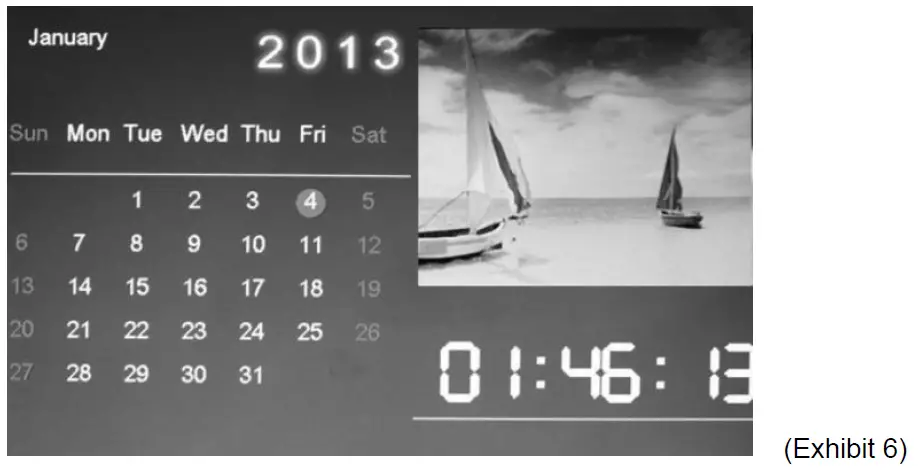
- CALENDAR DISPLAY
- Choose Calendar icon or instead press the Calendar key on the remote control, to show the Calendar / Clock with photo slideshow (Exhibit 6)
- Press [LEFT]/[RIGHT] to change the slideshow picture, and [UP]/[DOWN] to check calendar in by month
 Calendar with photo display
- FILES DISPLAY
- Choose File icon, all the files in selected memory card will be listed on the screen. (Exhibit 7)
Press [UP]/[DOWN] to choose the file press [ENTER] to play.
- Choose File icon, all the files in selected memory card will be listed on the screen. (Exhibit 7)
- SETTING
- Select the setting icon or instead press the SETUP key on the remote control to setup your frame. (Exhibit 7)
 Note: the picture can be ZOOM IN or Rotate only under browse mode.
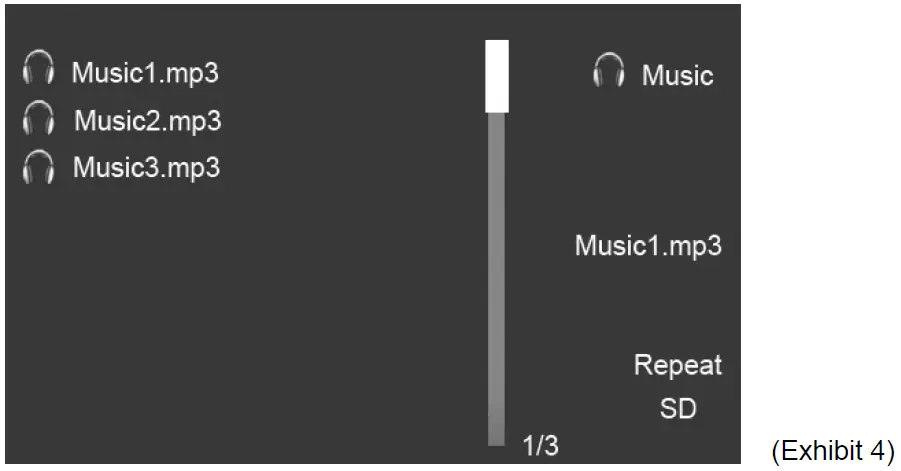
 Calendar with photo display
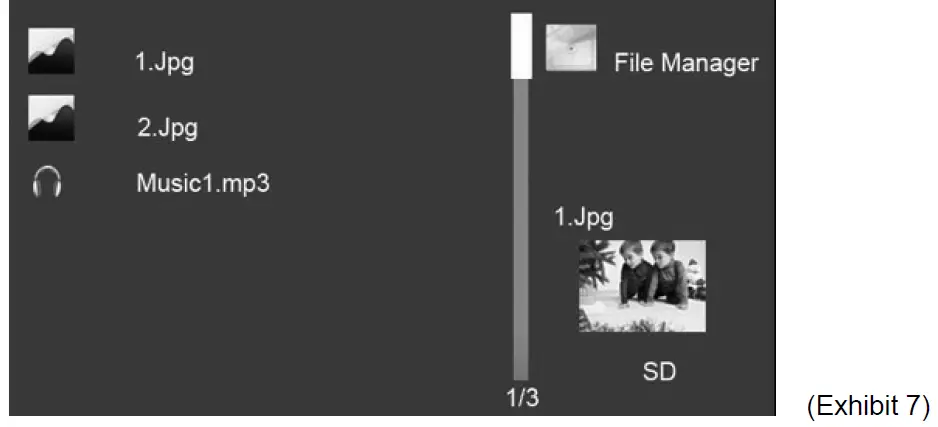
Operation method
- [UP]/[DOWN] button to shift items or choose parameters
- [LEFT]/[RIGHT] button to change the parameters.
- [ENTER] button to confirm the setup result.
- [RETURN] button to back to main menu.


SETTING TABLE
| Photo setup | |
| Display mode | Slideshow/Thumbnail/Browse Mode |
| Music | Open/ Close (choose to open or close background music during photo display) |
| Display ratio | Fit to screen/ Crop to fill/Full screen |
| Slideshow duration | 5sec/15sec/30sec/1min/5min/15min |
| Slideshow repeat | Repeat/Once/Random |
| Slideshow effect | 11 modes (Random / Snake/ Partition/ Erase/ Blinds/Random lines/ Grid/ Cross/ Spiral/ Rect/ Close) |
| Calendar setup | |
| Date | Set date, Month/day/year |
| Clock mode | 12hour/24hour |
| Clock time | Set clock time, Hour/minute |
| Alarm status | on/off |
| Alarm time | Set alarm time, Hour/minute |
| Alarm frequency | Once/Everyday/Mon to Fri/Weekend |
| Video setup | |
| Display mode | Full screen/Original Size |
| Play mode | Repeat/Random/Once |
| Music setup | |
| Play mode | Repeat/Random/Once/Repeat one |
| Show spectrum | on/off |
| System setup | |
| Language | Multi languages |
| Brightness | Brightness adjustable |
| Contrast | Contrast adjustable |
| Saturation | Saturation adjustable |
| Power on | on/off |
| Auto boot time | Set auto boot time, Hour/minute |
| Power off | on/off |
| Auto shut time | Set auto shut time, Hour/minute |
| Auto-power Frequency | Once/Everyday/Mon to Fri/Weekend |
| Volume | Volume adjustable |
| Reset default setting | Restore to the factory settings |
| Version | Show the software version |
| System Upgrade | Software upgradable |
* The above settings are subject to change in case of any spec modification
SPECIFICATIONS
| LED Screen | Panel size and aspect ratio | 9,7“ 4:3 |
| Resolution | 1024×768 pixels | |
| Supported format | JPG, MP3, Motion Jpeg, Mpeg1/2/4 | |
| Memory Medium | Memory Card | SD/SDHC/MMC (max. 32 GB) |
| File‘s format | FAT, FAT32 | |
| Electrical specifications | Power input | DC 5V/2000mA |
| Electrical specifications | ≤ 10W | |
| Power adaptor | Input: AC 100-240V ~ 50/60Hz | |
| Output: DC 5V/2000mA | ||
| Dimensions | Dimensions | 246x201x56 mm |
| Dimensions | 444 g | |
| Environmental Requirements | Operation temperature | 0°C ~ 40°C |
| Storage temperature | -10°C ~ 60°C | |
WARNING: Do not use this product near water, in wet areas to avoid fire or injury of electric current. Always turn off the product when you don’t use it or before a revision. There aren’t any parts in this appliance which are reparable by consumer. Always appeal to a qualified authorized service. The product is under a dangerous tention.
Old electrical appliances, used batteries and accumulators disposal
This symbol appearing on the product, on the product accessories or on the product packing means that the product must not be disposed as household waste. When the product/ battery durability is over, please, deliver the product or battery (if it is enclosed) to the respective collection point, where the electrical appliances or batteries will be recycled. The places, where the used electrical appliances are collected, exist in the European Union and in other European countries as well. By proper disposal of the product you can prevent possible negative impact on environment and human health, which might otherwise occur as a consequence of improper manipulation with the product or battery/ accumulator. Recycling of materials contributes to protection of natural resources. Therefore, please, do not throw the old electrical appliances and batteries/ accumulators in the household waste. Information, where it is possible to leave the old electrical appliances for free, is provided at your local authority, at the store where you have bought the product. Information, where you can leave the batteries and accumulators for free, is provided to you at the store, at your local authority.we reserve the right to change technical specifications.


