![]() RAMBLER 16 CONTROLLER
RAMBLER 16 CONTROLLER
REPLACEMENT PROCEDURE
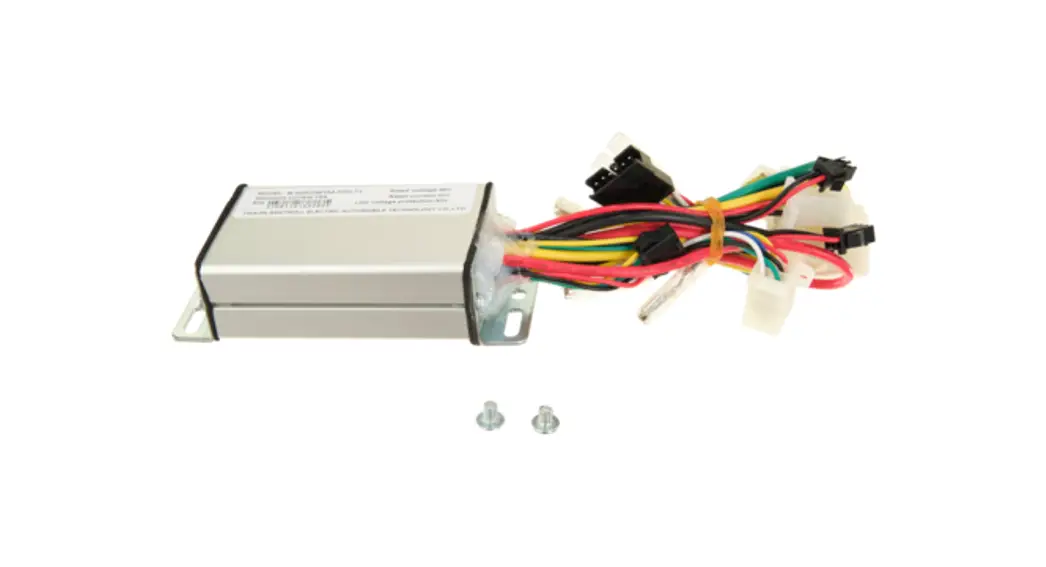
PART # W15128785015
User Manual
W15128785015 Rambler 16 Controller
Required Tools: (Not included)
A. Phillips screwdriver
 WARNING
![]() CAUTION: To avoid potential shock or other injury, turn power switch OFF and disconnect charger before conducting any assembly or maintenance procedures. Failure to follow these steps in the correct order may cause irreparable damage.
CAUTION: To avoid potential shock or other injury, turn power switch OFF and disconnect charger before conducting any assembly or maintenance procedures. Failure to follow these steps in the correct order may cause irreparable damage.
Step 1
Using a Phillips screwdriver, remove seven (7) screws from the side of the battery cover with the power switch.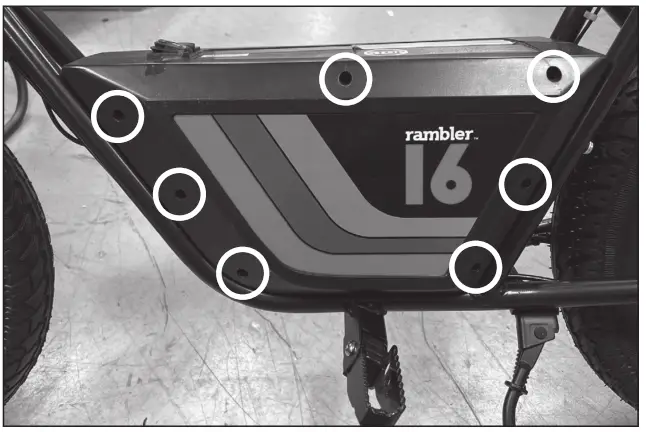 Step 2
Remove four (4) screws, two (2) at the front and two (2) at the back of the battery cover. Pull the cover out. Be careful not to damage the wires.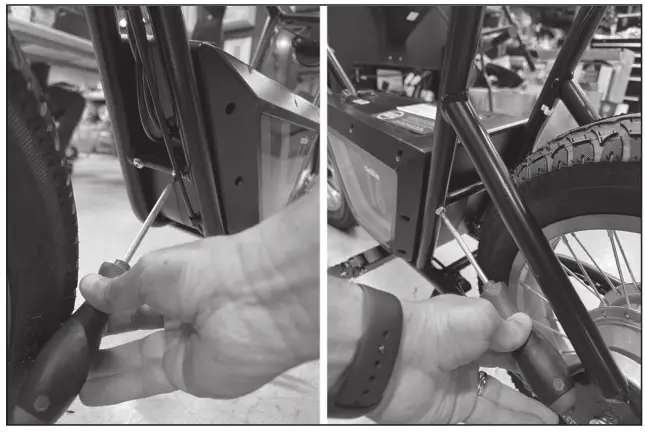 Step 3
Disconnect all the connectors from the controller.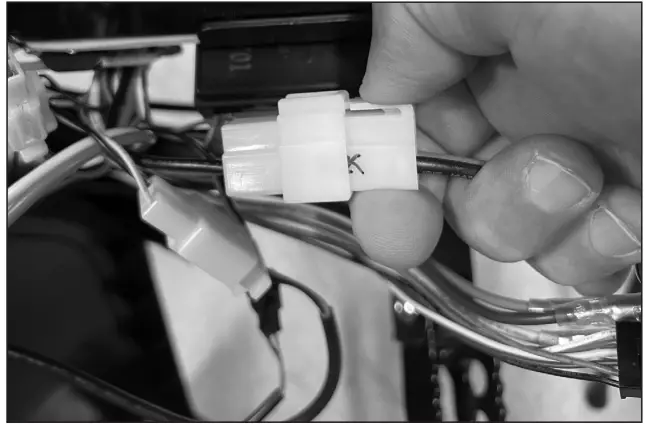 Step 4
Using a Phillips screwdriver, remove the two (2) screws that hold the controller onto the battery bracket.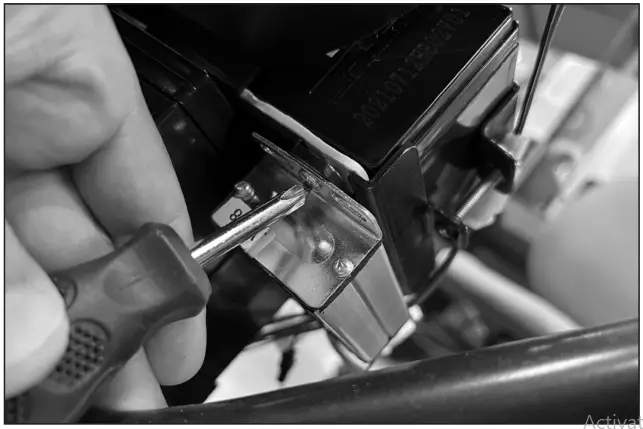 Step 5
When re-connecting the controller to the power switch, make sure you connect the black wire onto the gold colored prong, red wire to the middle silver colored prong and yellow wire to the remining silver colored prong.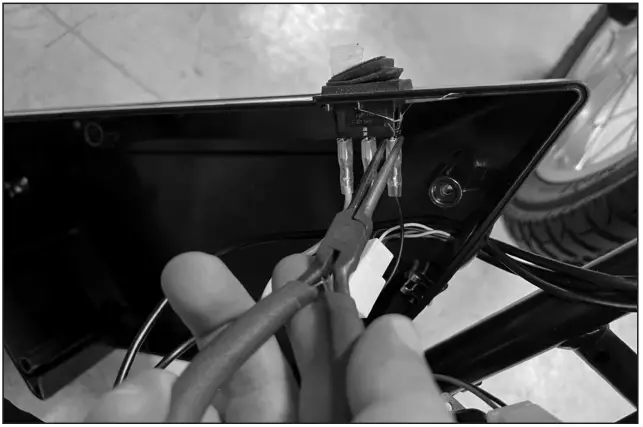 Step 6
Reverse the steps.
ATTENTION: Charge battery 12 hours before using.
Need Help?
Visit our website at www.razor.com
or call toll-free at 866-467-2967 Monday
– Friday 8:00am – 5:00pm Pacific Time.


