![]() TPWUMEDHD5 5 Inch Medium Heavy Duty Wheeled
TPWUMEDHD5 5 Inch Medium Heavy Duty Wheeled
Bar Instructions
Medium Heavy duty
Whiley Bar – 5” Wheels
User Instructions
SKU: TPWUMEDHD5
TPWUMEDHD5 5 Inch Medium Heavy Duty Wheeled Bar
Contents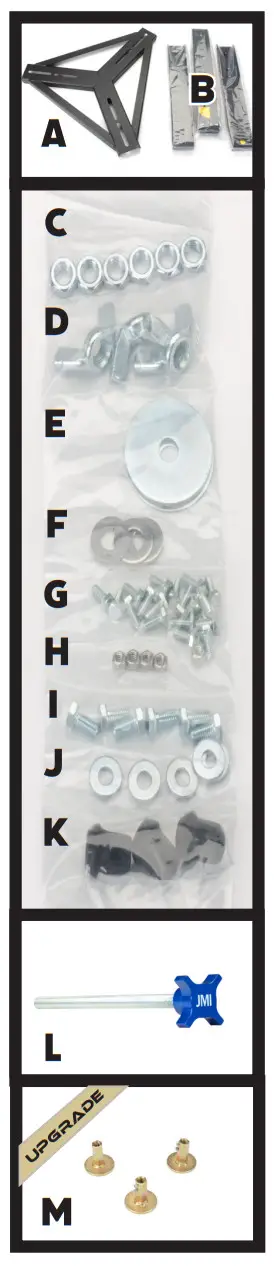
| Letter | Quantity | Part |
| A | 1 | Wheeled Bar Base |
| B | 3 | Wheeled Bar Legs |
| C | 6 | 5/8” Jam Nuts |
| D | 3 | 5/8” Wing Nuts |
| E | 3 | Fender Washers |
| F | 3 | 5/8” Washers |
| G | 18 | ¼ – 20 x 5/8” Hex Head Cap Screws |
| H | 6 | ¼ – 20 Nuts |
| I | 6 | 3/8” – 16 x 3/4” Hex Head Cap Screws |
| J | 6 | 3/8” Washers |
| K | 3 | Rubber Feet |
| L | 3 | Levelling Screws |
| M | 3 | Gold Zinc-Plated Steel Levelling Screw Feet |
| N | 3 | 5” Wheels |
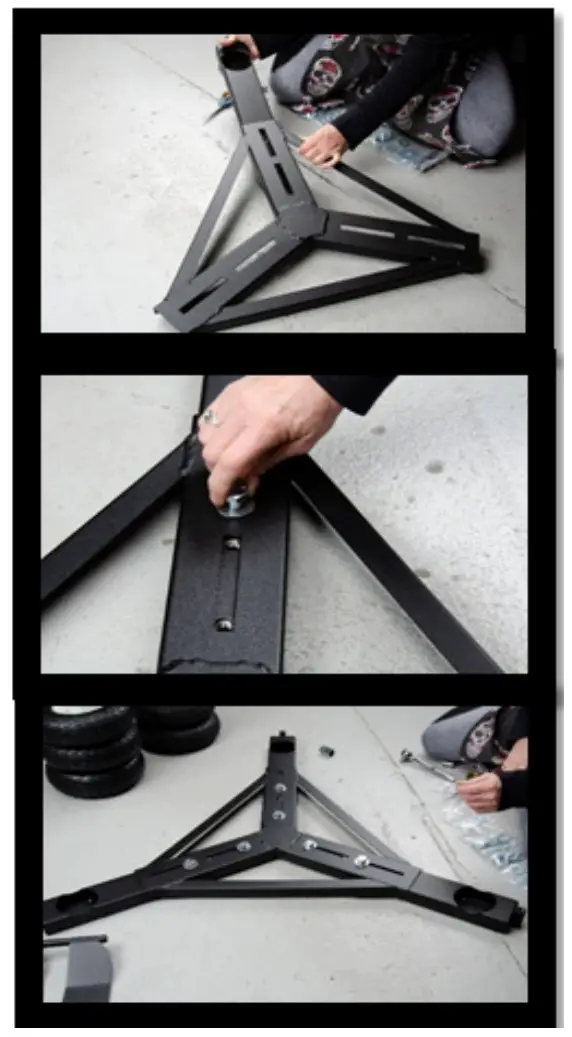
Installation instructions
- Slide Wheeled Bar legs (B) into Wheeled Bar center (A). Use 2 bolts (I) and 2 washers (J) to secure each leg.


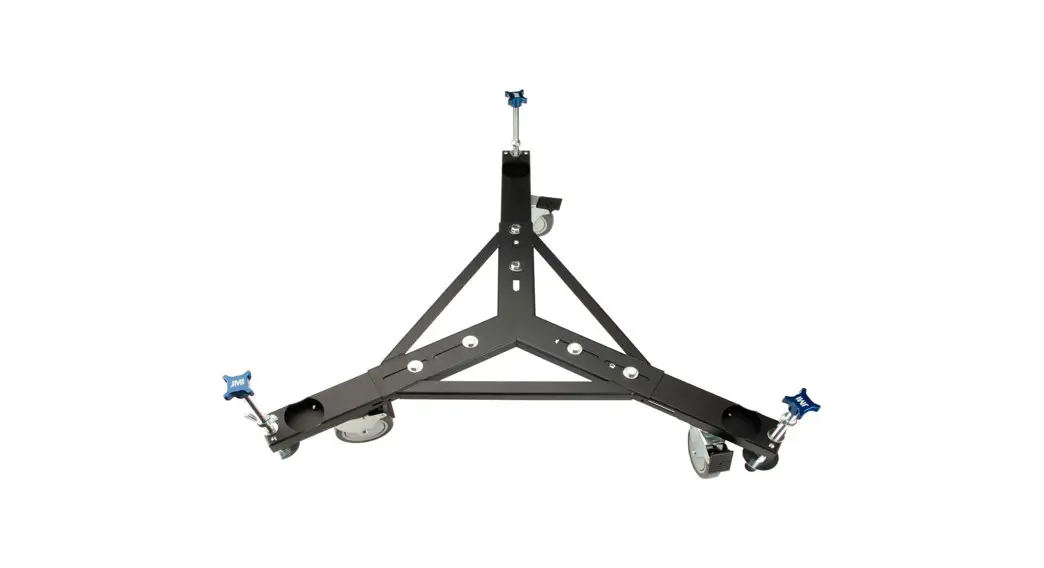
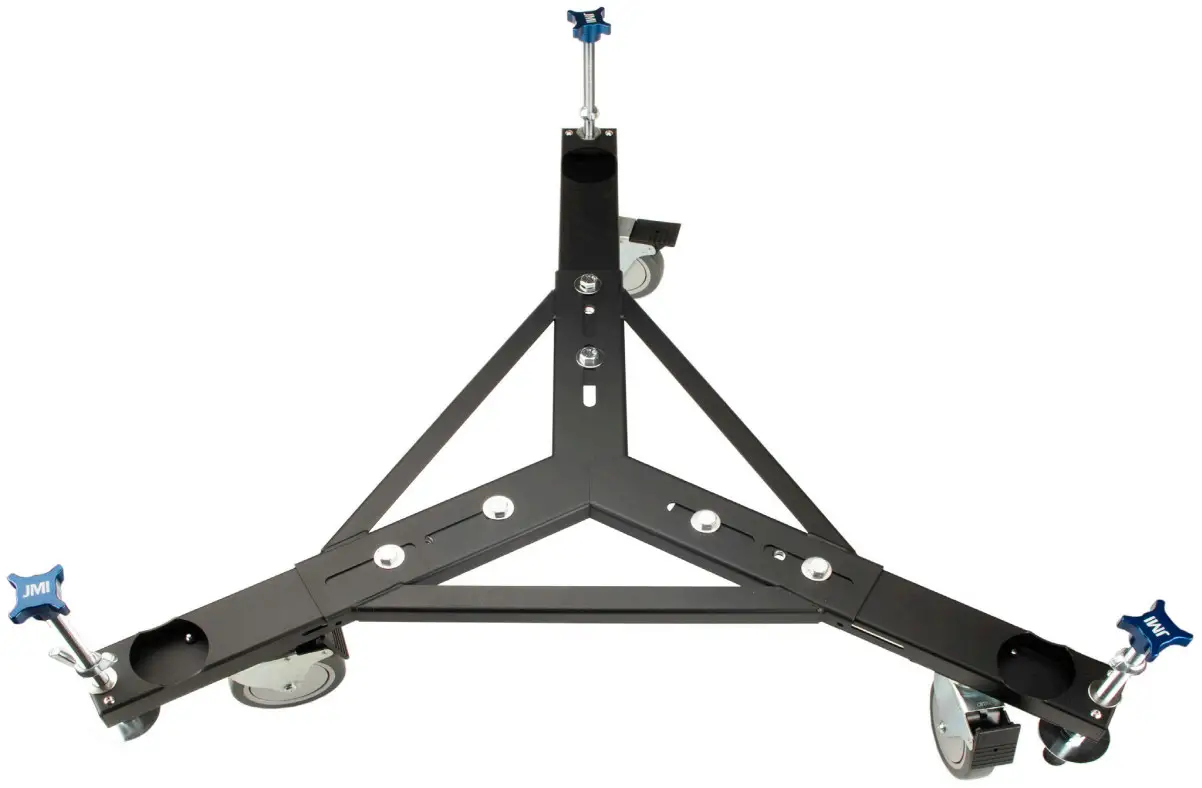
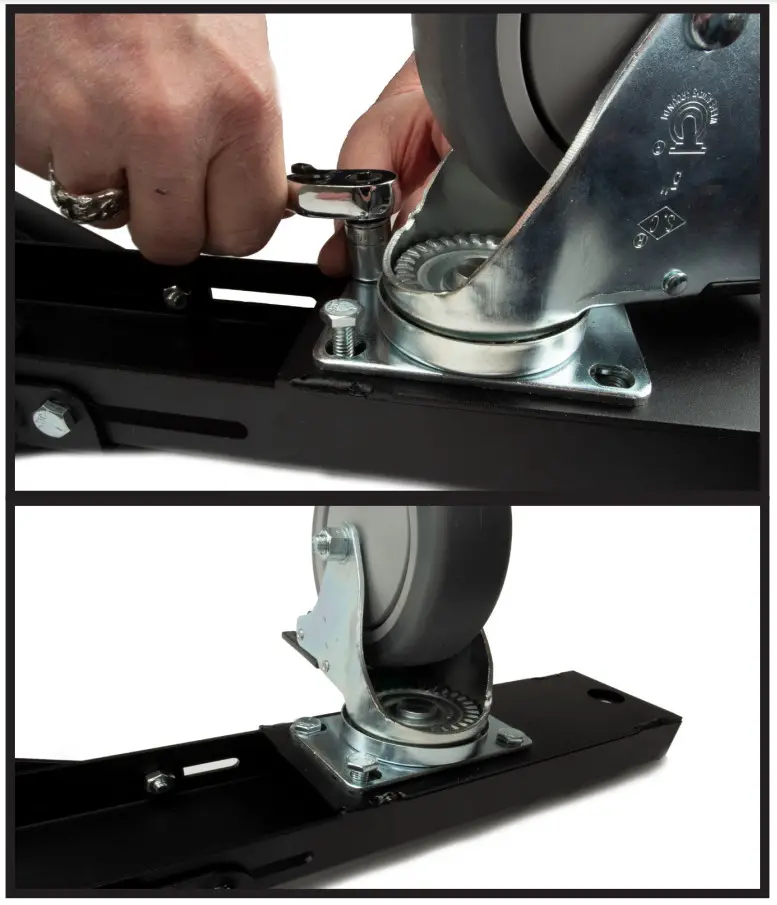
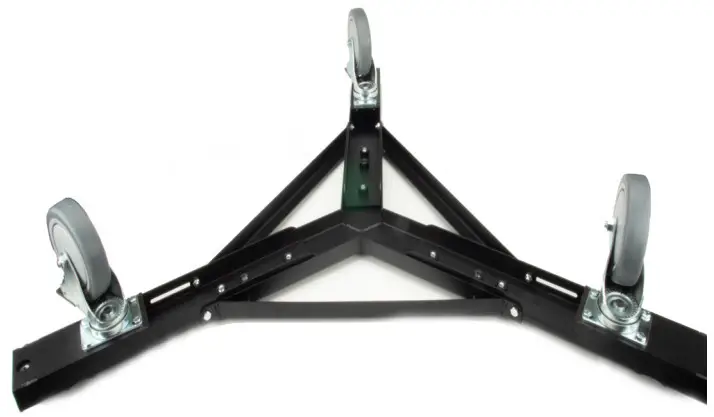
Once the wheels are all done, the wheeled bar should look like this:

- Flip base with attached legs so it is lying upside-down.
- Align wheel base with wheel (N) to the holes in attached wheeled bar leg. Use 4 hex head cap screws (G) to secure wheel base to wheeled bar leg. Repeat for each wheeled bar leg.

- Flip base again so it is lying right-side-up. The next step is to install each leveling screw (L) into each wheeled bar leg.*
 *Screws should turn freely. Do not force.
 *Screws should turn freely. Do not force.
The order of the parts should look like this: 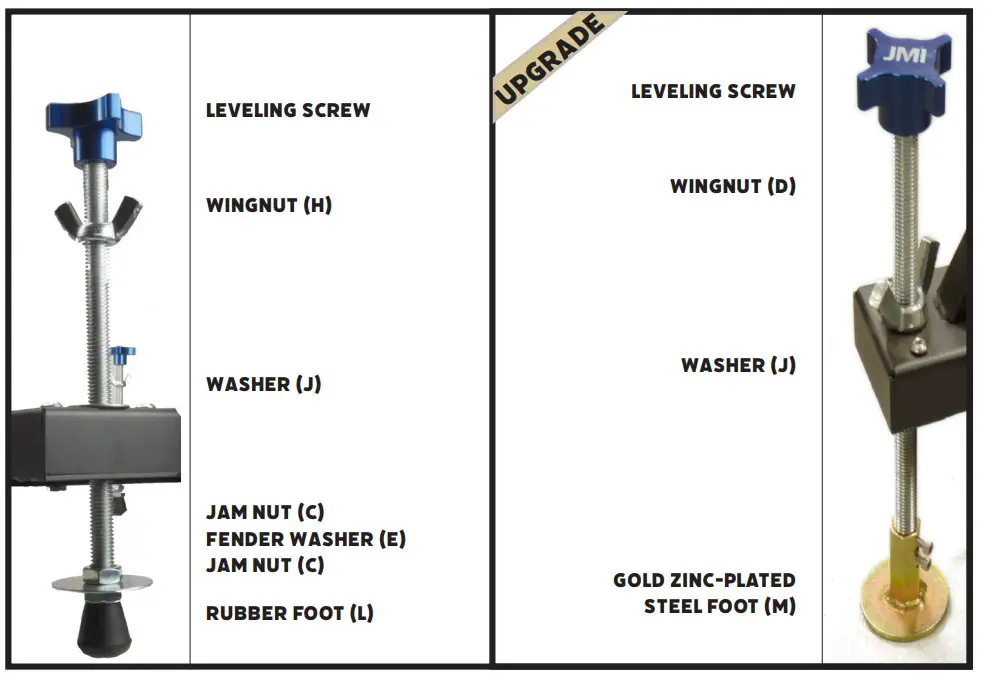
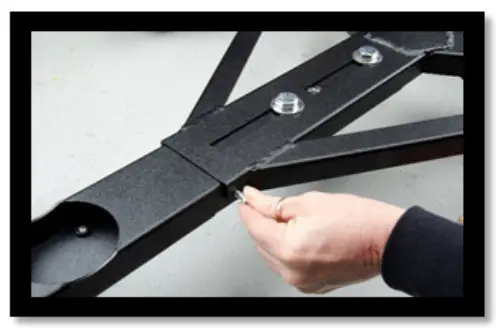
You may use additional hex head cap screws (G) and nuts (H) to screw into side of base and legs for a more secure attachment.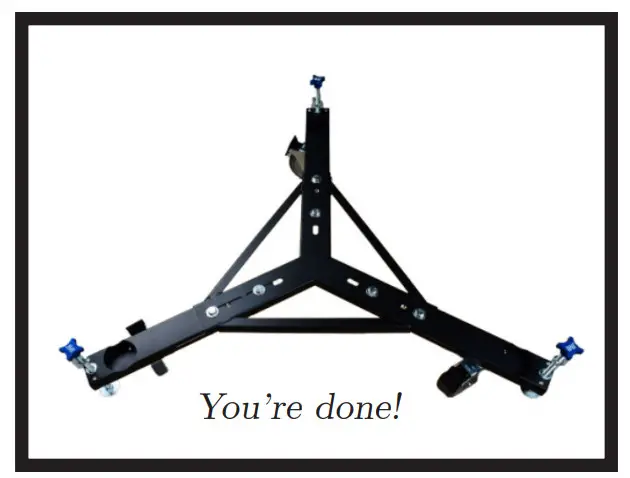

www.FarpointAstro.com![]() All the brands you know and love, all under one roof
All the brands you know and love, all under one roof ![]()


