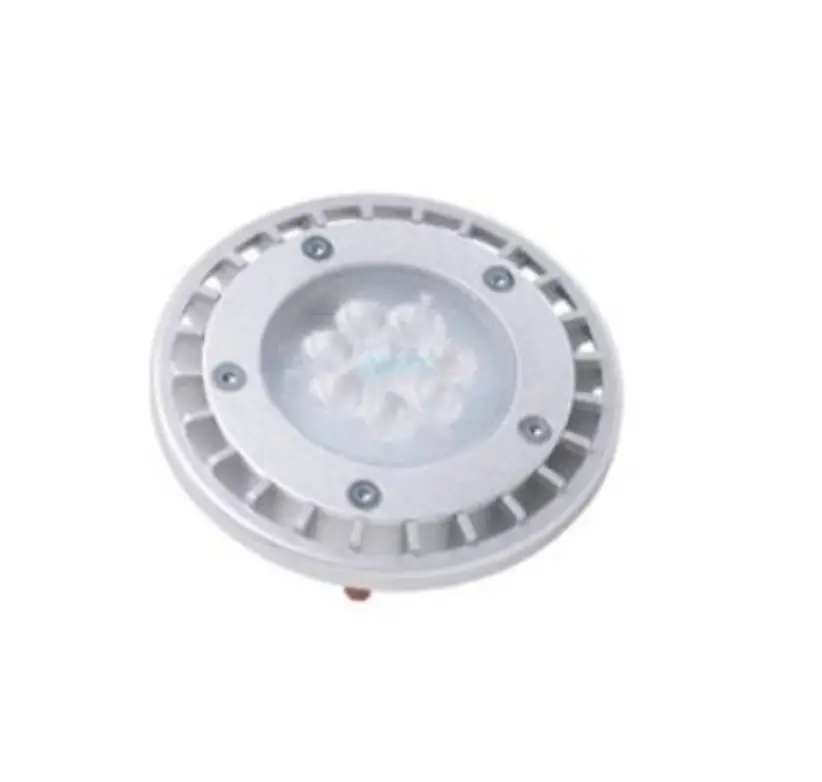
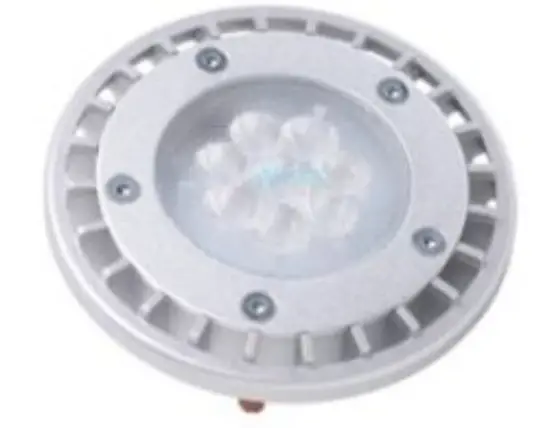
Halco ProLED!PAR36 Sollos ProLED Waterproof Series LED Lamp
Warning:!
This lamp should be installed in accordance with the National Electric Code and local code specifications. Failure to follow these codes and installation instructions willvoid the warranty and may result in serious injury and/or damageto the lamp. Donot exceed maximum voltage rating ordamage to the lamp may occur.
NSTALLATION!OF!THIS!LAMP!IN!AN!ENCLOSED!FIXTURE!WILL!RESULT!IN!DECREASED!LAMP!LIFE!AND!WILL! VOID!LAMP!WARRANTY.
Note: “Enclosed fixture” also includes PAR36 well lights with lenses.
Note: This product is approved for OUTDOOR!USE!ONLY.
Important Safety Warnings
This lampmay become hot during operations, allow lamp to cool before handling. Regularly clear debris from the top and around the sides of the lamp to preventexcess heat buildup on the lamp, which may causelamp failure. Install lampno less than ten feet (3.05m) frompools, spas or fountains to minimize riskof electric shock. Always use UL listed wire and wire connectors for connections.
Water Resistance
The ProLED PAR36 lamp is designed and t~sted to IP67 standards. for exterior use and as such is protected from rain and low pressure irrigation jets. Although IP67 ratings al low for submersion down to 1 meter for up to 30 minutes, this feature has been provided as a defense against drainage issues experienced in some landscape installations and the product is not recommended for continuous use in underwater applications.
Installation and Operating Requirements
ProLED PAR36 lamps are equipped with a multipurpose (MP} terminal to work with both screw terminal and slip– on terminal installations. Turn off power before installation.
For screw terminal installation, loosen or remove the machine screws on the metal tabs on the back of the lamp. Then place the connector around the loosened screw or over the screw hole, and lighten or reinstall the screw.
For slip–on terminals, take terminal and attach each connector to the tab on the lamp. A small amount of dielectric grease may be used to ease installation and reduce the chance of corrosion if desired.
For slip–on terminals, take terminal and attach each connector to the tab on the lamp. A small amount of dielectric grease may be used to ease installation and reduce the chance of corrosion if desired.
Installation in outside luminaires requires adequate drainage. The best practice in ensuring drainage is to install the fixture in a hole that is backfilled using 2″ to 4″ of pea gravel or sand around and under the fixture. Be sure to install the fixture so the lamp is located slightly above grade. This installation method is recommended by the majority of fixture manufacturers, and helps to ensure that water does not accumulate in the fixture. Failure to do this can result in submersion within the fixture that may result in shorting the terminals and damaging the electrical system. If the luminaire is not an in-ground fixture, steps must be taken to ensure that the fixture will not collect water that would submerge t he back of the lamp. Weep holes may or may not be adequate in areas subject to heavy rainfall or irrigation, and should be tested for proper drainage.
Halco lighting Technologies I P.O. Box 2834 I Norcross, GA 30091-2834 IToll Free 800.677.3334 I Phone 770.242.3612 I Fax 800.880.0822 I halcolighting.com I Atlanta I Cleveland I Houston I Phoenix © Halco lighting Technologies. Halco and ProLED are registered trademarks of Halco Lighting Technologies.