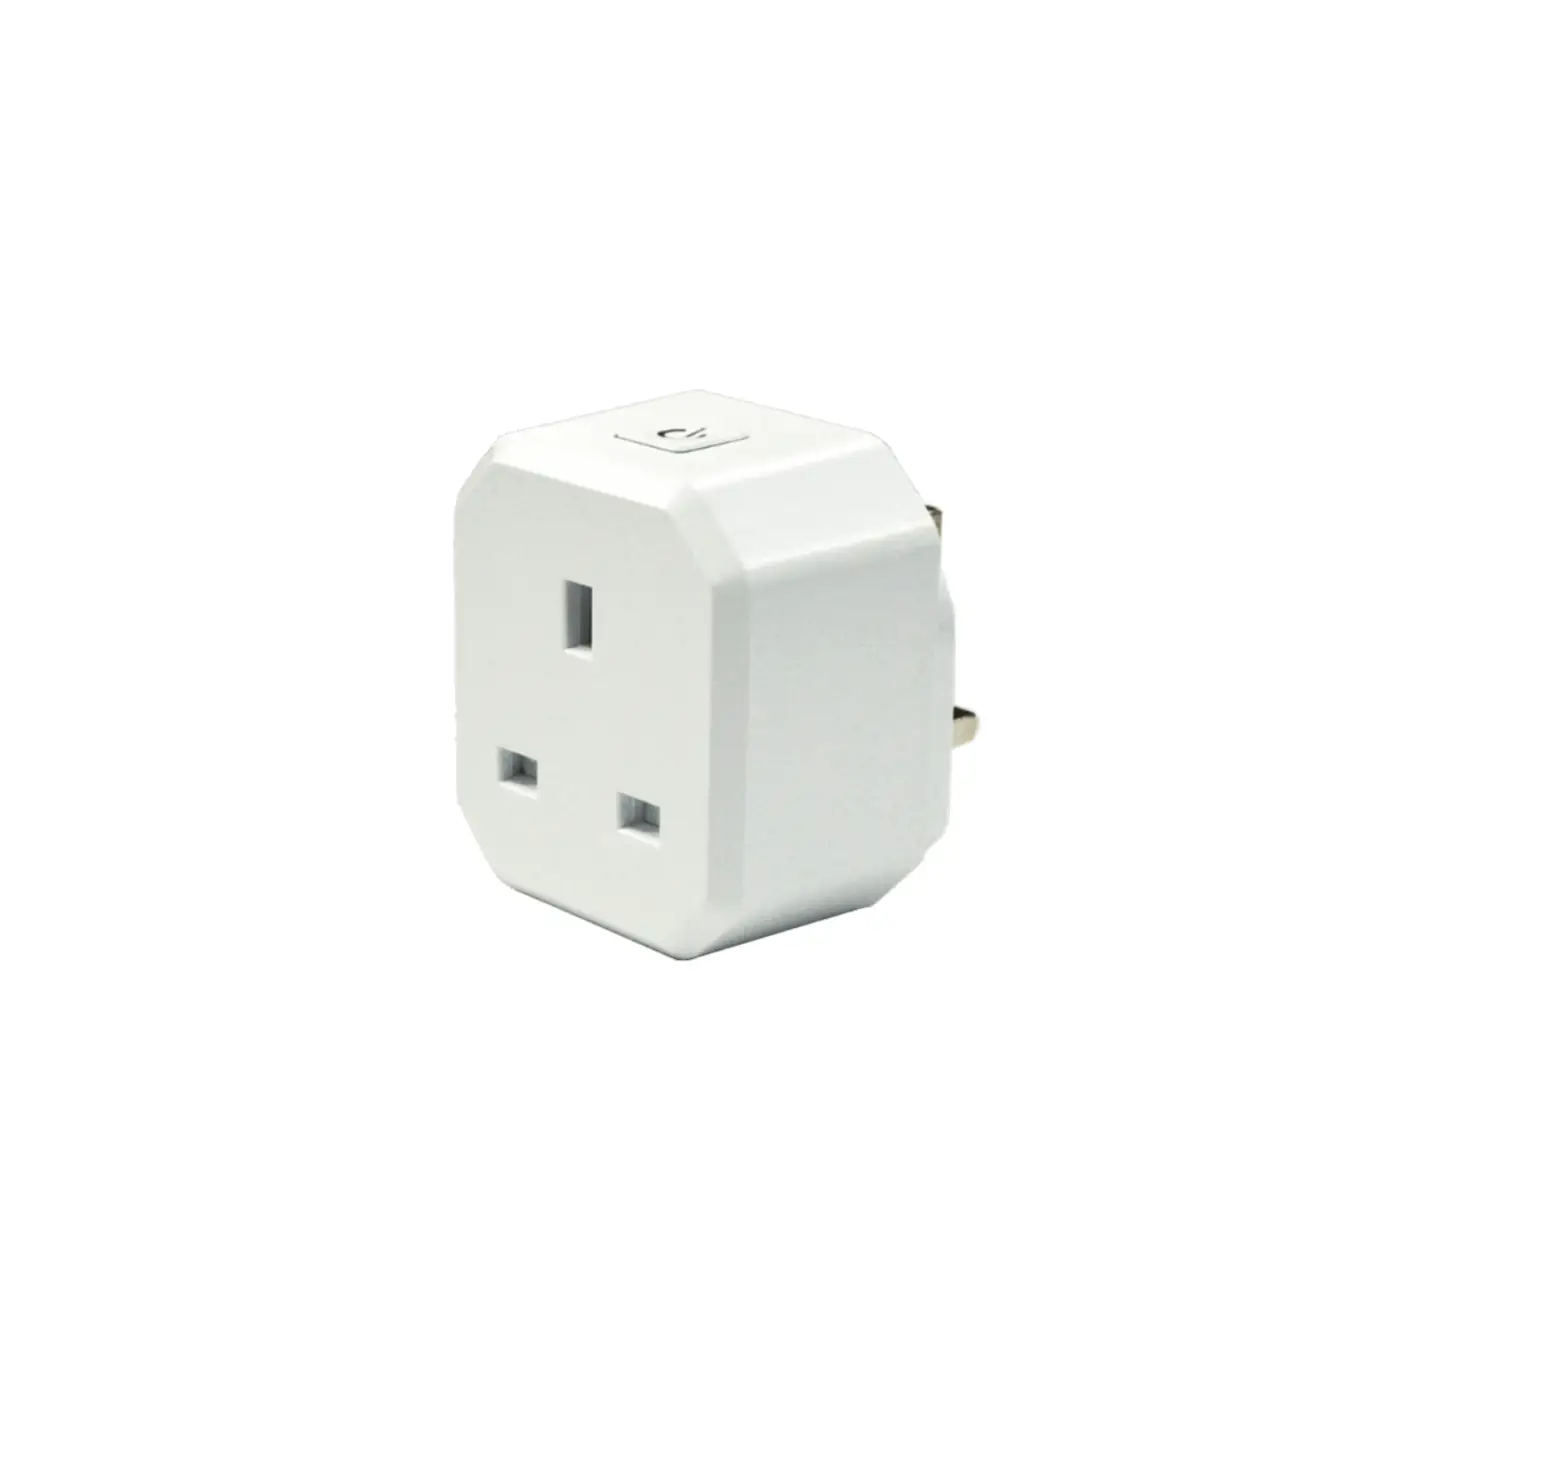
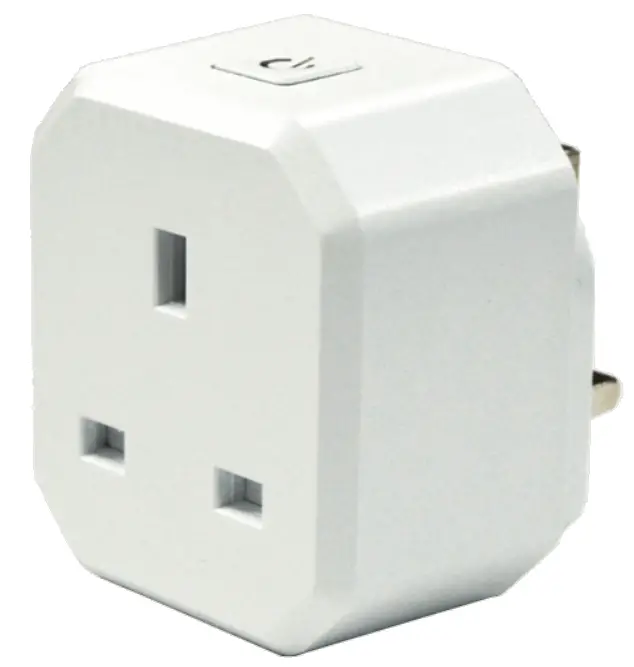
EVERSPRING AN370 Smart Plug
Introduction
This AN370 plug-in ON/OFF Module is a transceiver which is a Z-WaveTM enabled device and is fully compatible with any Z-Wave™ enabled network. This product can be operated in any Z-Wave network with other Z-Wave certified devices from other manufacturers. All mains operated nodes within the network will act as repeaters regardless of vendor to increase reliability of the network. Each module is designed to act as a repeater. Repeaters will re-transmit the RF signal to ensure that the signal is received by its intended destination by routing the signal around obstacles and radio dead spots.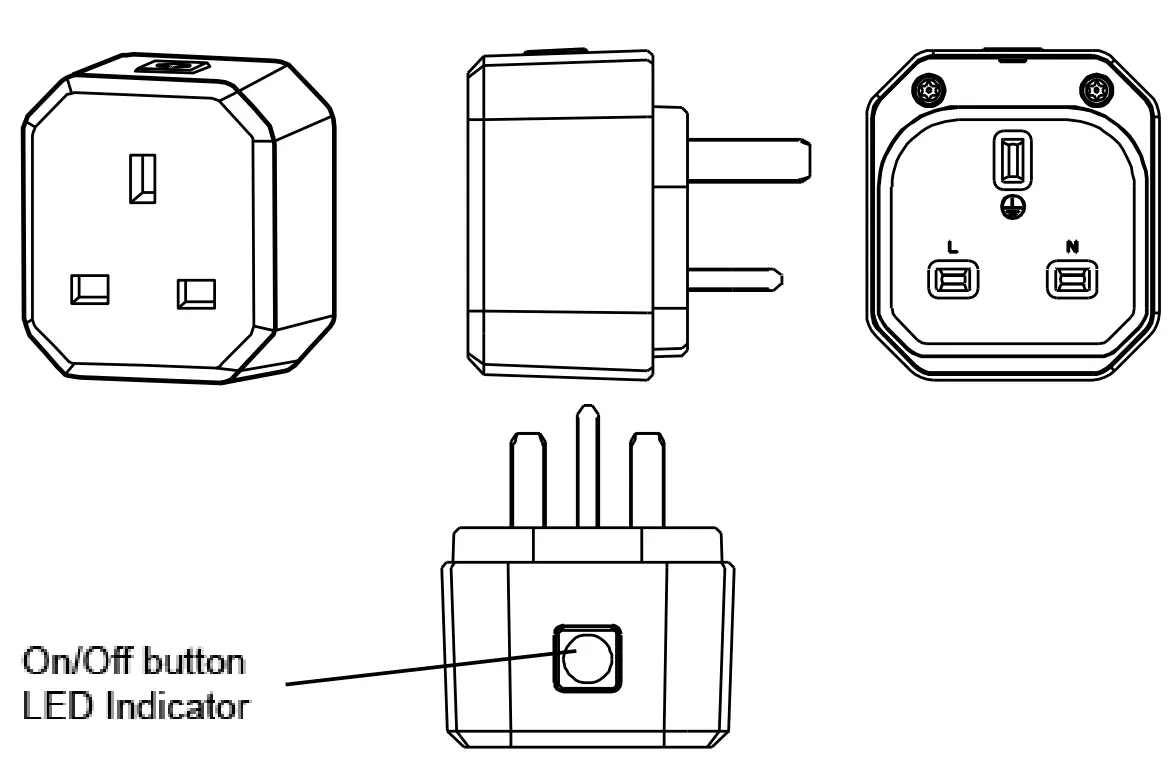
Adding to Z-Wave™ Network
The unit supports Smart Start function, where inclusion is initiated automatically on power-on, and repeated at dynamic intervals for as long as the device is not included into a Z-Wave™ network. Z-Wave™ Smart Start is based on the embedded SDK 6.8x and requires related gateway software components.
If the gateway does not support SmartStart function, this device can be added to the Z-Wave™ network using manual inclusion, or by scanning the DSK QR code or entering a 5-digit Device Specific Key (DSK) located at bottom of the plug when requested by the gateway.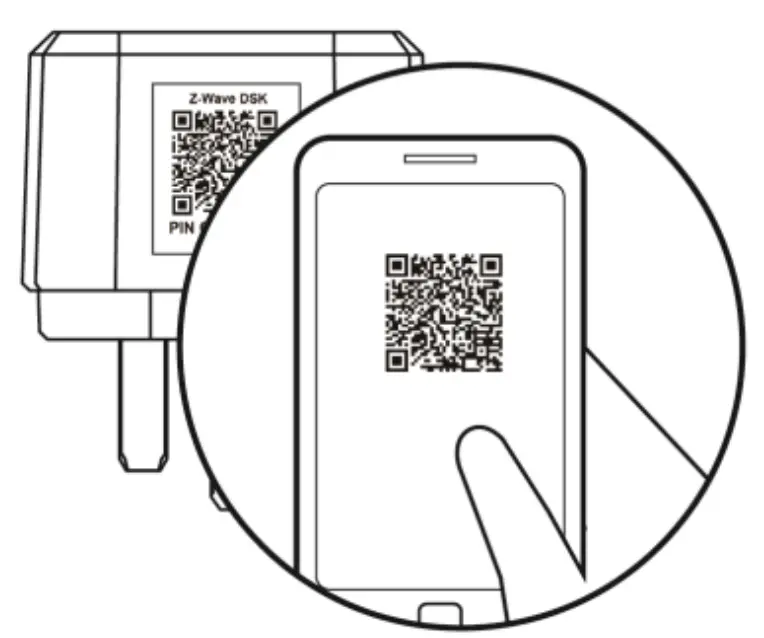
Safety Precautions & Installation
To ensure your safety, please read this manual carefully before installing the device; follow the instructions exactly. The manufacturer, Ever spring Industry Co., Ltd, shall not be legally responsible for any equipment damage or personal injury caused by incorrect installation or operation other than that covered in the manual.
- Do not use in damp, moist or wet locations. The product is intended for indoor use only in dry locations.
- To avoid risk of electrical shock, do not operate the device with wet or moist hands.
- This product is not a toy, keep away from children and animals.
- Plug this On/Off Module into a wall outlet near the load to be controlled.
- Plug the load into the Module. Make sure the load to be controlled cannot exceed 2990 watts.
- Press the button or switch on the load to the ON position.
- To manually turn ON the Module, press and release the On/Off button. The LED will turn ON, and the load plugged into the Module will also turn ON.
- To manually turn OFF the Module, simply press and release the On/Off button. The LED will turn OFF and the load plugged into the Module will also turn OFF.
Programming
Z-Wave™ Group Support
The unit supports two association groups with 5 nodes support for Grouping 1 and 5 nodes support for Grouping 2. This has the effect that when the unit is operating, all devices associated with the unit will receive the relevant reports.
- When the unit is powered for the first time, the unit will send a Notification Report to the node of Group 1.
- When setting the unit or changing the unit’s status, the unit will send a Binary Switch Report to the node of Group 1.
- When performing Reset the unit will send Device Reset Locally Notification to the node of Group1.
- When the button on the unit or the wall switch is pressed, the unit will send a Basic Set command to the nodes of Group 2. When the unit is OFF, Basic Set Value = 0x00. When the unit is ON, Basic Set Value = 0xFF.
Z-Wave Plus™ Info
| Role Type | Node Type | Installer Icon | User Icon |
| Slave Always On | Z-Wave Plus™ node | On/Off Power Switch | On/Off Power Switch |
Version
| Protocol Library | 3 (Slave_Enhance_232_Library) |
| Protocol Version | 7.17.2 |
Manufacturer
| Manufacturer ID | Product Type | Product ID |
| 0x0060 | 0x0034 | 0x0001 |
AGI (Association Group Information) Table
| Group | Profile | Command Class & Command (List) N bytes | Group Name(UTF-8) |
| 1 | General | Binary Switch Report, Notification Report, Device Reset Locally Notification Indicator Report | Lifeline |
| 2 | Control | Basic Set | On/Off control |
Basic commands
| Command | Description |
| Basic Get | Inquire about the status of the device |
| Basic Report | Report the status of the device. |
| Basic Set | Set the status of the device.(Value=0XFF (ON), 0x00 (OFF)) |
Notification
| Event | Type | Event | Event Parameters Length |
| Power applied for first time | 0x08 | 0x01 | 0x00 |
Configuration
The configurable values are as following:
Remember the last status:
| Parameter Number | Size | Range | Default |
| 1 | 1 | 1/0 | 1: remember(0: do not remember) |
LED on/off:
| Parameter Number | Size | Range | Default |
| 2 | 1 | 0~2 | 2: on for 5 seconds (0: disable, 1: Always on) |
Command Classes
The module supports Command Classes including…
| Command Class | Version | Required Security Class |
| ZWAVEPLUS_INFO | 2 | None |
| ASSOCIATION | 2 | Highest granted Security Class |
| MULTI_CHANNEL_ASSOCIATI ON | 3 | Highest granted Security Class |
| ASSOCIATION_GRP_INFO | 3 | Highest granted Security Class |
| TRANSPORT_SERVICE | 2 | None |
| VERSION | 3 | Highest granted Security Class |
| MANUFACTURER_SPECIFIC | 2 | Highest granted Security Class |
| DEVICE_RESET_LOCALLY | 1 | Highest granted Security Class |
| INDICATOR | 3 | Highest granted Security Class |
| POWERLEVEL | 1 | Highest granted Security Class |
| SECURITY | 1 | None |
| SECURITY 2 | 1 | None |
| SUPERVISION | 1 | None |
| FIRMWARE_UPDATE_MD_ | 5 | Highest granted Security Class |
| NOTIFICATION | 8 | Highest granted |
| Security Class | ||
| SWITCH_ BINARY | 2 | Highest granted Security Class |
| CONFIGURATION | 4 | Highest granted Security Class |
Indicator Command Class
| Indicator ID | Property ID | Value | Description |
| 0x50 | 0x03 | 0~255 | On/Off Period |
| 0x50 | 0x04 | 0~255 | On/Off Cycle |
| 0x50 | 0x05 | 0~255 | On time within an On/Off period |
Additional Command Classes Supported
- Power Level: For test purpose during product installation.
- Binary Switch: Refer to Basic.
- Firmware Update: For OTA function.
Troubleshooting
The table below lists the several steps involved when adding or removing the detector from the Z-Wave™ network.
| Action/ Status | Description | LED indication |
| No node ID | The Z-Wave™ Controller does not allocate a node ID to the unit. | 2-second on, 2-second off |
| Inclusion | 1. Put the Z-Wave™ Controller into inclusion mode. | |
| 2. Press the button three times within 1.5 seconds to put the unit into inclusion mode. | ||
| Exclusion | 1. Put the Z-Wave™ Controller into exclusion mode. | |
| 2. Press the button three times within 1.5 seconds to put the unit into exclusion mode. | ||
| Reset (This procedure should only be used when the network primary controller is inoperable. ) | 1. Press the button three times within 1.5 seconds to put the unit into exclusion mode. | |
| 2. Within 1 second of step 1, press link key again and hold until LED is off (about 5 seconds). | ||
| 3. Node ID is excluded. The device reverts to factory default state and will be in auto-inclusion mode for 4 minutes. | ||
| ||
Note: If you are connecting this unit to a Z-Wave™ Controller that utilizes the S2 security protocol, you may be asked to enter a 5 digit Device Specific Key (DSK) that is unique to each unit by your controller. This can be found in one of two places:
- on the QR code label on the unit
- on the insert card inside the packaging
| Symptom | Cause of Failure | Recommendation |
| Device not responding and LED not displaying | The device is not connected to the mains power correctly | Check if connection is correct, or voltage is too high or too low |
| Device malfunction | Send the device to be repaired | |
| LED displaying, but cannot control On/Off status of connected load | The connected load has its own on/off switch | Turn the switch of the connected load to On. |
| Can press button to control, but cannot control by RF | RF interference is occurring. Someone nearby might be emitting RF signal of the same frequency | Wait for a while and retry the operation |
Specification
| Operating Voltage | 230VAC/50Hz |
| Maximum Load | UK Plug Resistive load: 2990W Incandescent load: 1500W Fluorescent load: 15 x 40W LED: 200W |
| Range | 100 m line of sight |
| Frequency Range | AN370-3:868.42 MHz(UK) |
** Specifications are subject to change and improvement without notice.
Warning
Do not dispose of electrical appliances as unsorted municipal waste, use separate collection facilities.
Contact your local government for information regarding the collection systems available.
If electrical appliances are disposed of in landfills or dumps, hazardous substances can leak into the groundwater and get into the food chain, damaging your health and well-being.
When replacing old appliances with new once, the retailer is legally obligated to take back your old appliance for disposal at least for free of charge.

Customer Support
www.everspring.com
50 Sect. 1 Zhonghua Rd Tucheng New
Taipei City 236 Taiwan.